Convert
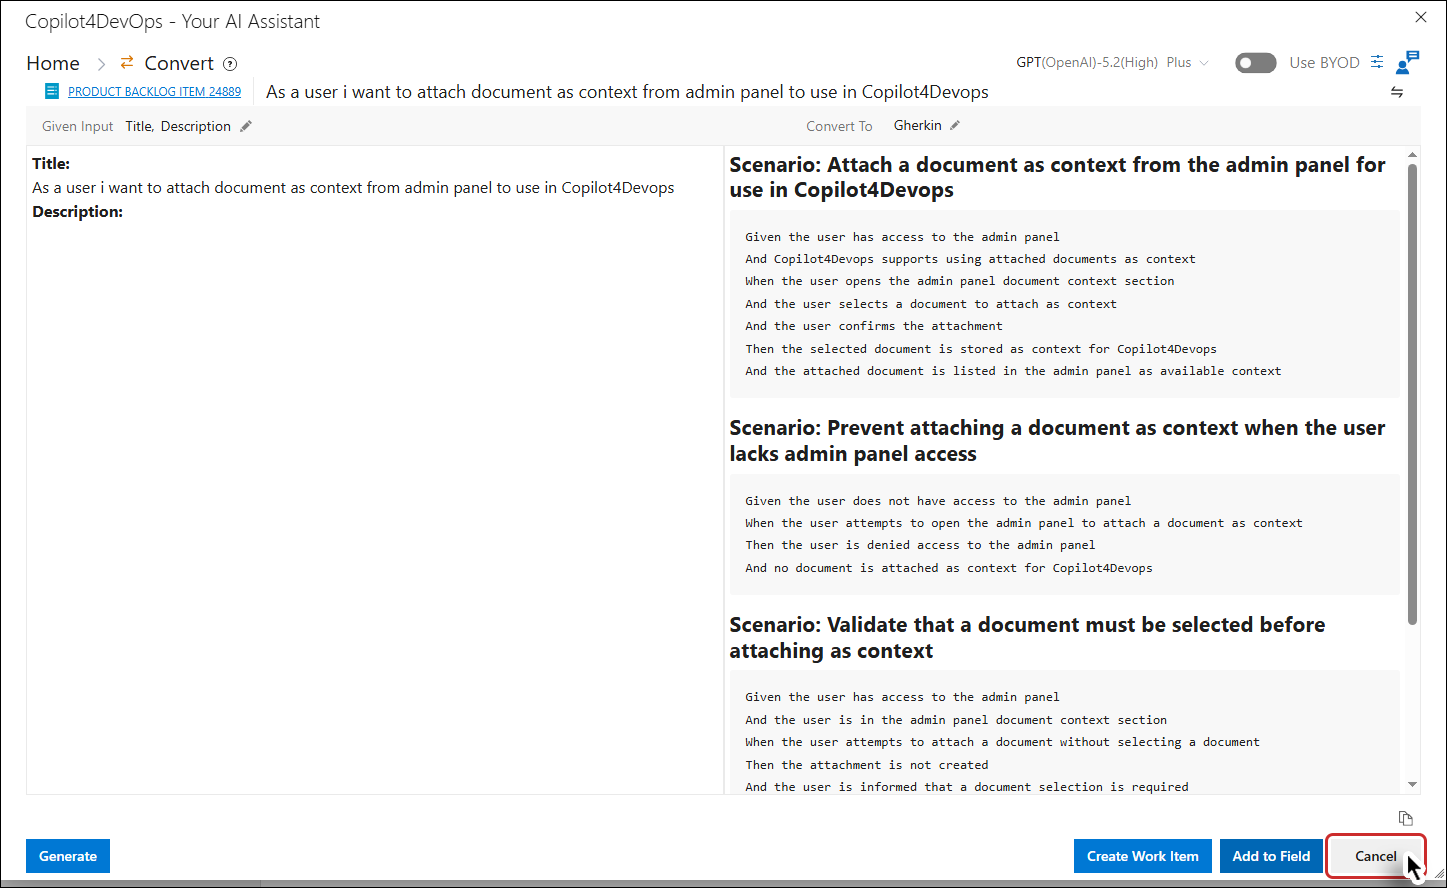
1. Click on the Copilot4DevOps option from the context menu of any work item from the Queries, and Backlog.
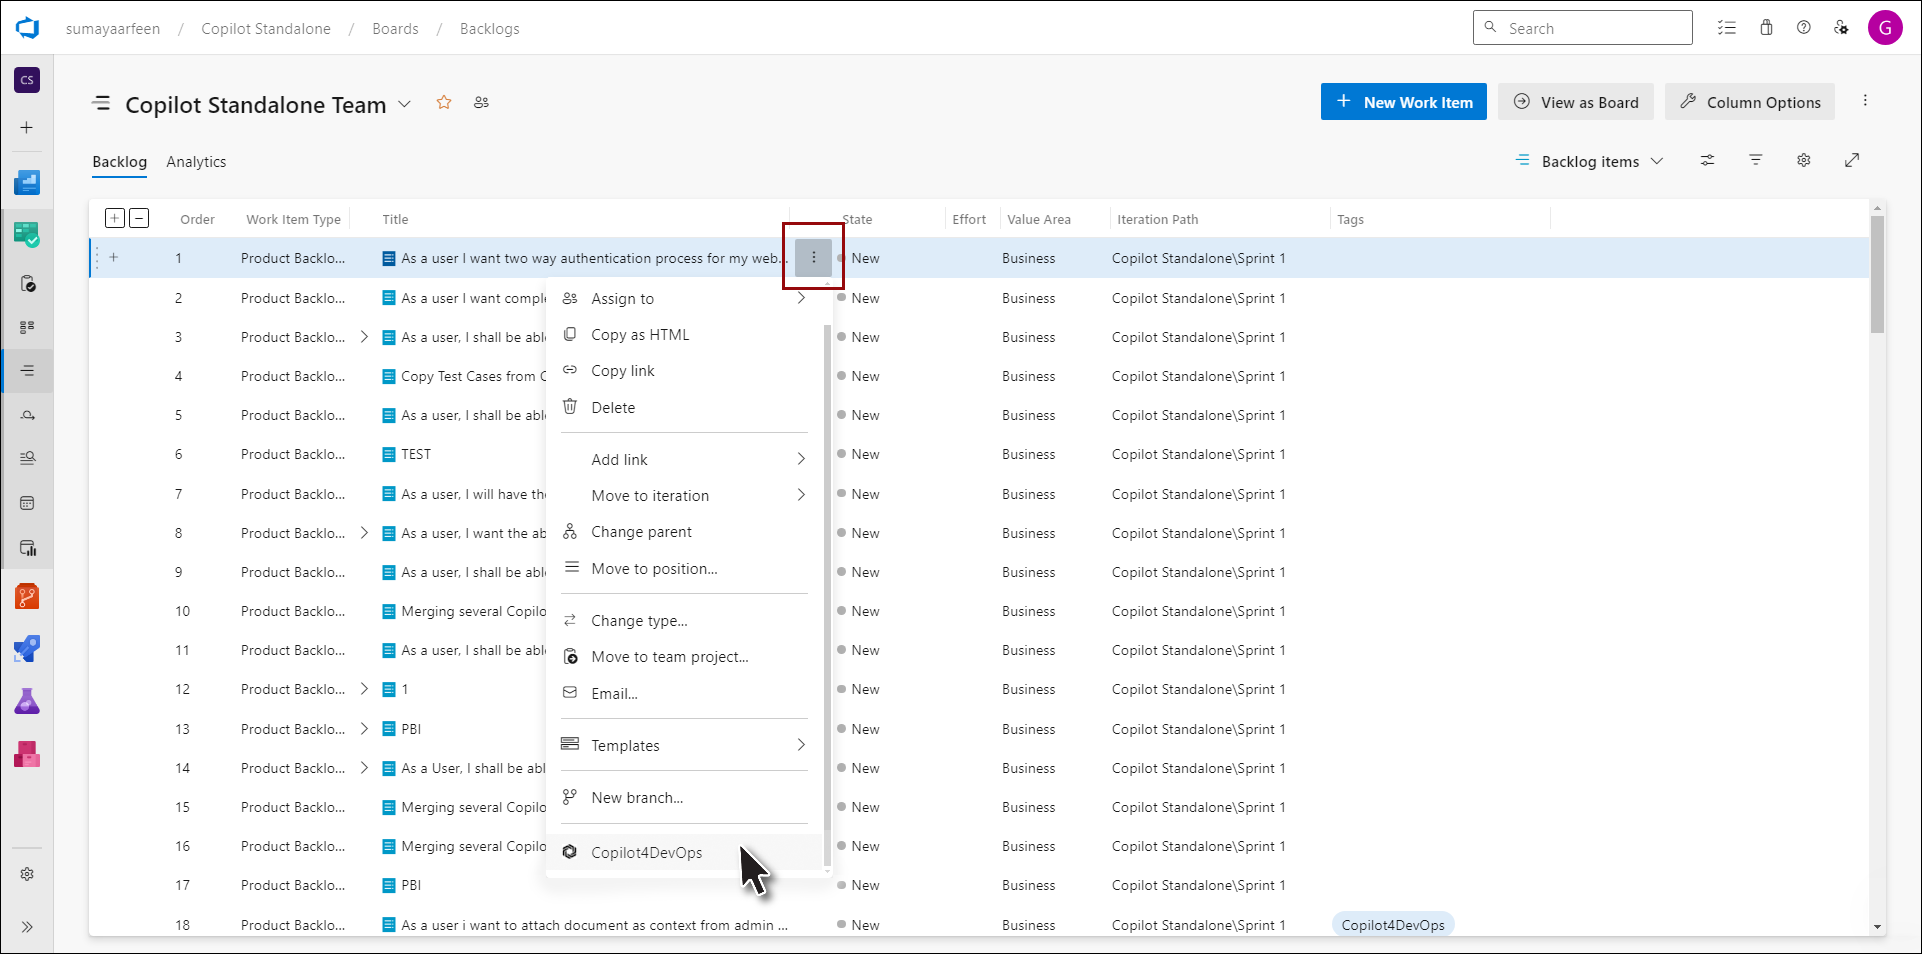
Copilot4DevOps pop-up appears.
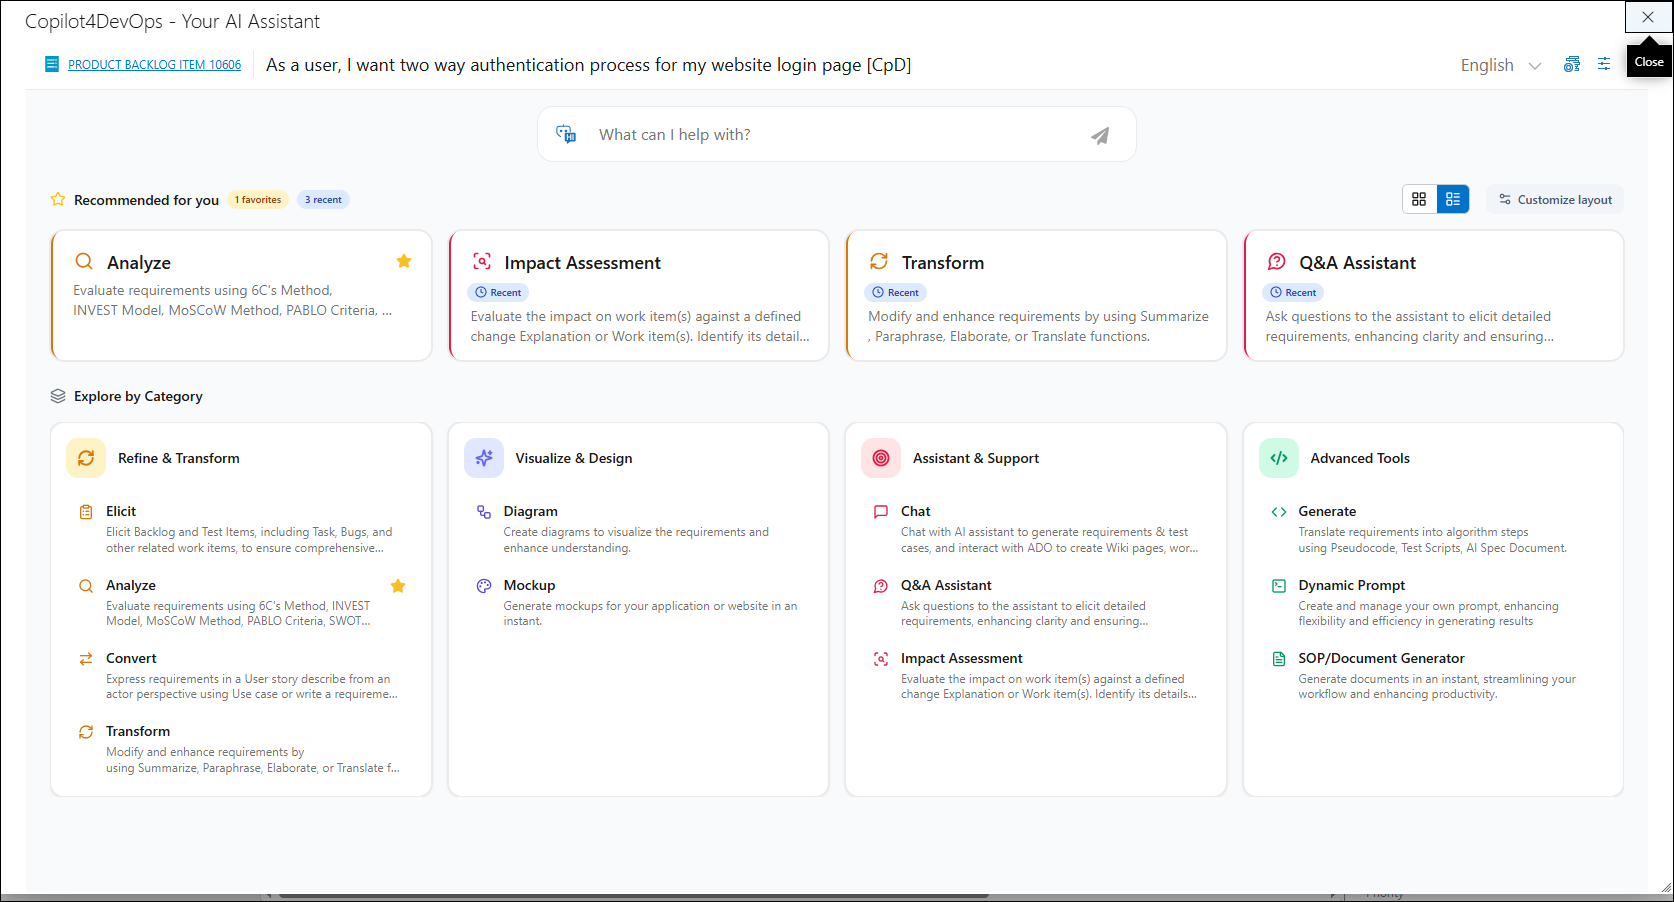
2. Click on the Convert function shown on the Copilot4DevOps popup.
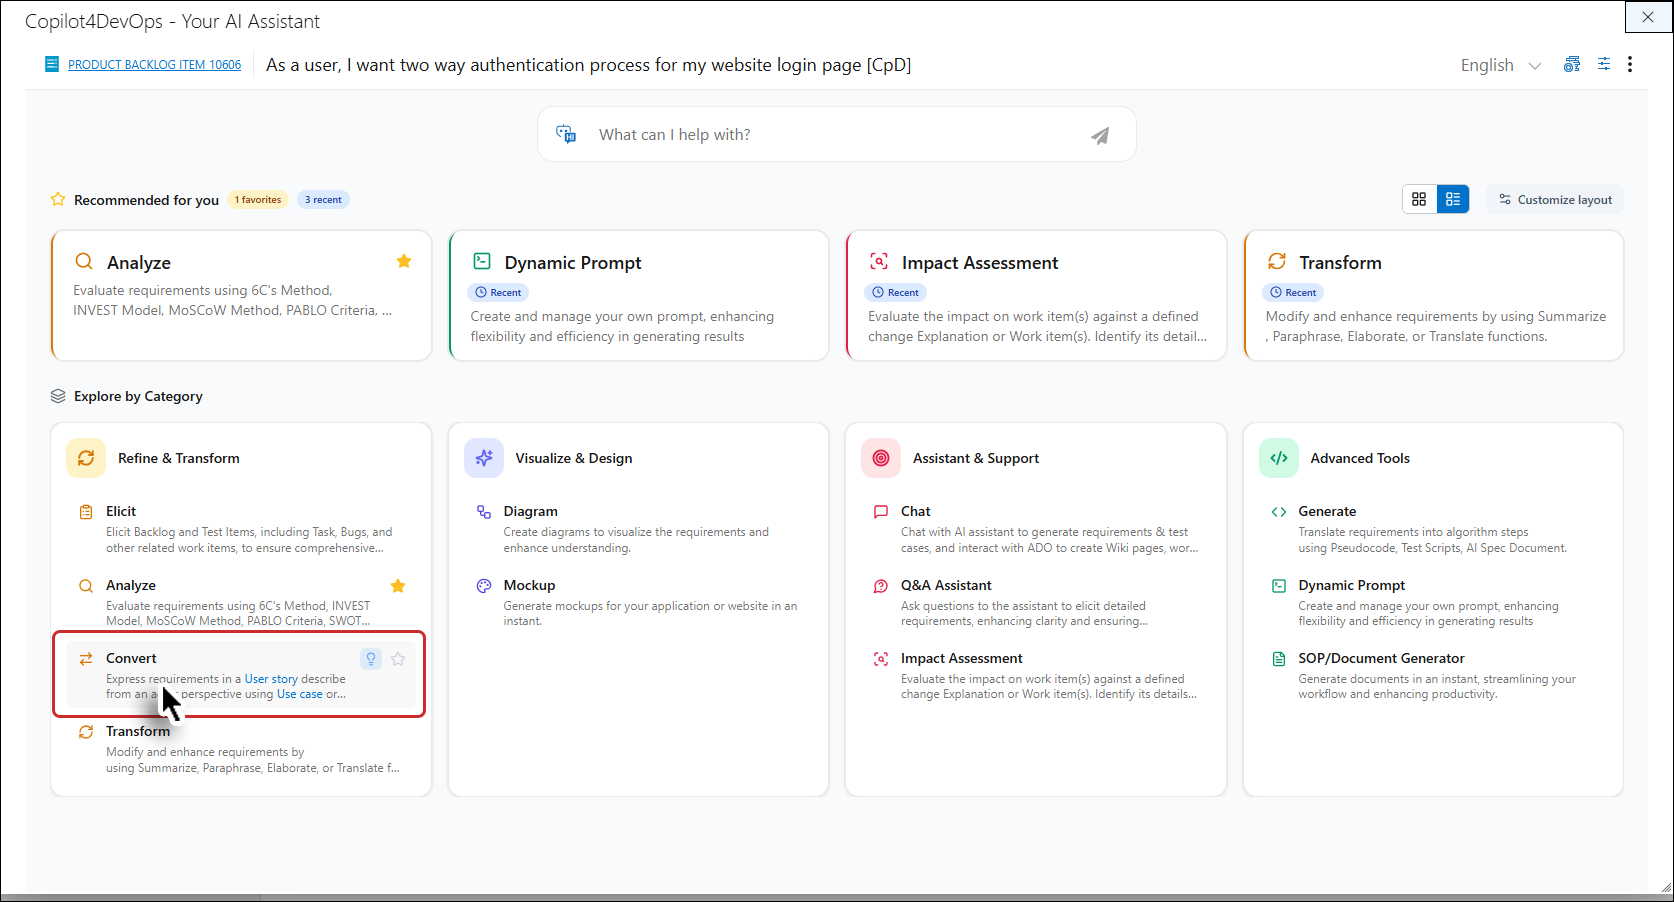
Convert popup opens.
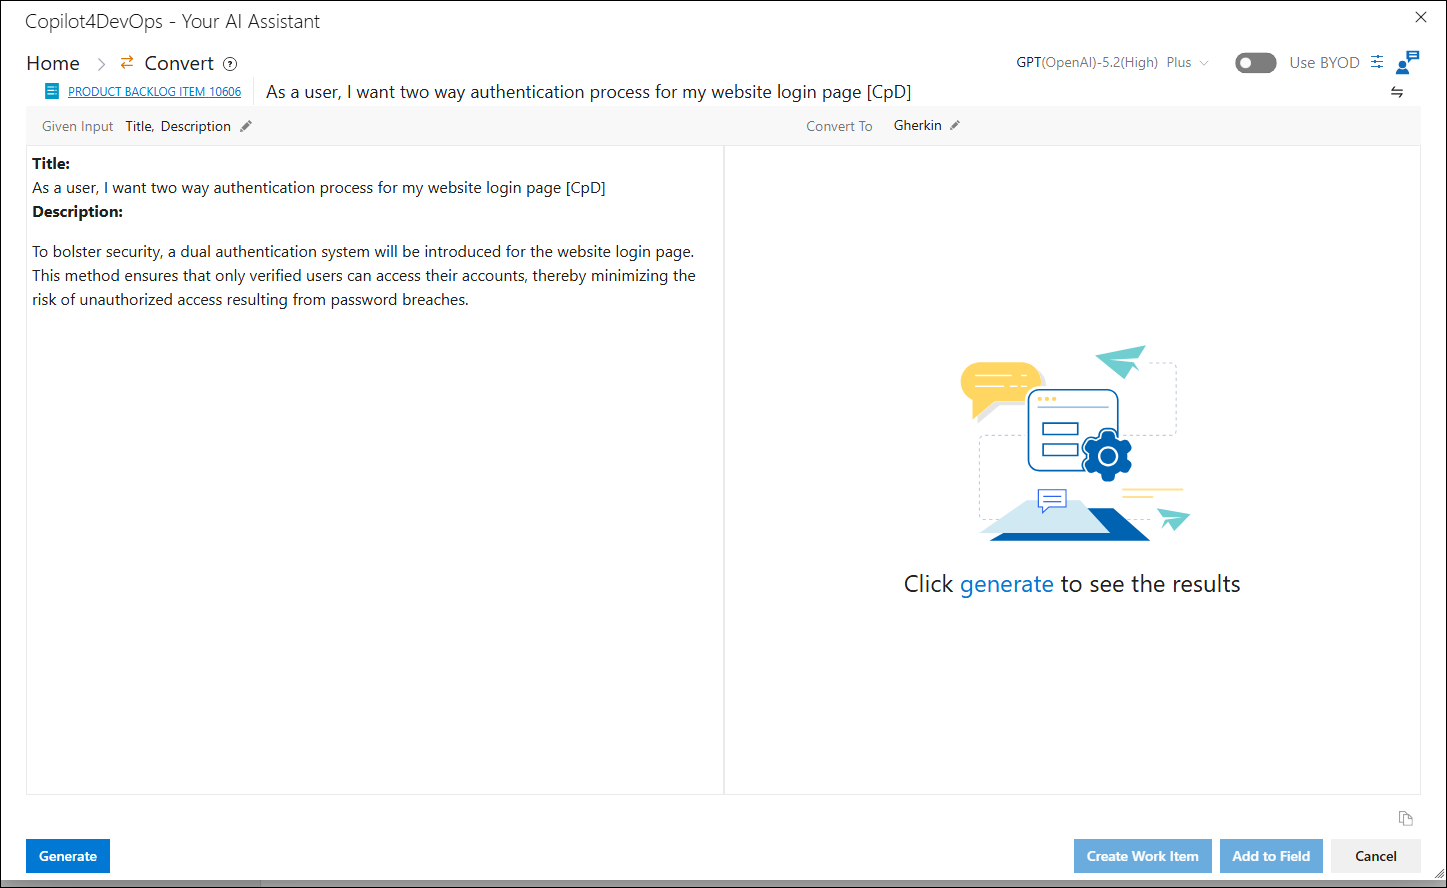
3. Other functions can be accessed that are a part of Copilot4DevOps pop-up from this breadcrumb dropdown.
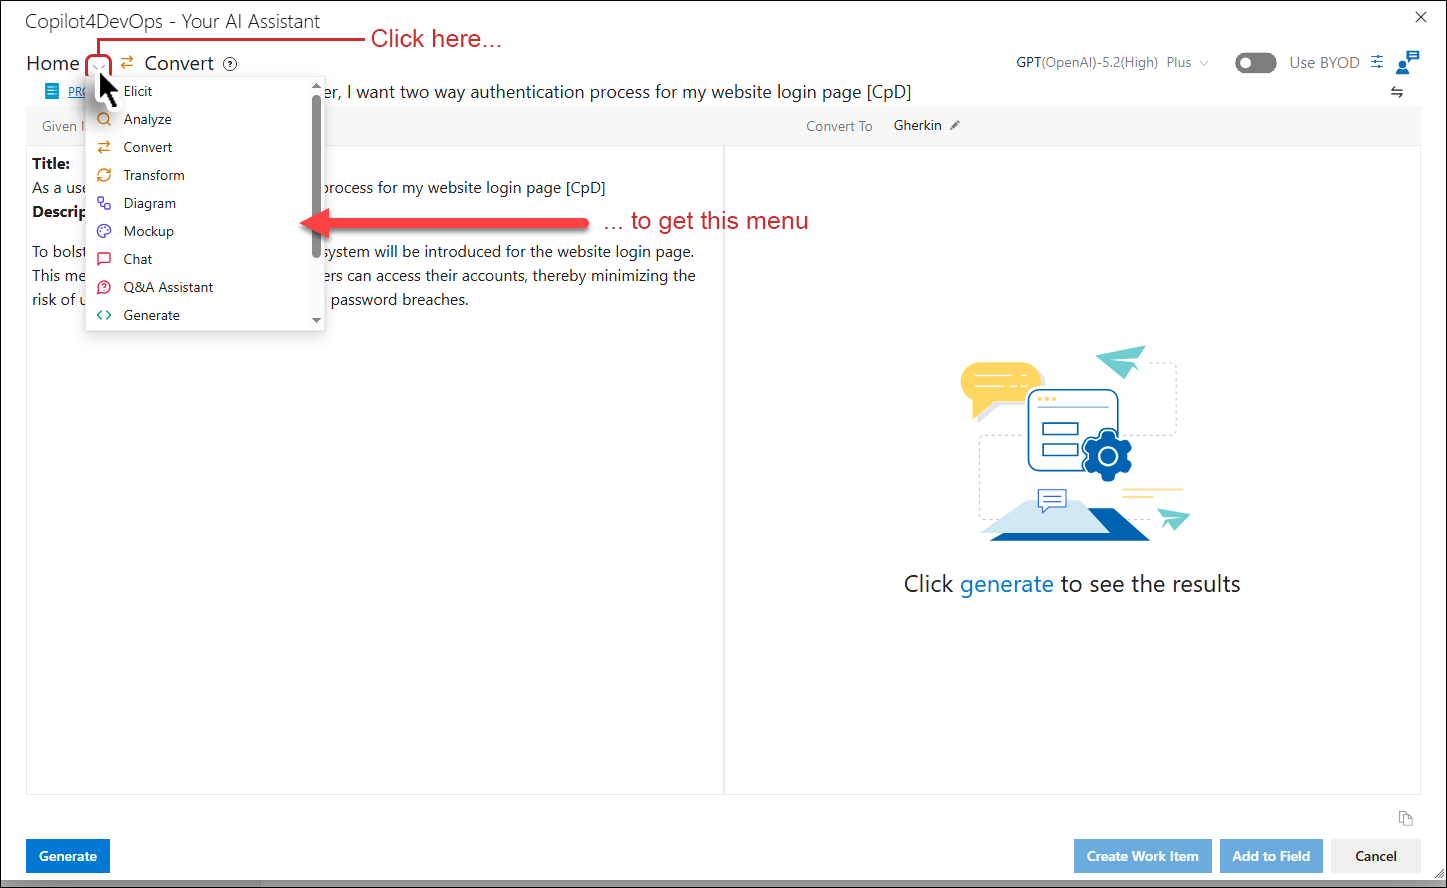
4. When you click on the help icon showing with the breadcrumb, the right panel will open, displaying the help content related to the currently open function.
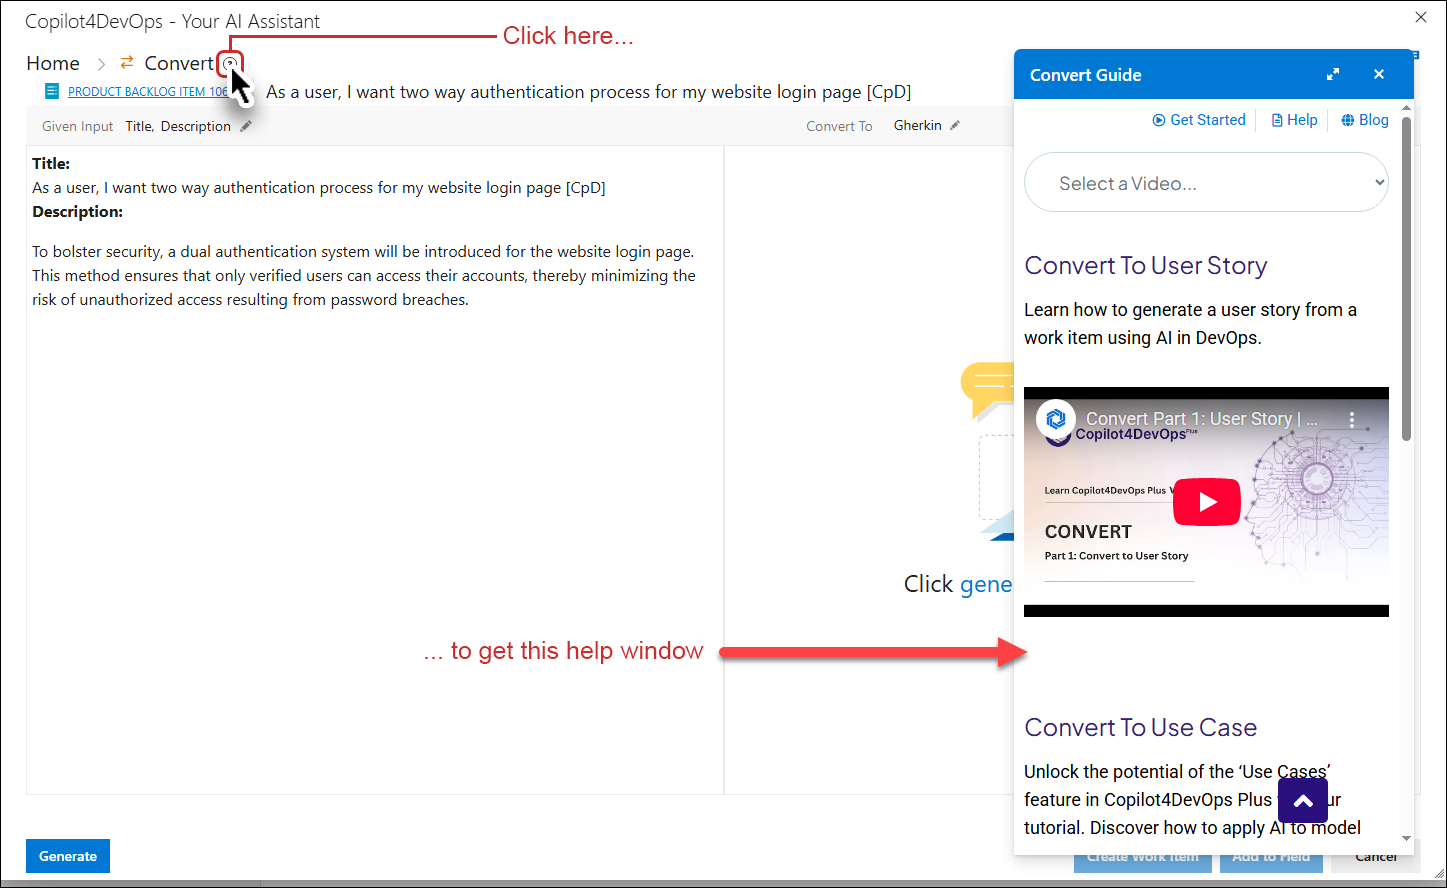
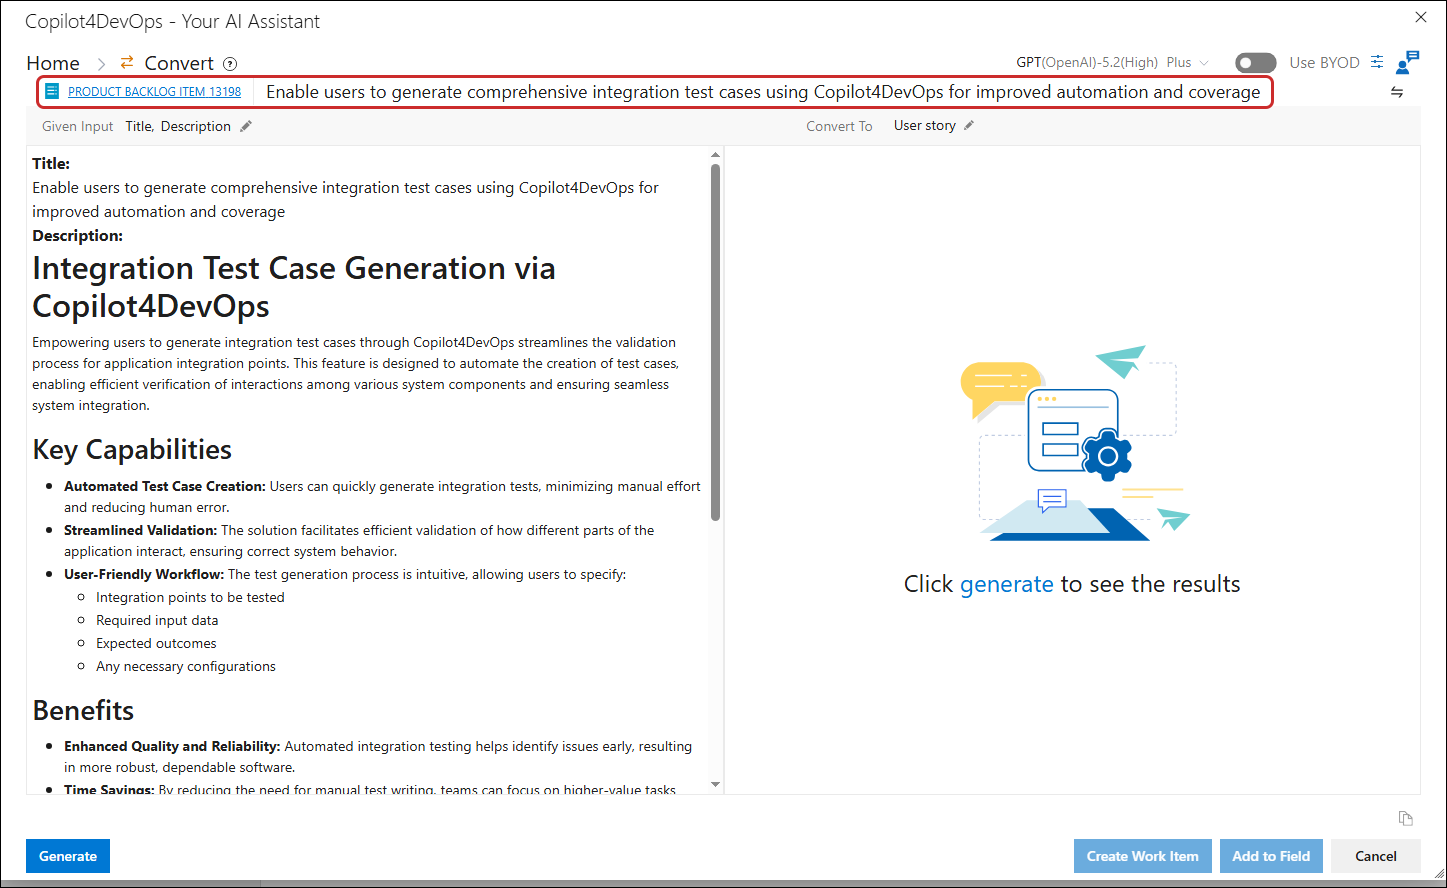
At the top of the popup, the work item icon, type, ID, and Title are displayed for the work item being converted.
Changing Work Item
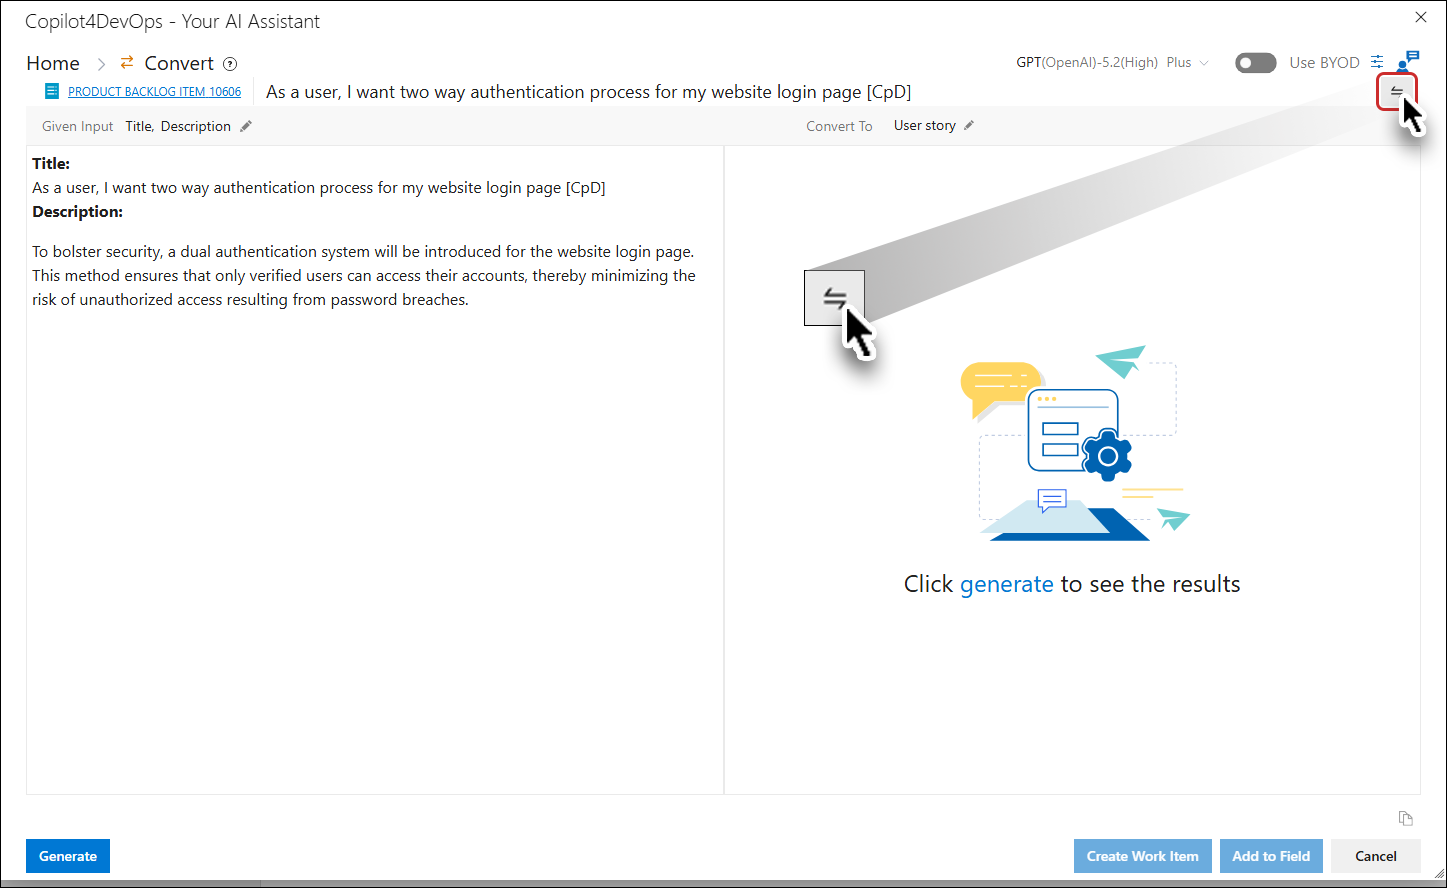
However, if you want to change the work item (that you want to convert), the Change Work Item option is available through the  icon at top right corner.
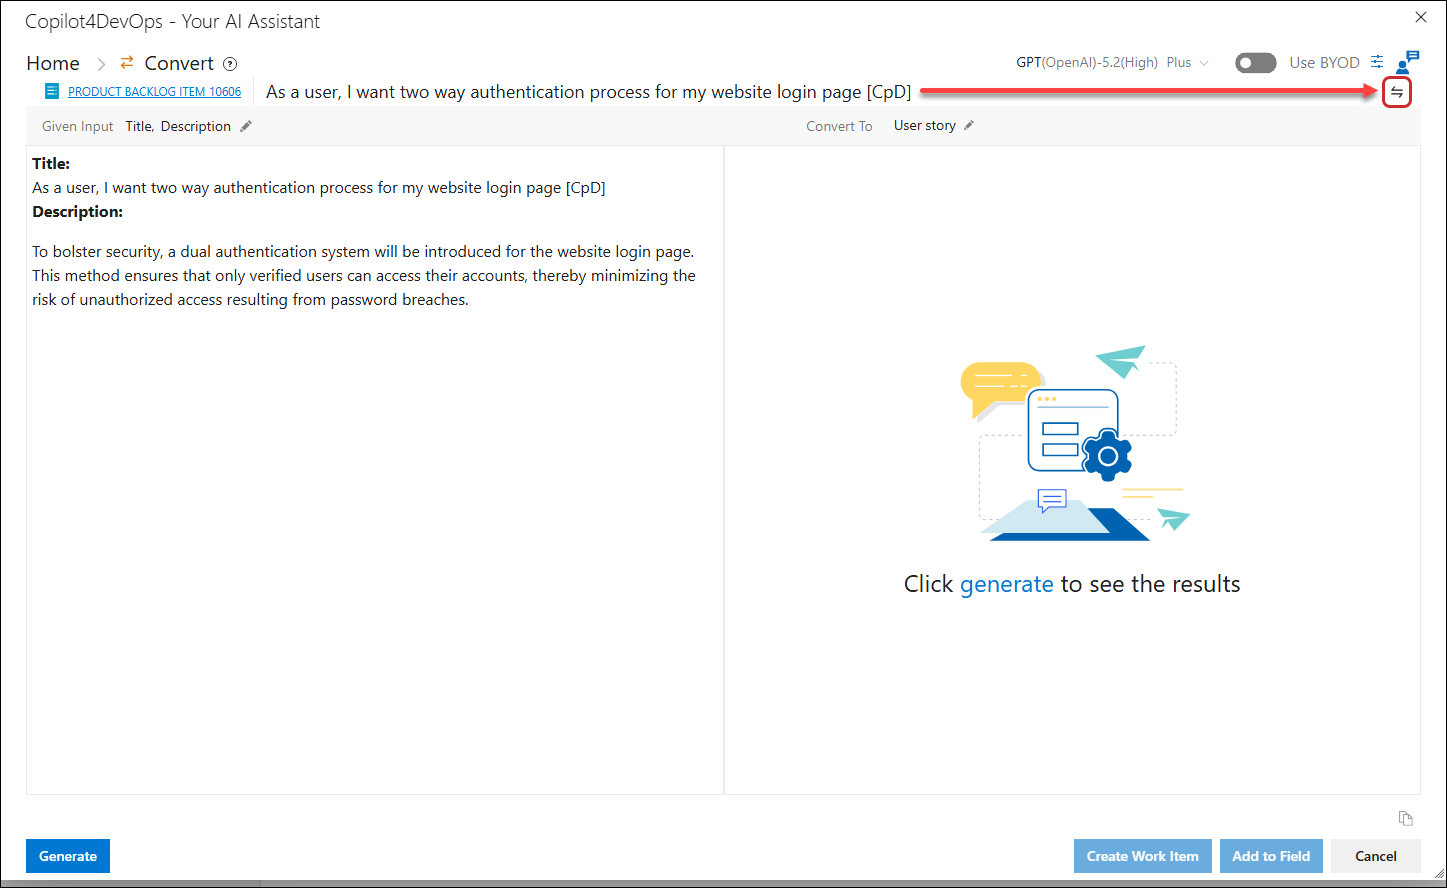
5. Click on Change Work Item ‘’ icon.
The Existing Work Item(s) dialogue box opens.
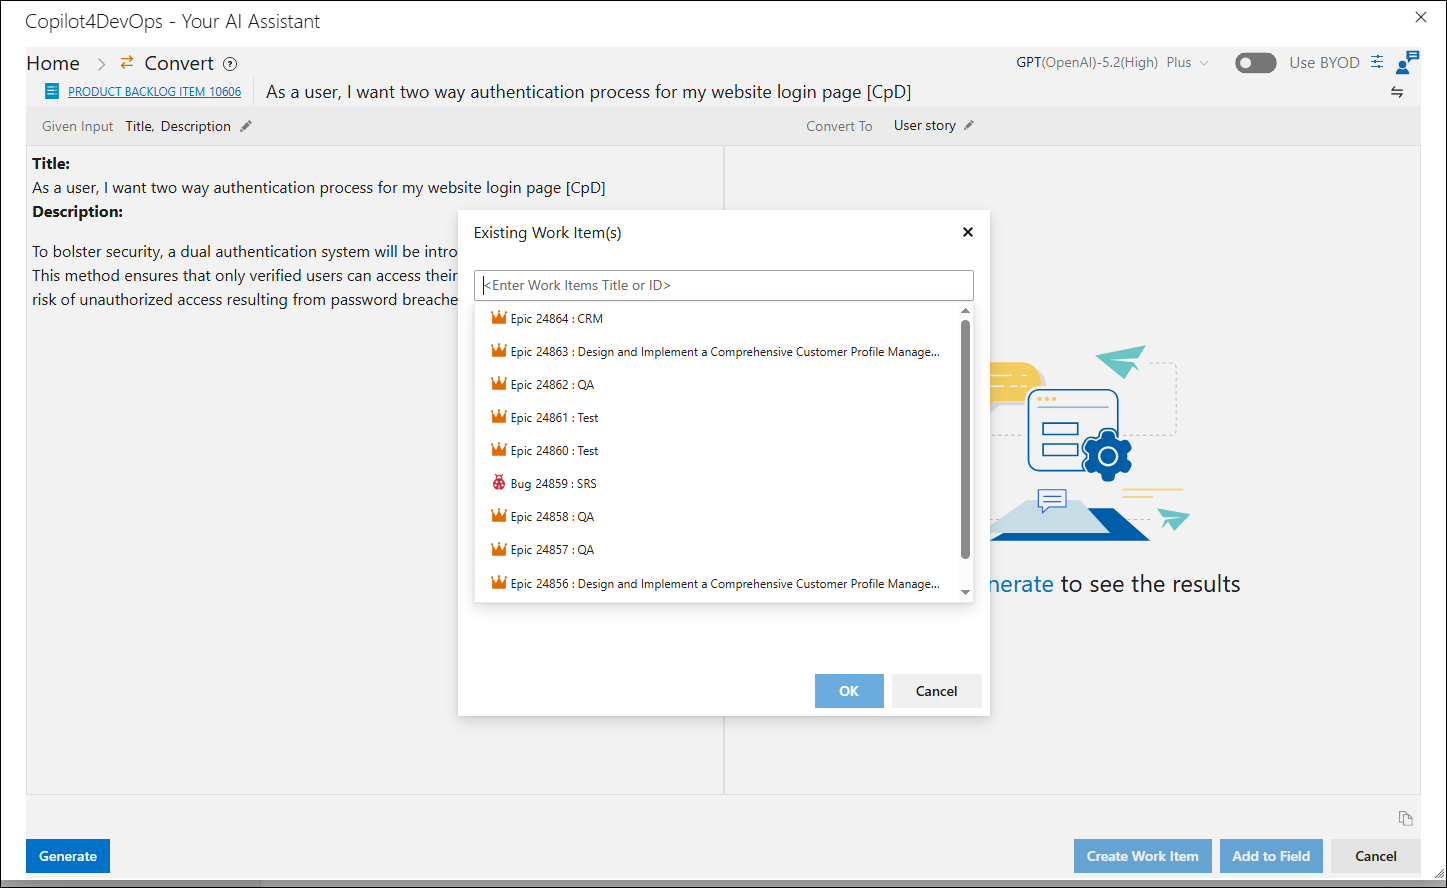
6. Select the desired Work Item by searching through either the ID or Title.
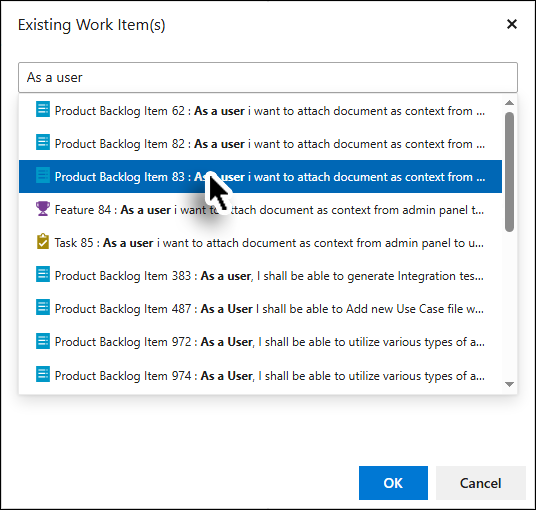
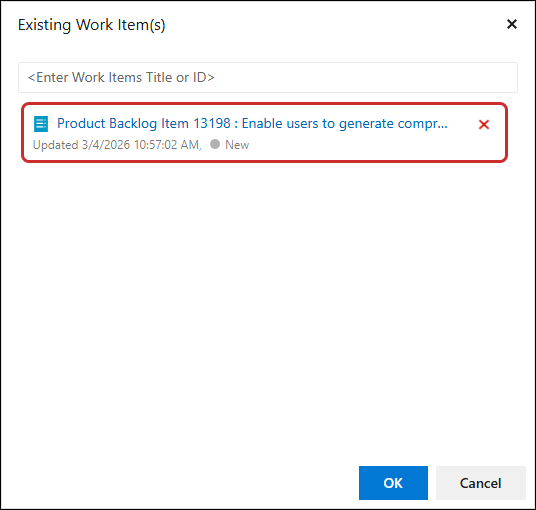
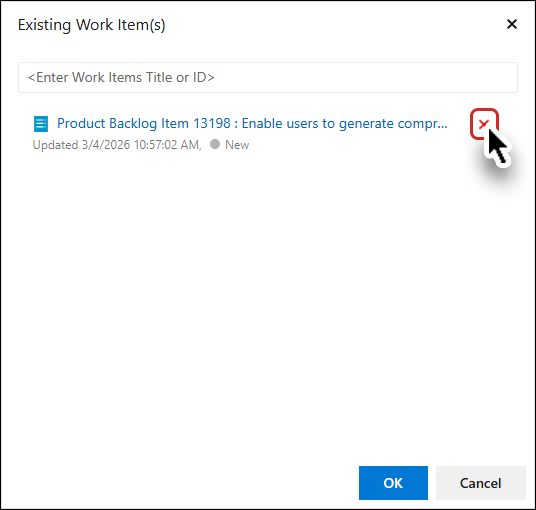
You can remove a selected work item by clicking the ‘x’ button.
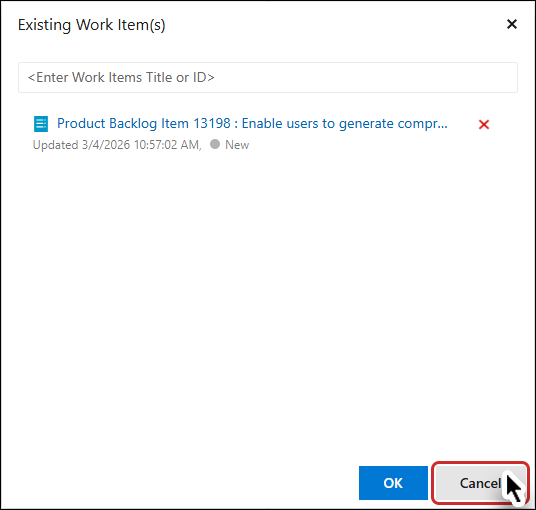
7. Click on Cancel button, to close the popup without changing the Work Item.
OR
7. Click the OK button to complete the process.
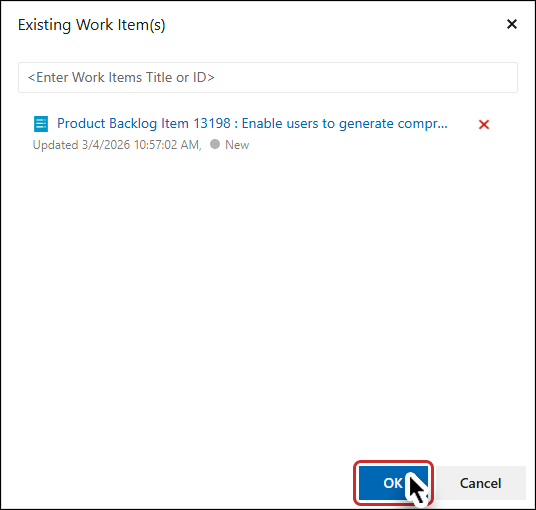
It will update the details in the Convert function popup and home page of Copilot4DevOps with selected work item as the anchor for all functions.
Other options
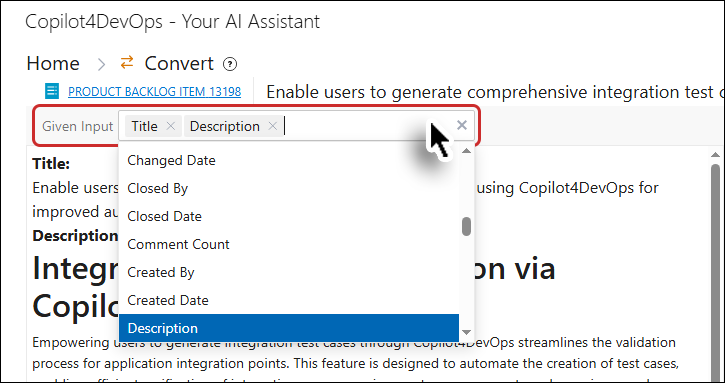
8. You can select more than one work item field from the Given input dropdown
Note: Images embedded within the work item's HTML fields (such as Description, Acceptance Criteria, Repro Steps, and Comments) are detected and processed during AI operations. Image references are preserved throughout the operation, and the images are rendered inline at their original position in the panel, respecting their original dimensions where possible.
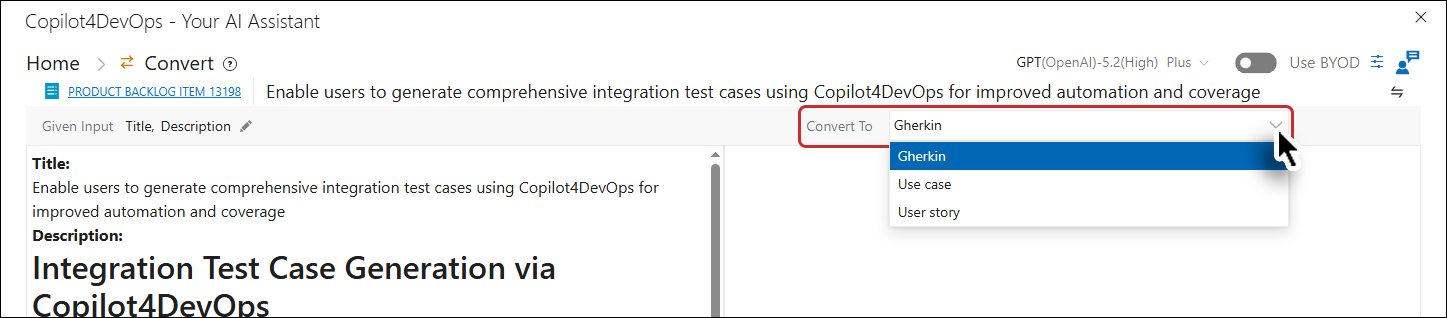
9. Select the conversion type (Gherkin, Use Case or User Story) from the Convert To dropdown, by default Gherkin is selected in the dropdown.
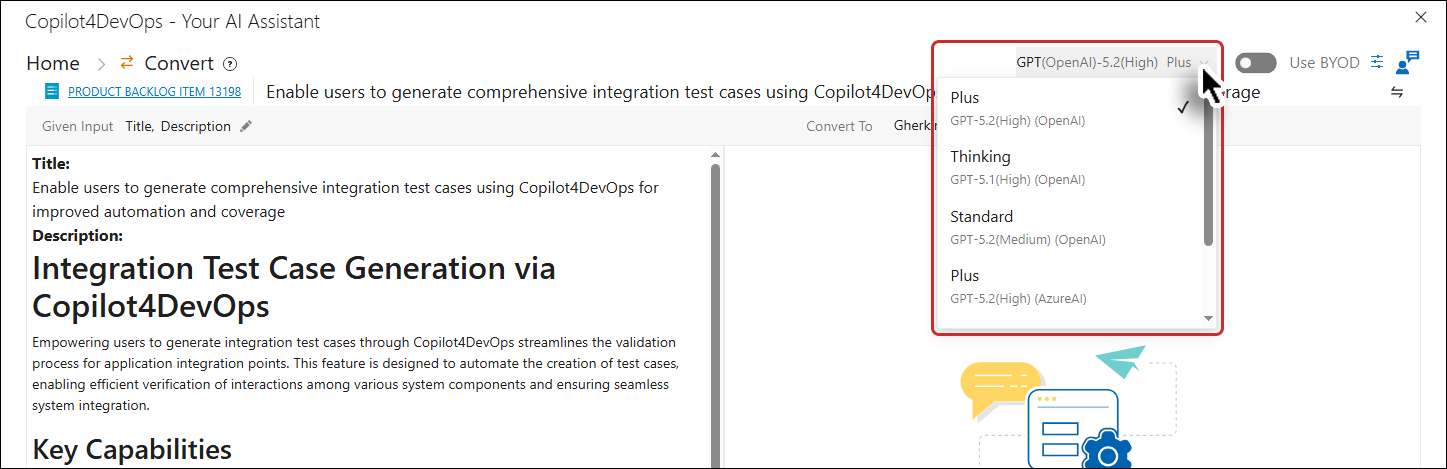
Ranked AI models configured in the Admin Panel will be displayed for each corresponding feature on the Home Page.
10. Click on Custom instructions option  at top right of the screen.
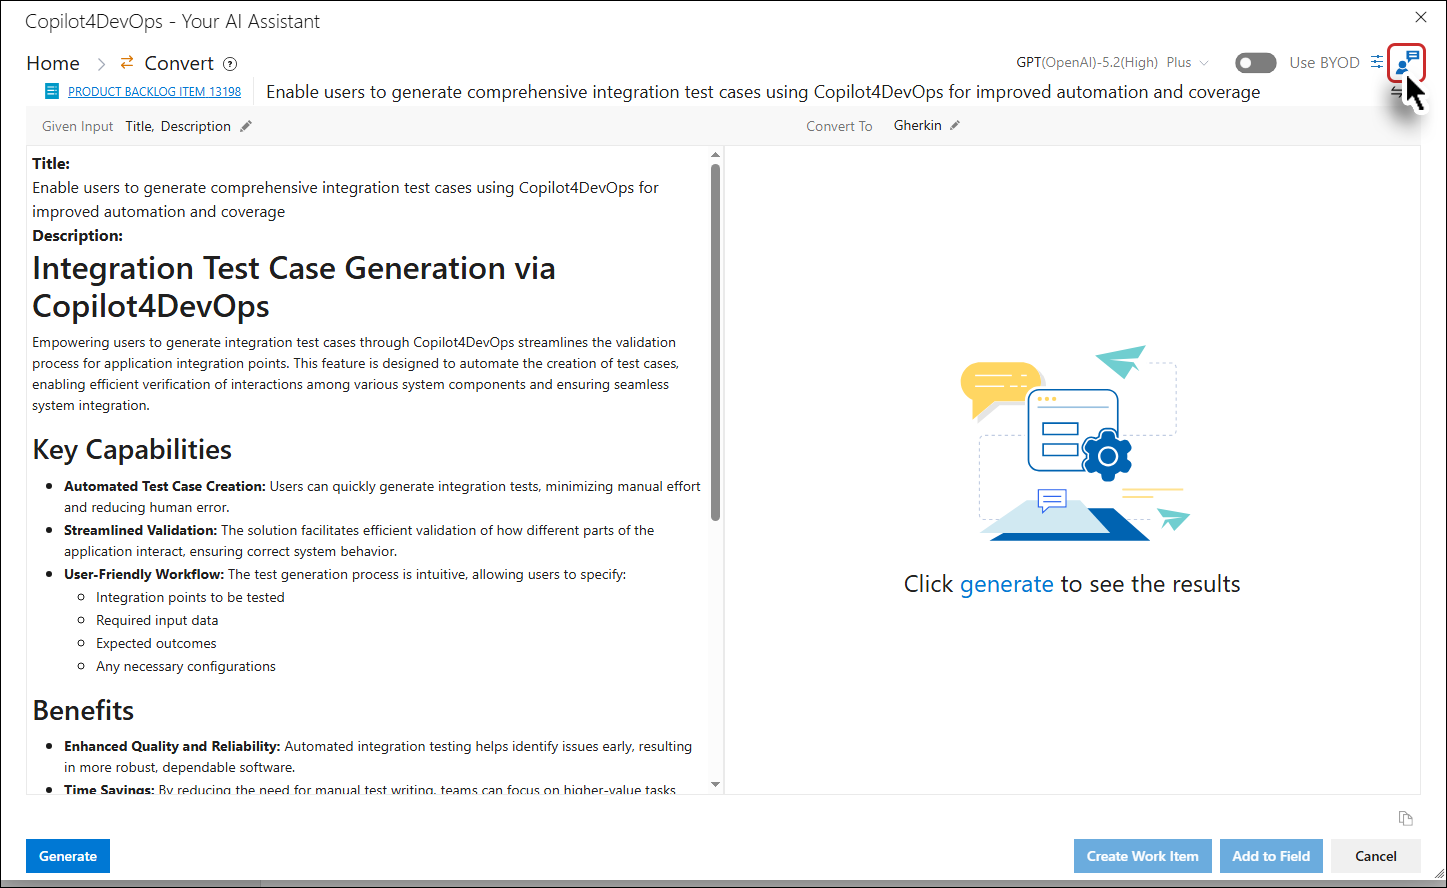
The Custom Instructions panel opens.
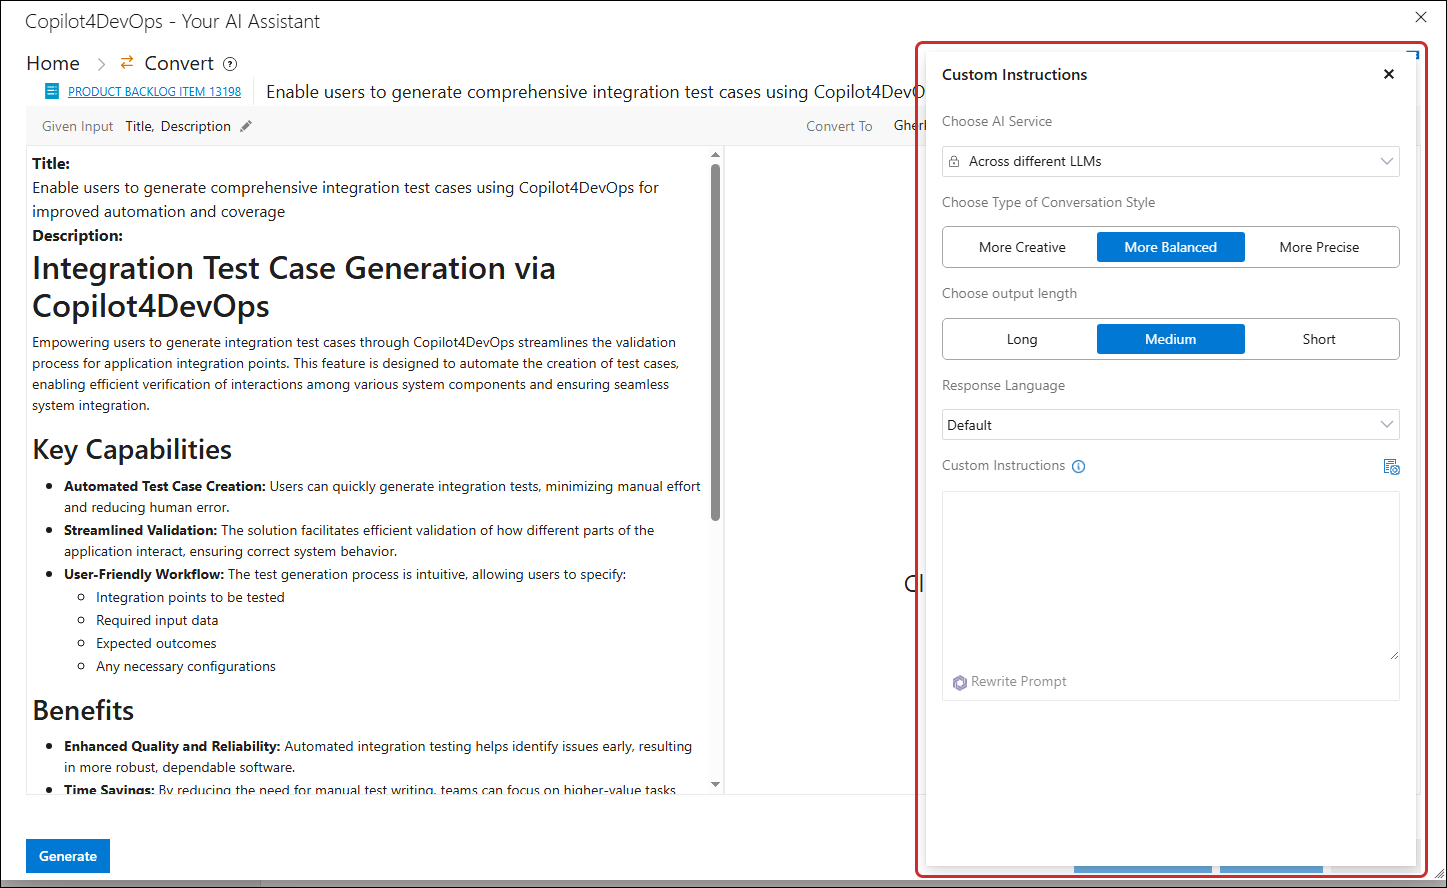
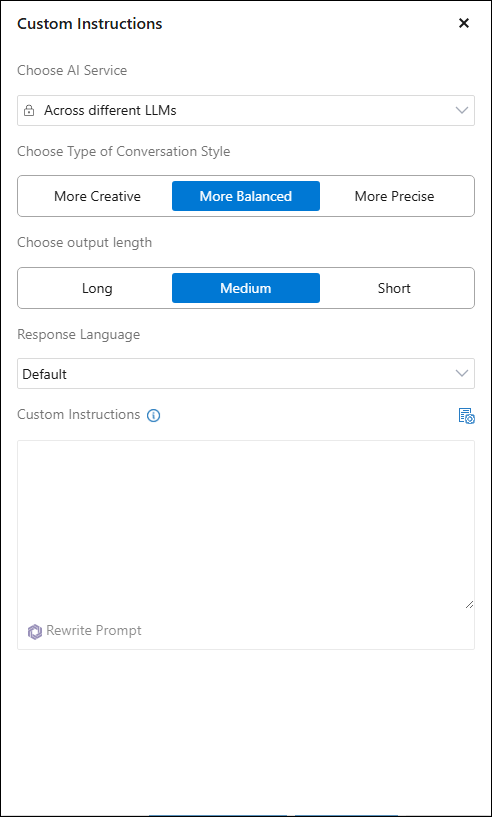
From the right panel you can see the AI Service selected in the Admin also able to Choose Type of Conversation Style such as “More Creative”, “More Balanced” or “More Precise”. Furthermore, you can Choose Output Length such as “Long”, “Medium” or “Short”. You also have the option to specify the Response Language and even include any Custom instructions which will be added with the default prompt.
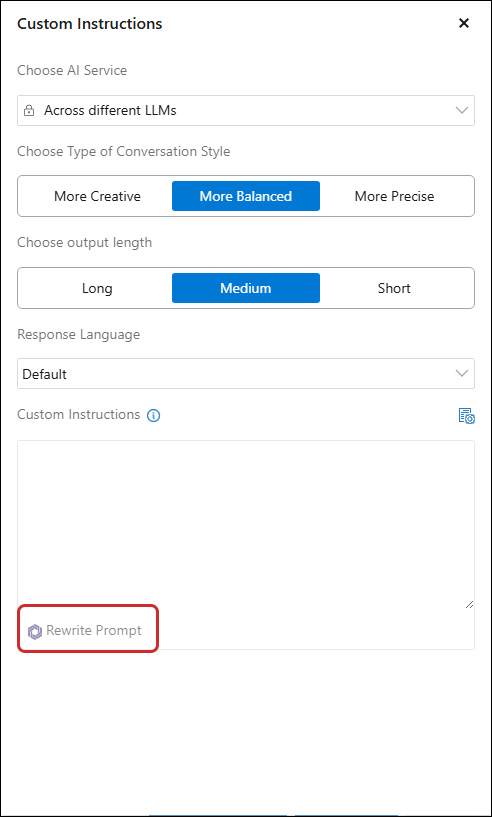
Users can rewrite their custom instructions using Rewrite Prompt option in the Convert function with a single click, producing structured, complete, and accurate instructions—using the AI model selected from the "AI Model Auto Selection and Ranking" section for “Rewrite Prompt” under the General tab in Admin panel.
Converting the Given Input data
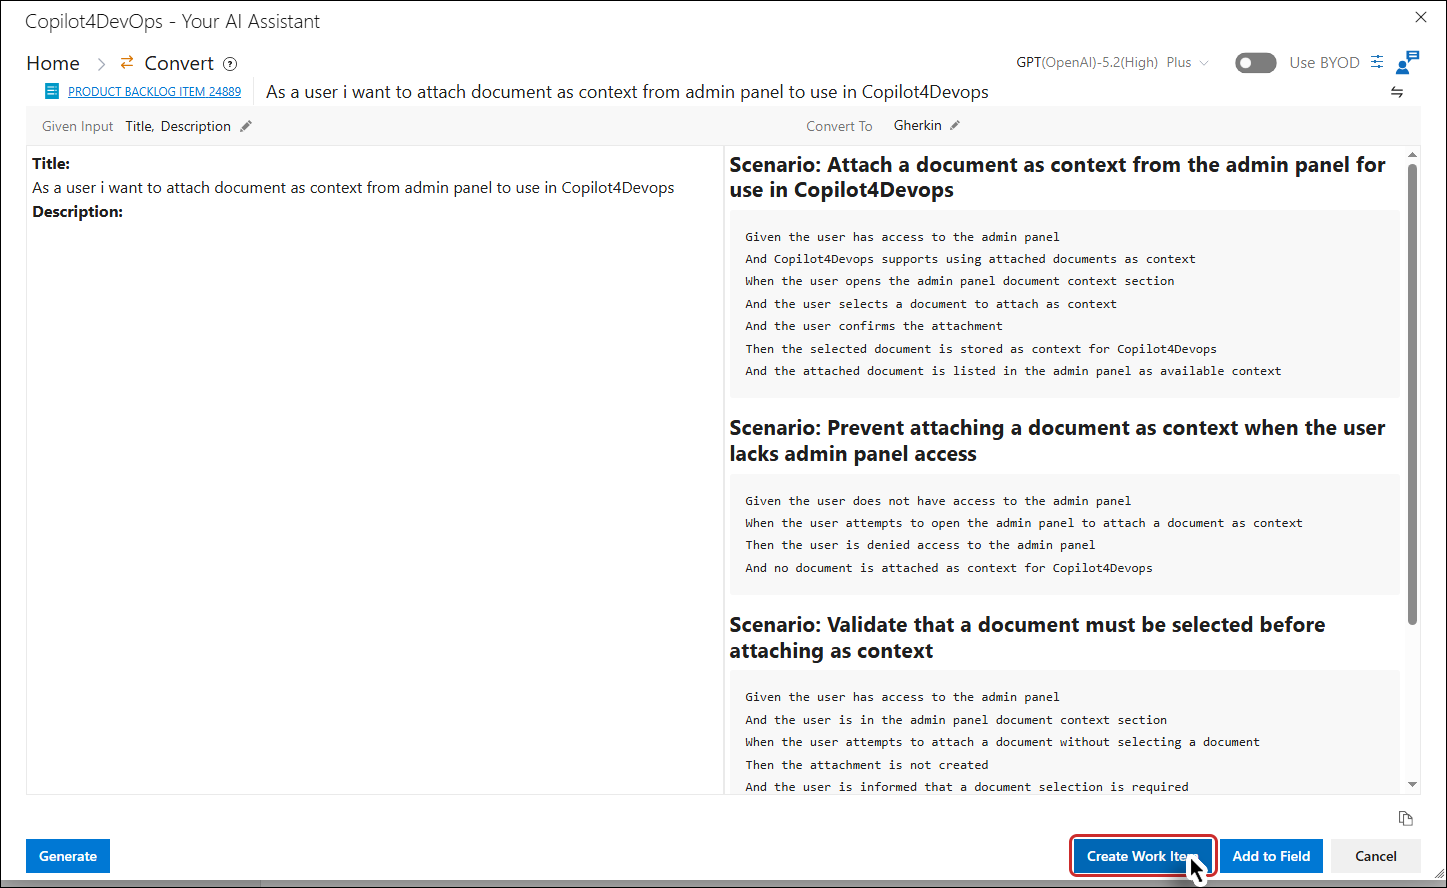
11. On clicking the Generate button or Generate link, conversion is done for the work item field of the selected work item, and the result is shown in the right panel.
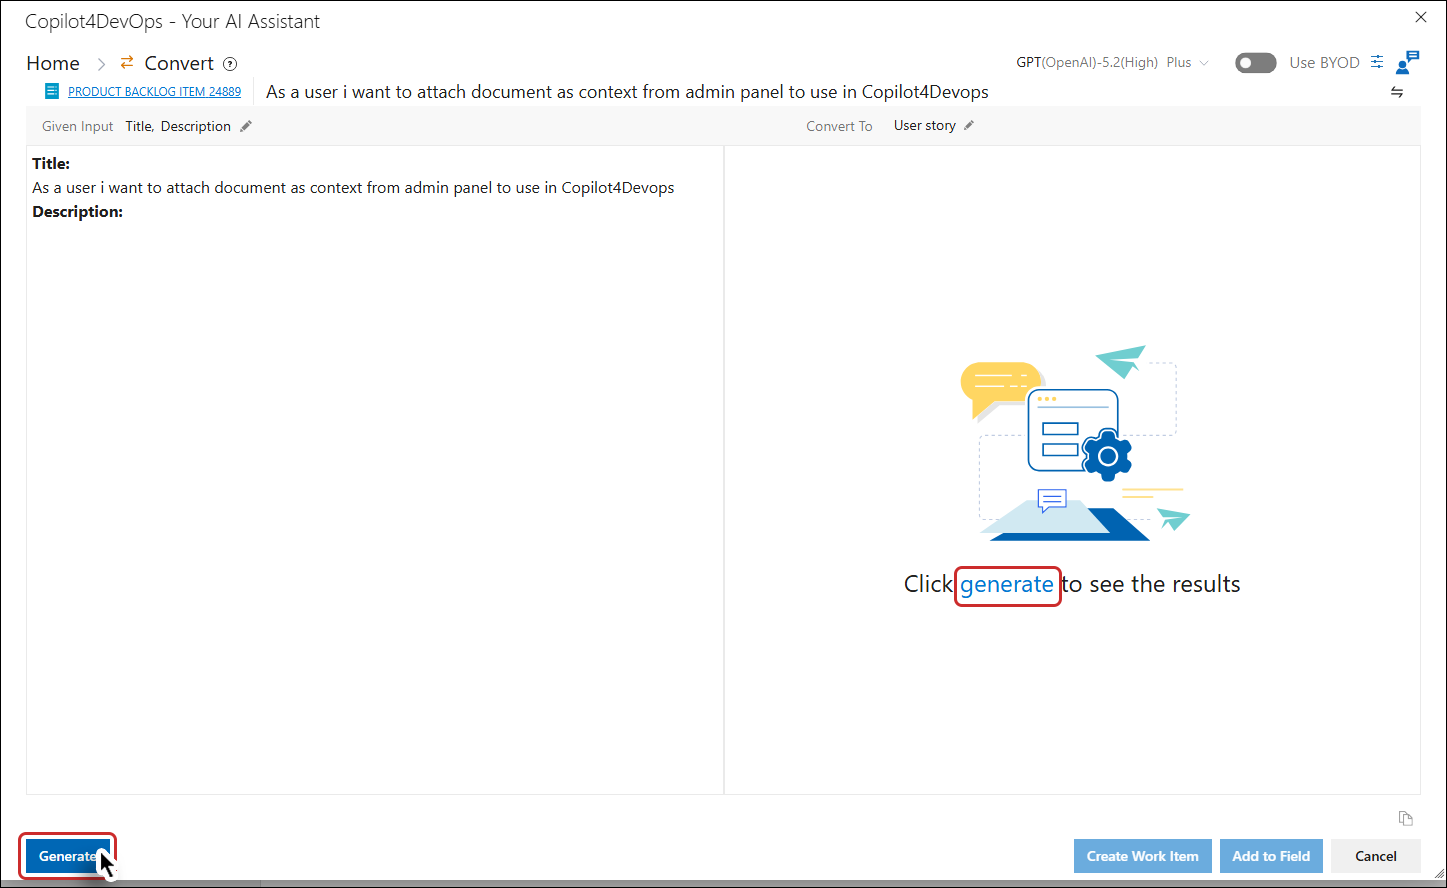
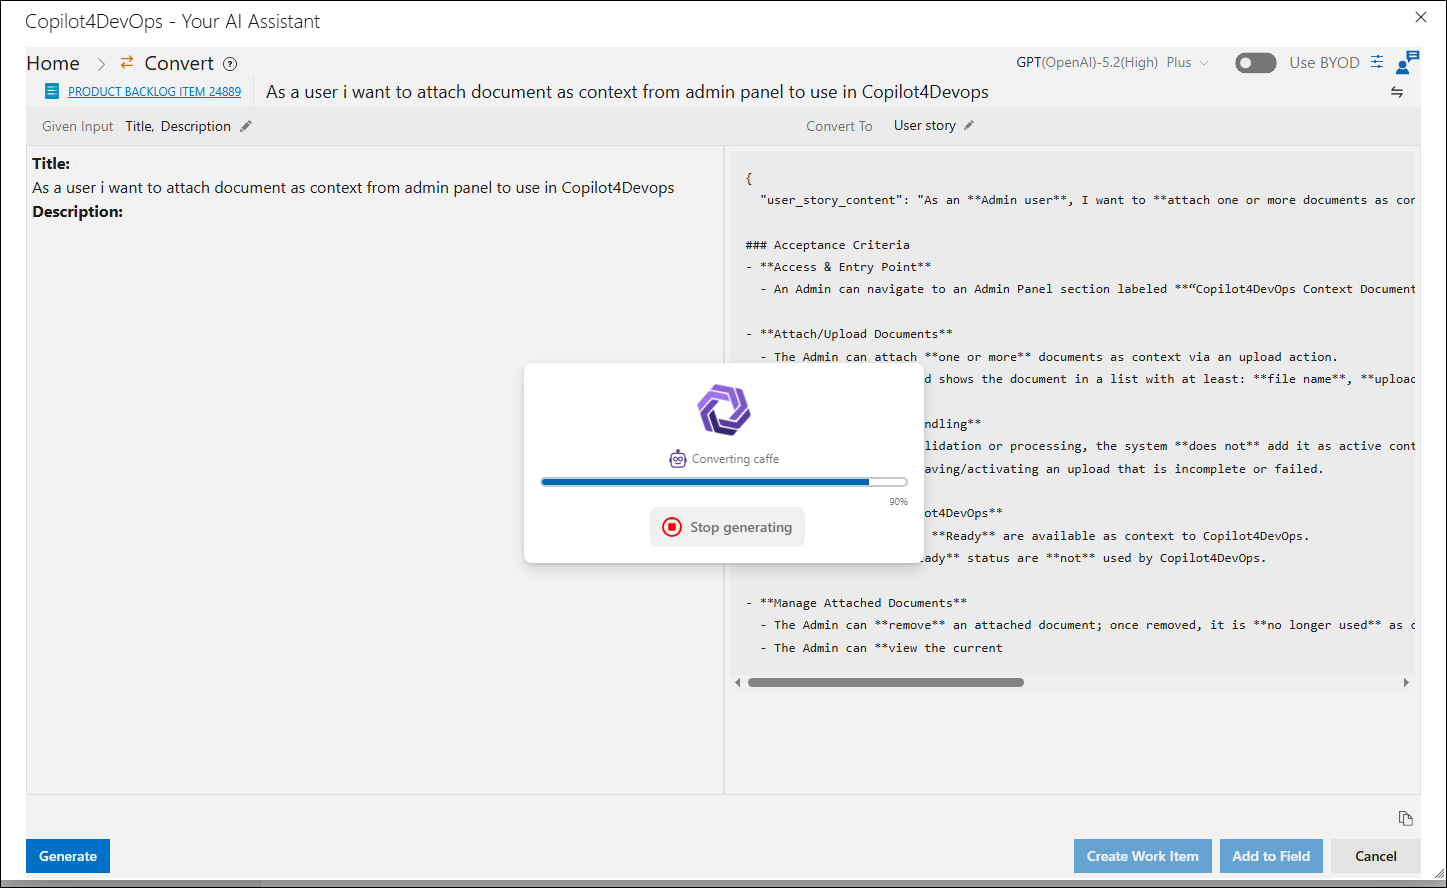
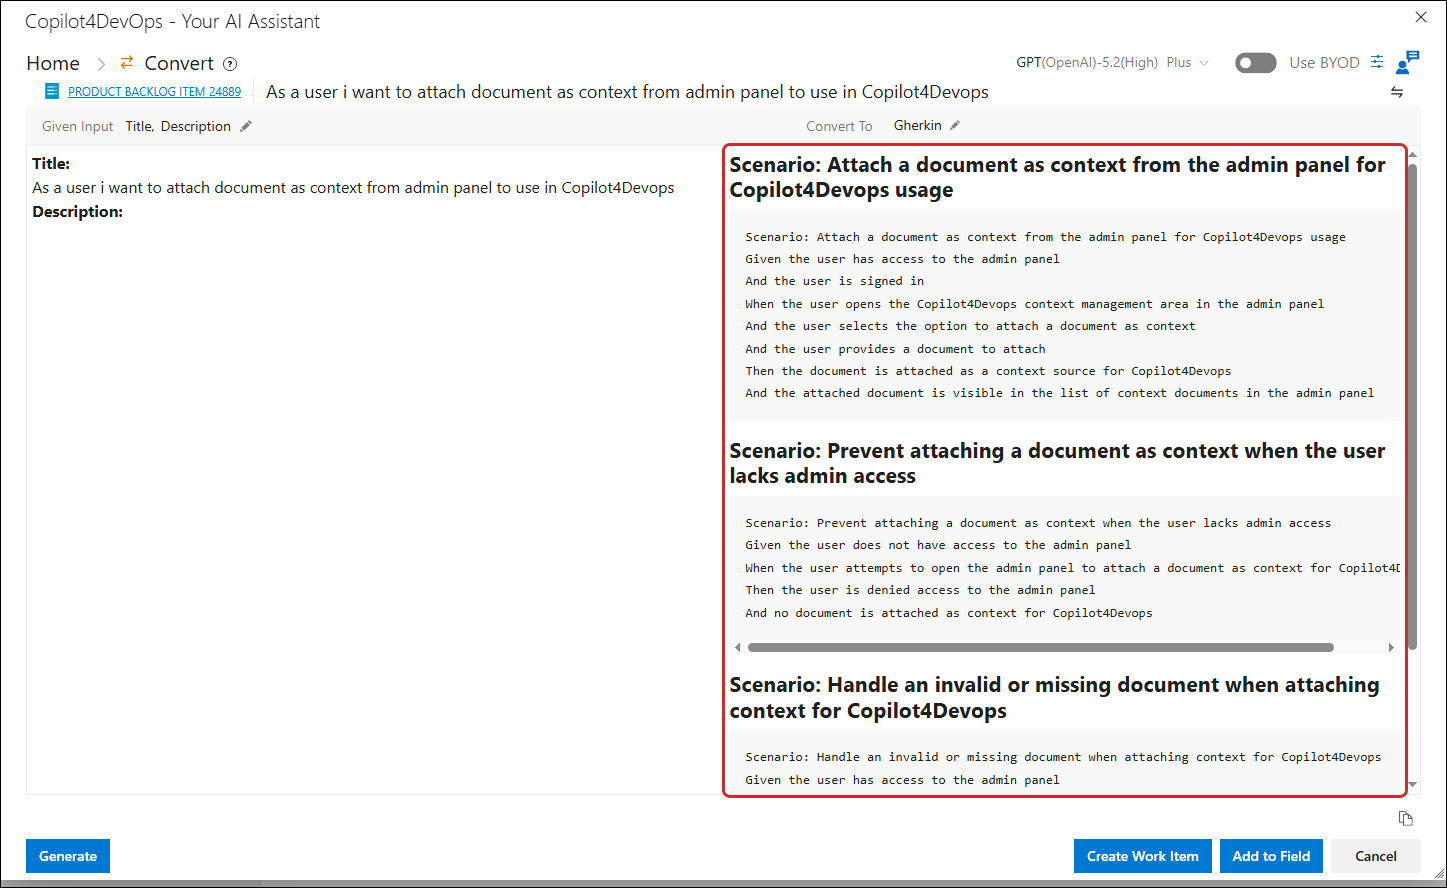
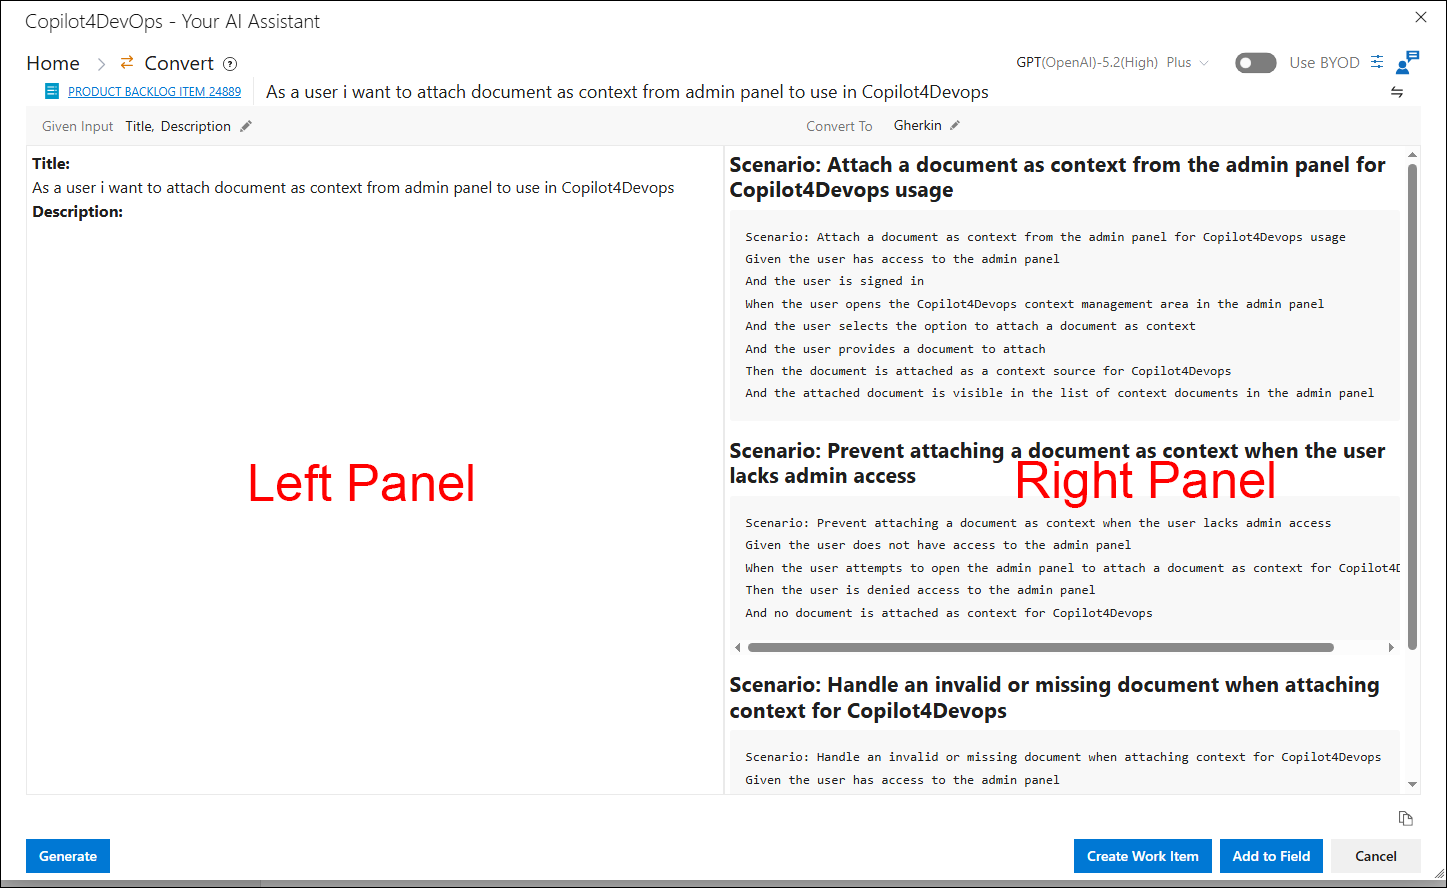
The Convert window is divided into two sections, the left panel and right panel.
a. Left Panel: Data of the selected work item field is displayed here.
- If a selected work item field contains embedded images, those images are processed as part of the conversion and rendered inline within the panel.
b. Right Panel: The data of the selected work item is converted and is displayed here.
12. Click on the Create work item button, a pop-up is opened, containing the Work item type, Work item field, and Link with existing work item dropdown.
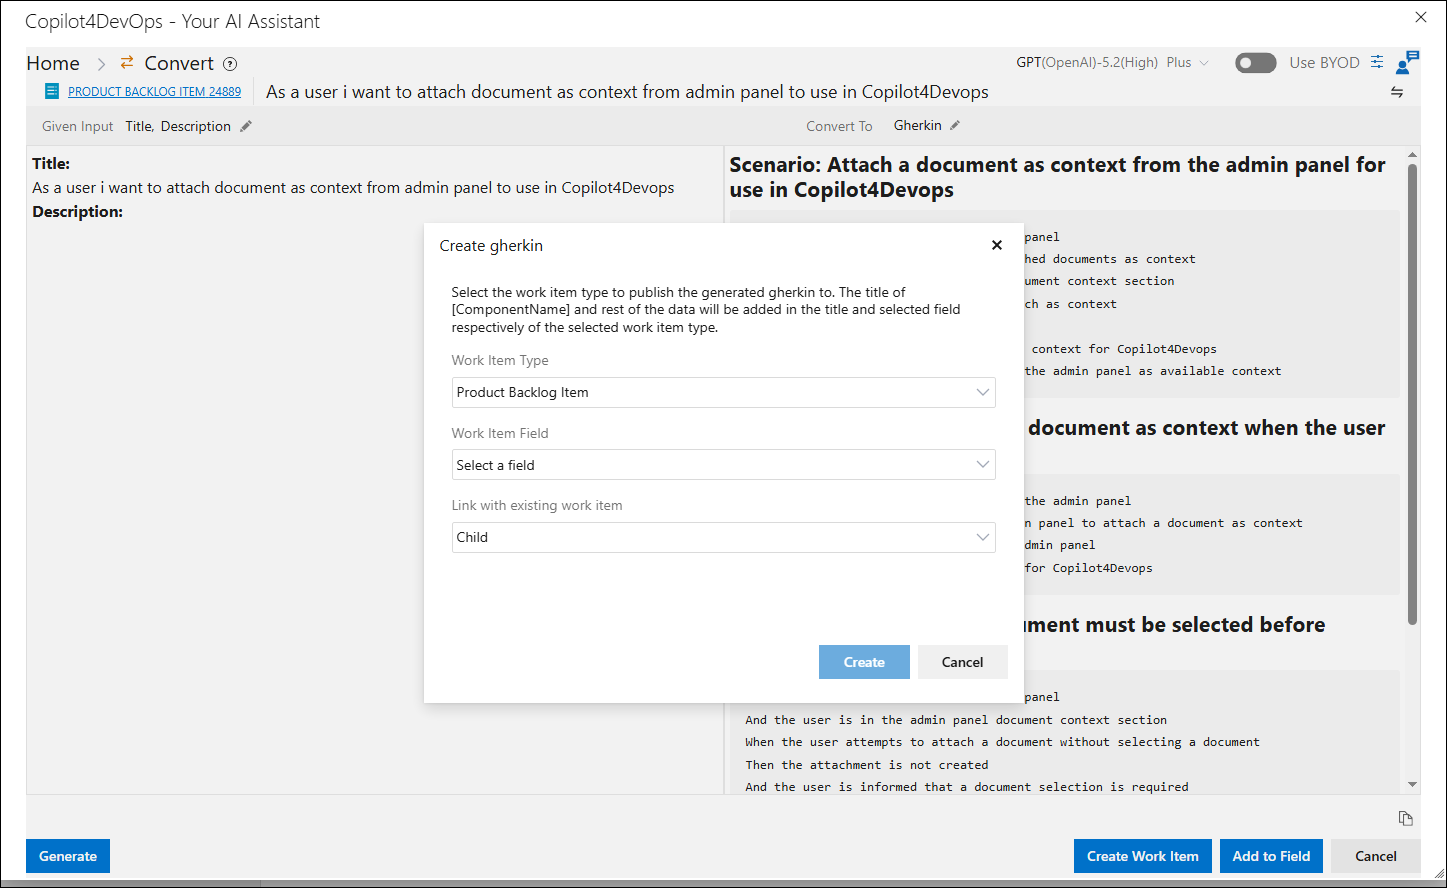
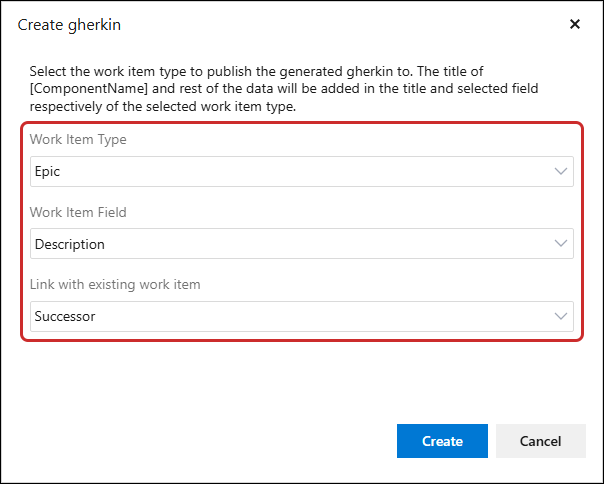
13. Select the Work item type, Work item field, and Link with existing work item from the dropdown to create the new work item with the selected work item type and to add the generated result in the selected work item field and to link with the selected work item with the selected link type.
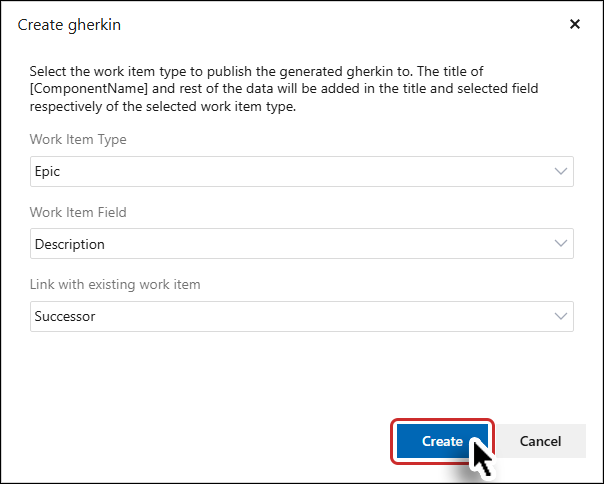
14. Click on the Create button. The work item is now created in the ADO project/team and the generated data is added in the selected field as it is.
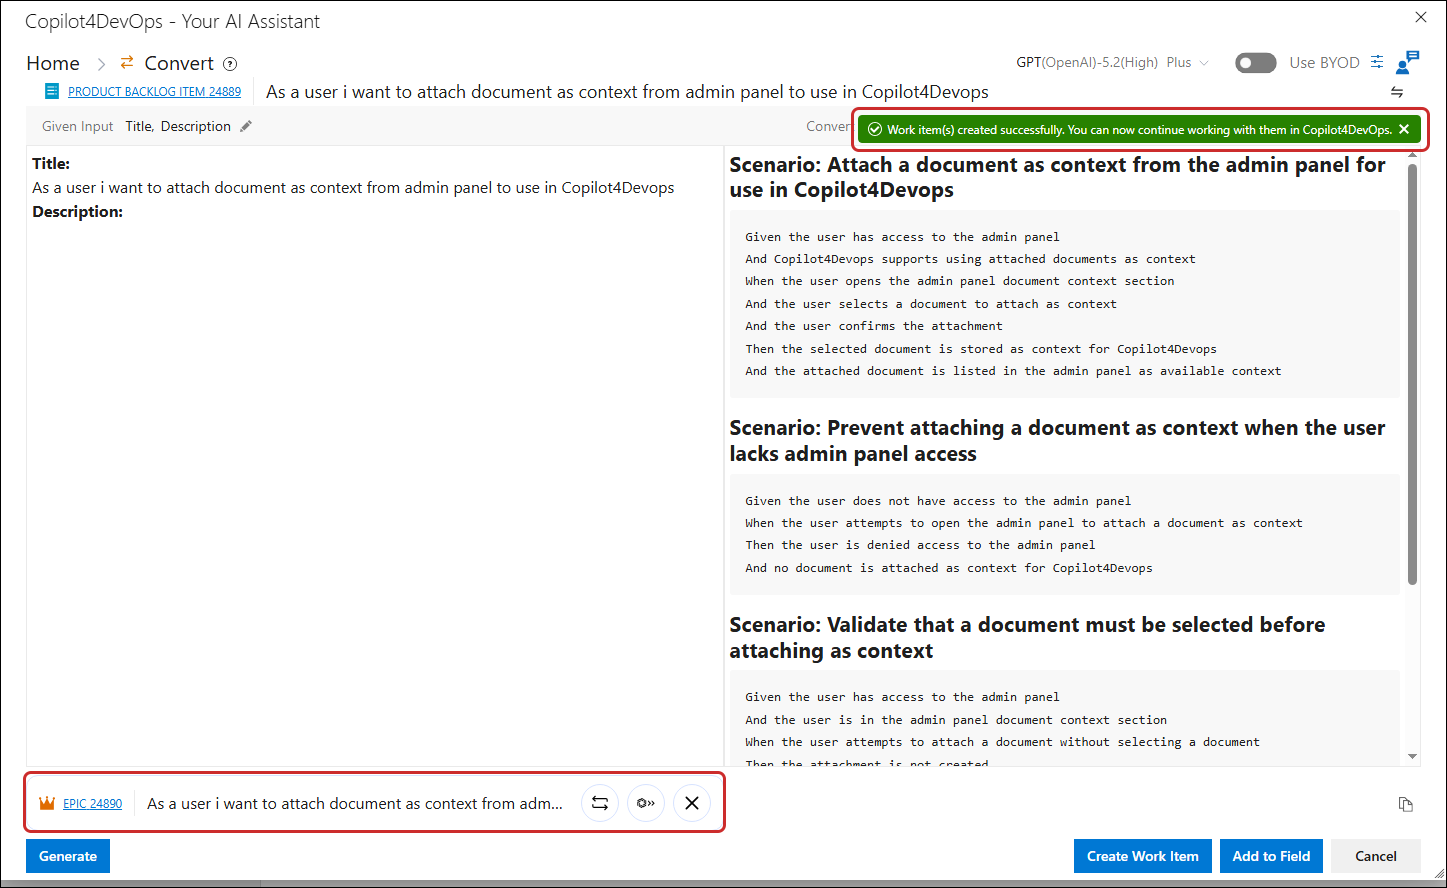
Note: When a work item is created from Copilot4DevOps, it automatically inherits both the Area Path and the Iteration Path of the parent (anchor) work item, keeping child items aligned with their parent's area and sprint and reducing manual effort during planning.
-
Before the work item is created, the system validates whether the current user has permission to create or edit work items in the inherited Area Path.
-
If the user has access, the work item is created successfully with the inherited Area Path and Iteration Path.
-
If the user does not have access to the inherited Area Path, the Work Item window opens so the user can change the Area Path before creating the work item.
15. You can open the newly created Work Item in the Azure DevOps editor using the hyperlink.
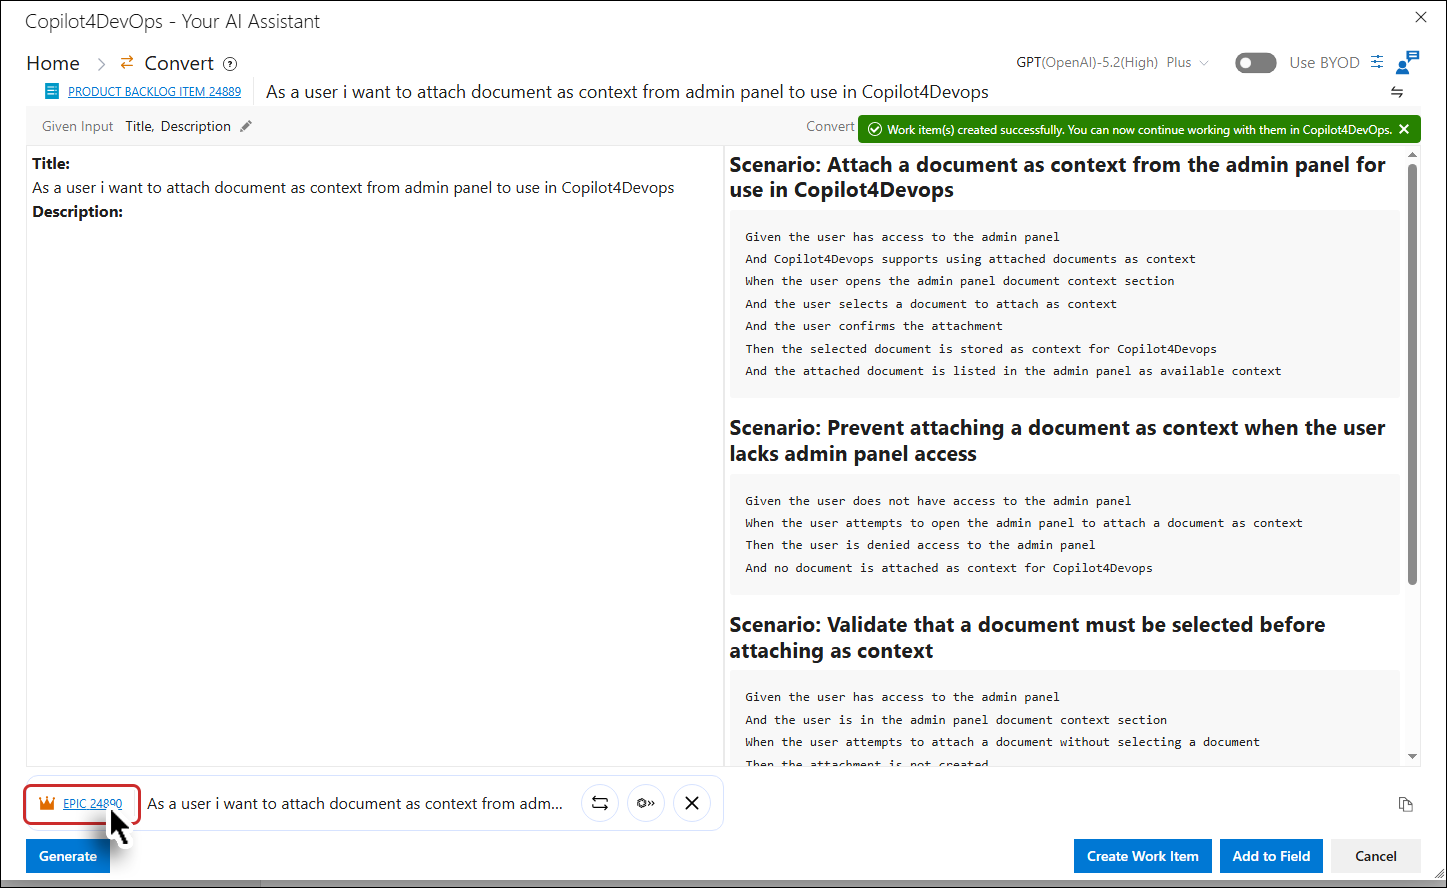
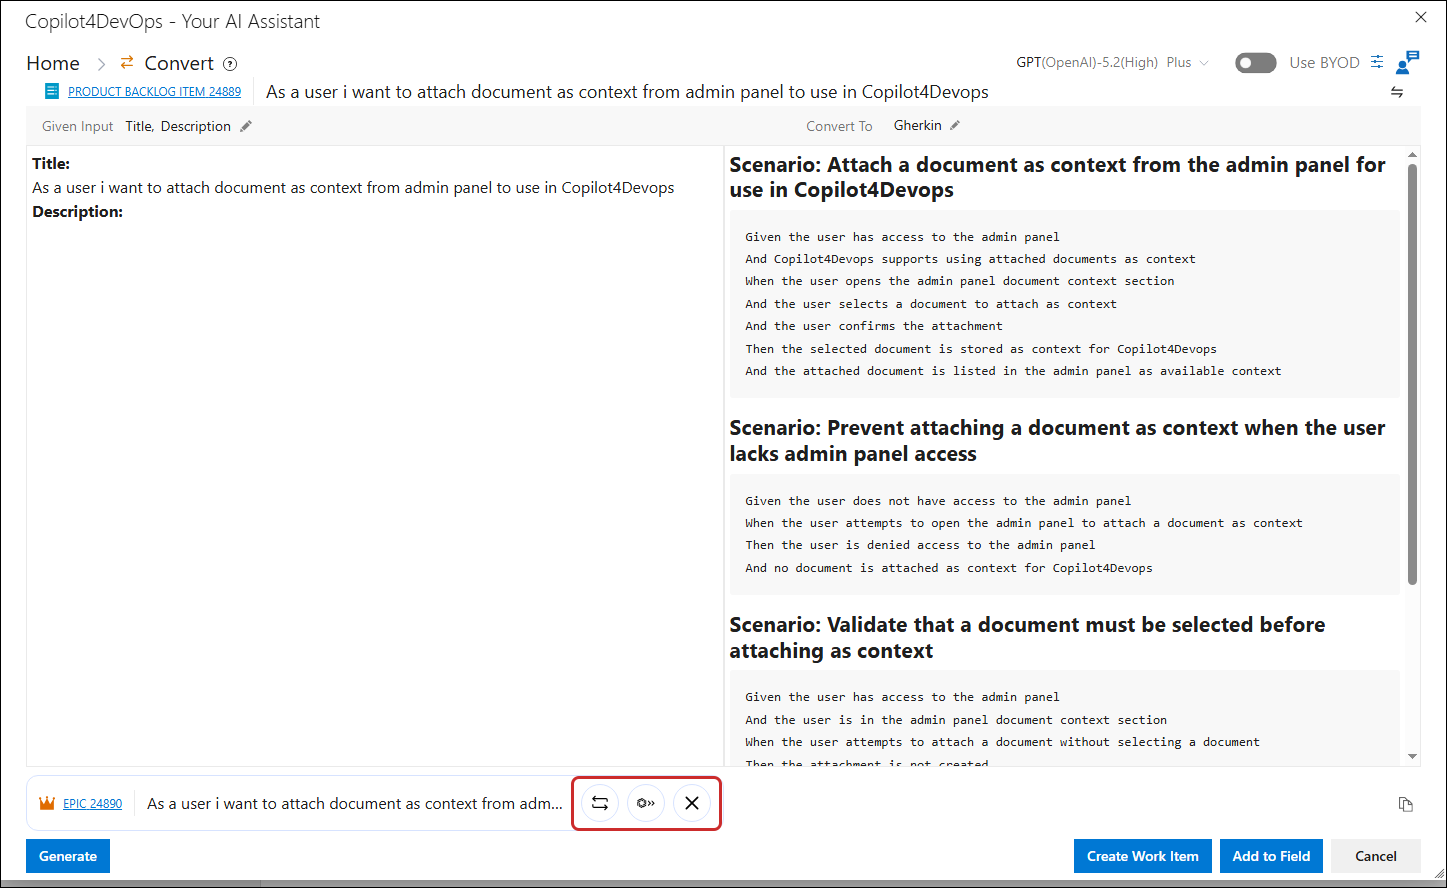
The newly created work item will be shown below with the following options:
• Switch work item: When selected, this option sets the work item as the anchor work item.
• Open in module: The user can open the newly created work item in any of the Copilot4DevOps modules.
• Cancel: Removes the work item from the panel.
16. Click on the Add to field button.
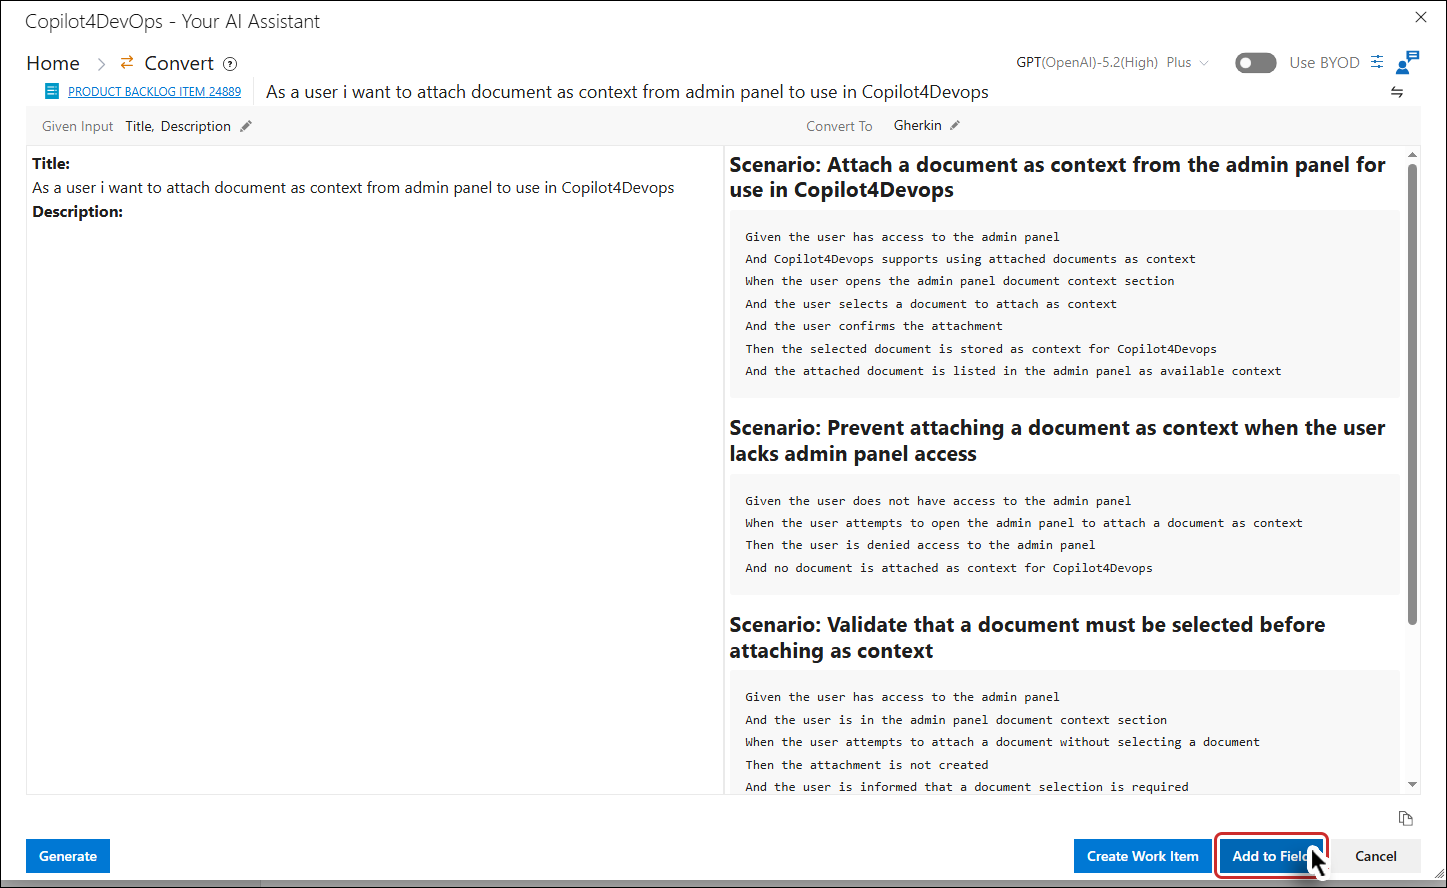
A popup is opened, containing a work item field dropdown to select the work item field from the dropdown to add the generated result.
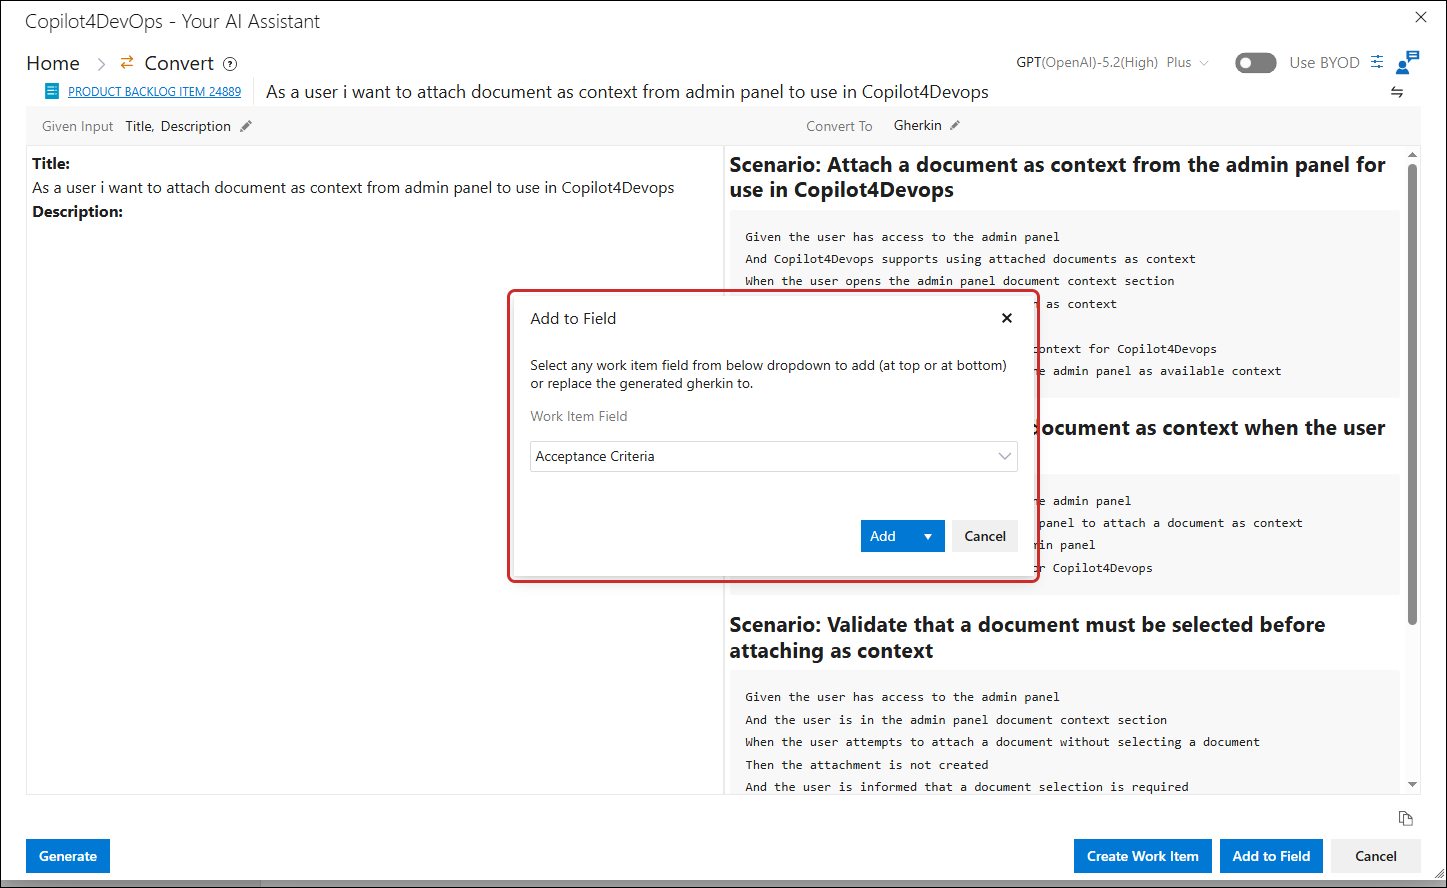
17. Select the relevant property where you want to add the converted data.
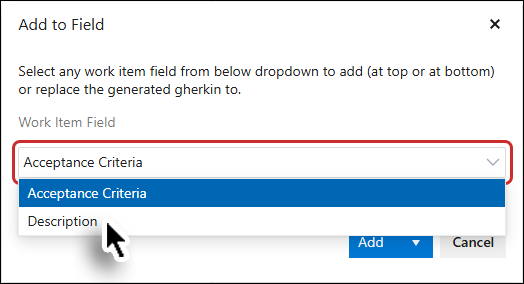
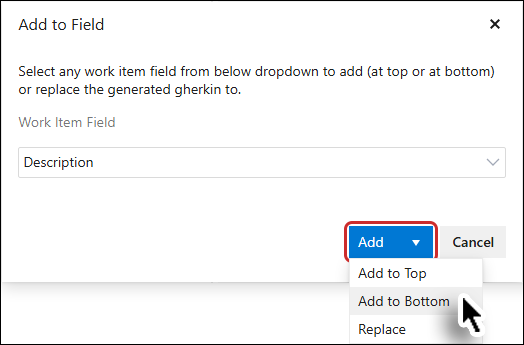
18. Click on the Add dropdown, to add (at the top or bottom) all the converted data or replace the original data under the selected work item field in the ADO Editor window.
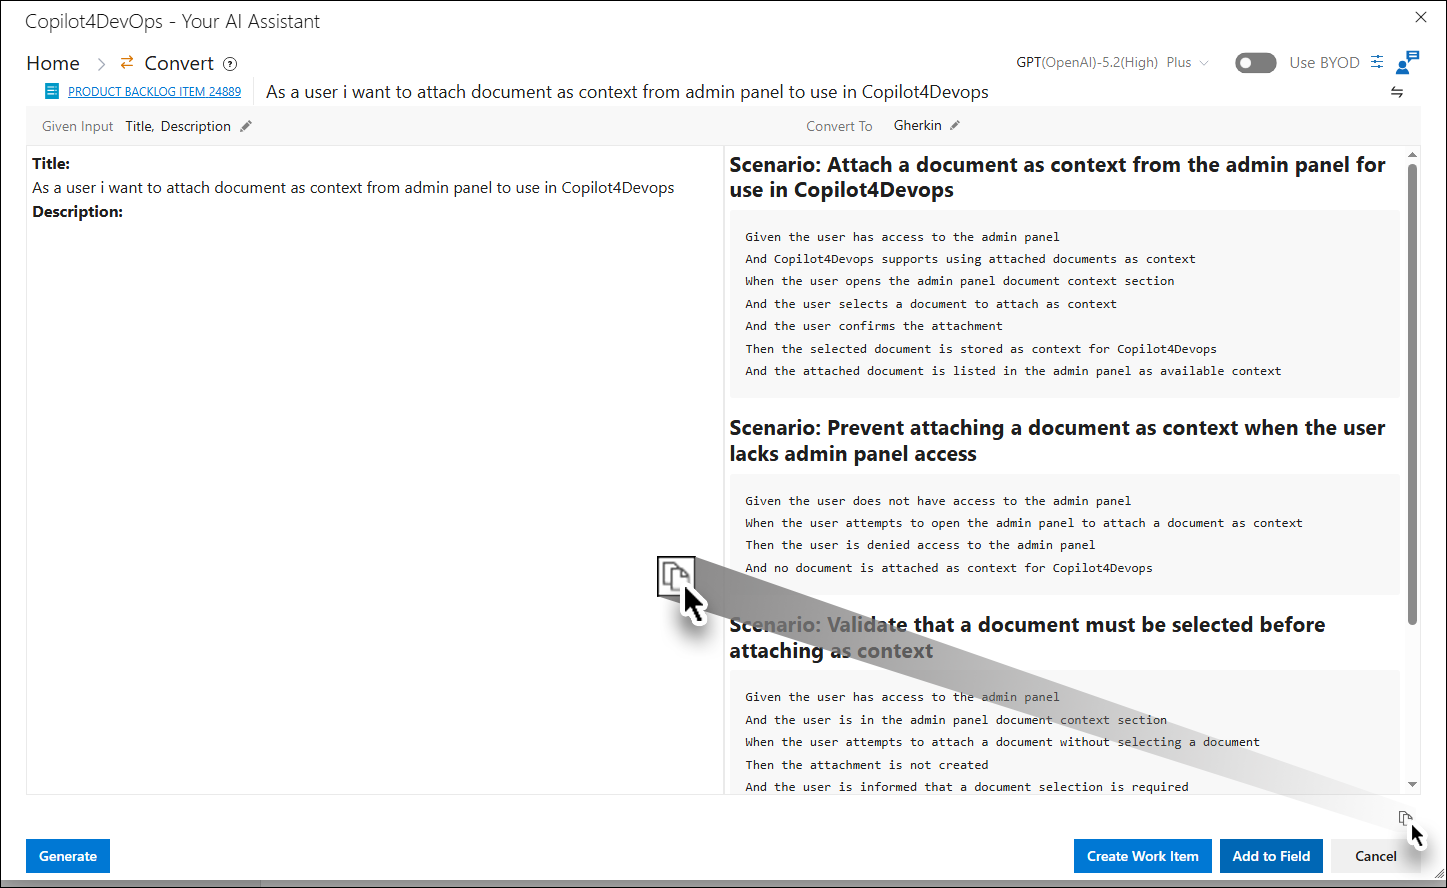
19. Click on the Copy ‘ ’ option to copy the generated result.
20. Click the Cancel button to close the Convert module.