Dynamic Prompt
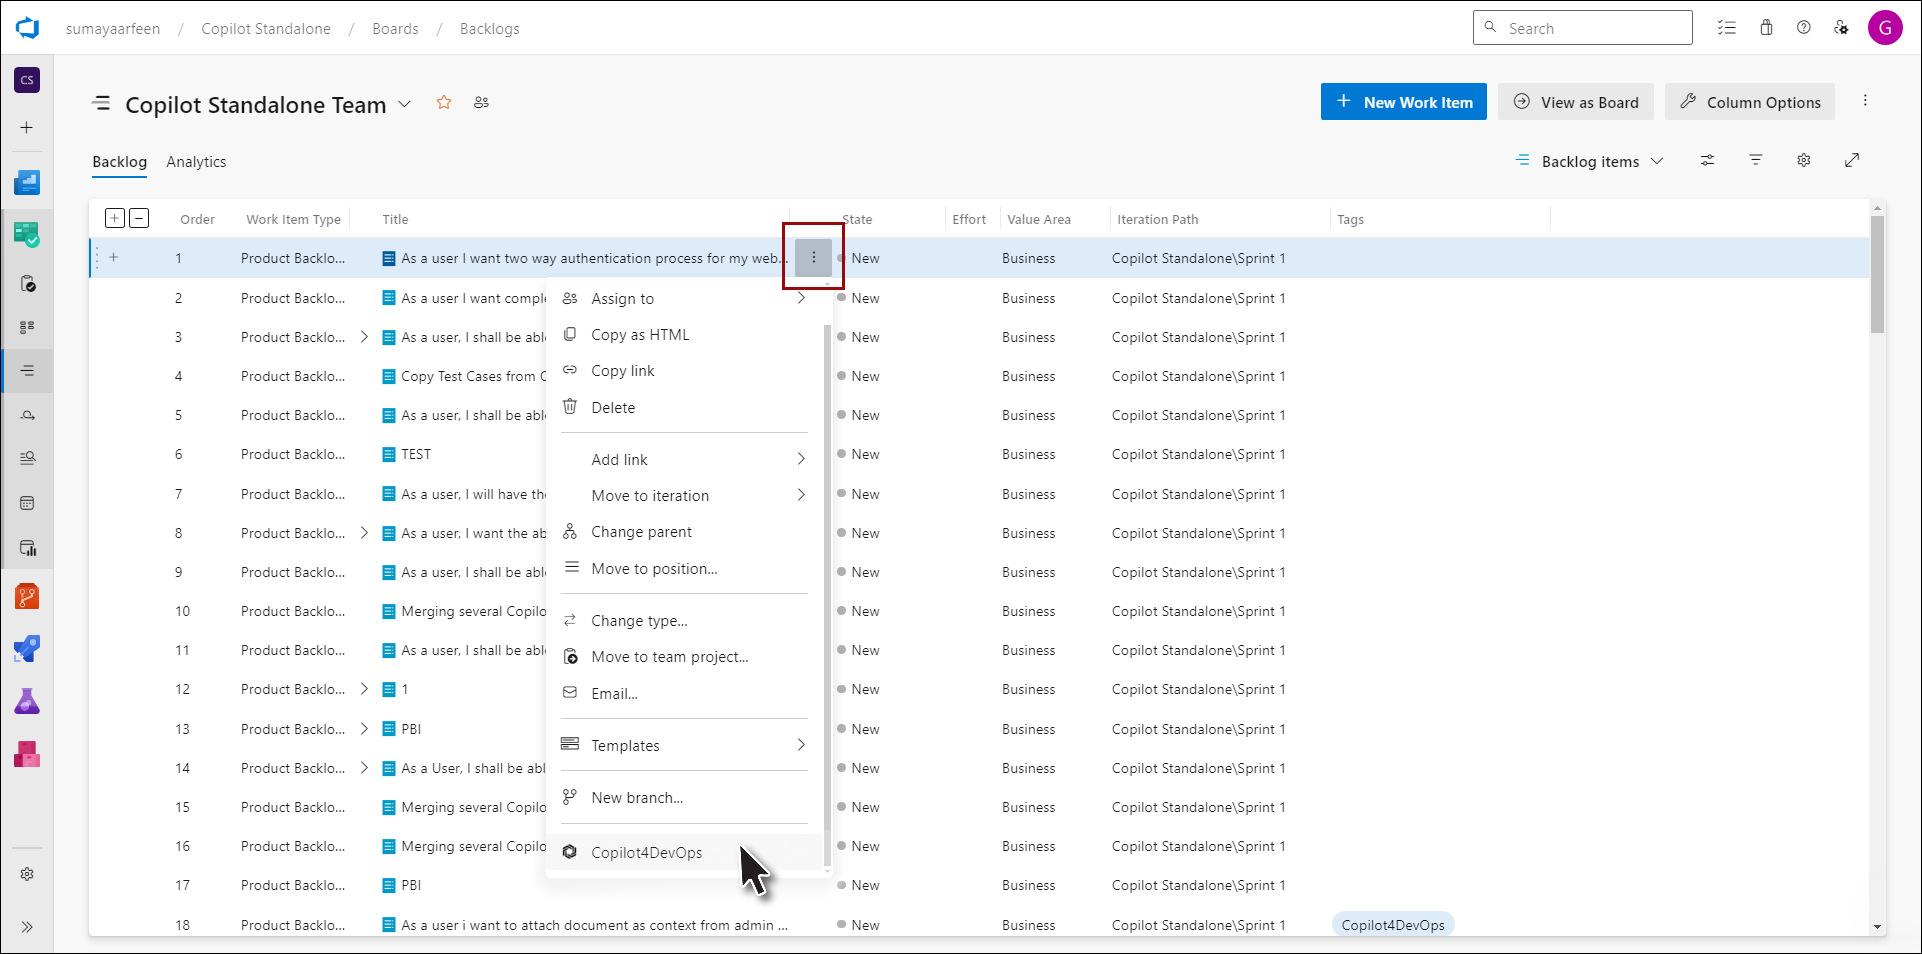
1. Click on the Copilot4DevOps option from the context menu of any work item from the Queries and Backlog.
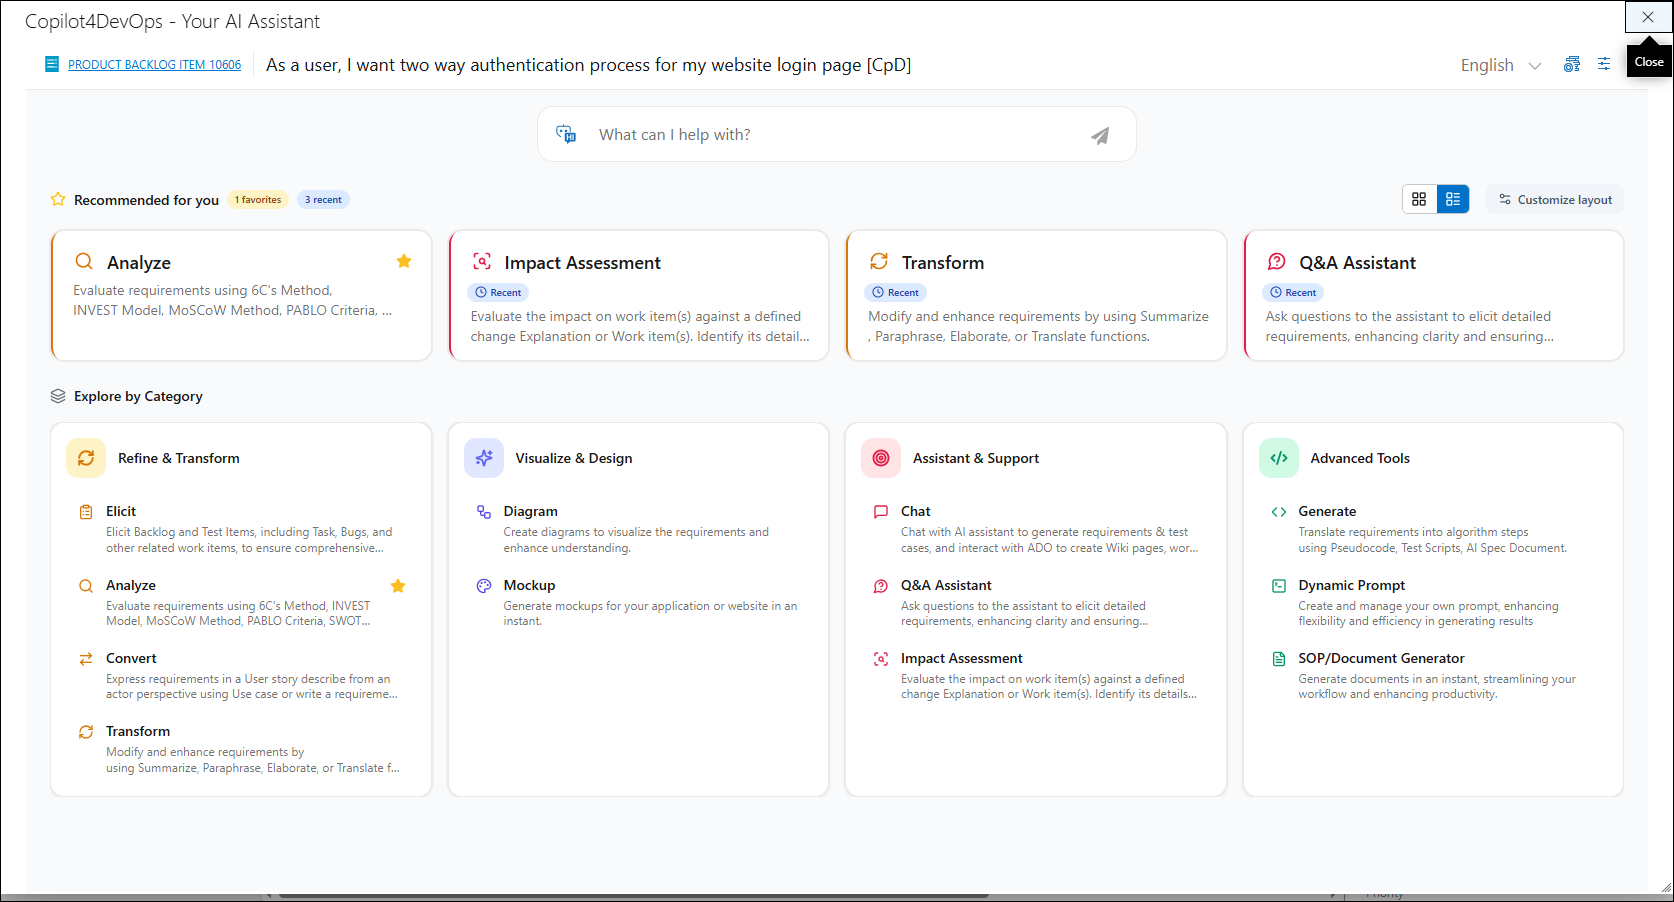
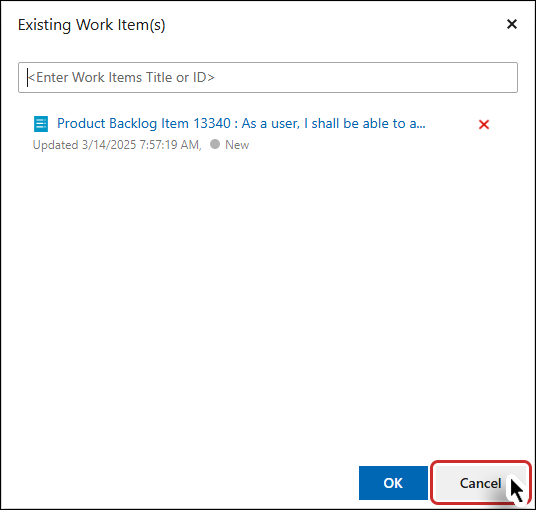
2. Copilot4DevOps pop-up appears.
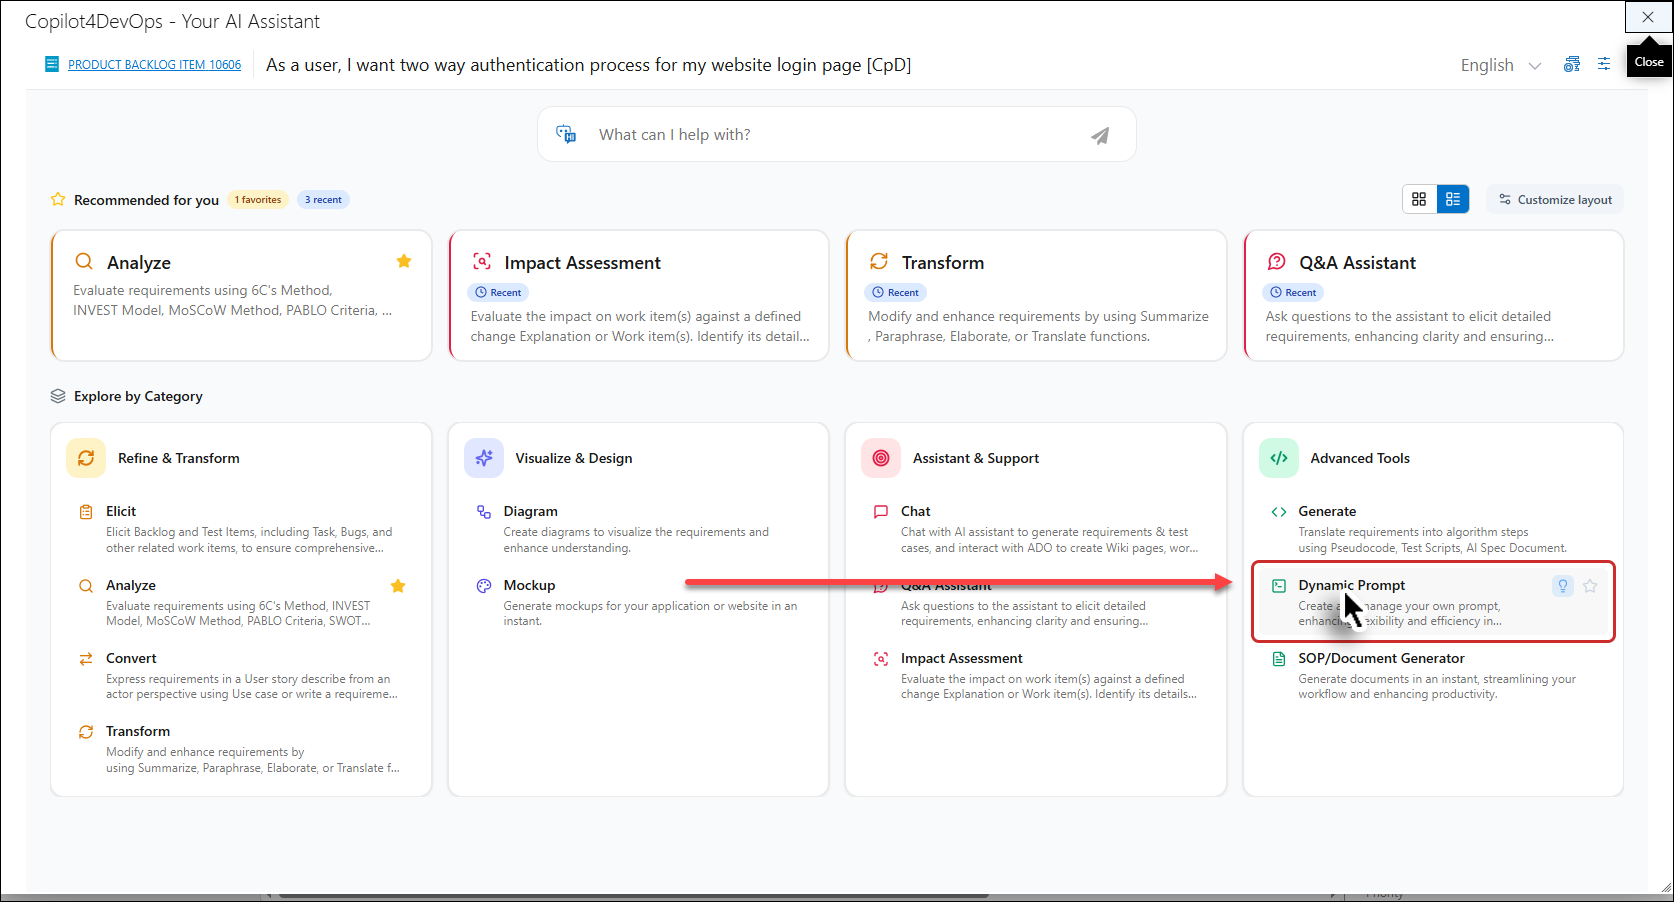
3. Click on the Dynamic Prompt function shown on the Copilot4DevOps popup.
4. Dynamic Prompt popup opens.
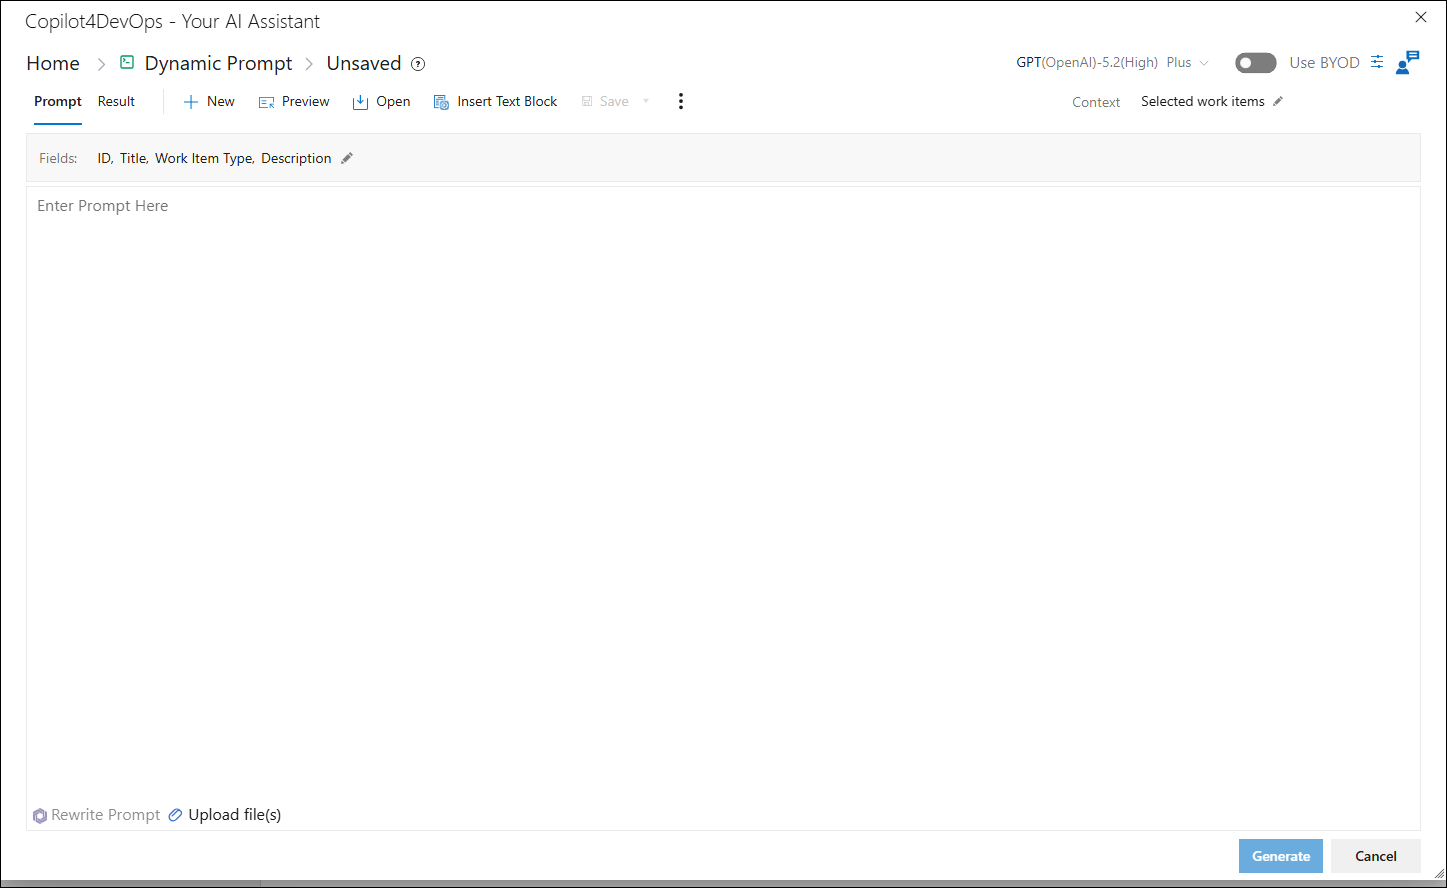
5. Other functions can be accessed that are a part of Copilot4DevOps pop-up from this breadcrumb dropdown.
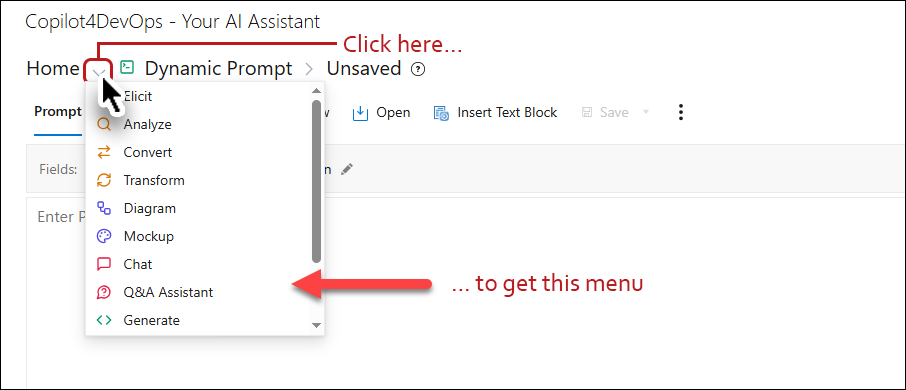
6. When user click on the help icon showing with the breadcrumb, the right panel will open, displaying the help content related to the currently open function.
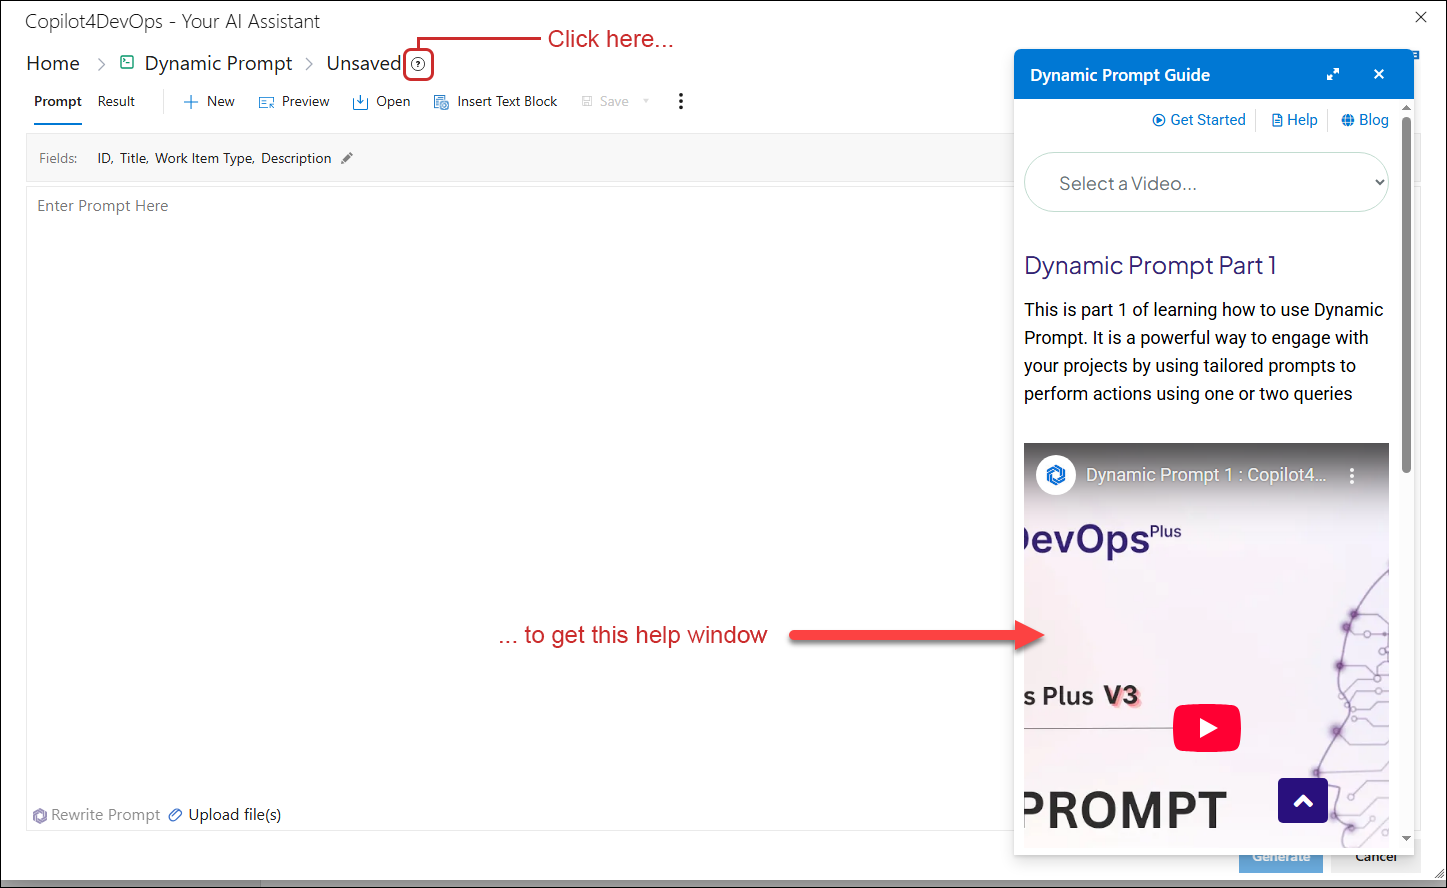
Dynamic Prompt Menu options
|
Prompt Tab |
Used to provide/generate a prompt |
|
|
|
Result Tab |
Used to show/copy the results after it has been generated |
|
|
New |
Used to create a new prompt |
|
|
Preview |
Used to preview the projected result of the prompt |
|
|
Open |
Used to Open existing prompts |
|
|
Insert Text Block |
Used to insert a text block in the prompt |
|
|
Save |
Used to save a prompt (that can be retrieved later, whenever desired) |
|
|
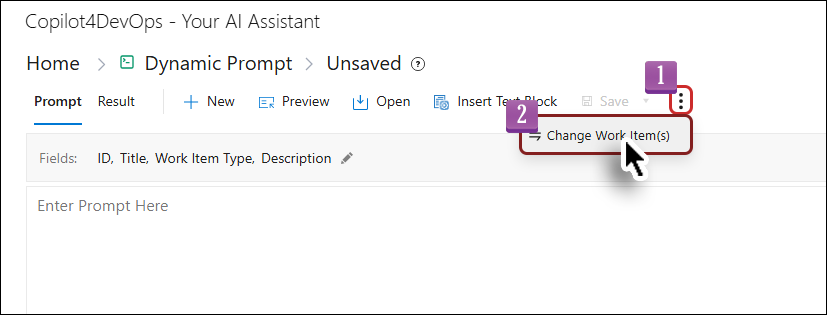
Context Menu |
Used to change the selected Work Item(s) |


7. There are two tabs Prompt and Result.
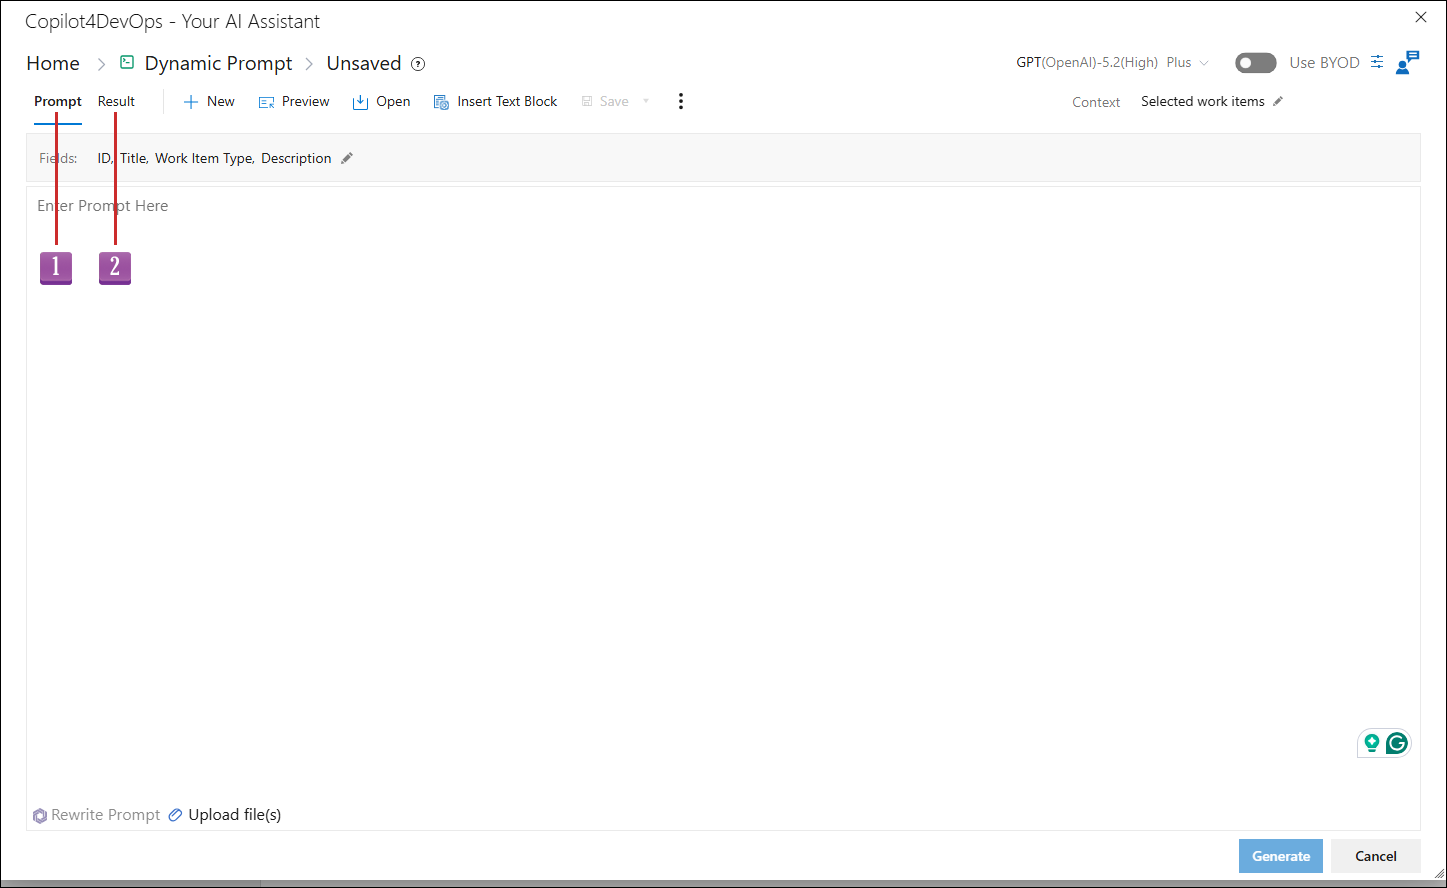
8. When Prompt tab is selected, the Context dropdown control becomes visible, having values Selected work items and Query.
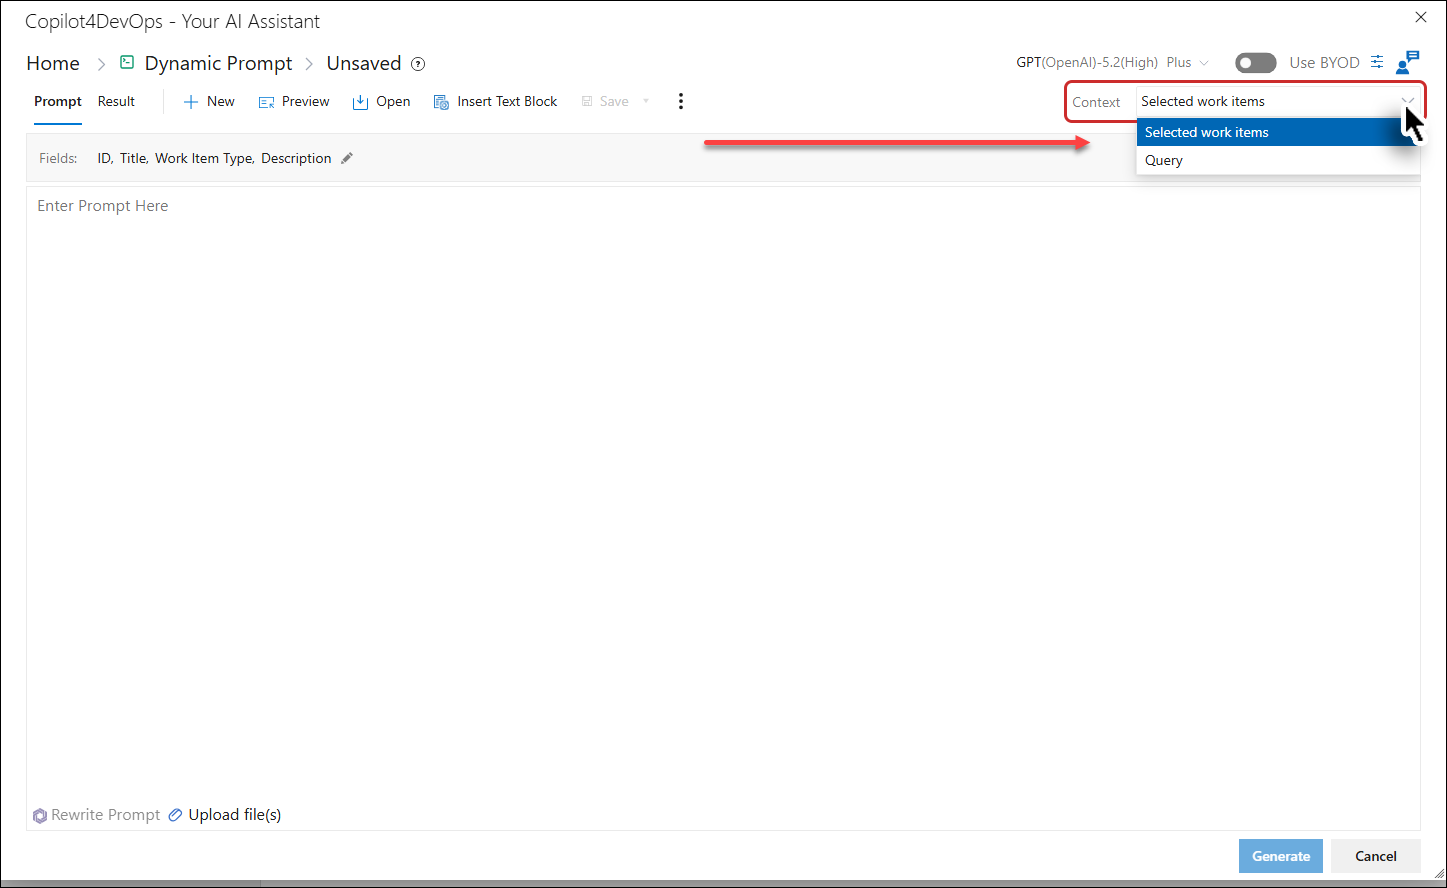
9. If the user selects Query as the context, they can choose the desired Query 1 and Query 2, along with their corresponding Fields from the dropdown. Note that Query 2 is optional.
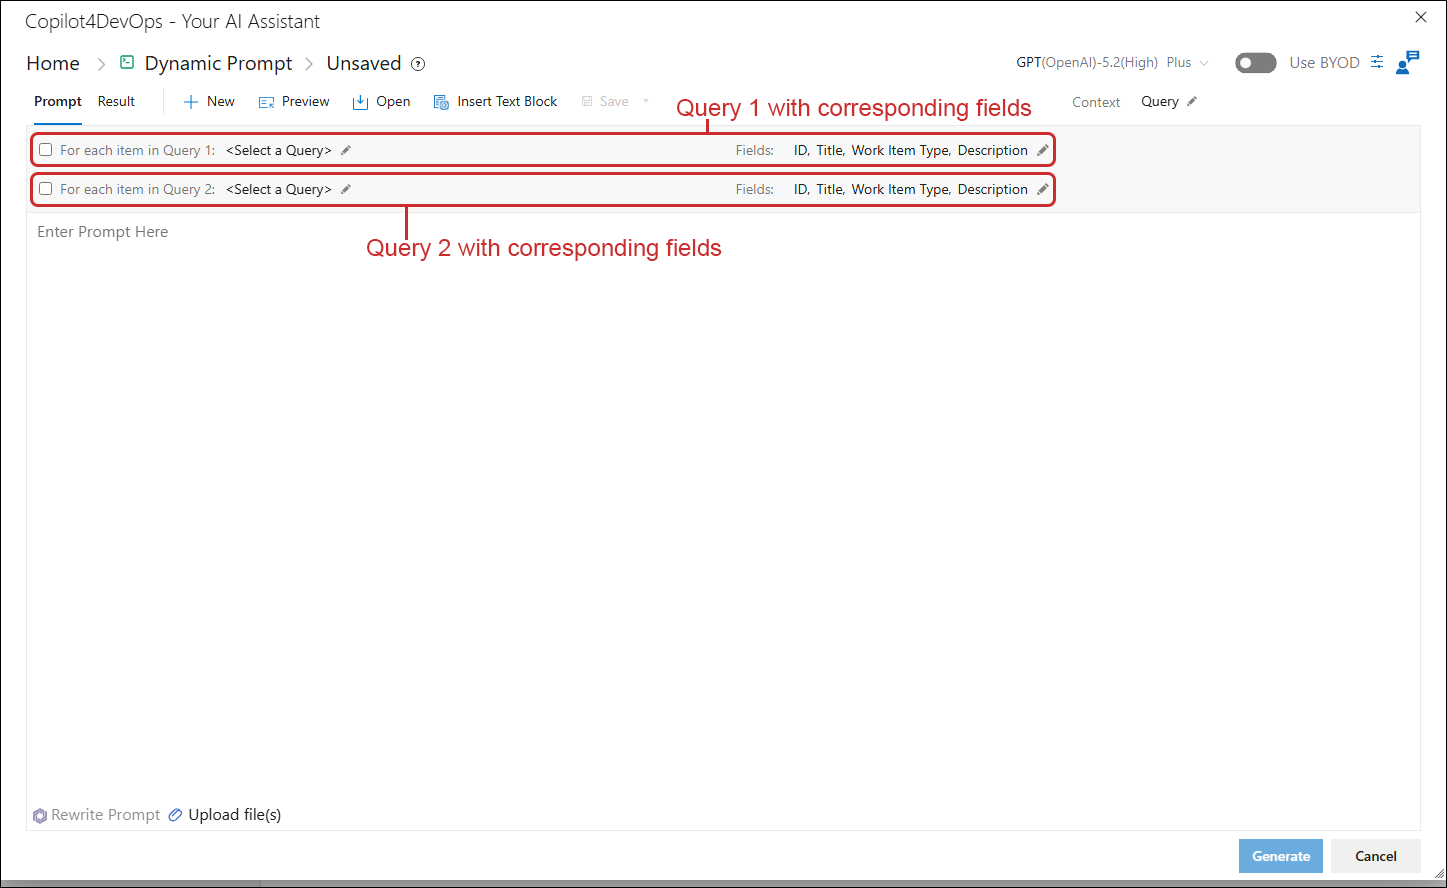
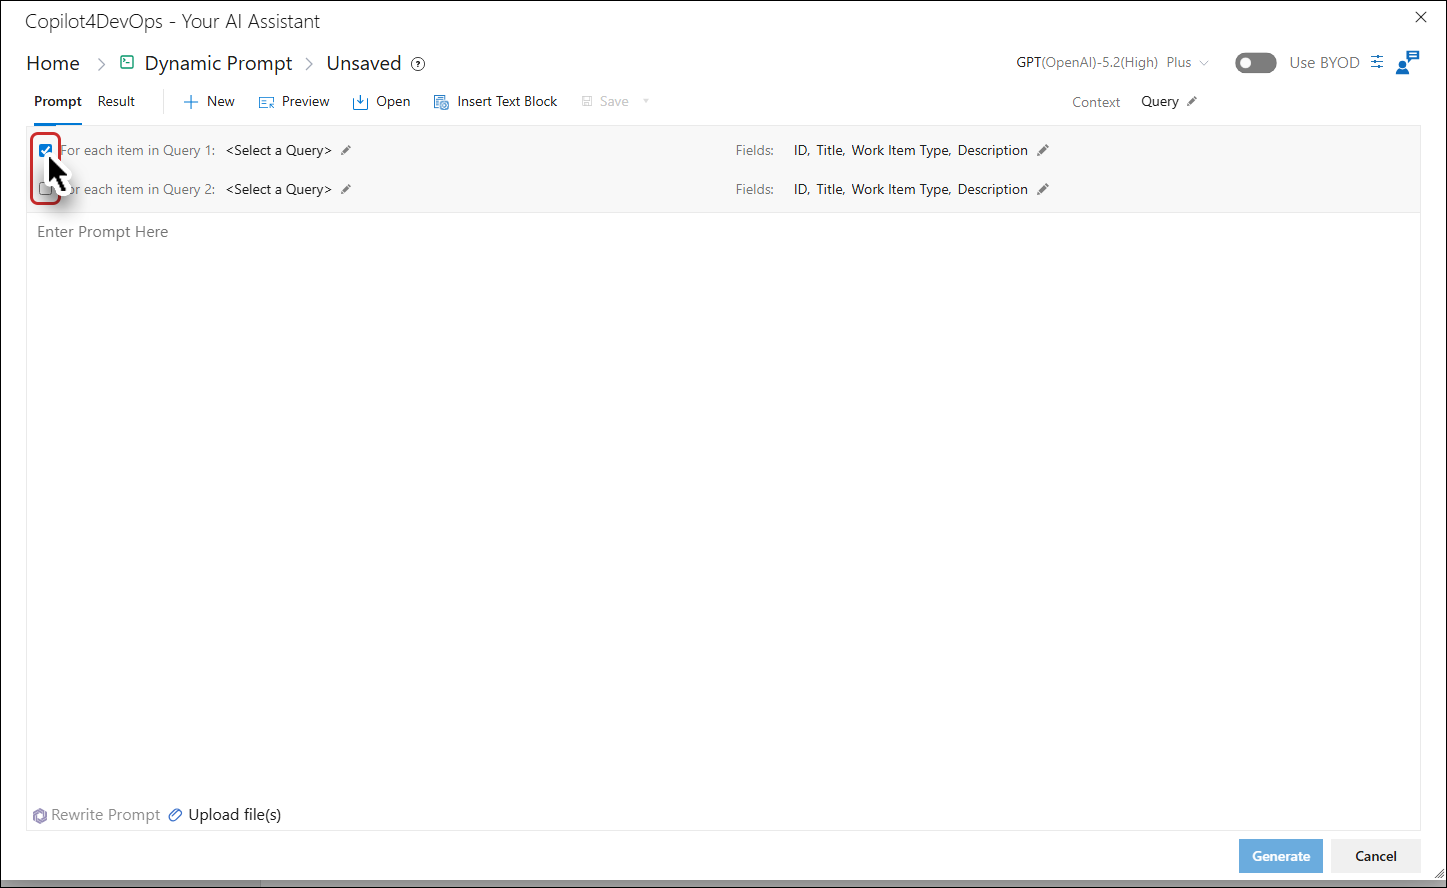
10. User can check the For each item in checkbox for either Query 1 or Query 2, or both, if processing one work item at a time is necessary.
11. If the user selects Selected Work Items as the context, they can then choose the Fields associated with the selected work item.
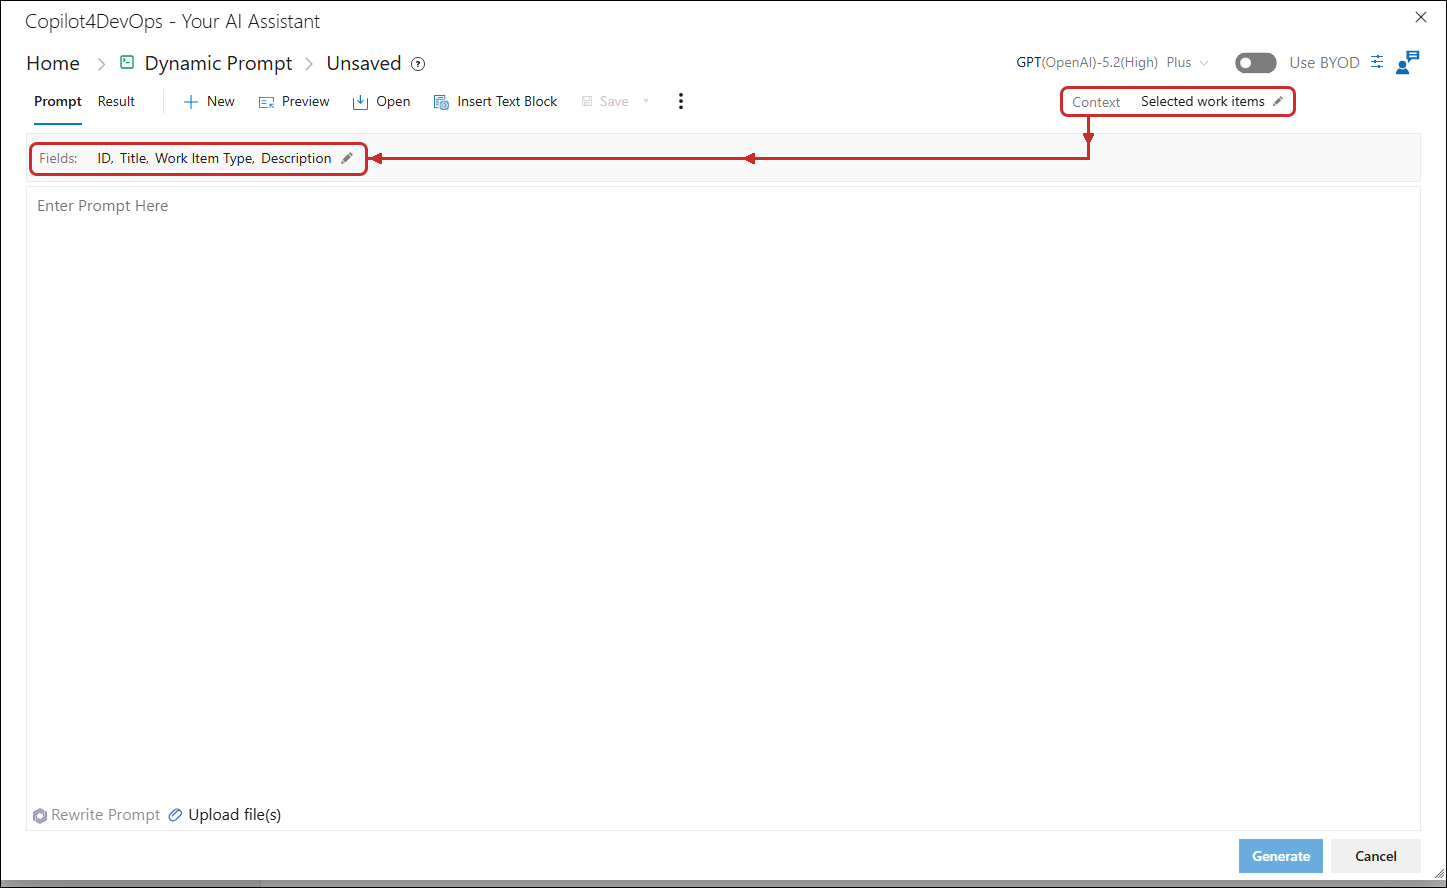
Changing the Work Item
1. Click the context menu ‘ ’ icon and select the Change Work Items(s) option.
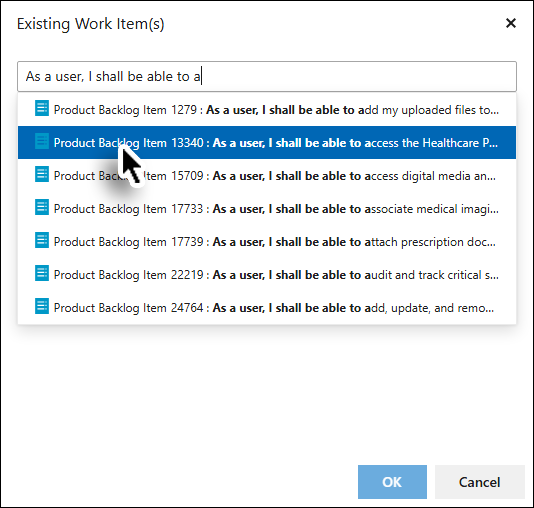
The Existing work item(s) popup is displayed.
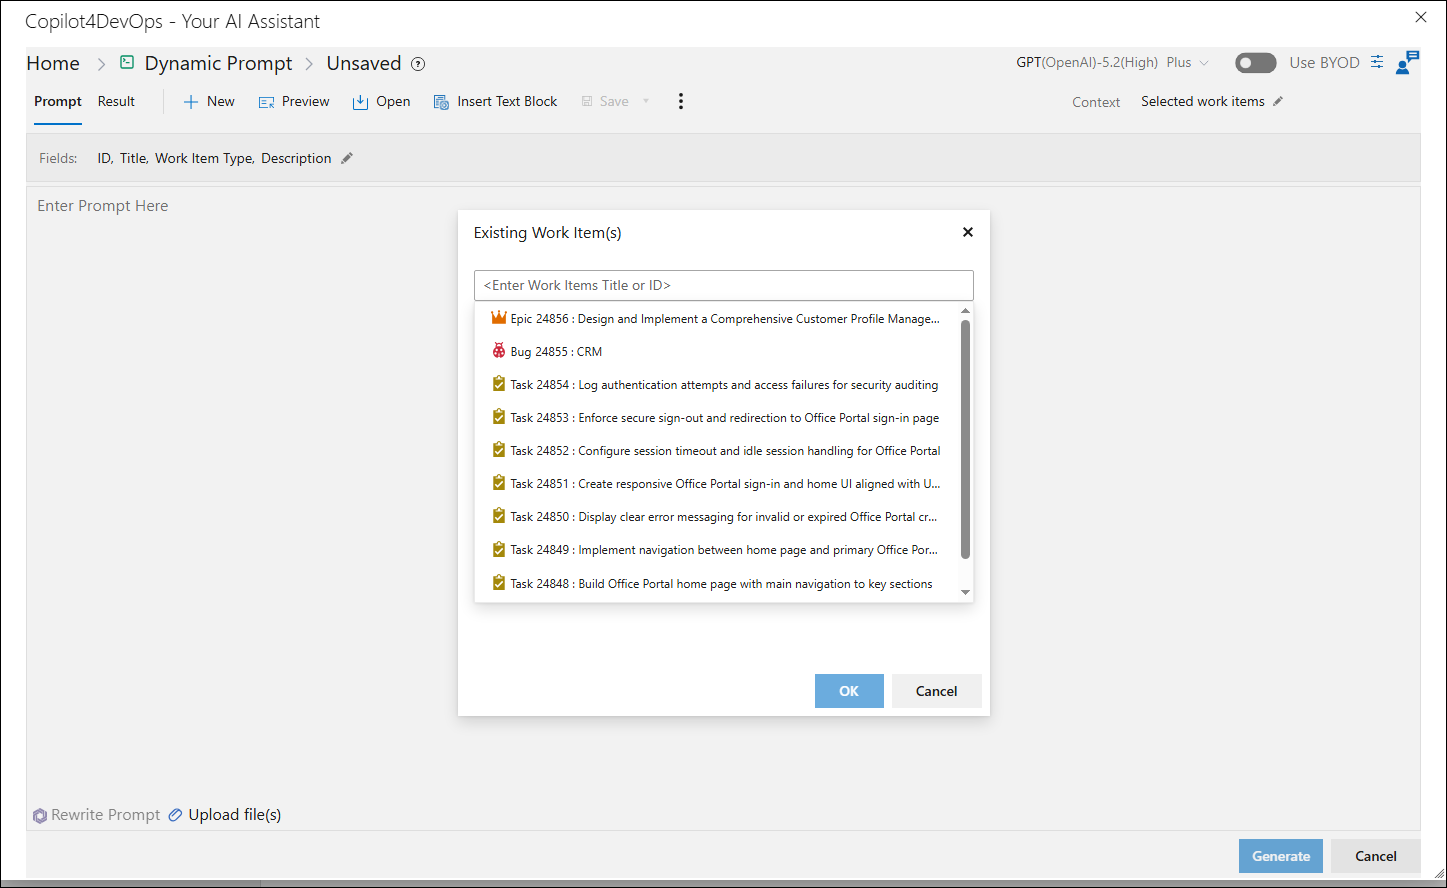
We can search the desired Work Item using ID and Title.
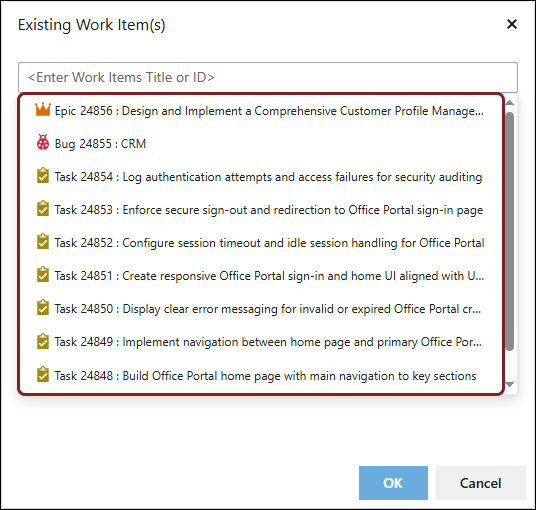
2. Select the desired Work Item(s).
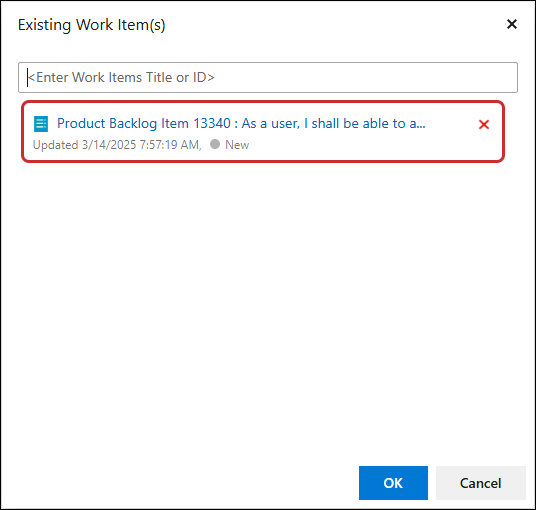
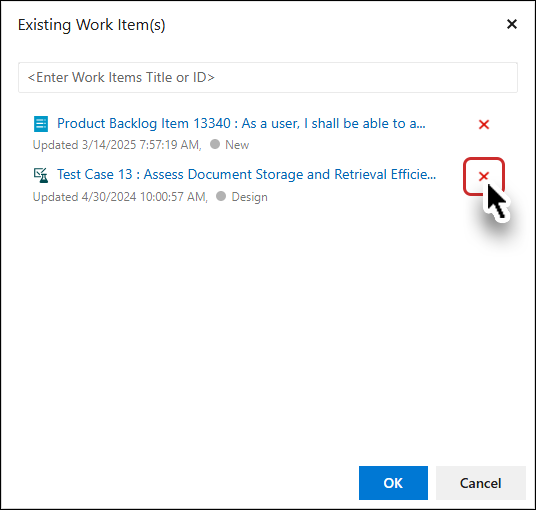
3. Remove the undesired Work Item by clicking the ‘x’ button.
4. Click the OK button after selecting at least one work item.
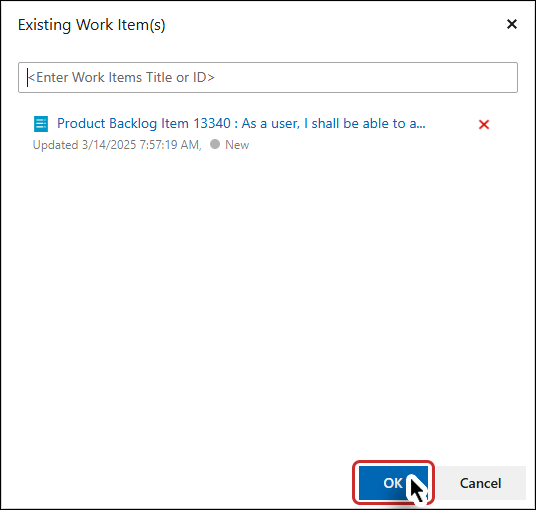
It will update the details in the Transform function pop-up and home page of Copilot4DevOps with selected work item as the anchor for all functions.
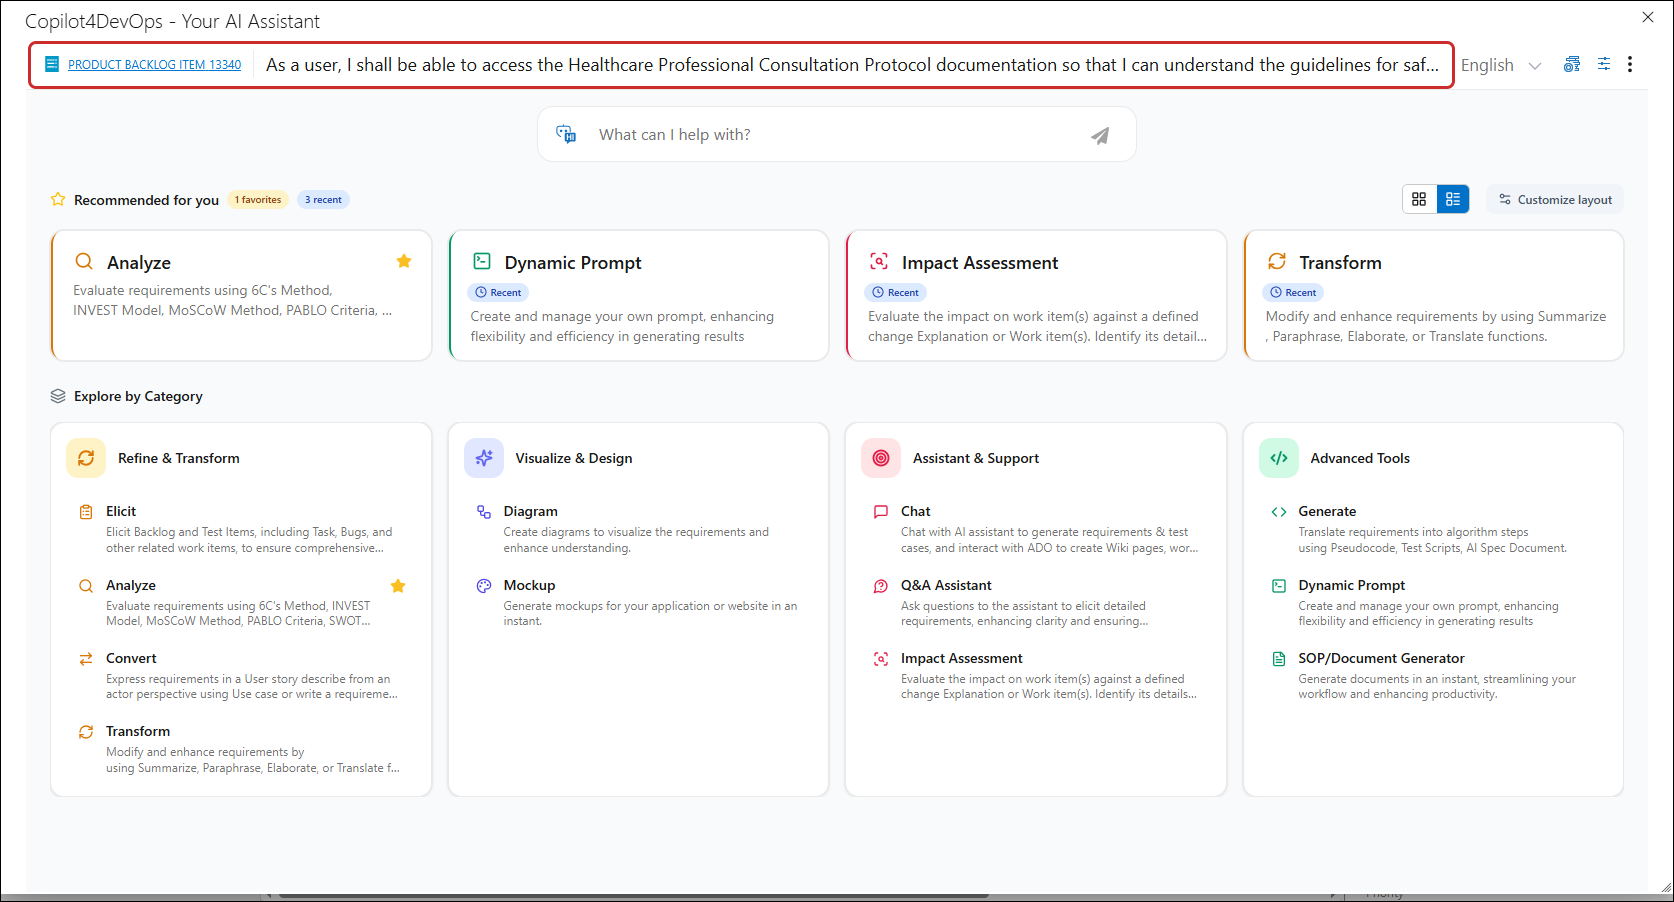
5. Click on Cancel button to close pop-up without saving changes.
Note: Images embedded within the work item's HTML fields (such as Description, Acceptance Criteria, Repro Steps, and Comments) are detected and processed during AI operations. Image references are preserved throughout the operation.
Selecting Multiple Work Items
12. The user can multi-select work items and invoke Copilot4DevOps – Dynamic Prompt. By default, the context will be set to Selected Work Items, allowing the user to choose Fields from multiple work items and perform the desired task.
.png)
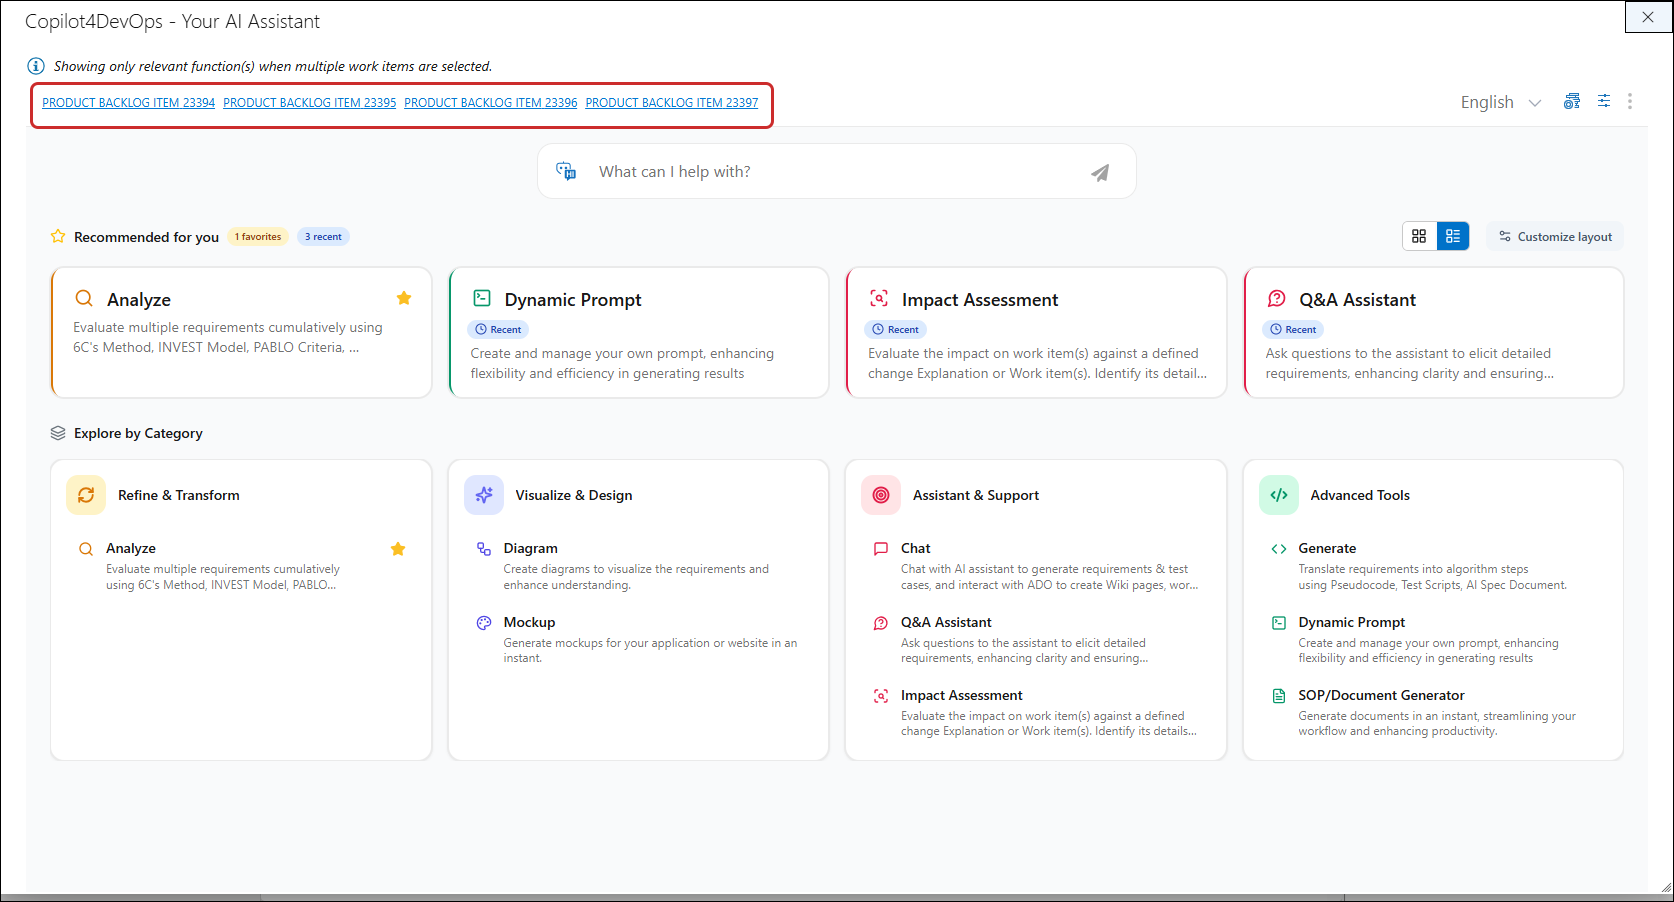
Dynamic Prompt using selected Work Items
13. Make sue that Selected Work Items is the opion selected in the Context dropdown control.
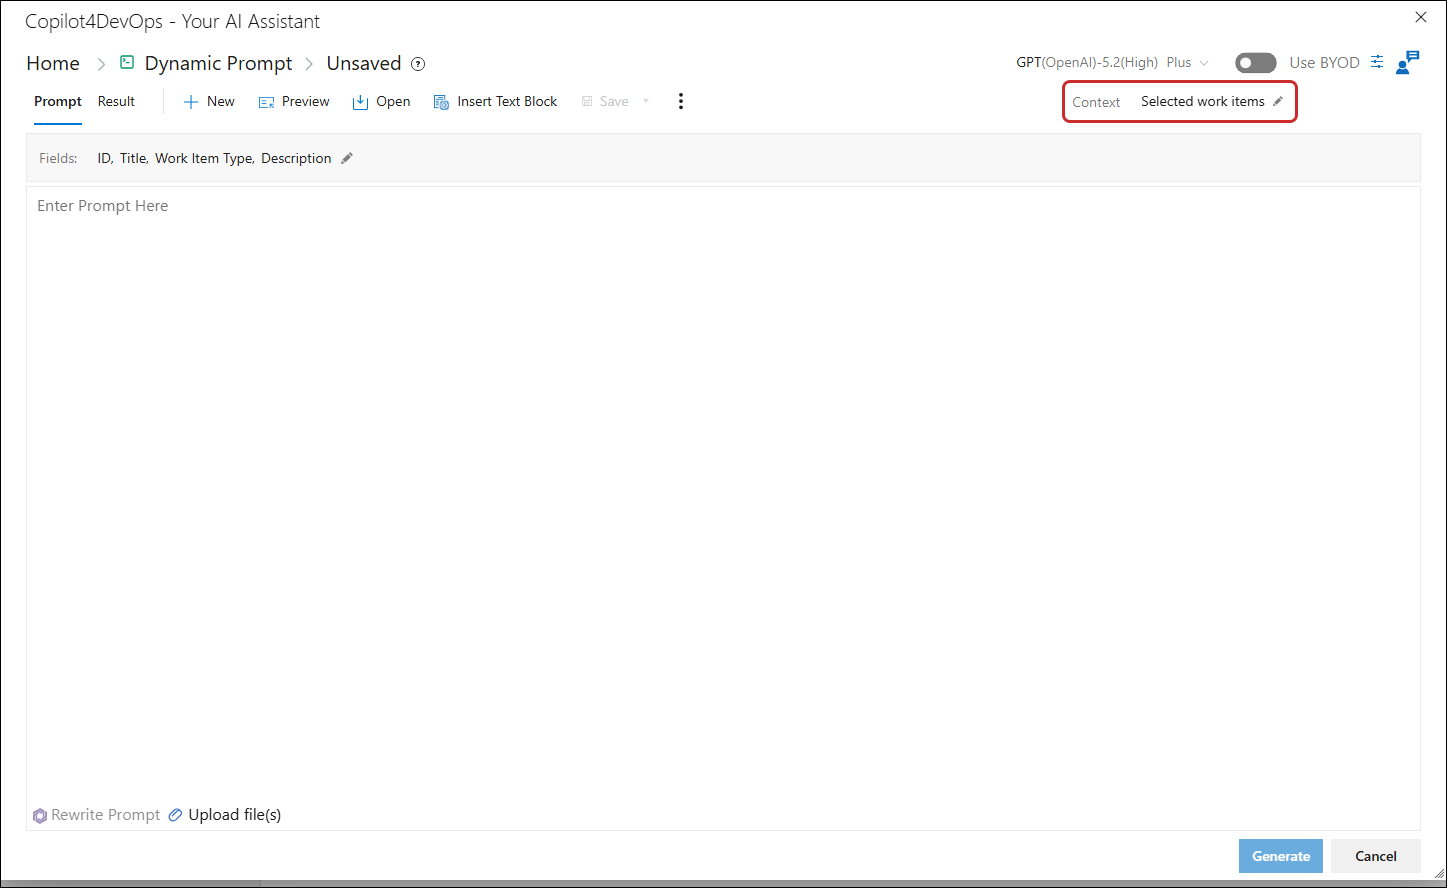
14. Enter a multi-line dynamic prompt in the input area below.
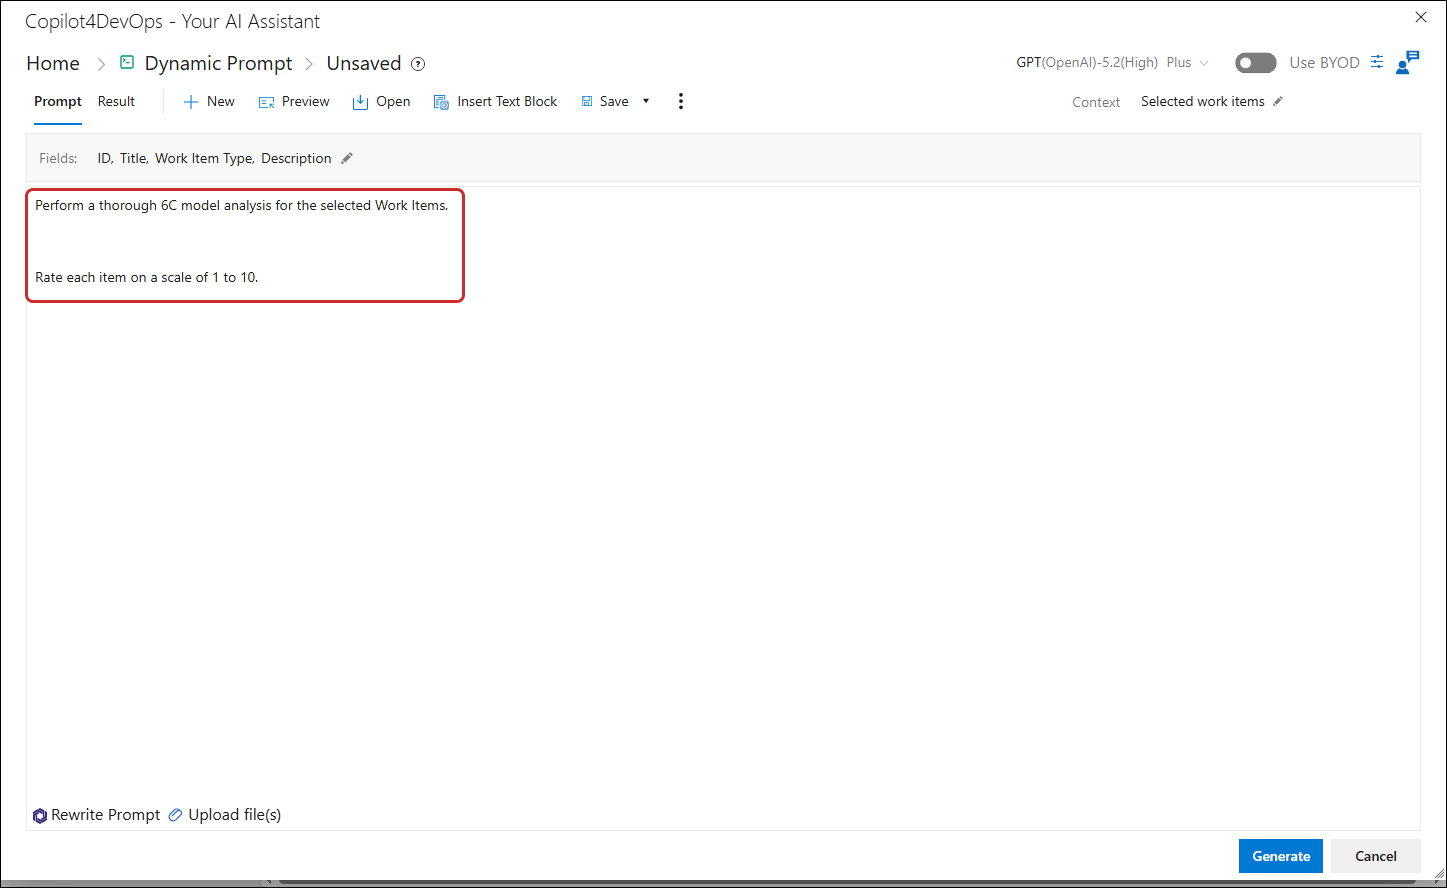
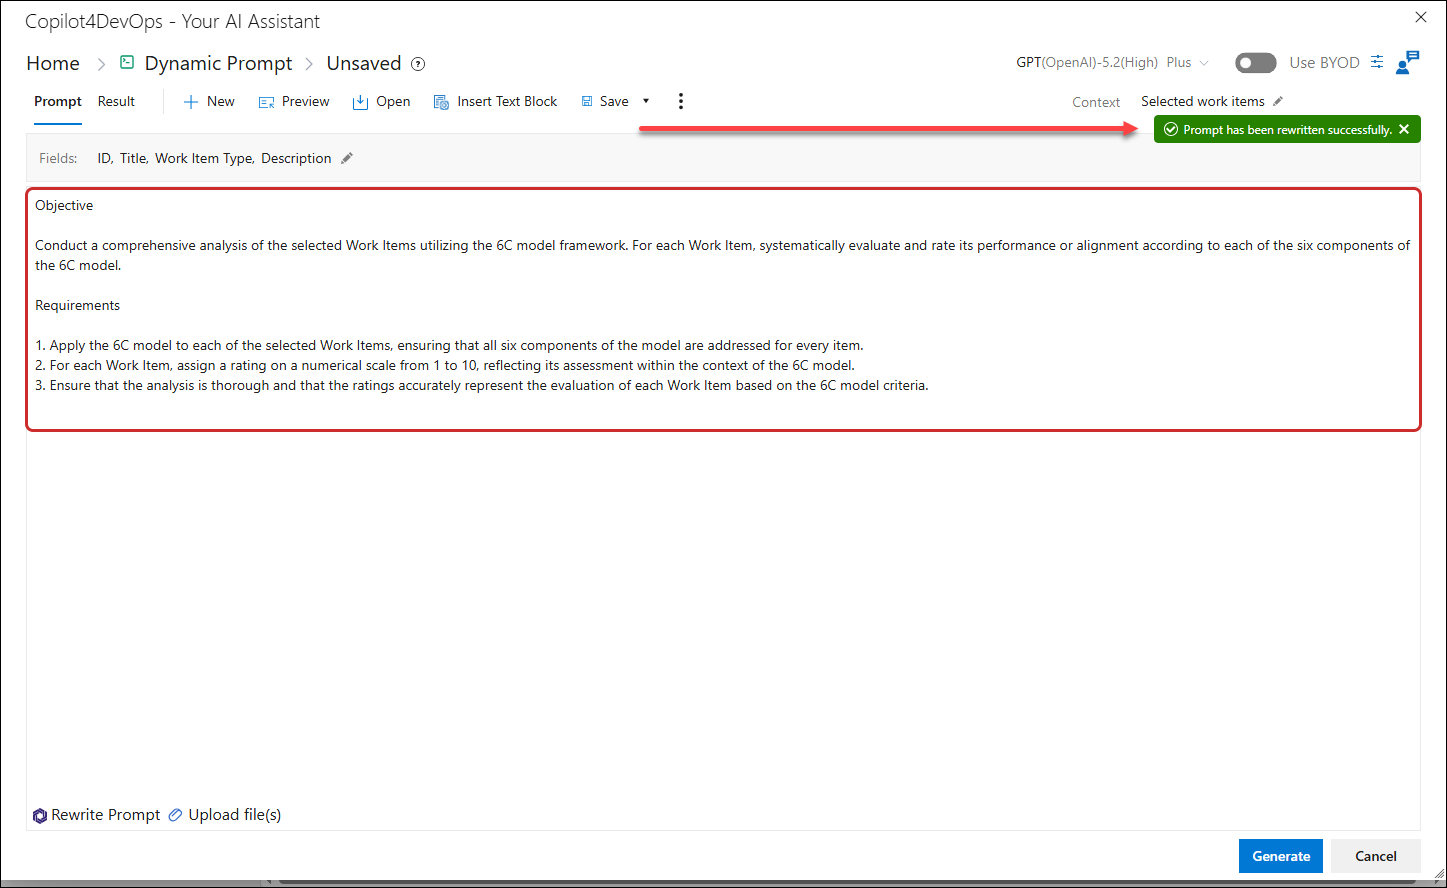
You can refine your prompt by a single click by using the Rewrite Prompt option.
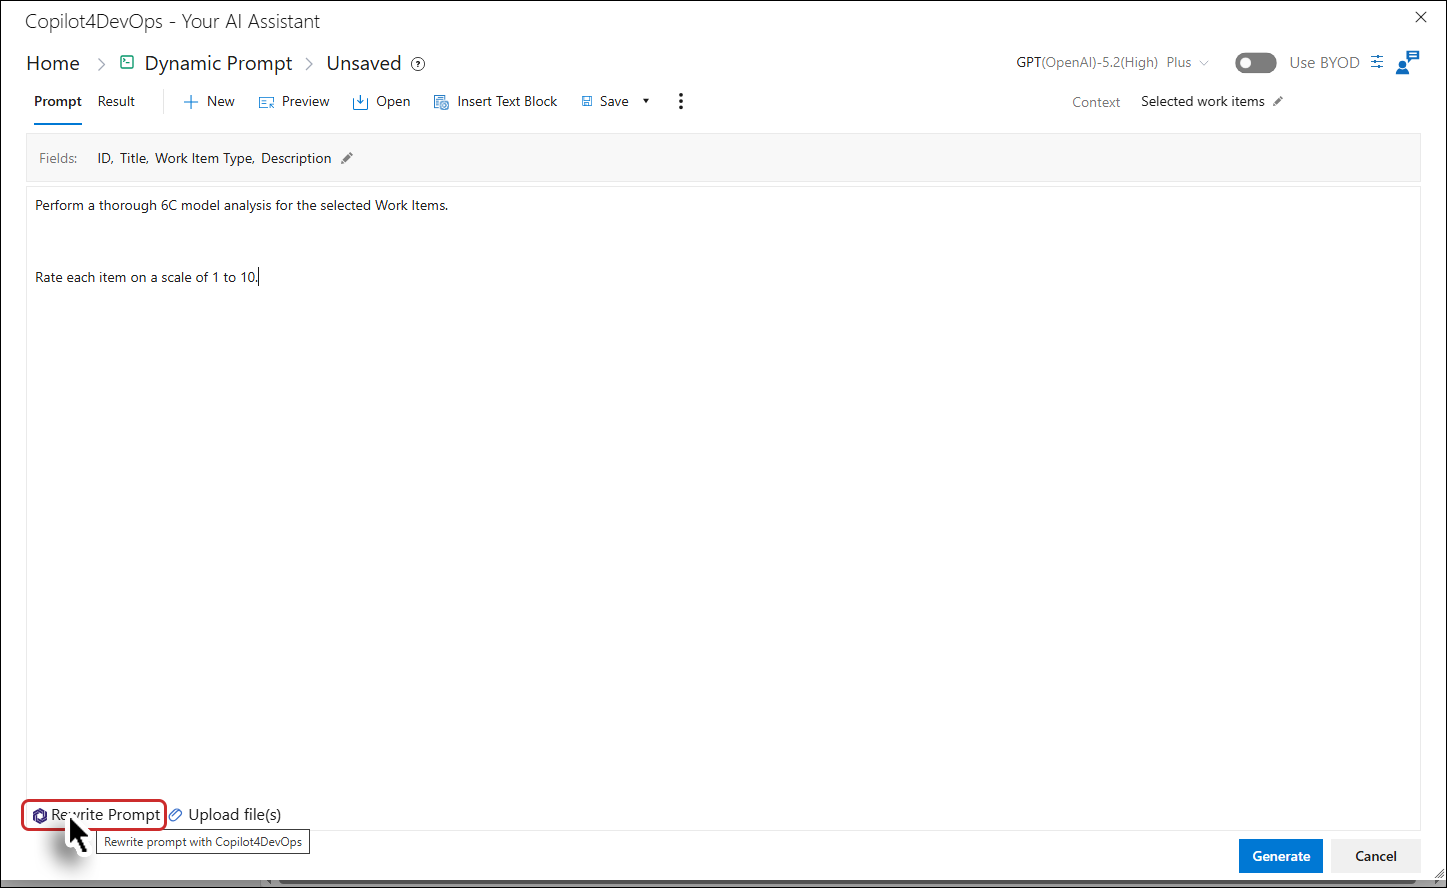
The prompt is updated as per the AI model selected from the "AI Model Auto Selection and Ranking" section for “Rewrite Prompt” under the General tab in Admin panel.
Note: The file/attachment upload process is elaborated in detail here.
Creating a new Prompt
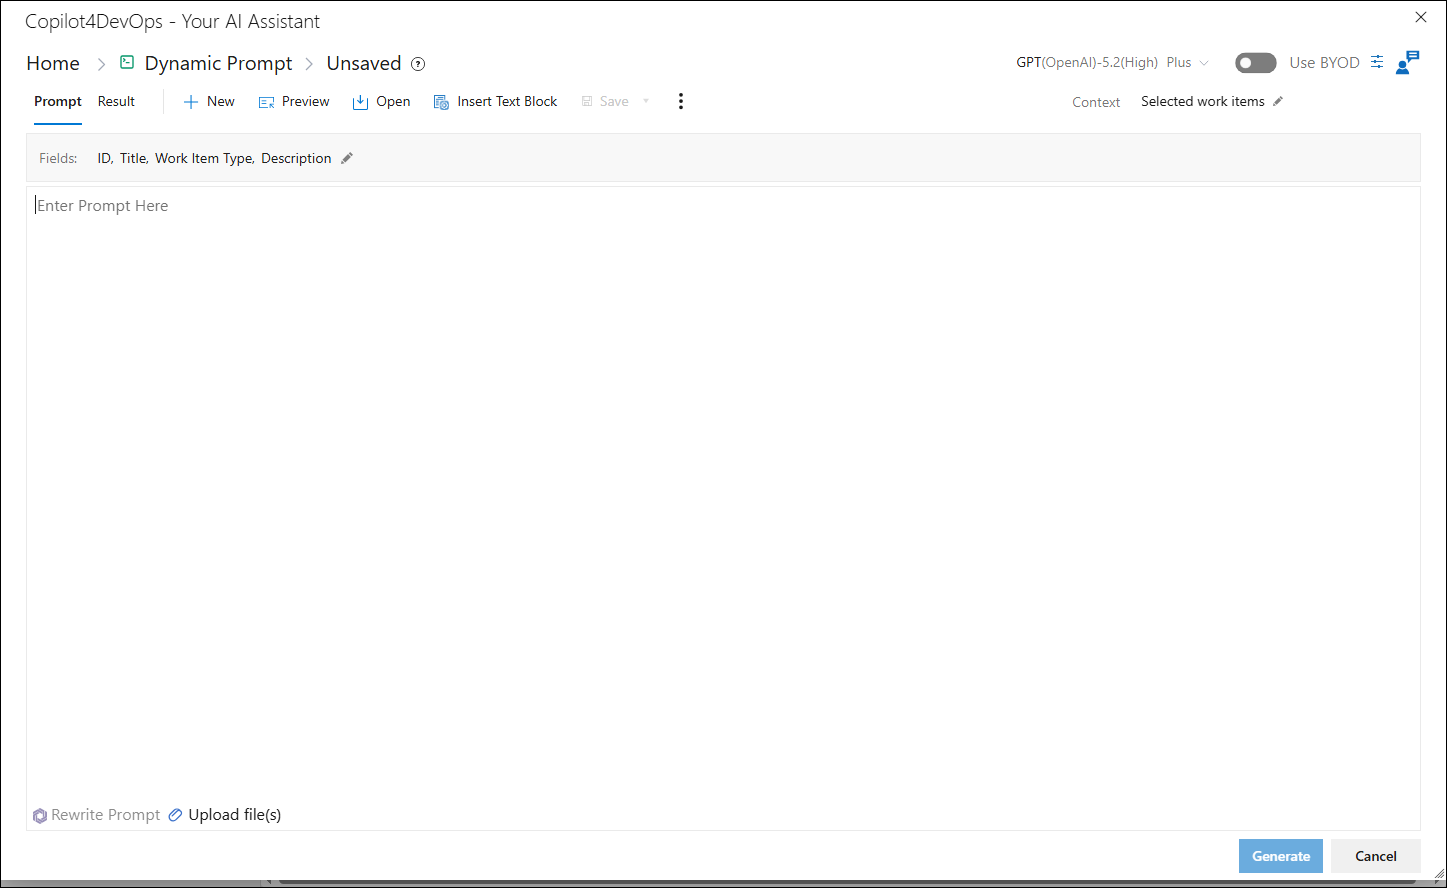
15. If you are not satisfied with the current prompt or just want to start over again, then click the New option.
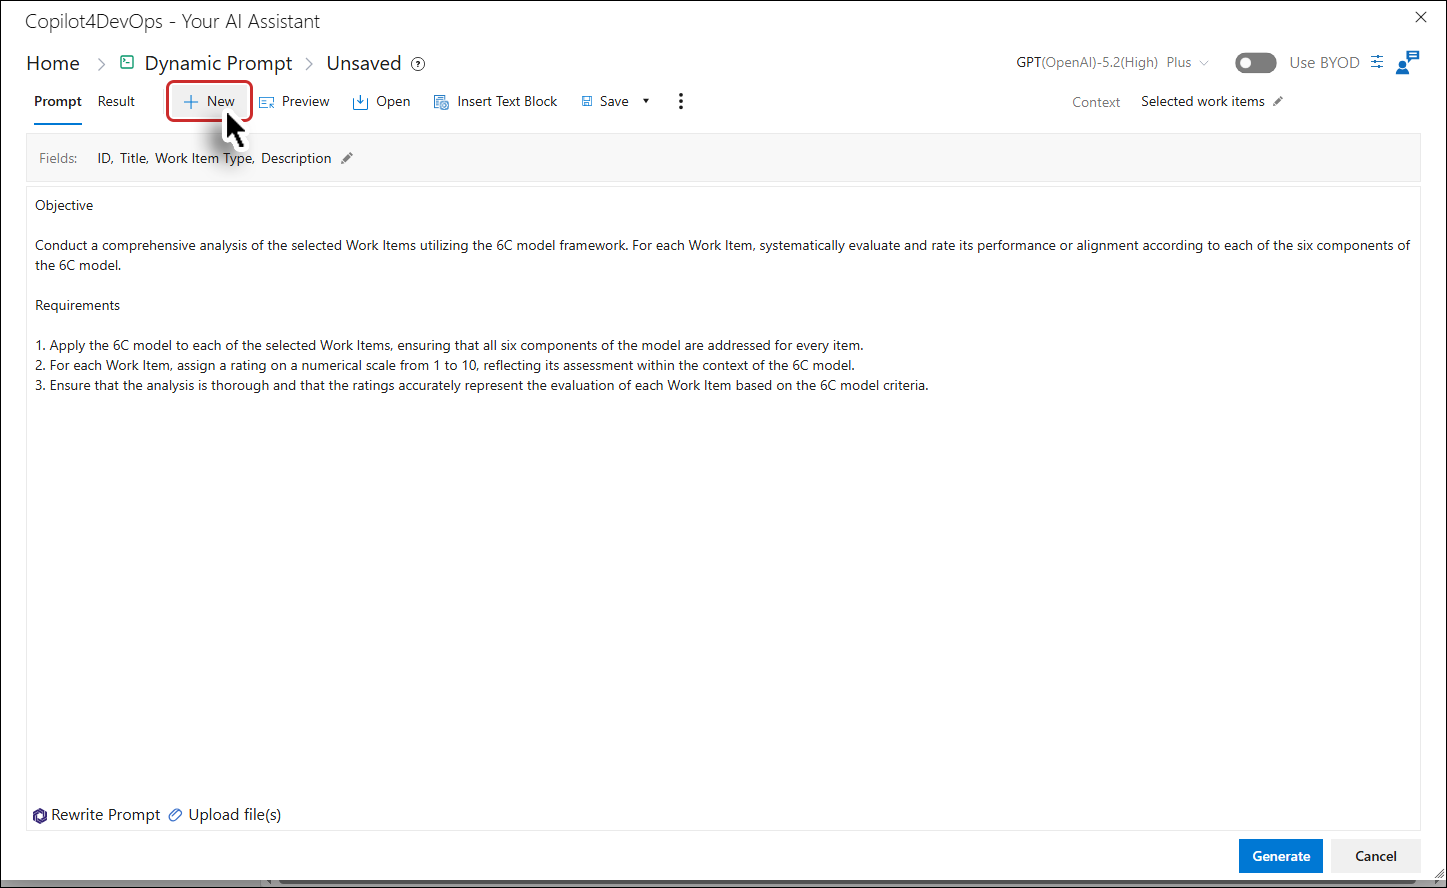
The input area would be wiped clean.
Previewing the Prompt
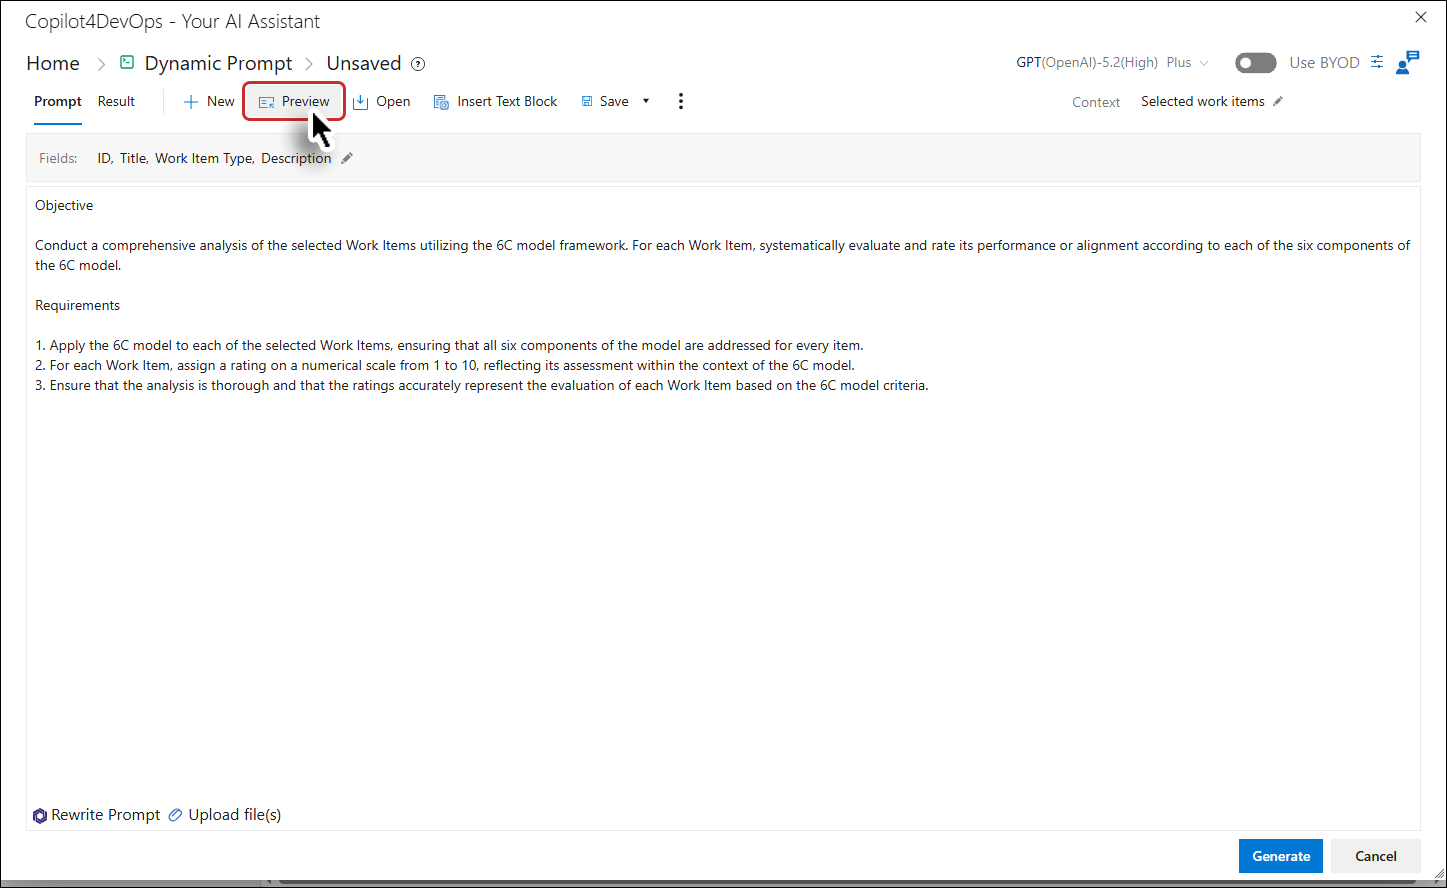
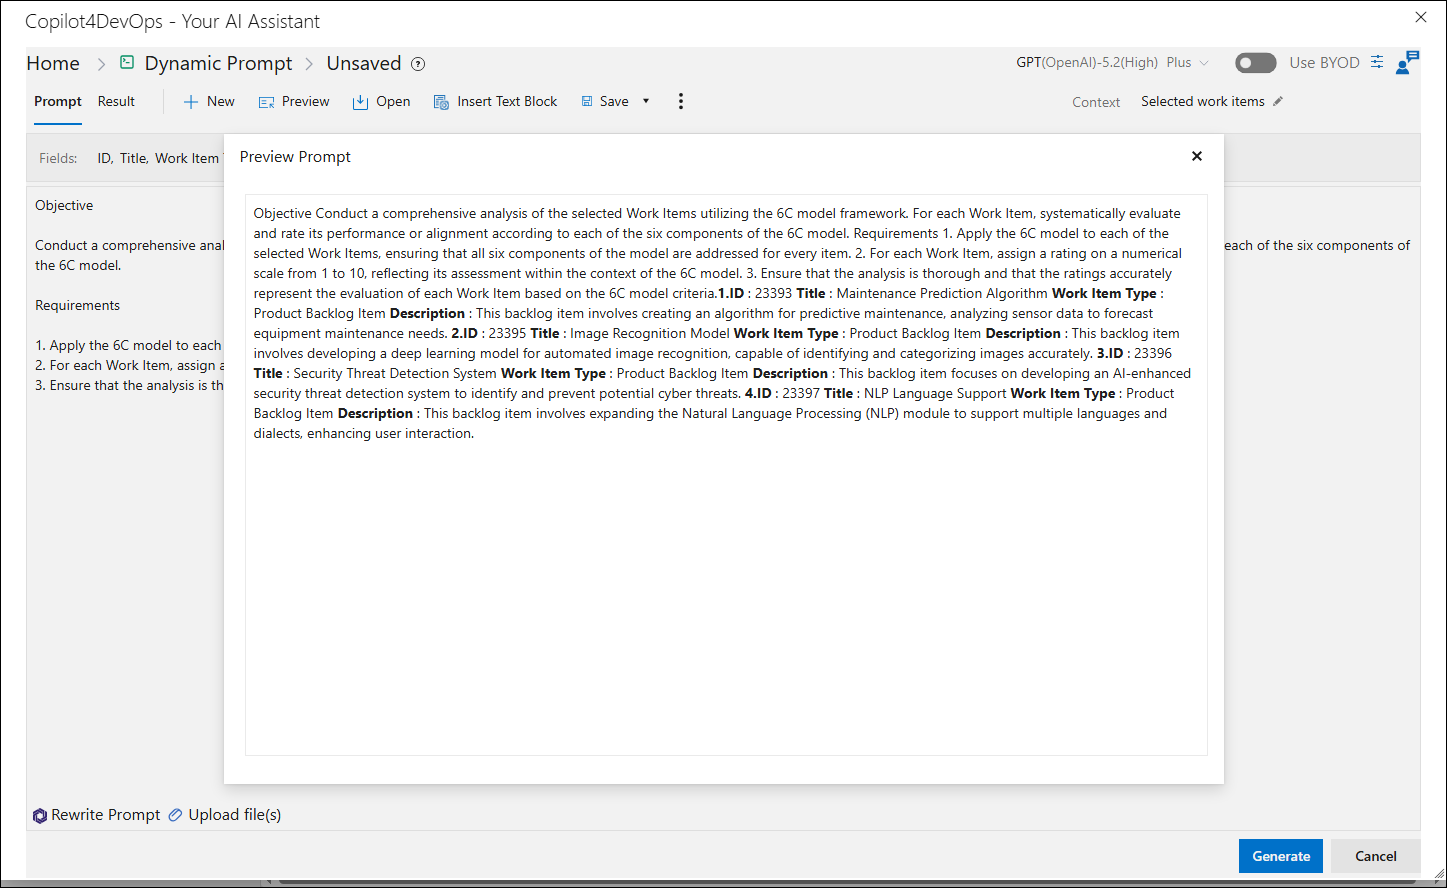
16. Click on the Preview option from the toolbar, preview prompt pop-up opens, and user can view the prompt along with the context and fields data.
Prompt's preview is displayed.
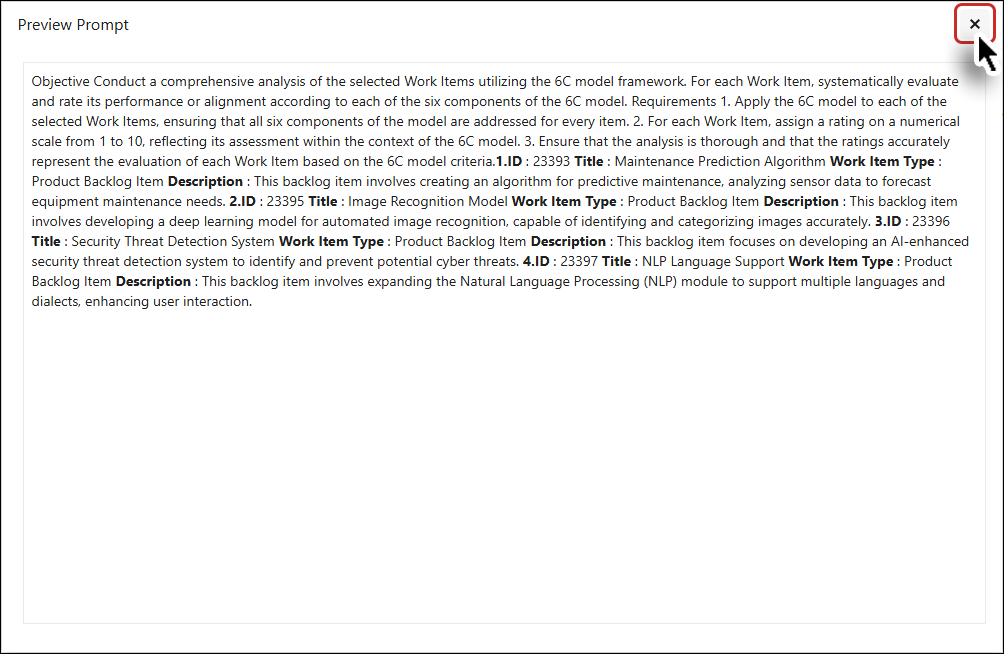
17. To close the Preview pop-up, click on the close button.
Saving the prompt
18. Click on the Save / Save as option from the toolbar, save / save as prompt pop-up opens.
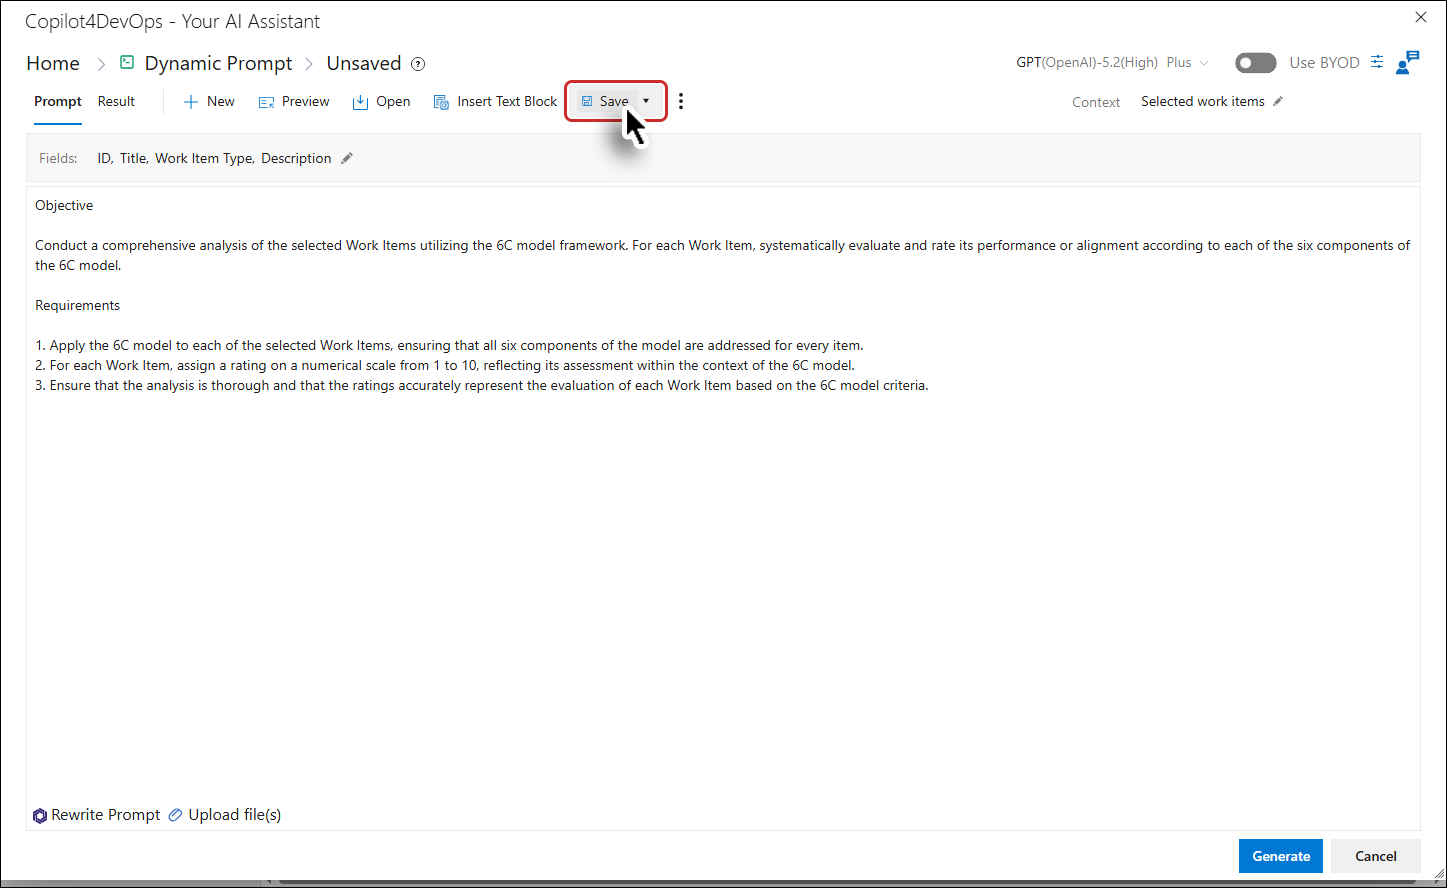
The Save Prompt popup is displayed.
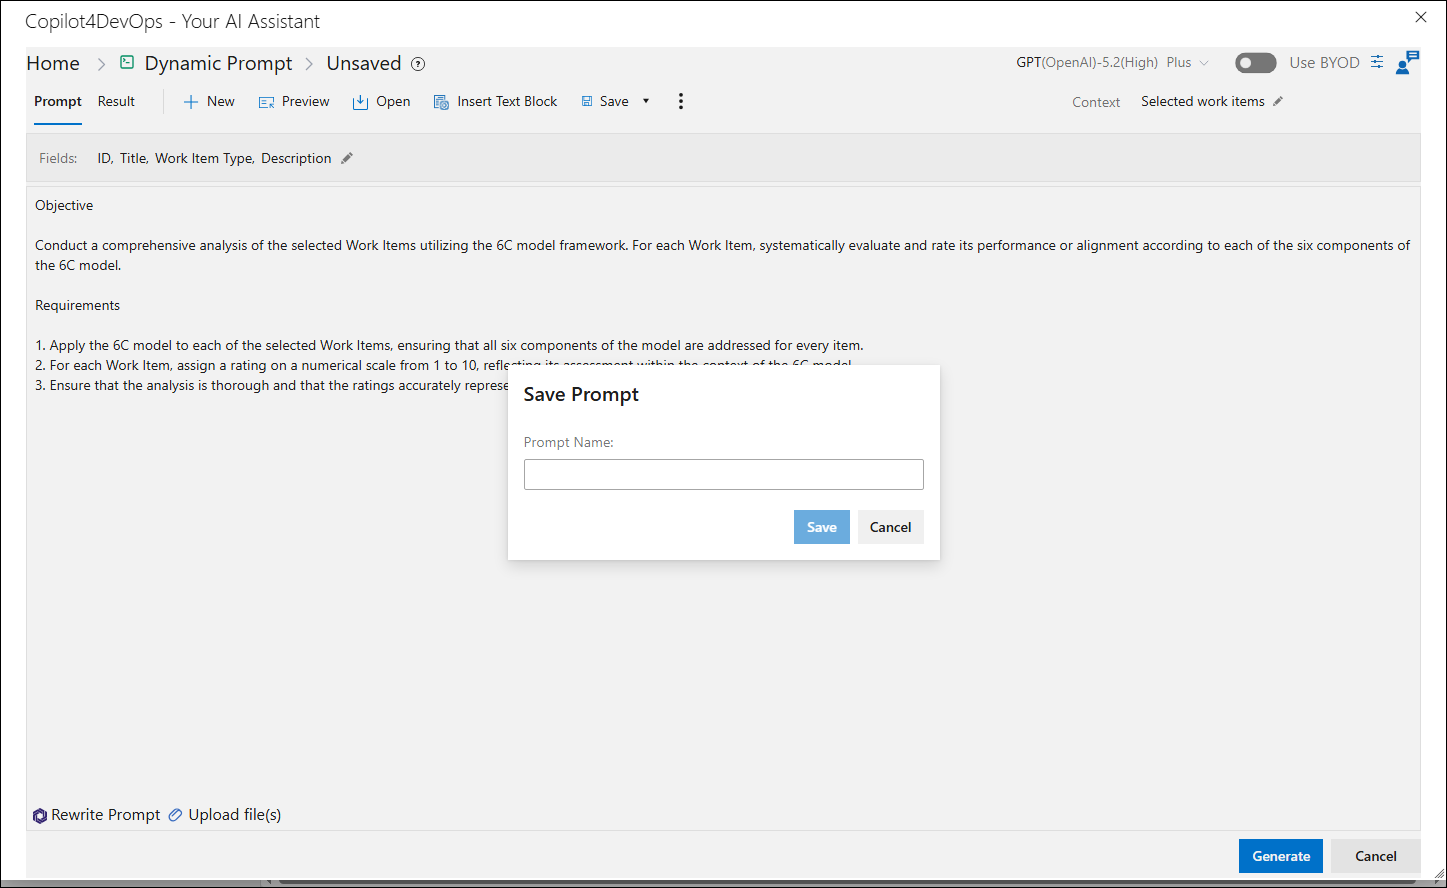
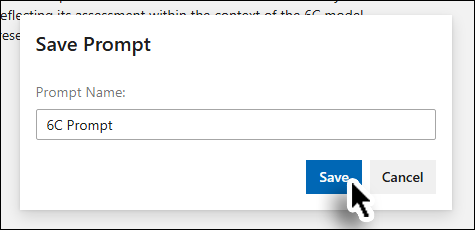
19. Click on the Save button to save the prompt by providing the name.
Opening an existing prompt
20. To open existing saved prompt, click on the Open option in the toolbar.
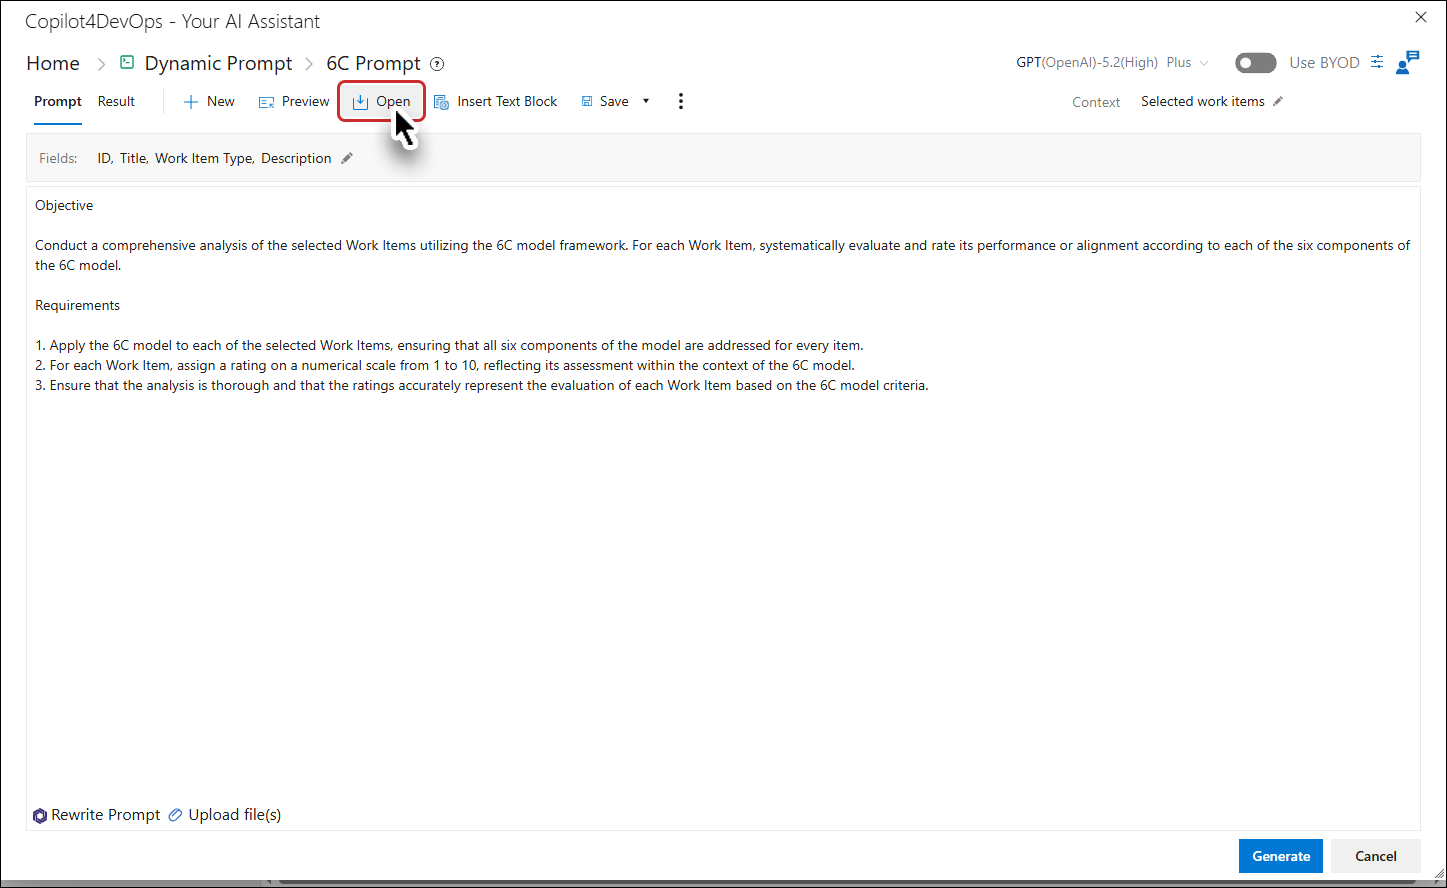
The Open Prompt pop-up opens.
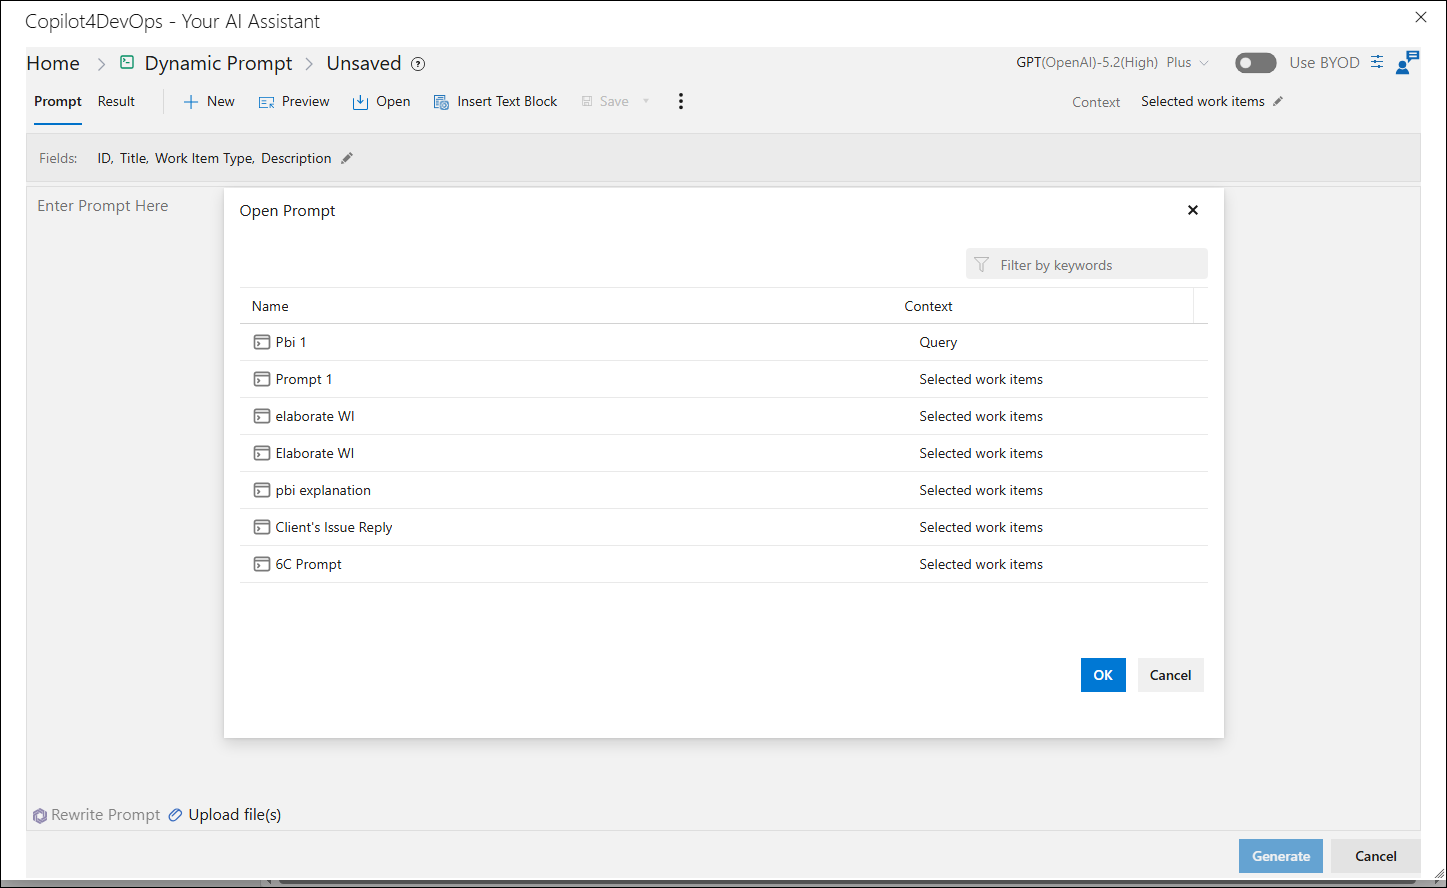
21. The user can open a saved prompt by selecting it from the list and clicking the "OK" button, or by clicking directly on the prompt name.
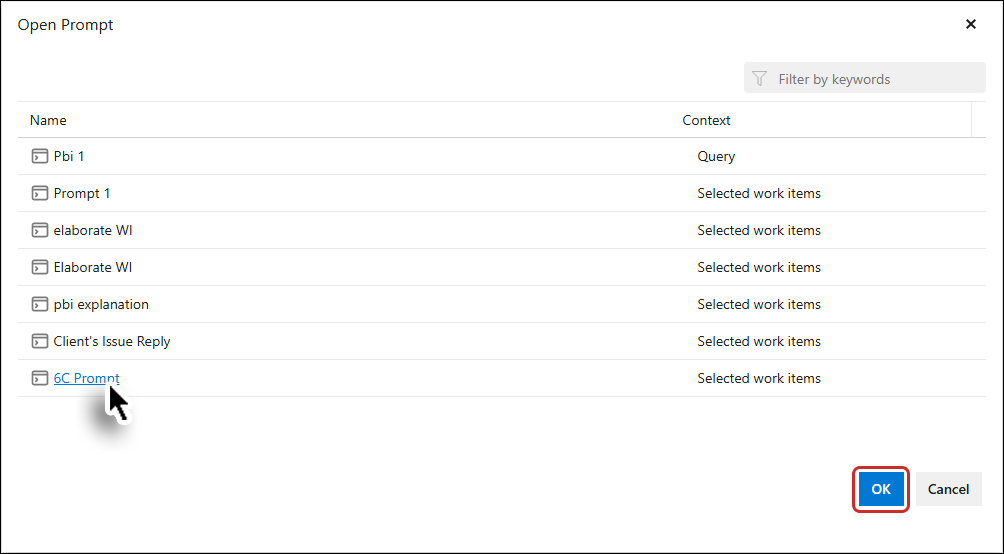
22. To delete any of the saved prompt, open context menu (…) and click on delete option.
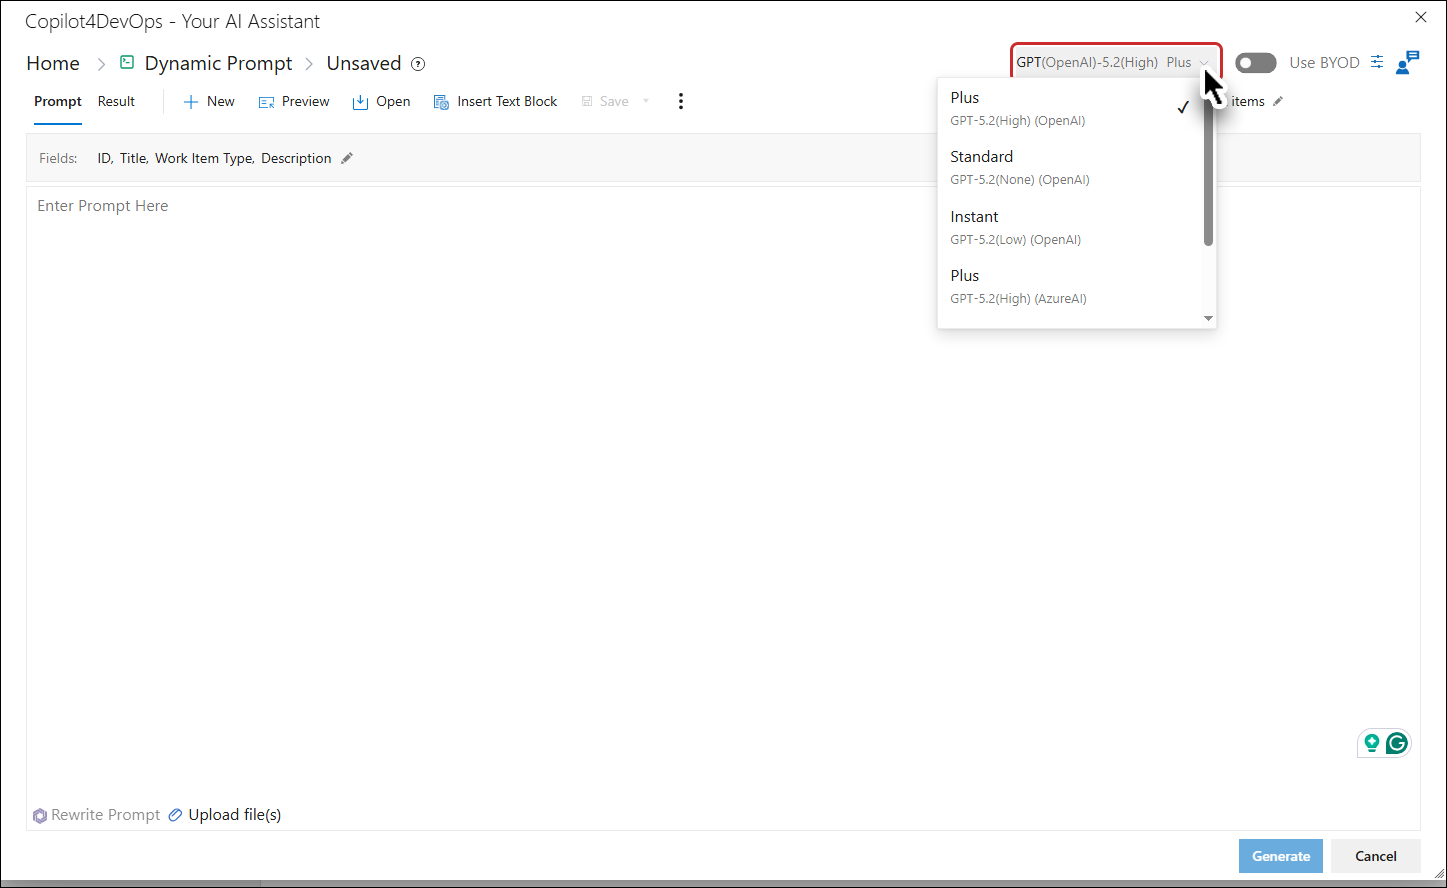
23. Ranked AI models configured in the Admin Panel will be displayed for each corresponding feature on the Home Page.
24. Click on Custom instructions option at top right of the screen.
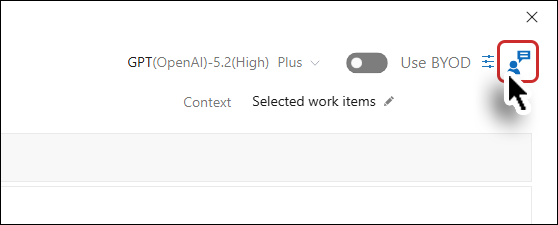
The right panel opens.
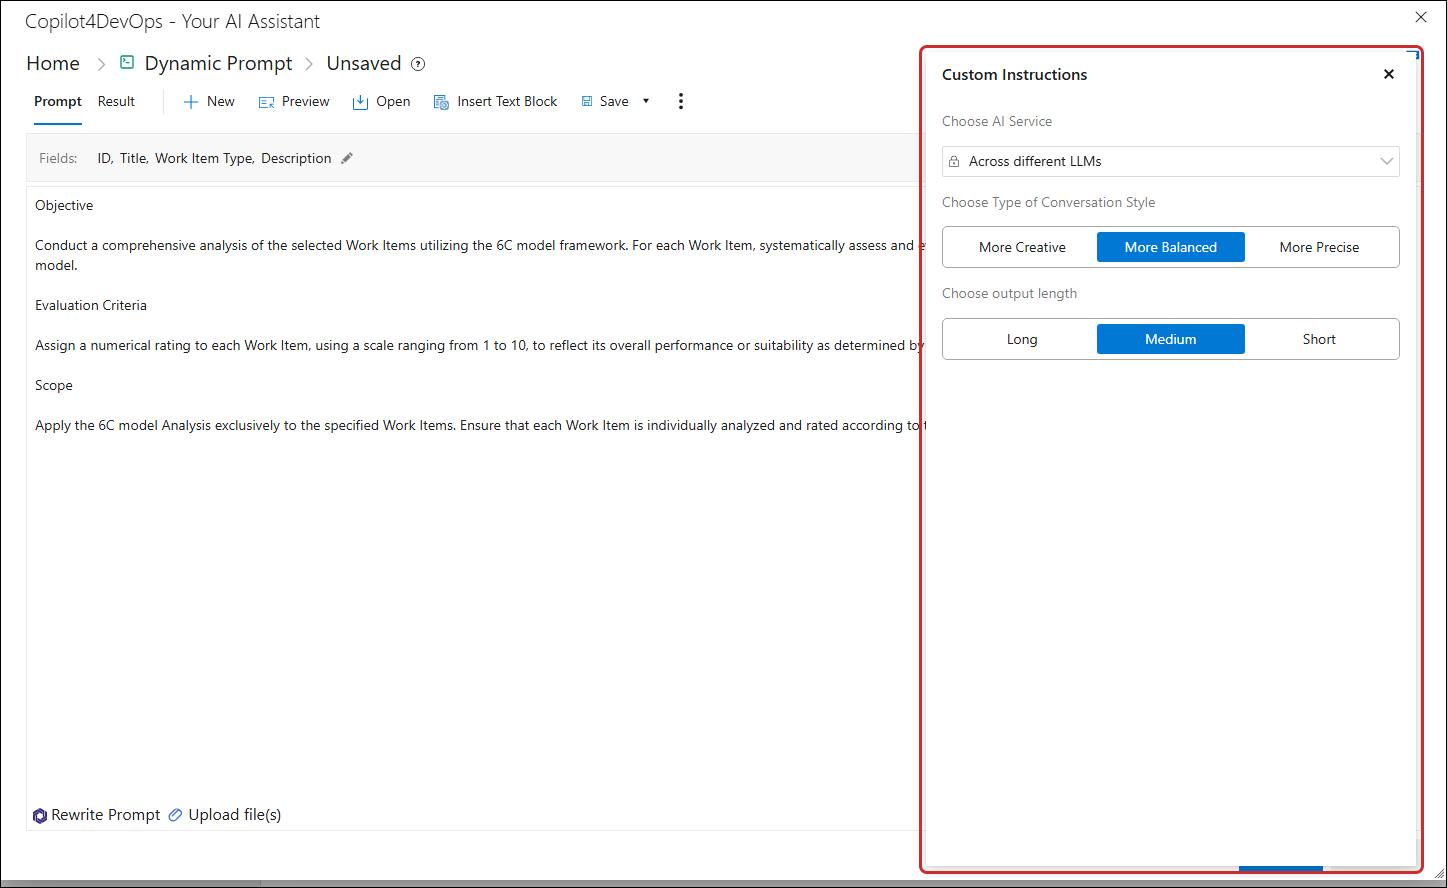
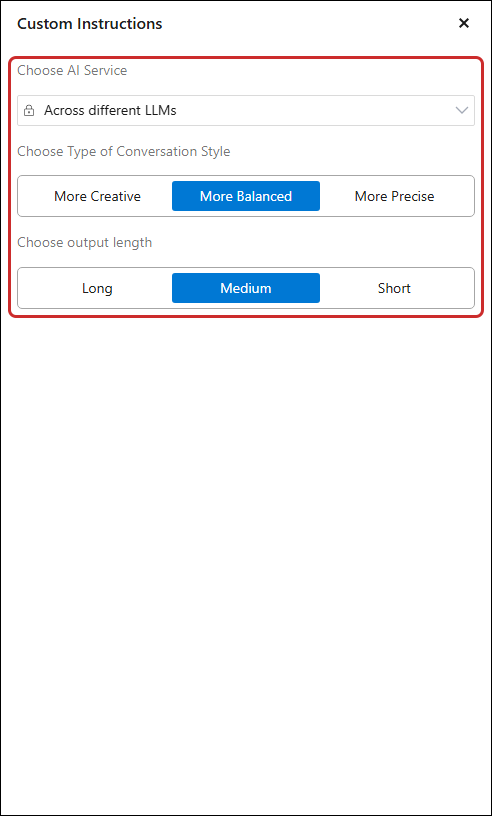
25. From the right panel user will be able to see the AI Service selected in the Admin also able to Choose Type of Conversation Style such as “More Creative”, “More Balanced” or “More Precise”.
Generating the prompt
26. Click on Generate button to see the result under the result tab.
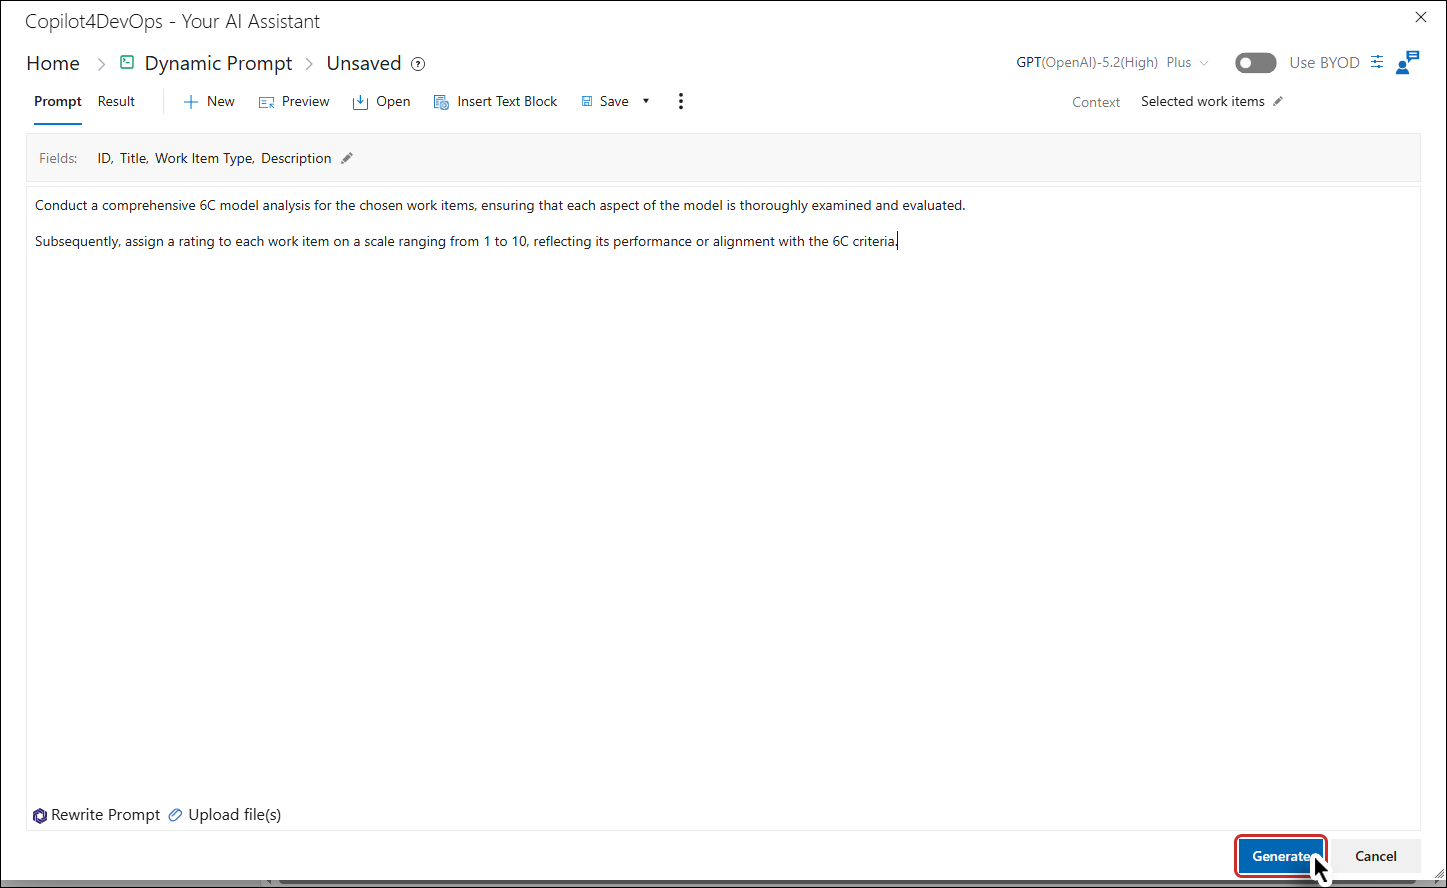
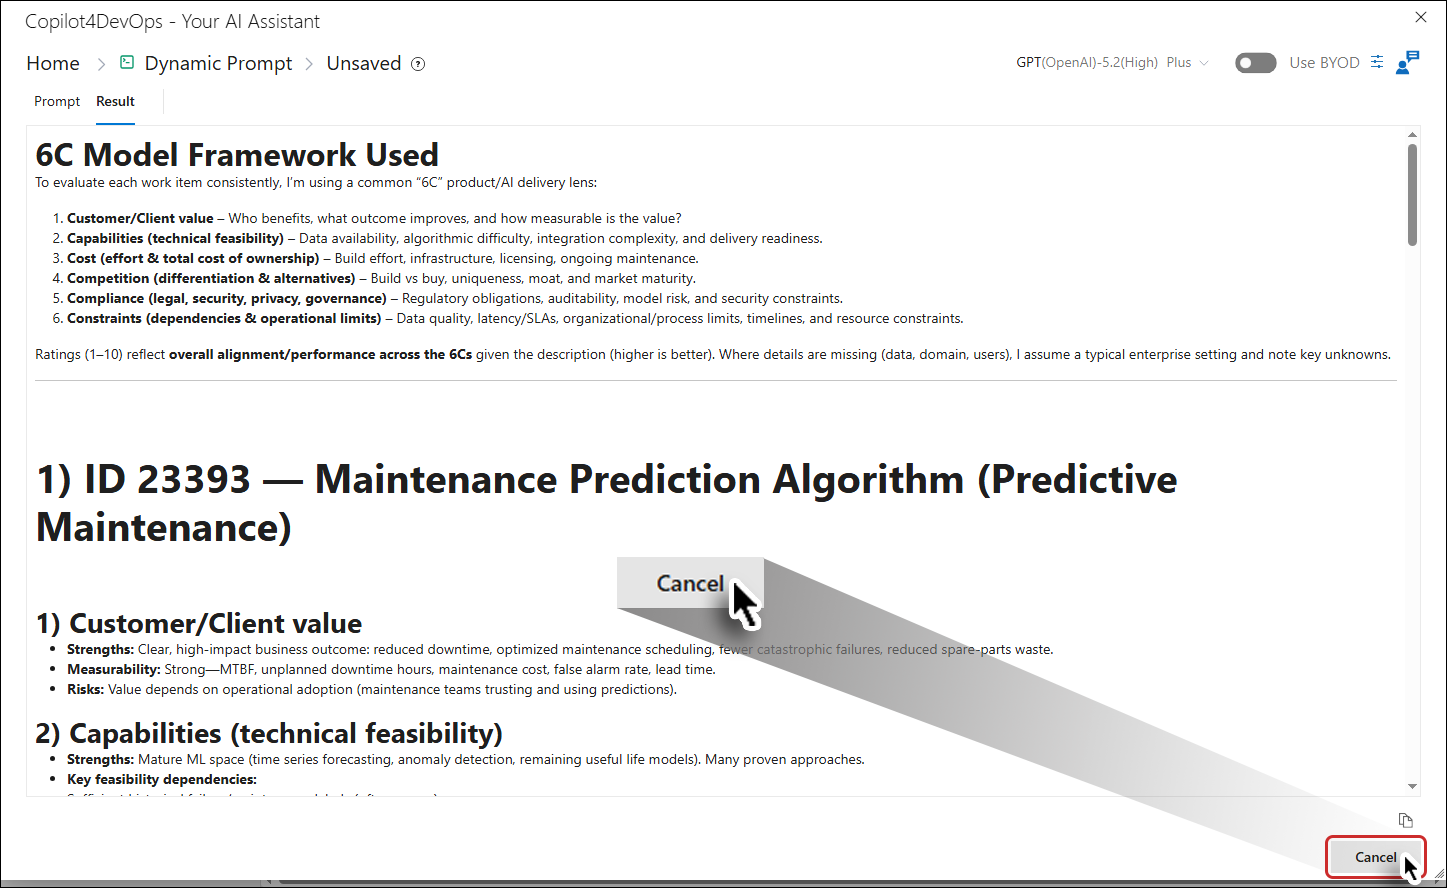
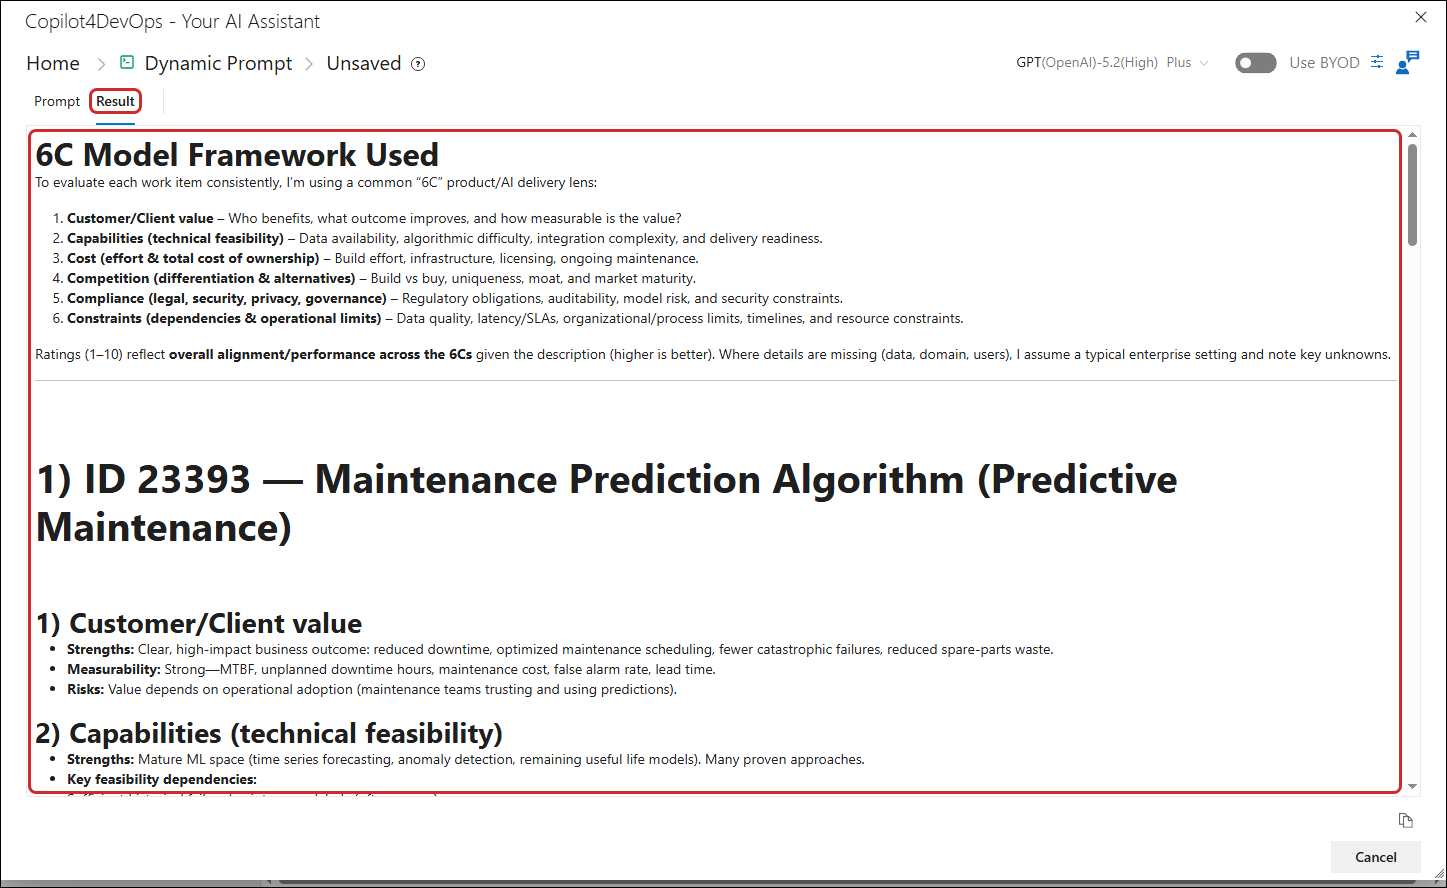
The system starts generating the 6C model analysis.
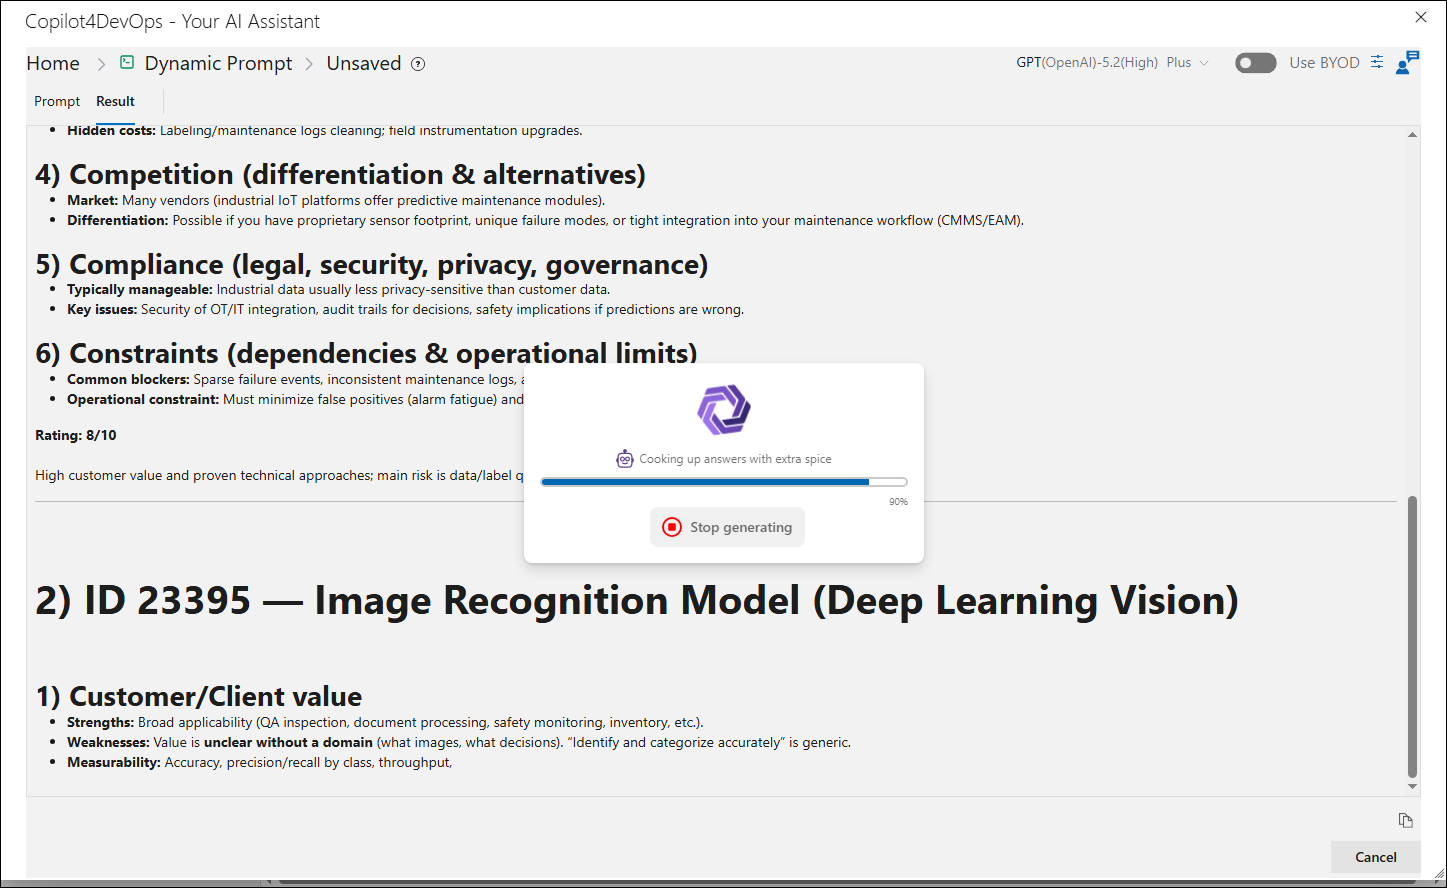
The Result tab shows the completed 6C model analysis.
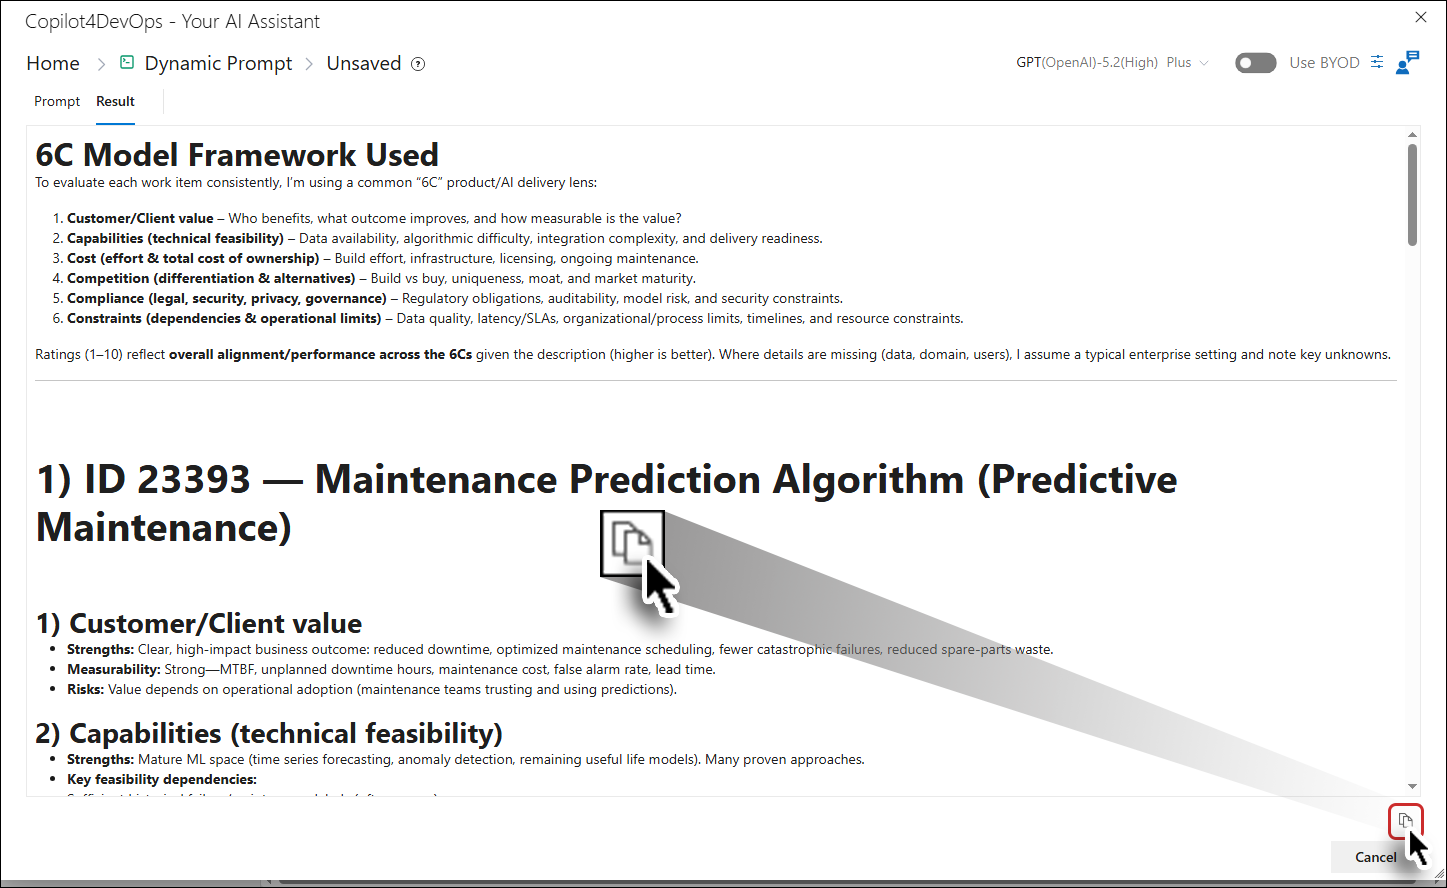
27. Click on the Copy ‘ ’ option to copy the generated result.
28. On clicking the Cancel button, Dynamic Prompt popup closed.