Elicit
Accessing Copilot4DevOps
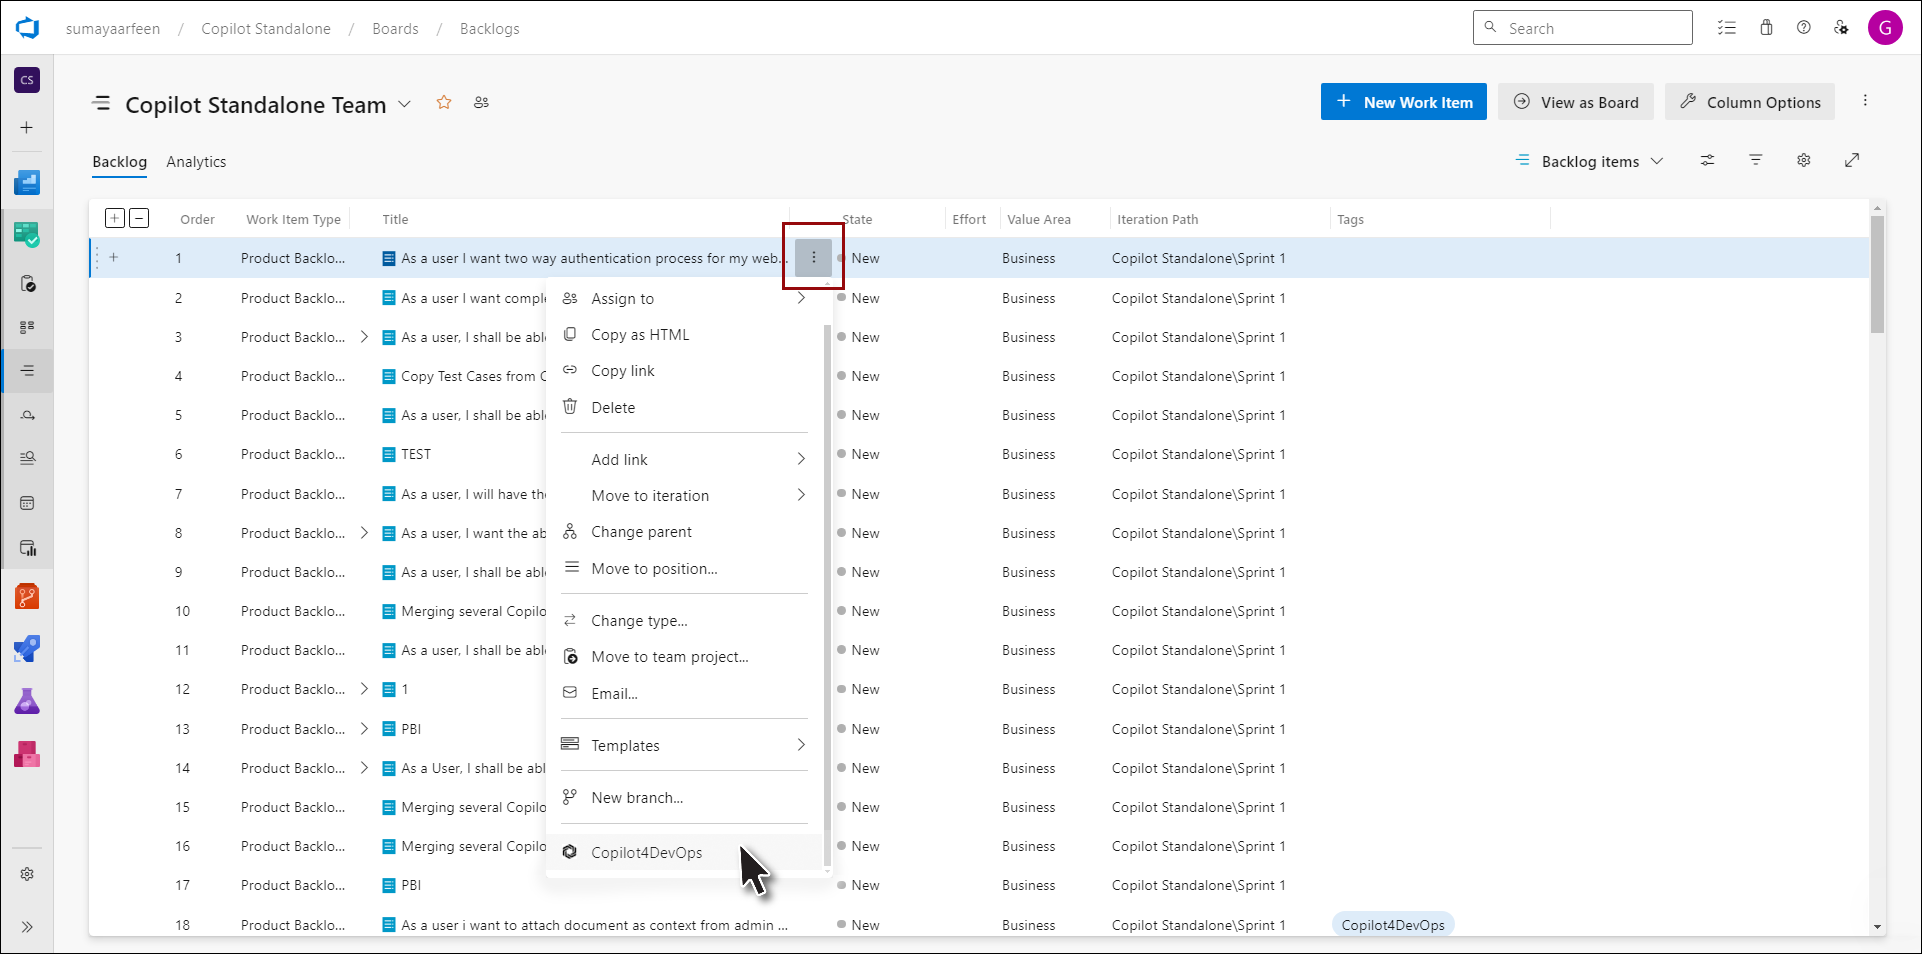
1. Right-click on any work item from Queries or Backlog, and select Copilot4DevOps from the context menu.
2. The Copilot4DevOps pop-up will appear.
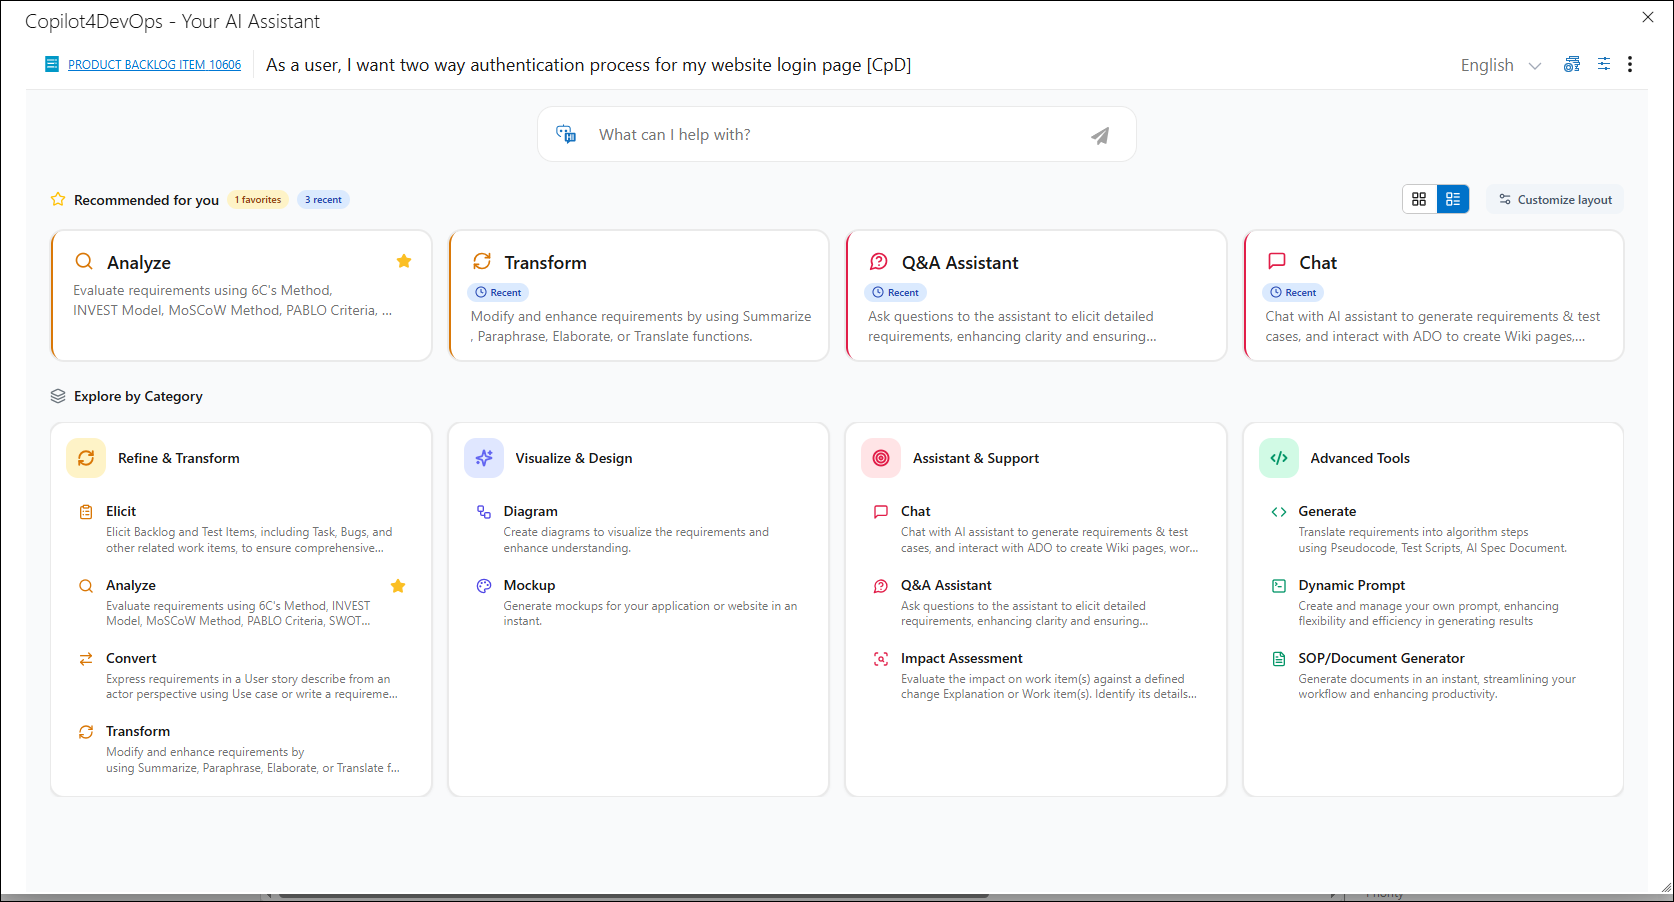
3. Click on the Elicit function in the Copilot4DevOps pop-up.

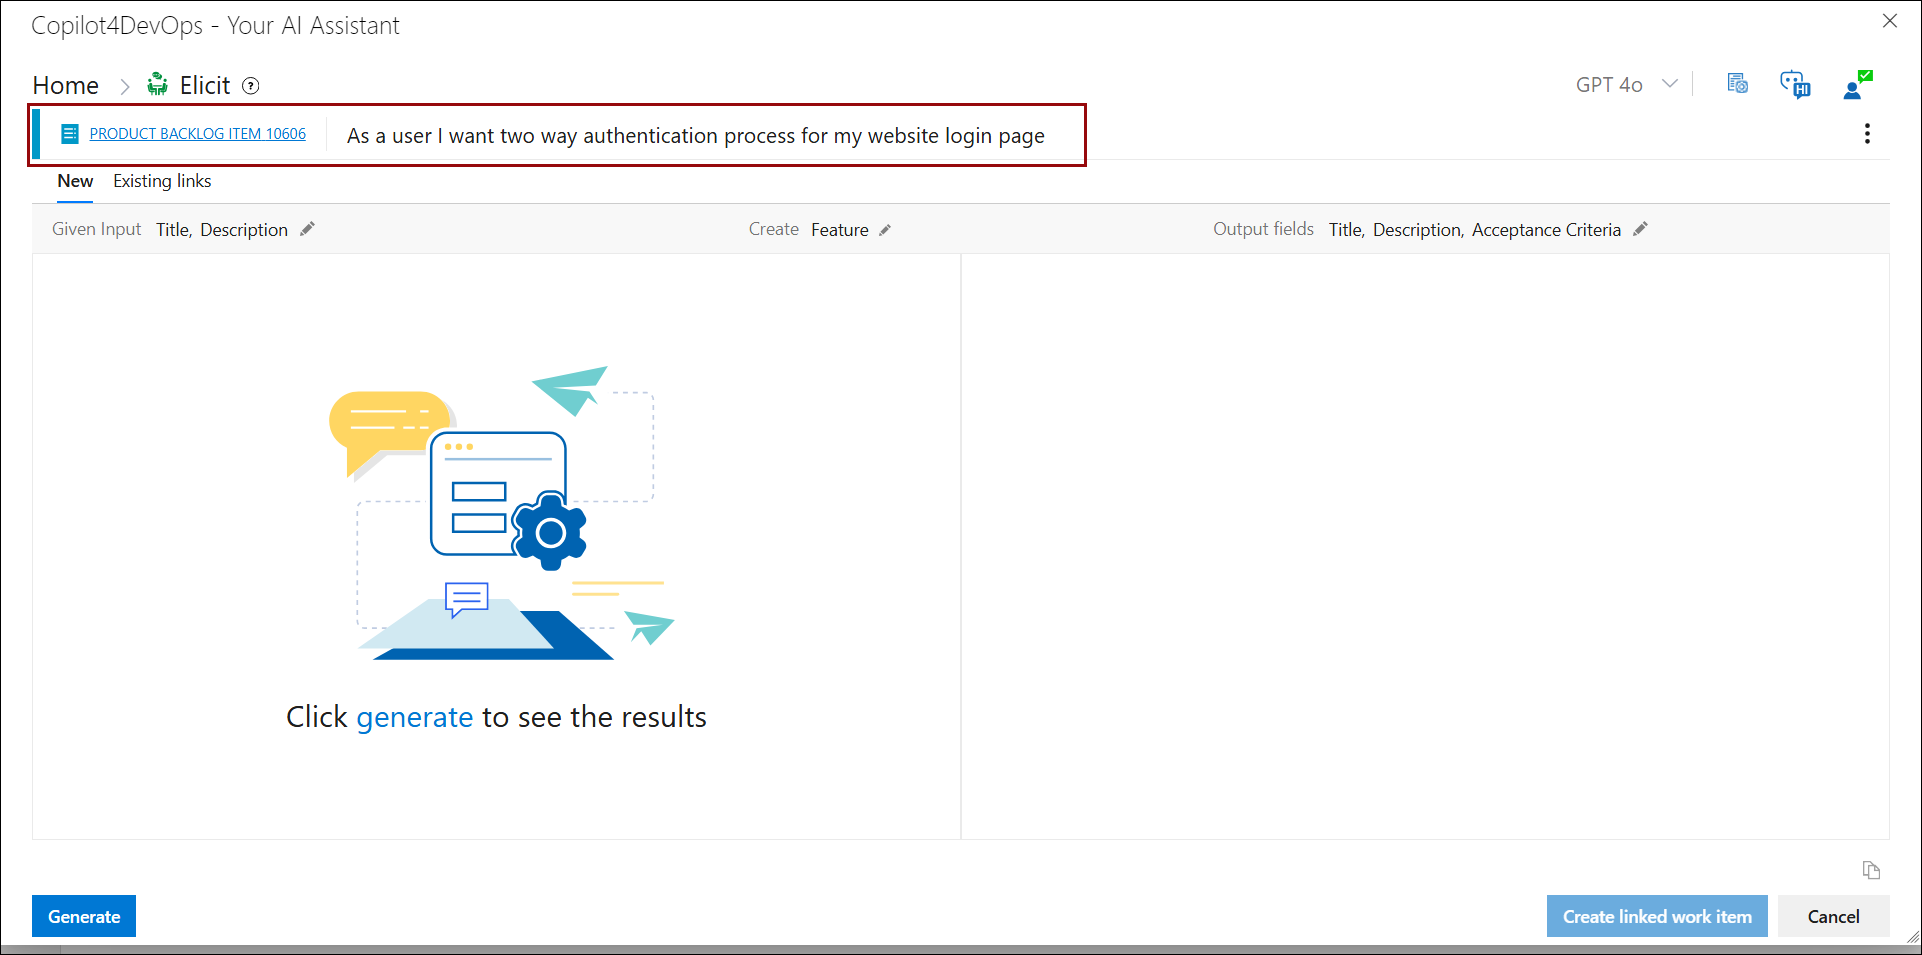
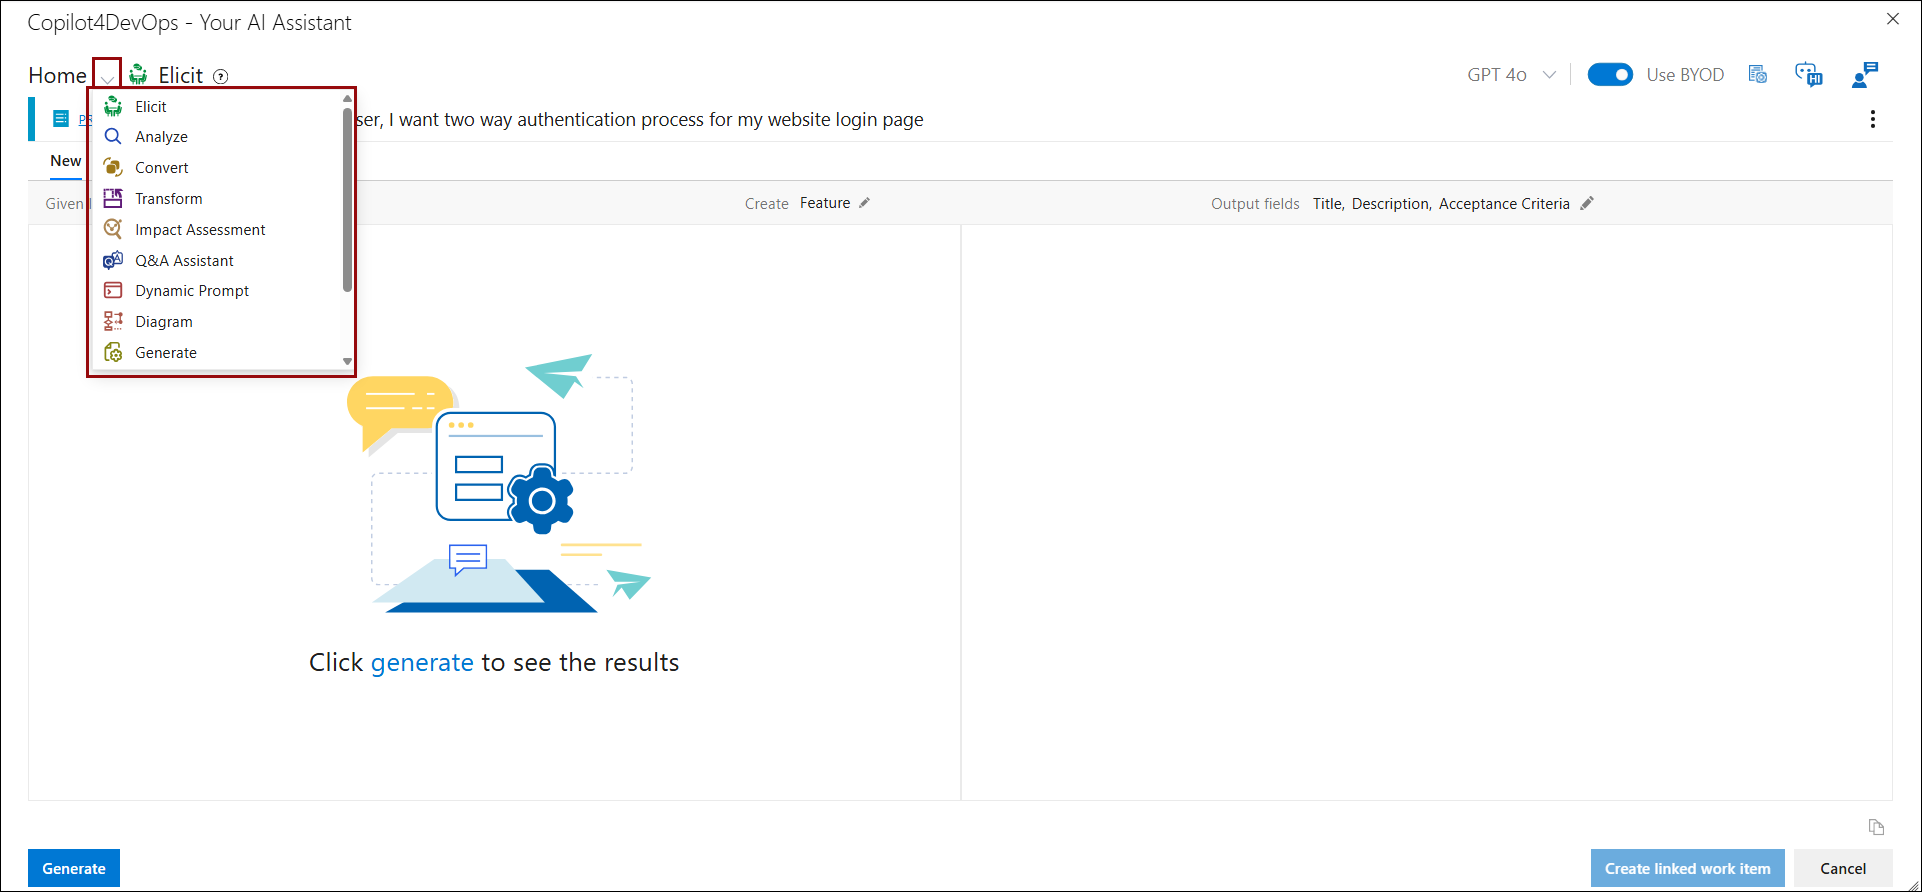
4. The Elicit pop-up opens, displaying available functions.
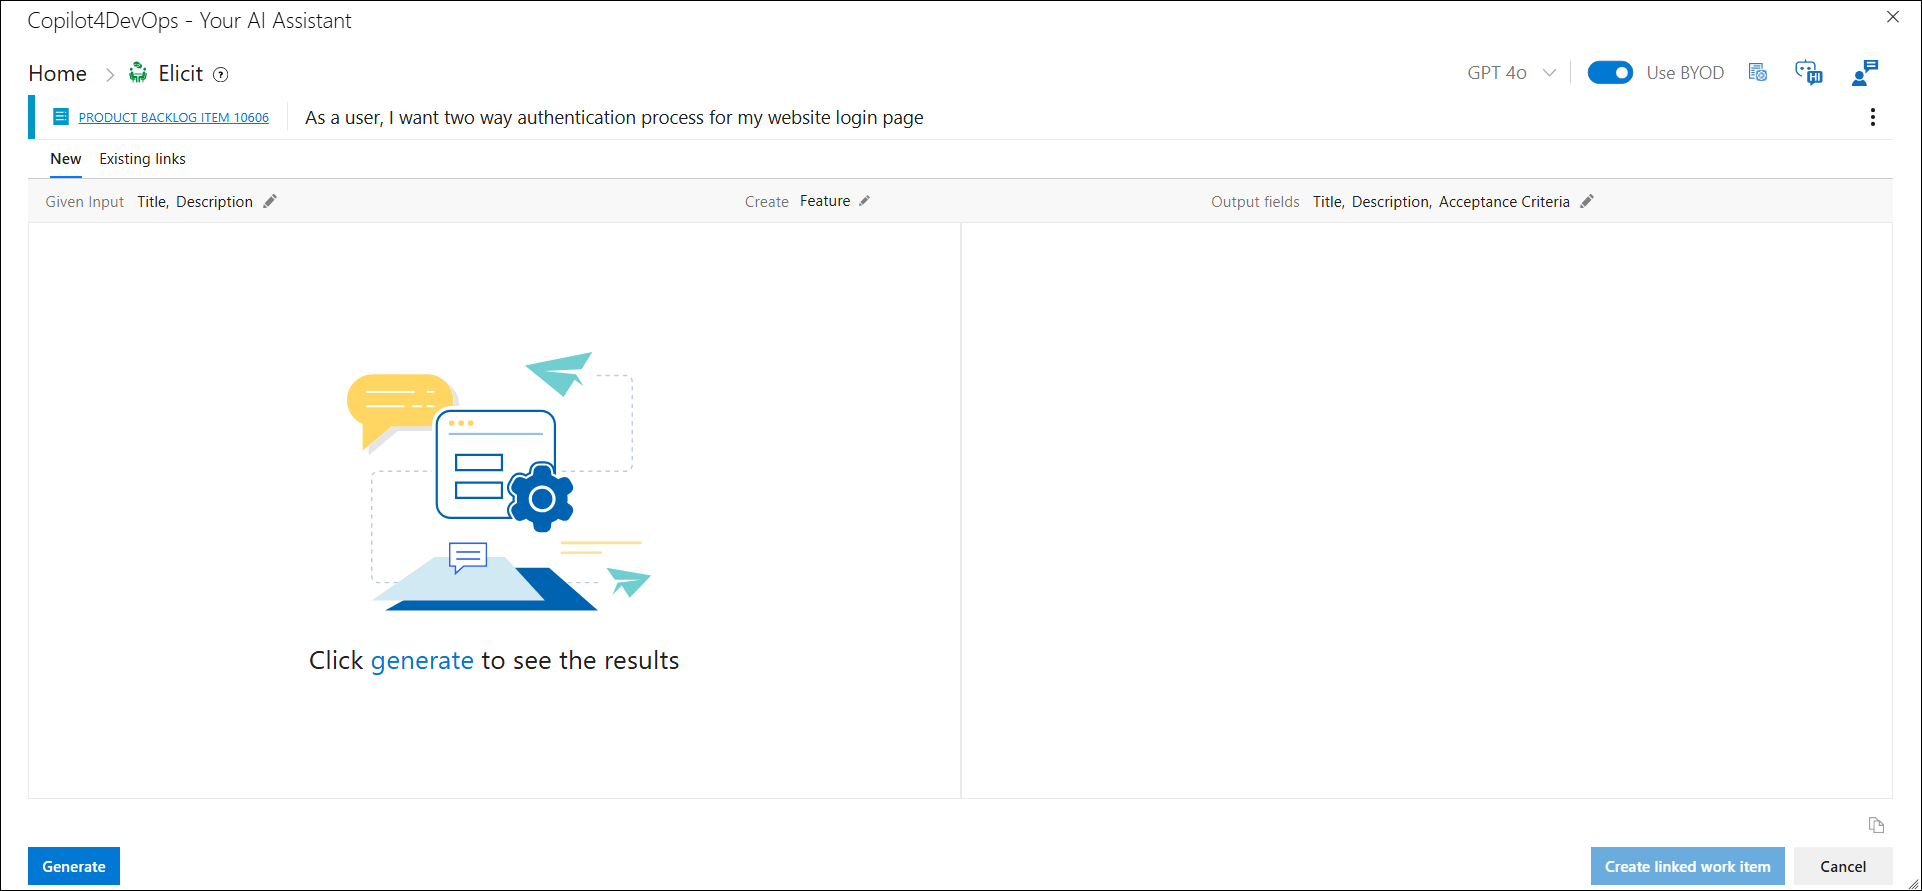
5. Other functions of Copilot4DevOps can be accessed from the breadcrumb dropdown.
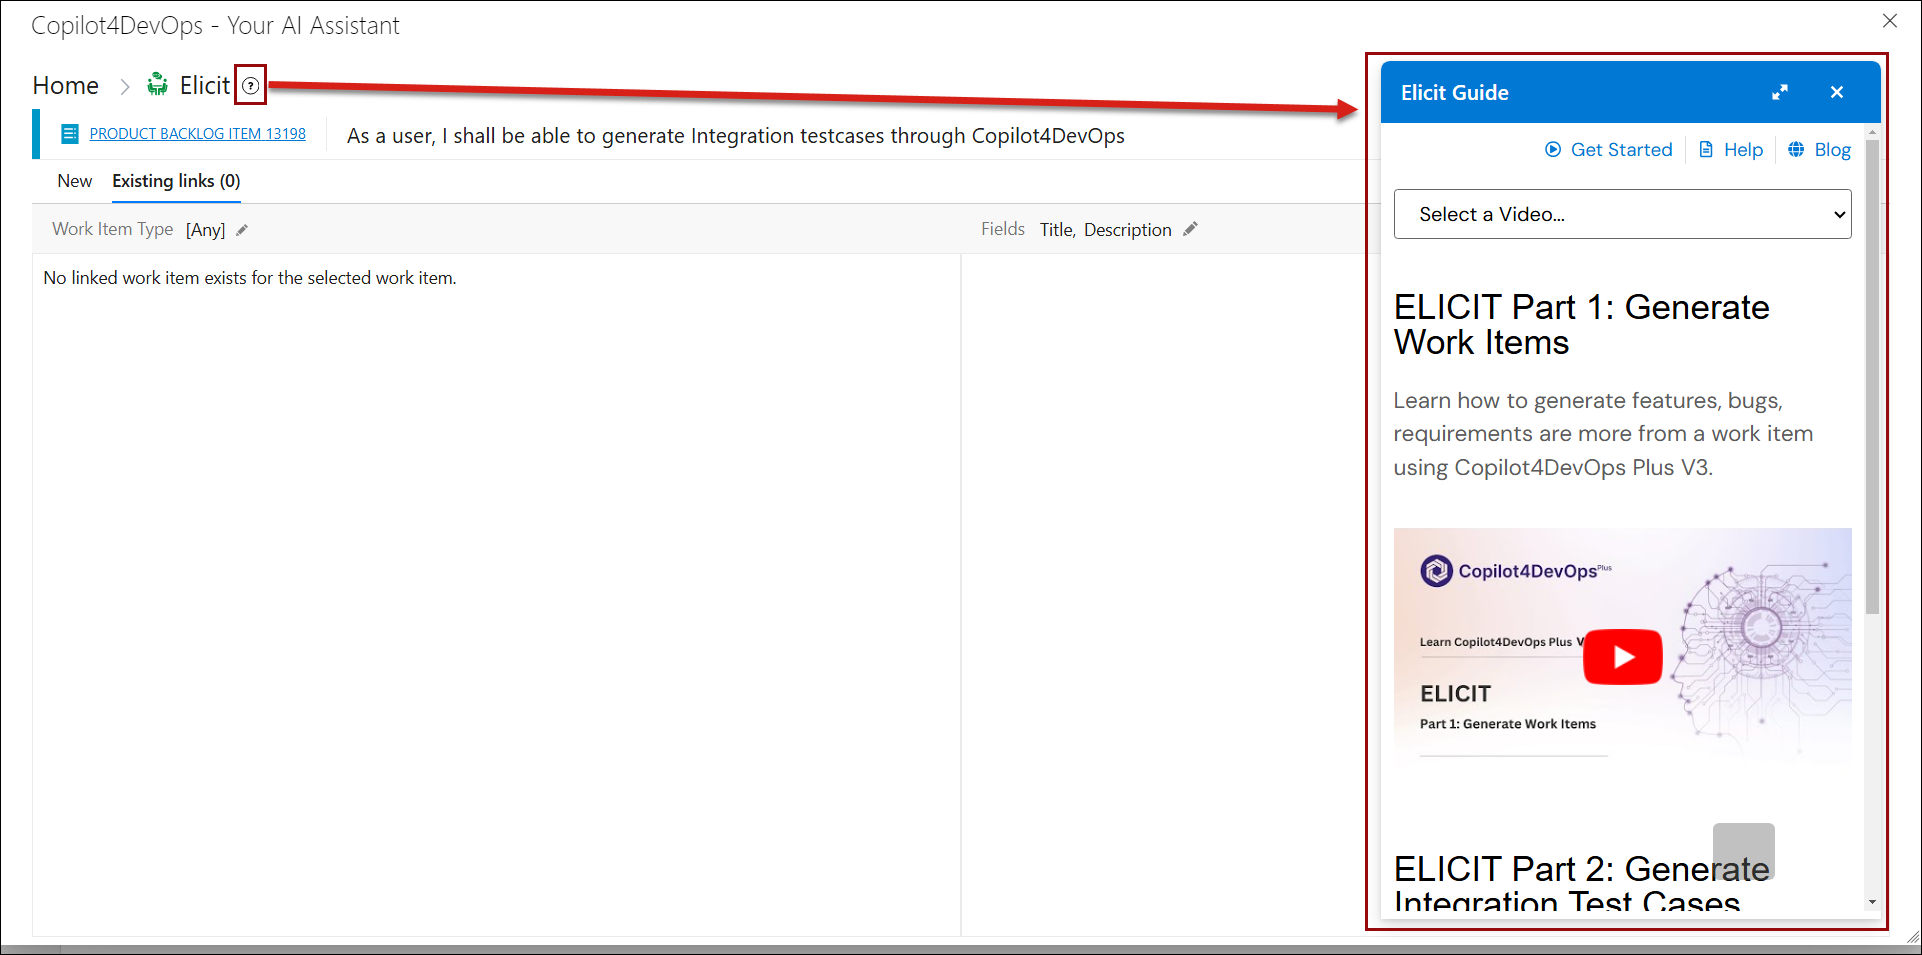
6. Clicking the help icon beside the breadcrumb opens the right panel, displays help content relevant to the active function.
7. The top of the Elicit pop-up displays the work item icon, type, ID, and name for which elicitation is being performed.