Generate
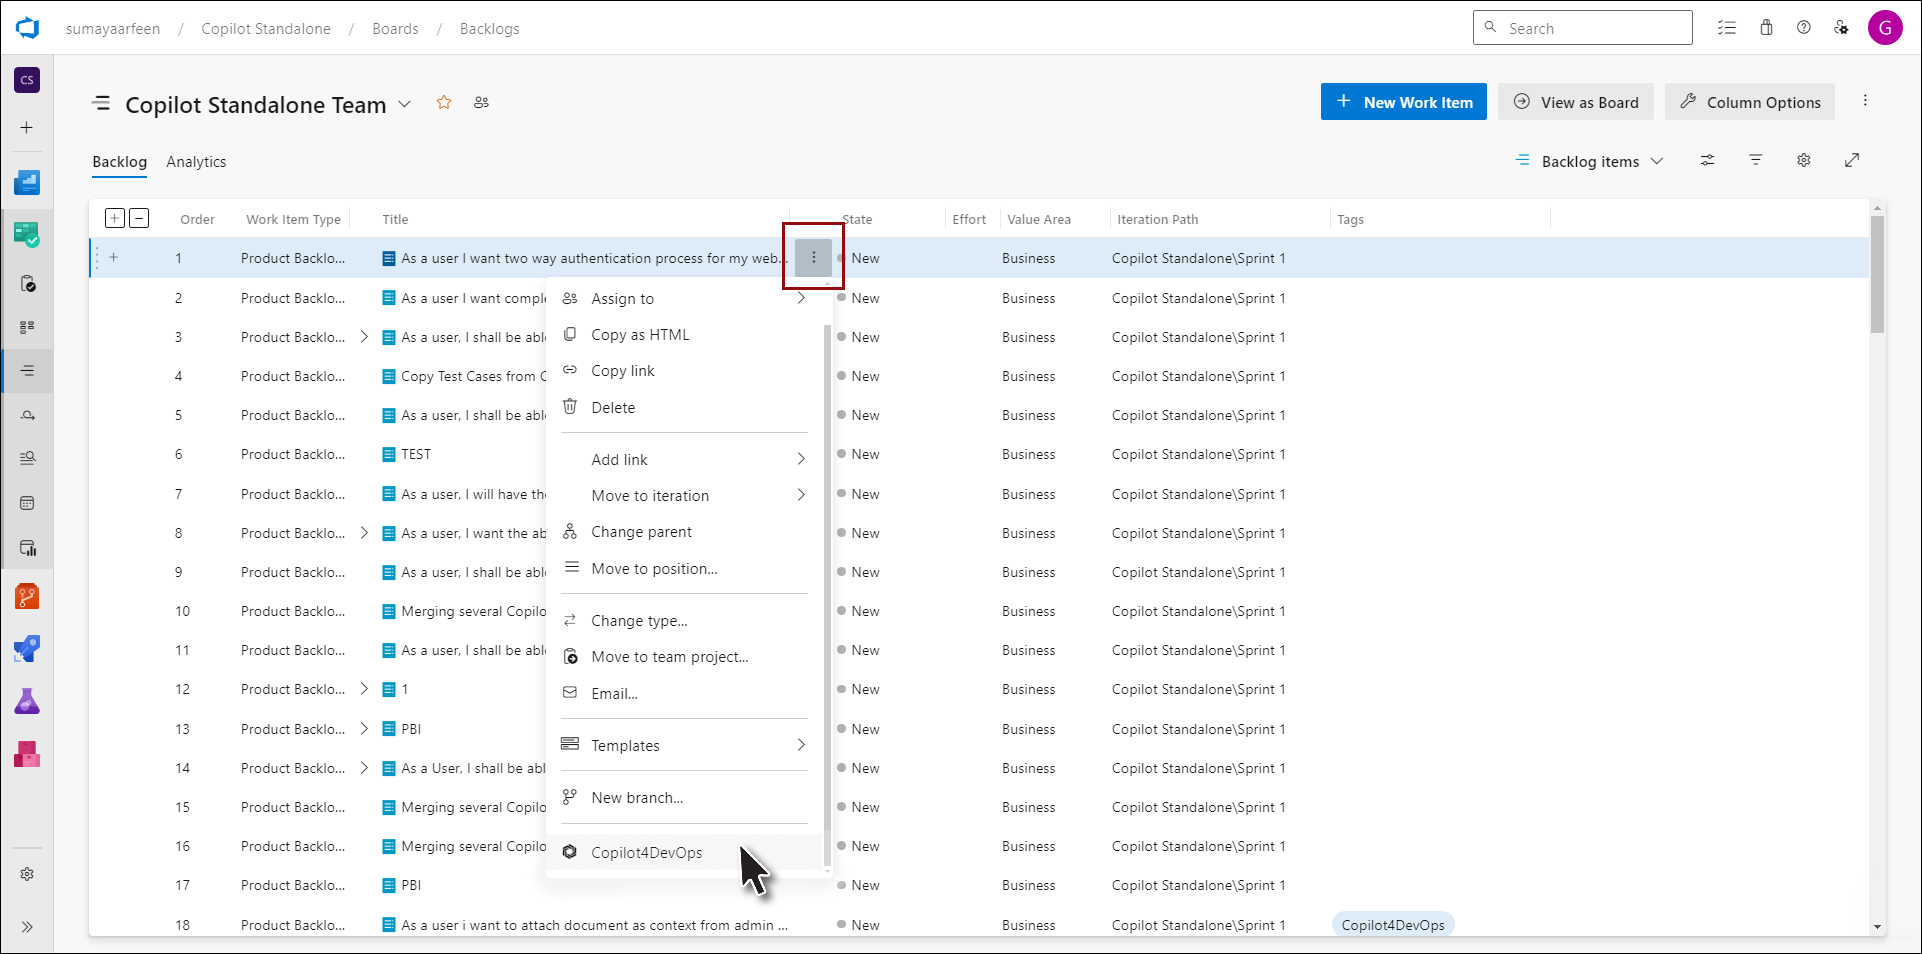
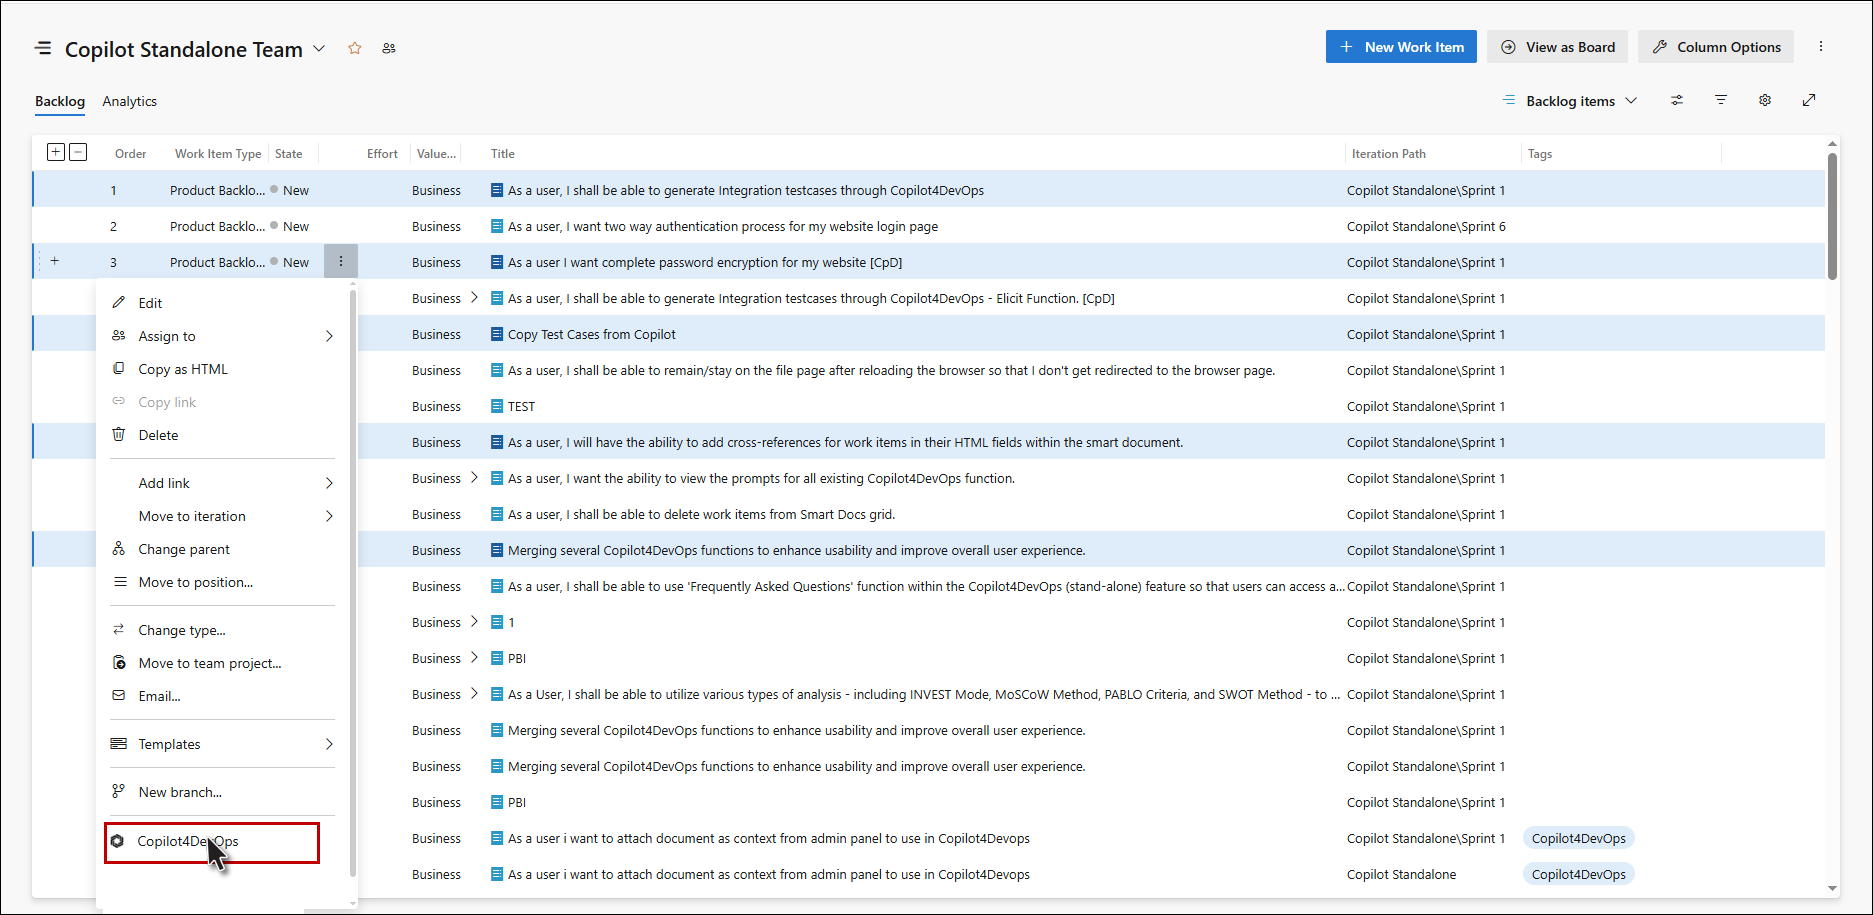
1. Click on the Copilot4DevOps option from the context menu of any work item from the Queries, and Backlog.
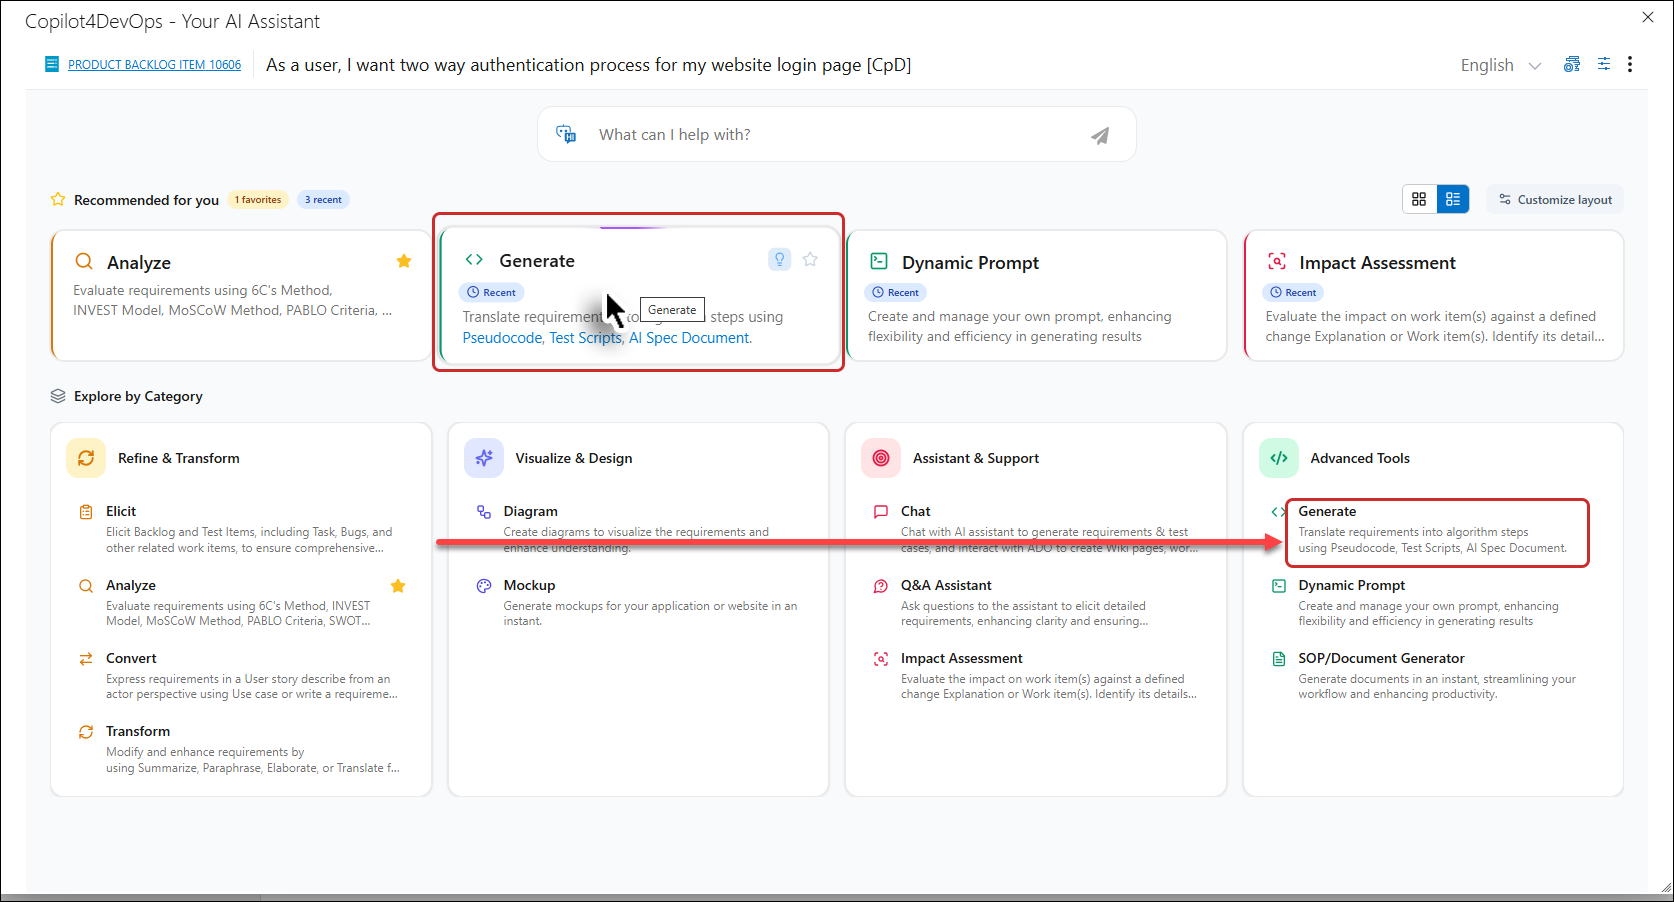
2. Copilot4DevOps pop-up appears.

3. Click on the Generate function shown on the Copilot4DevOps popup. If the Generate card is not in the recent cards list, then click it under the Advanced Tools category (shown by arrow).
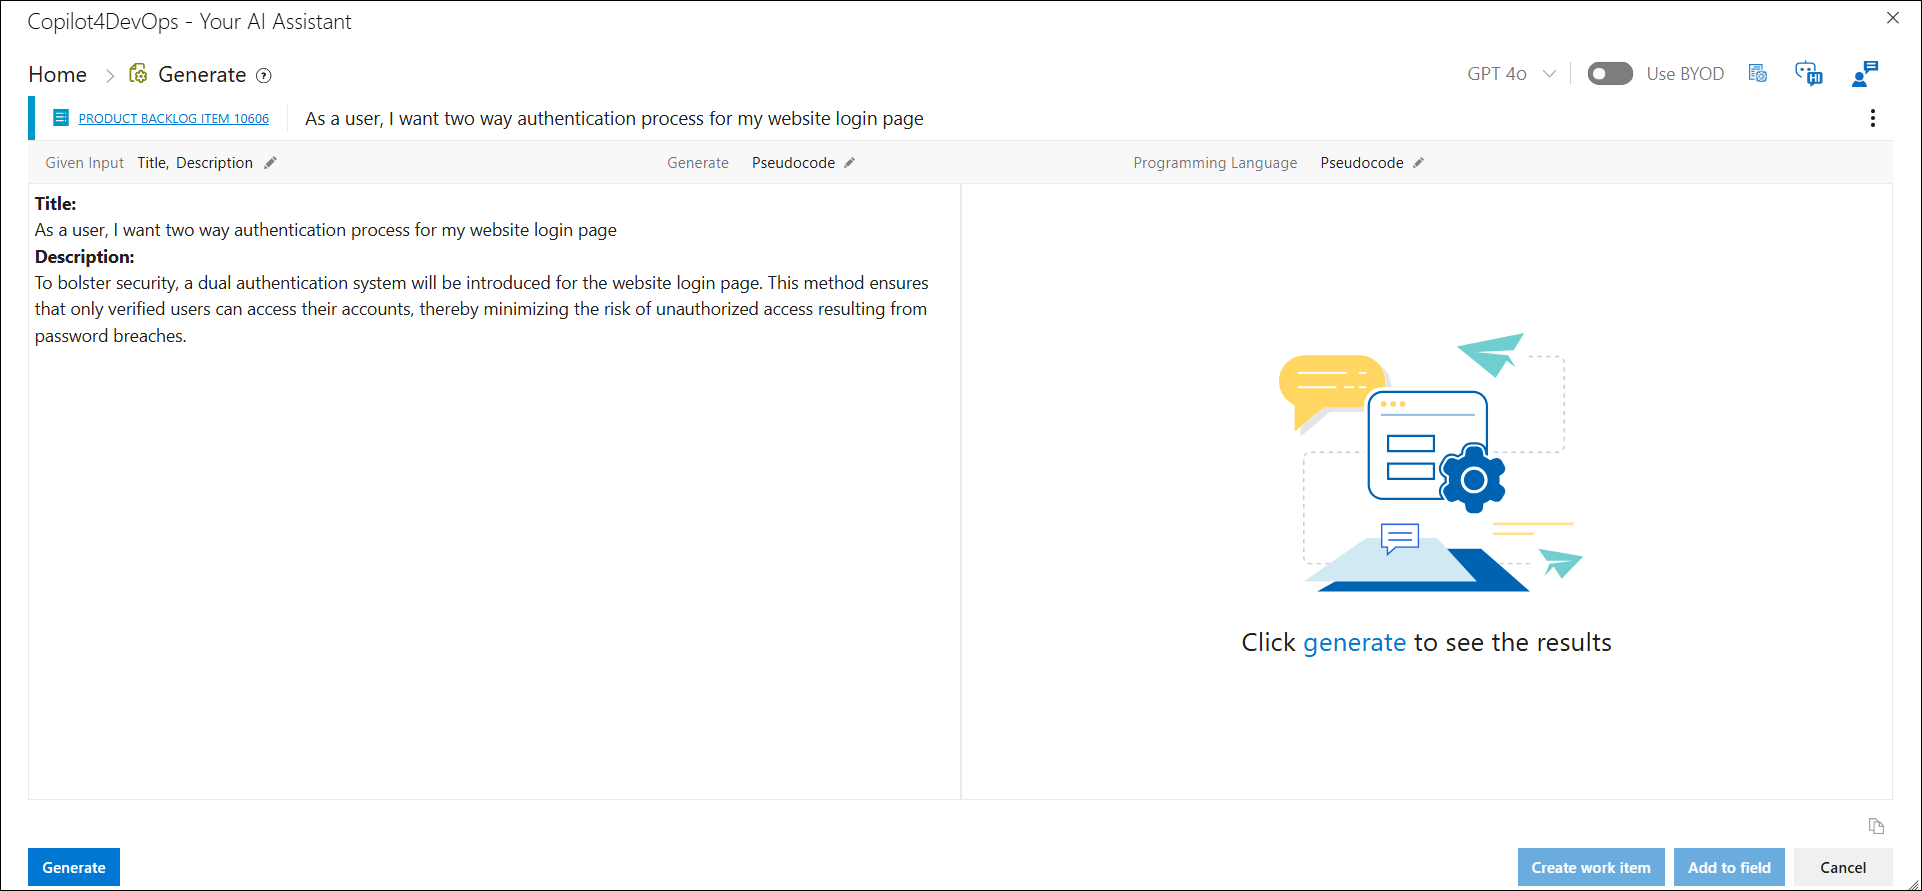
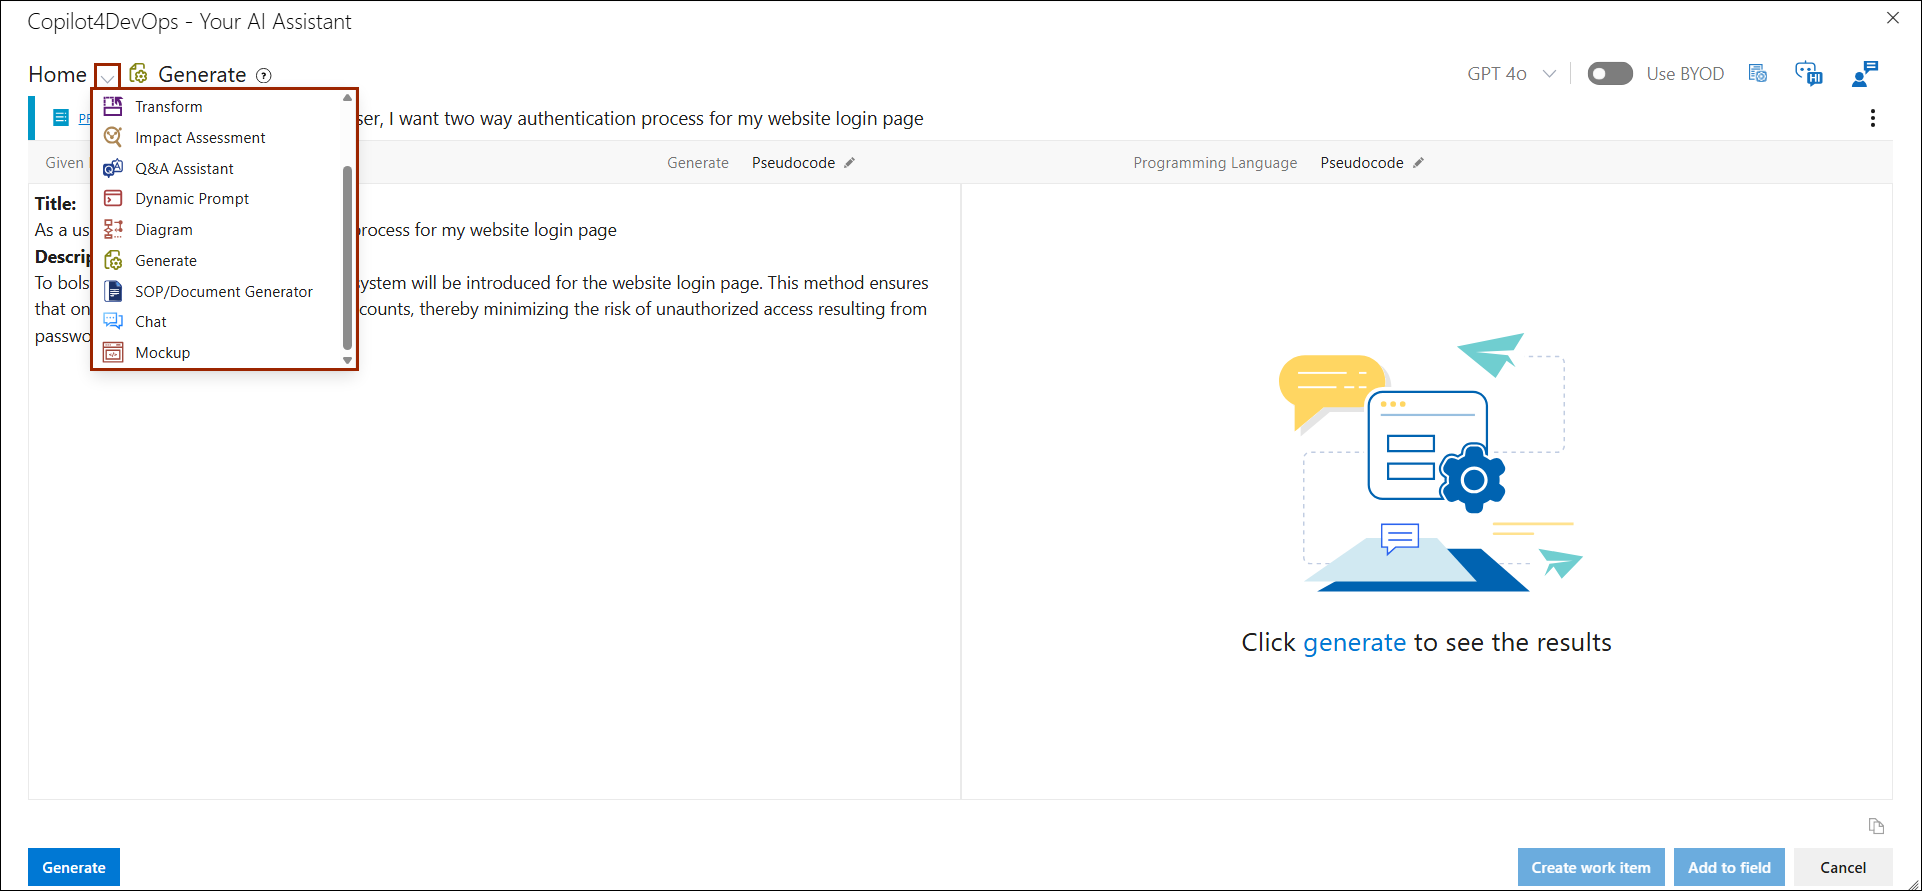
4. Generate popup opens.
5. Other functions can be accessed that are a part of Copilot4DevOps pop-up from this breadcrumb dropdown.
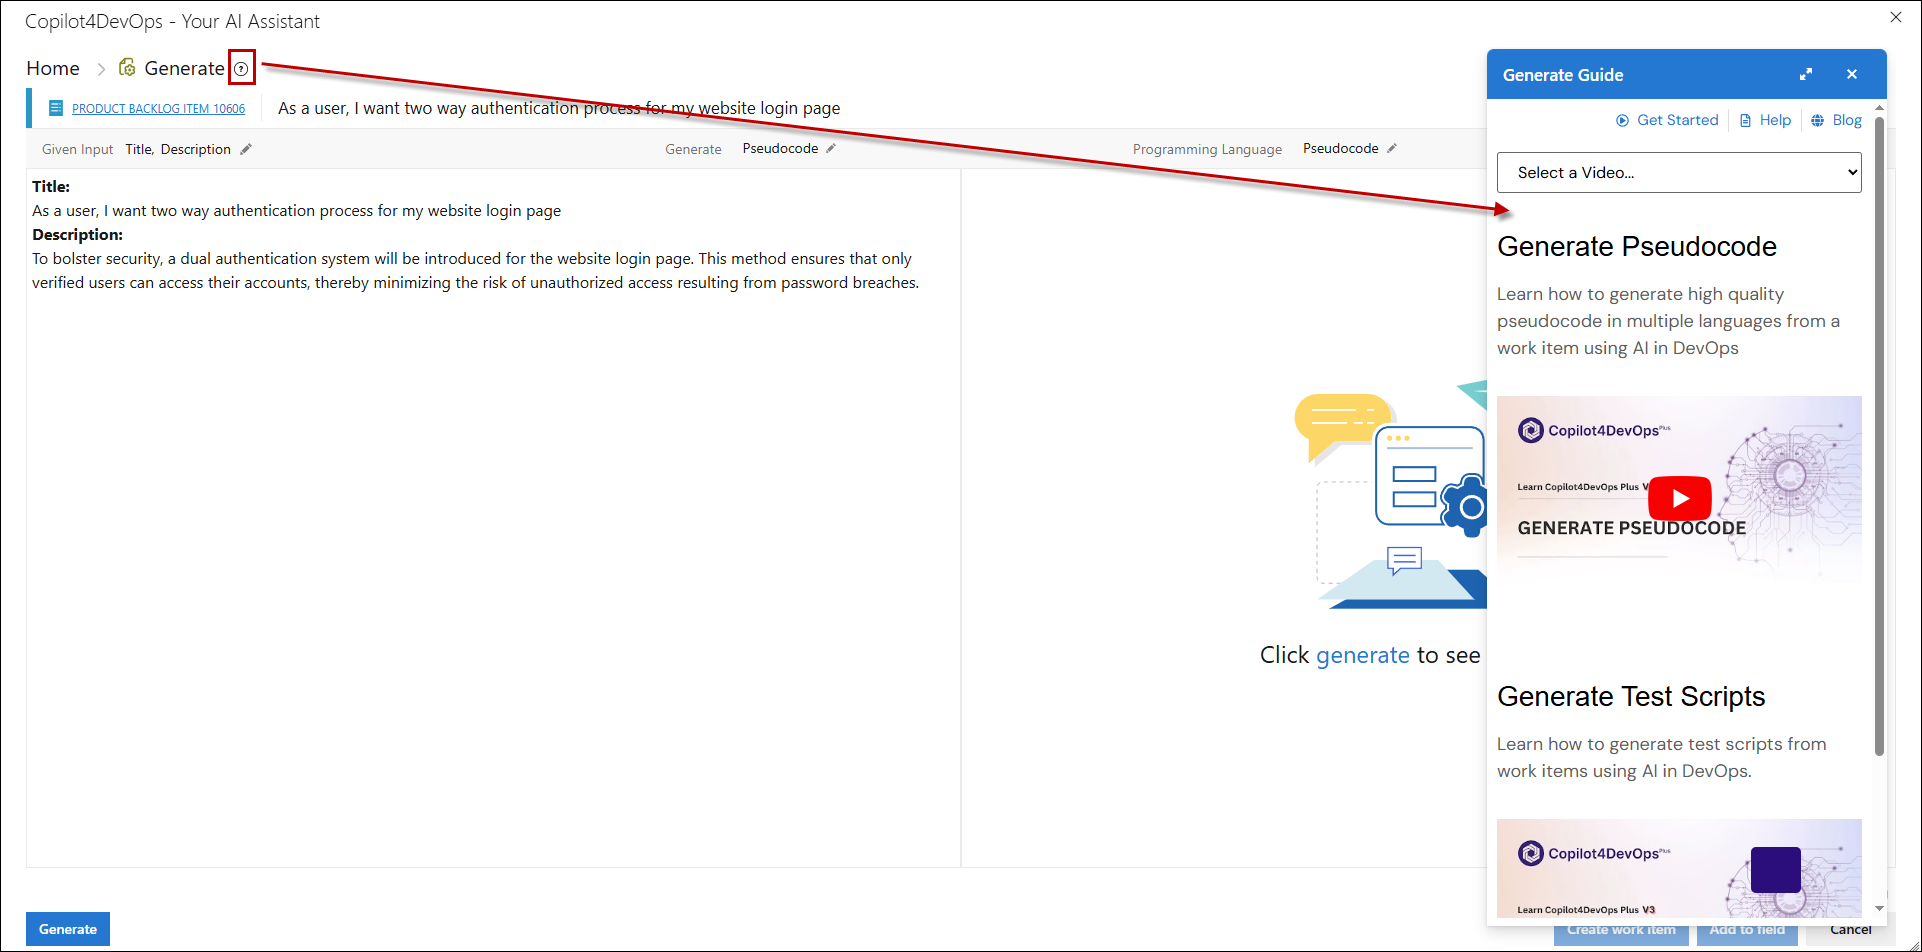
6. When user click on the help icon showing with the breadcrumb, the right panel will open, displaying the help content related to the currently open function.
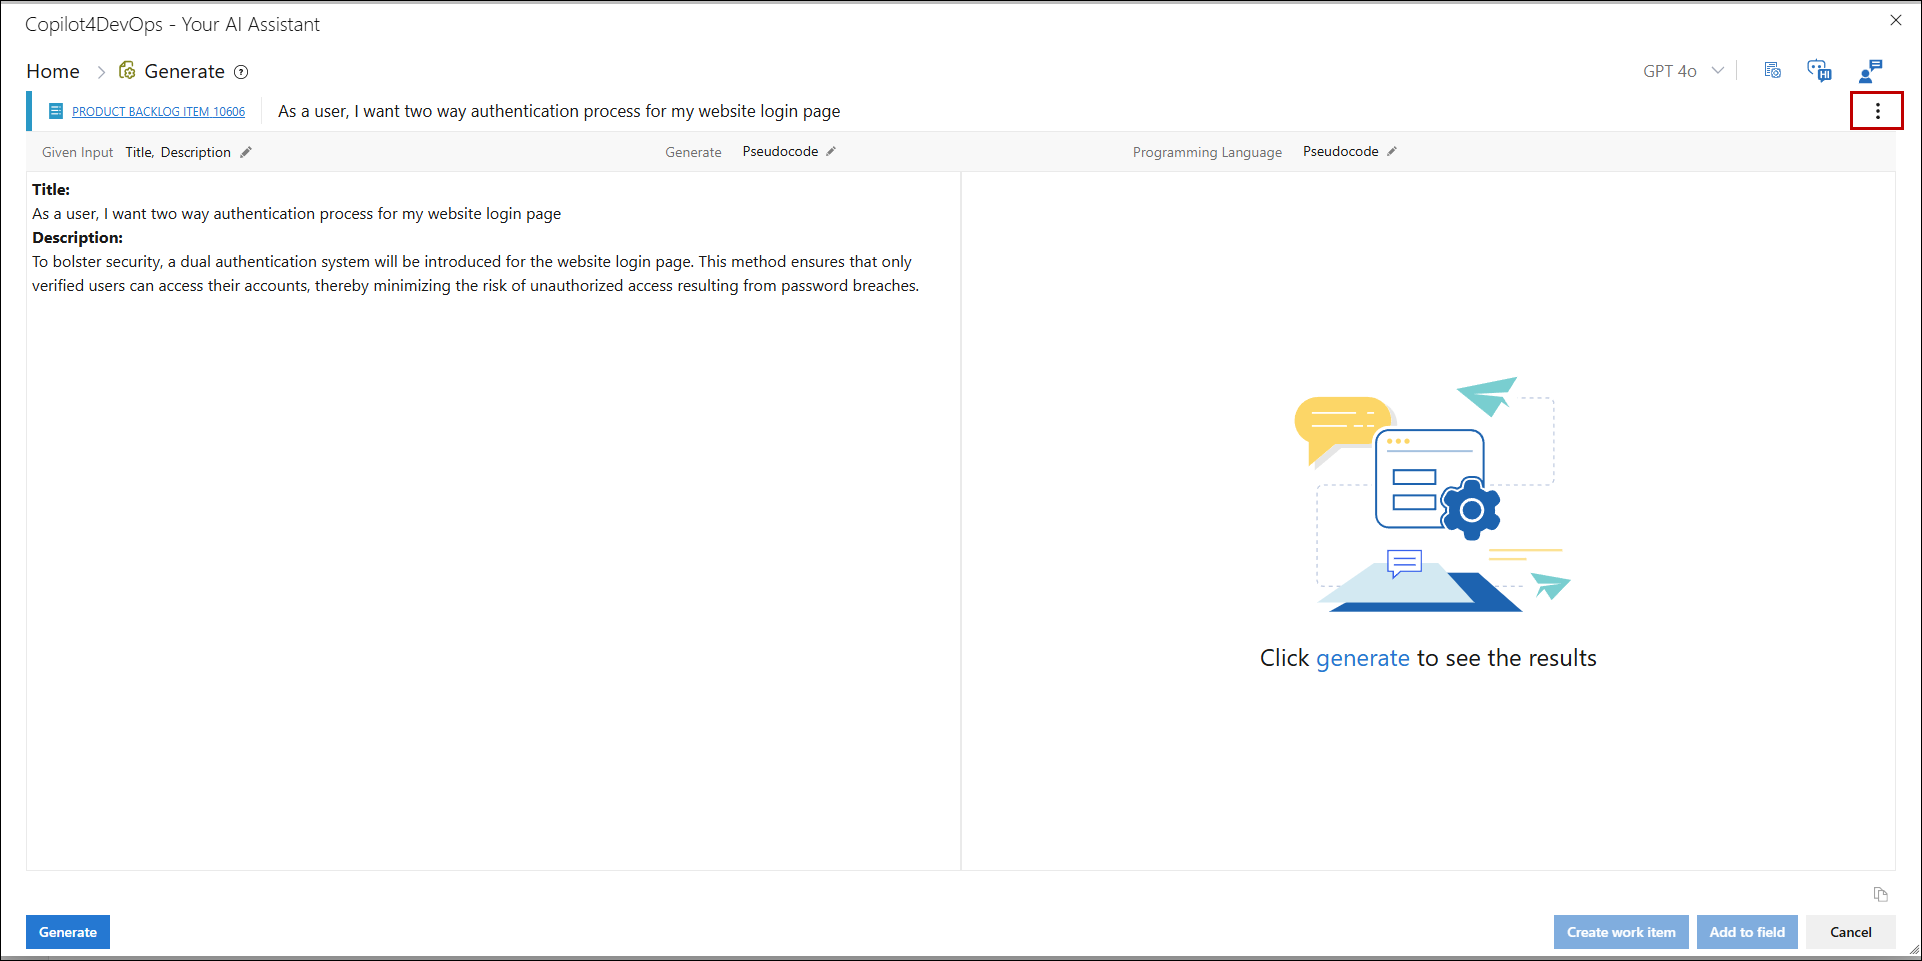
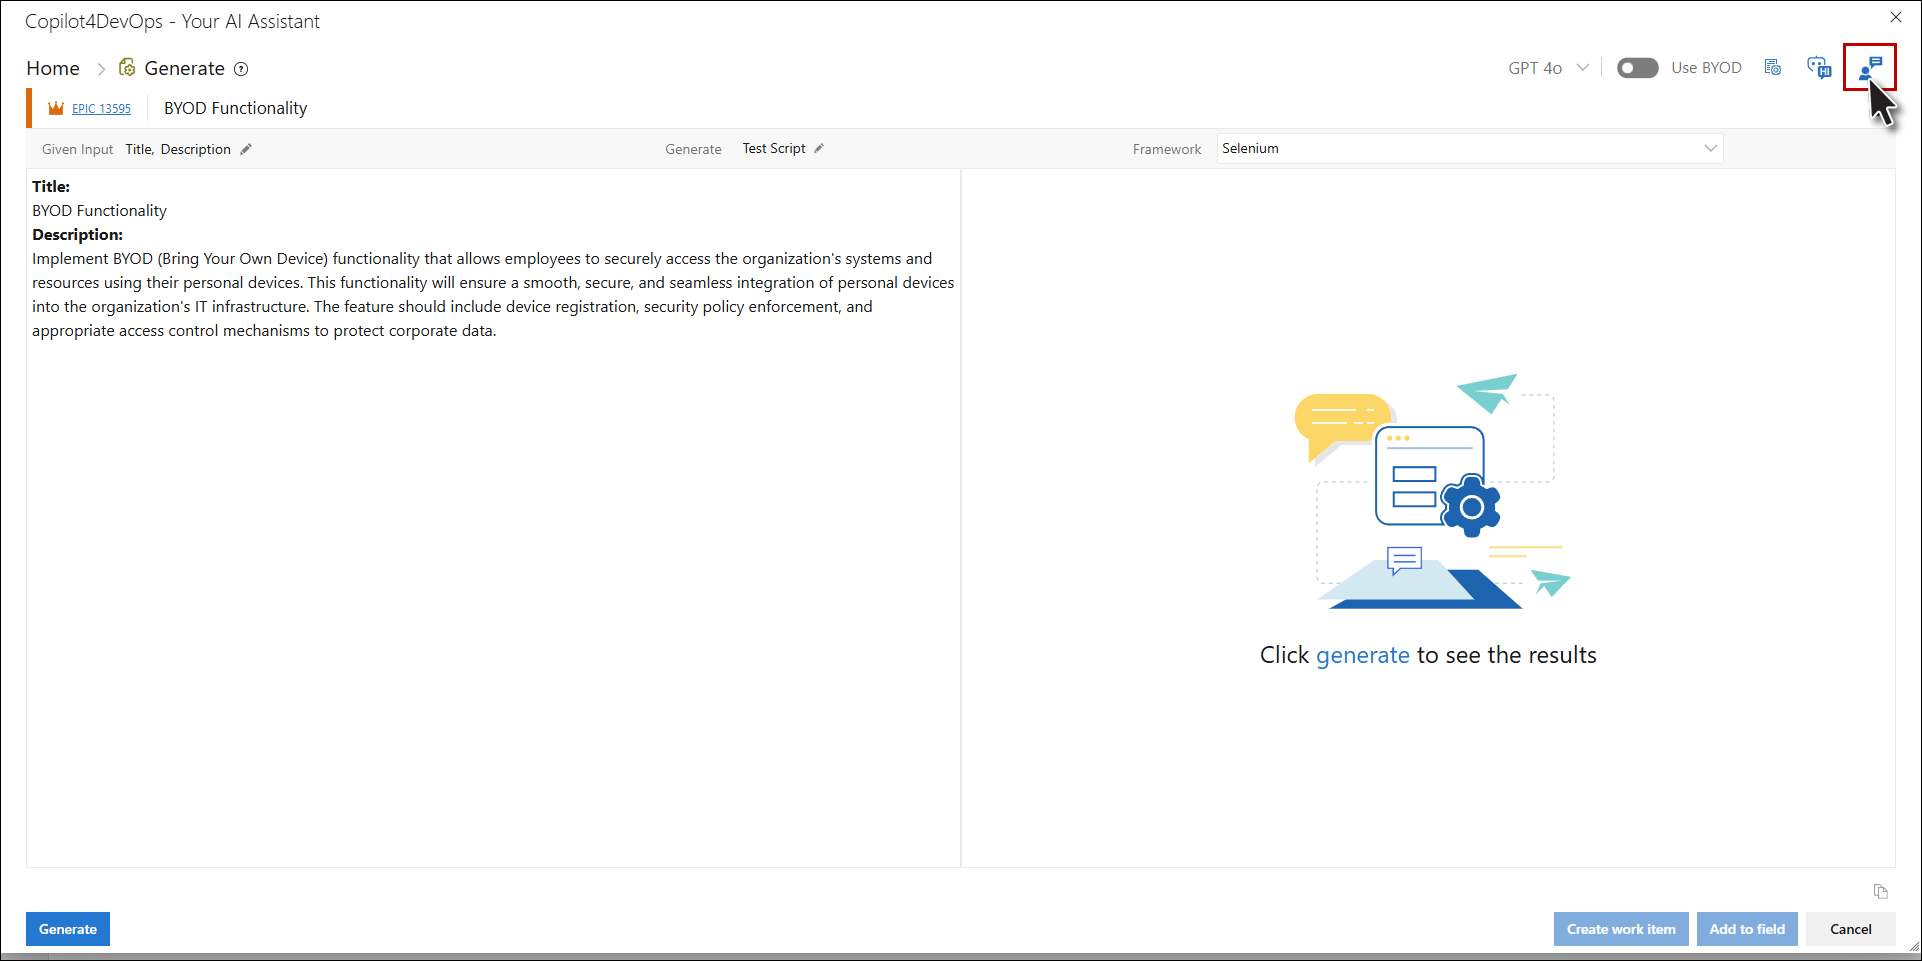
7. At the top of the popup, the work item icon, type, ID, and Title are displayed for the work item being converted.

8. The ‘X’ icon is available at the right corner of the work item title.
a. Clicking on ‘X’ icon displays an Existing Work item option.
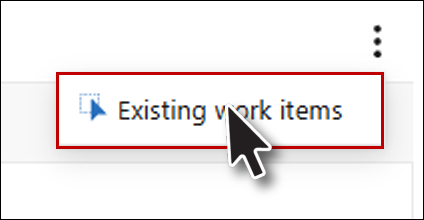
b. Clicking on Existing work items opens a pop-up labelled ‘Existing Work Items’.
.png)
c. The pop-up includes a search dropdown labeled ‘Work Item’ for selecting existing work items by ID and Title.
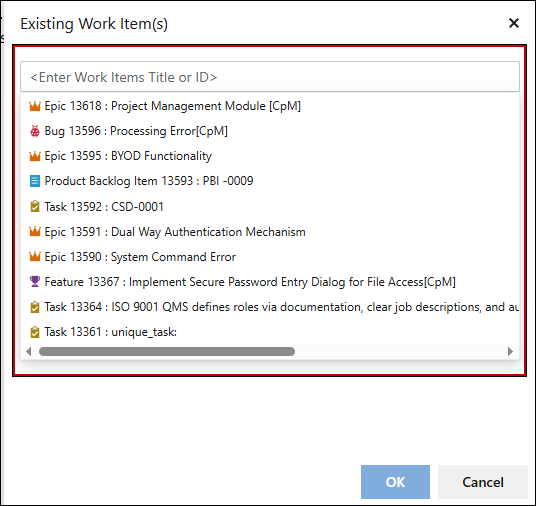
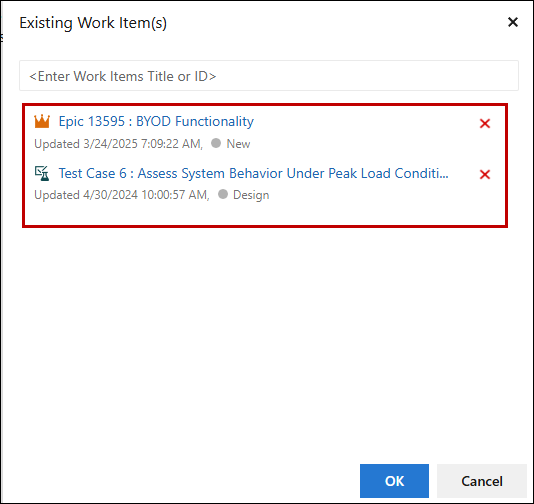
d. User shall be able to select a single / multiple work item, and the selected work item is displayed with icon, type, ID and title. Long title is truncated with ‘…’.
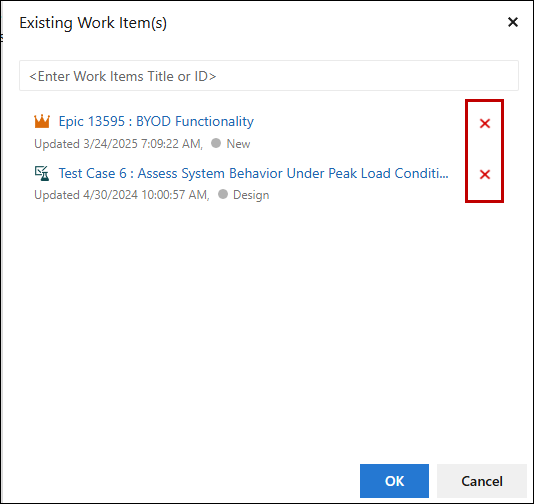
e. User can remove a selected work item by clicking the ‘x’ button.
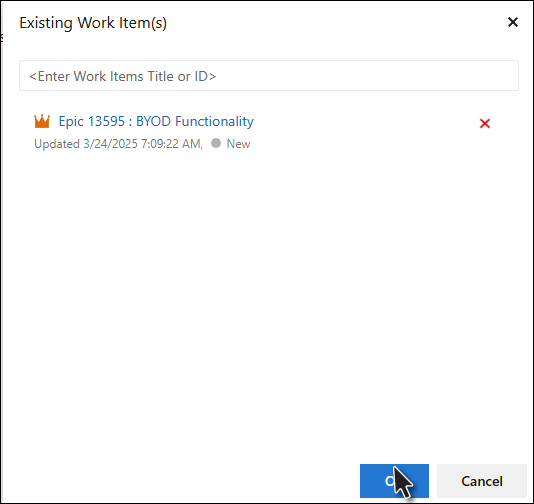
f. Clicking on the OK button after selecting at least one work item. It will update the details in the Transform function popup and home page of Copilot4DevOps with selected work item as the anchor for all functions.
.png)
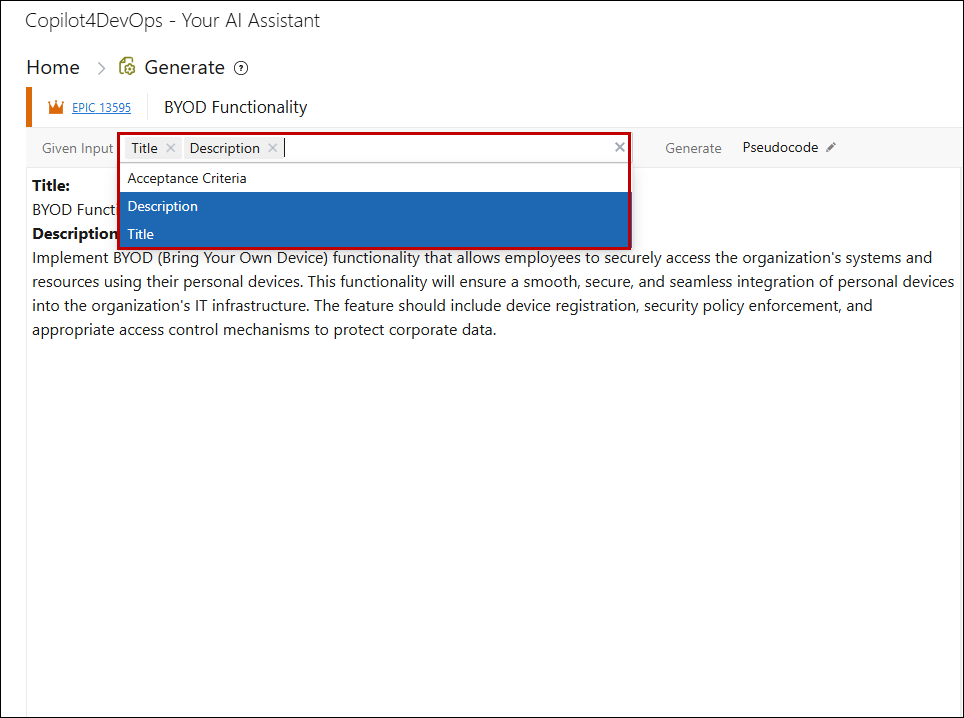
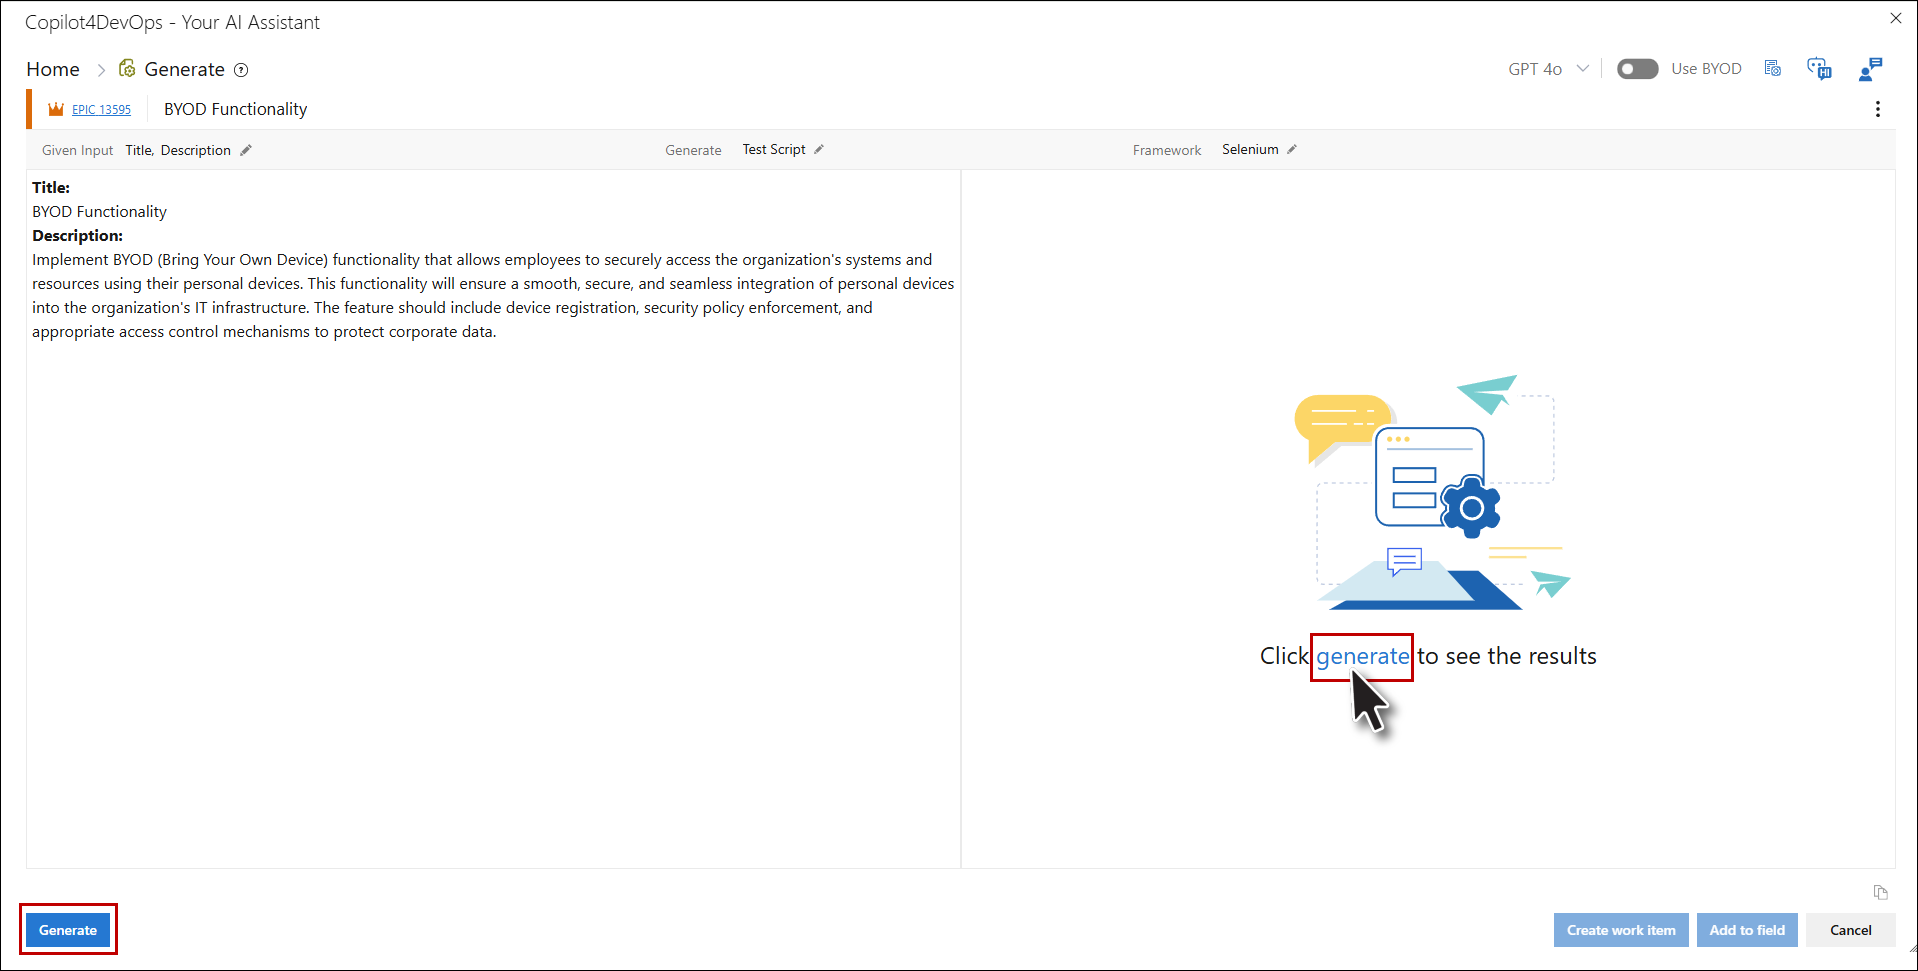
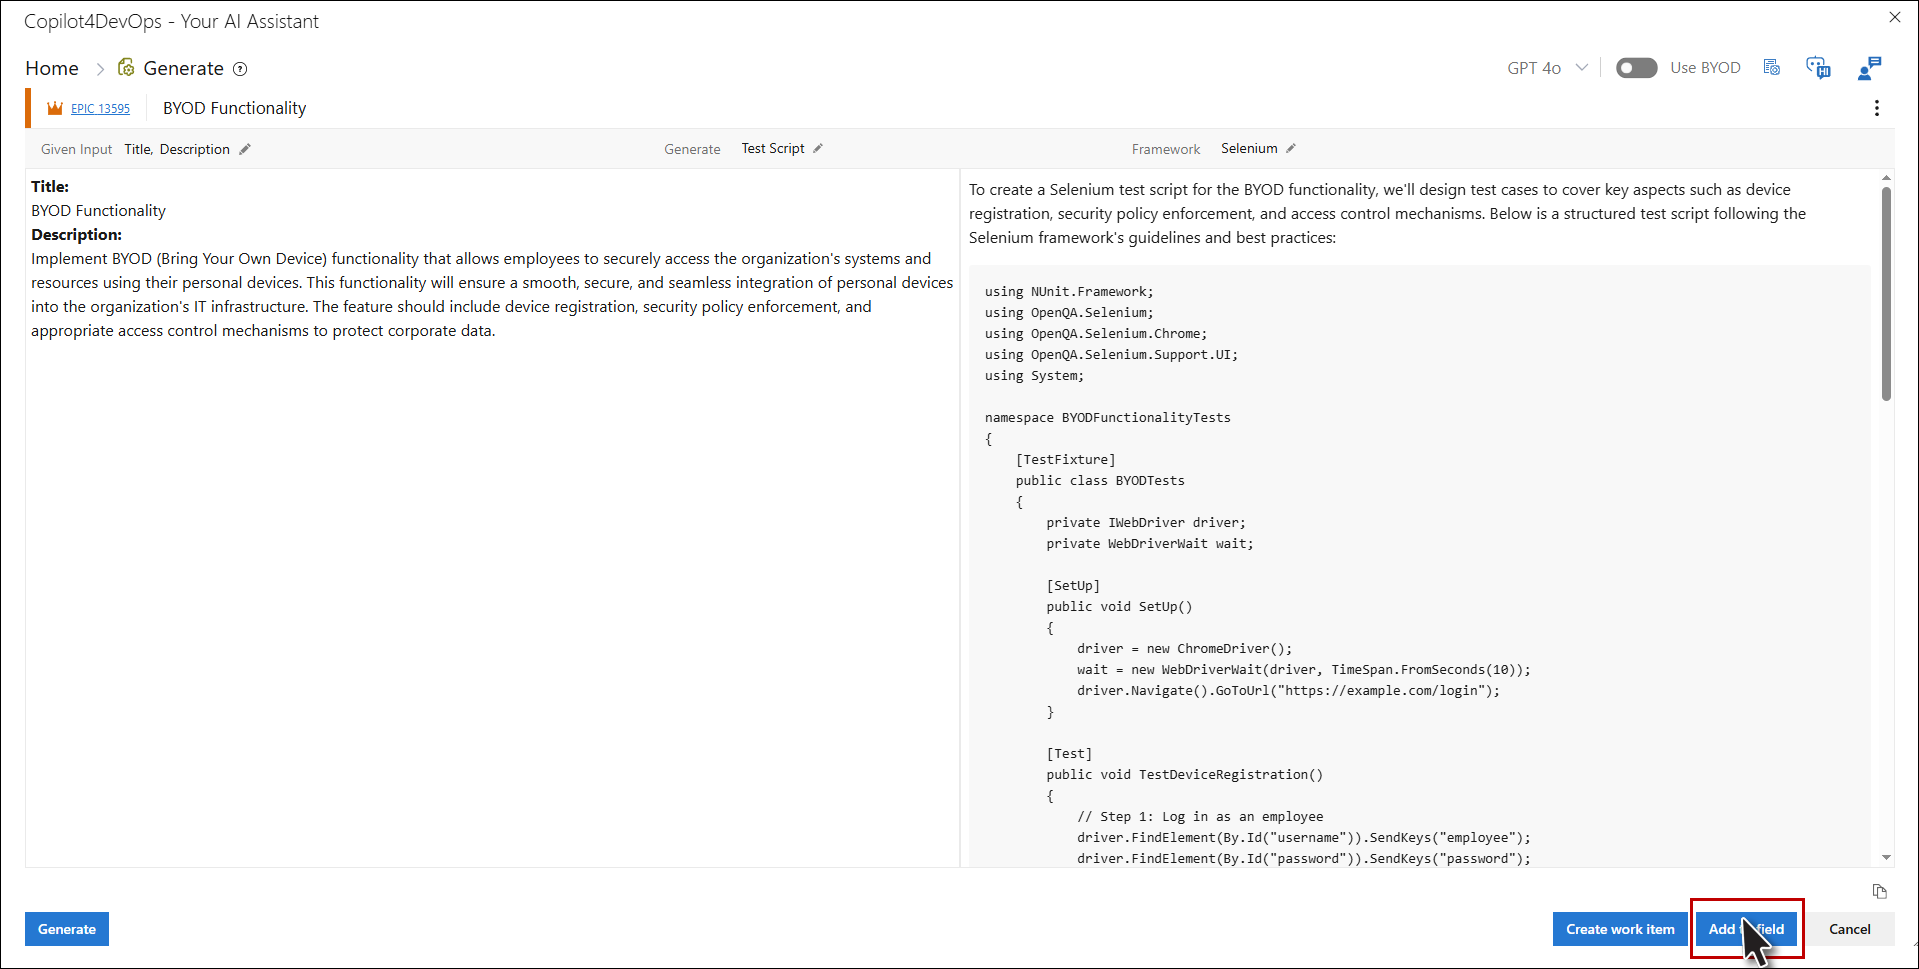
9. User can select more than one work item field from the Given input dropdown (The work item fields shown are only HTML fields in the dropdown for which the Convert is opened along with title).
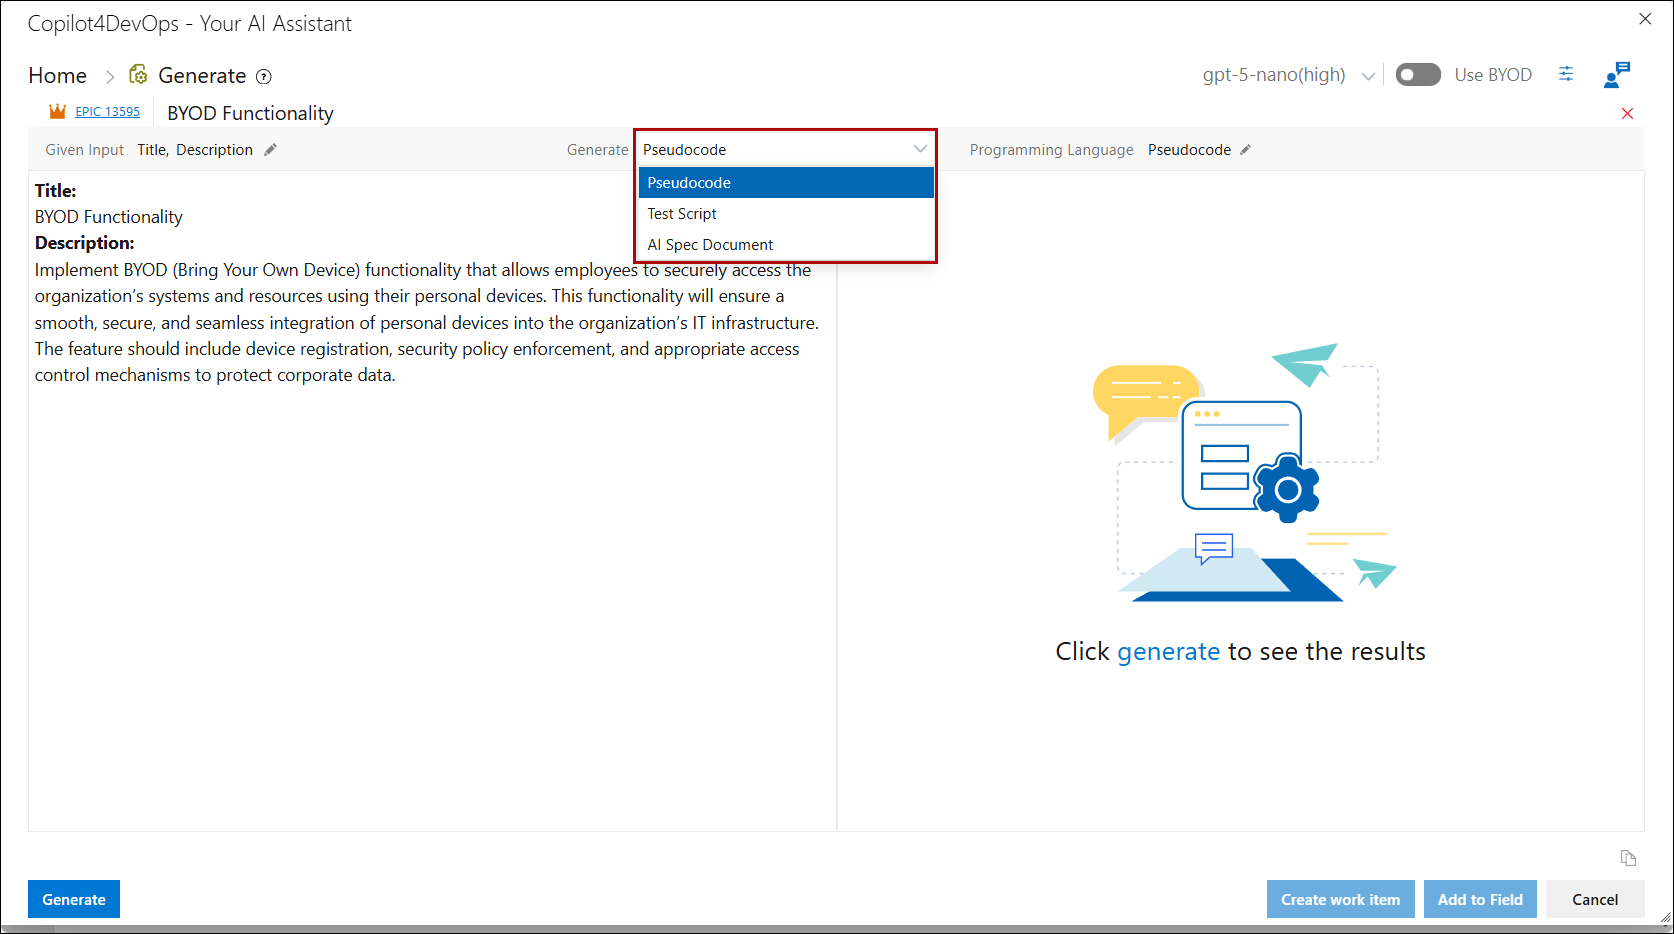
10. Select the generation type (Pseudocode, Test Script, or AI Spec Document) from the Generate dropdown, by default Pseudocode is selected in the dropdown.
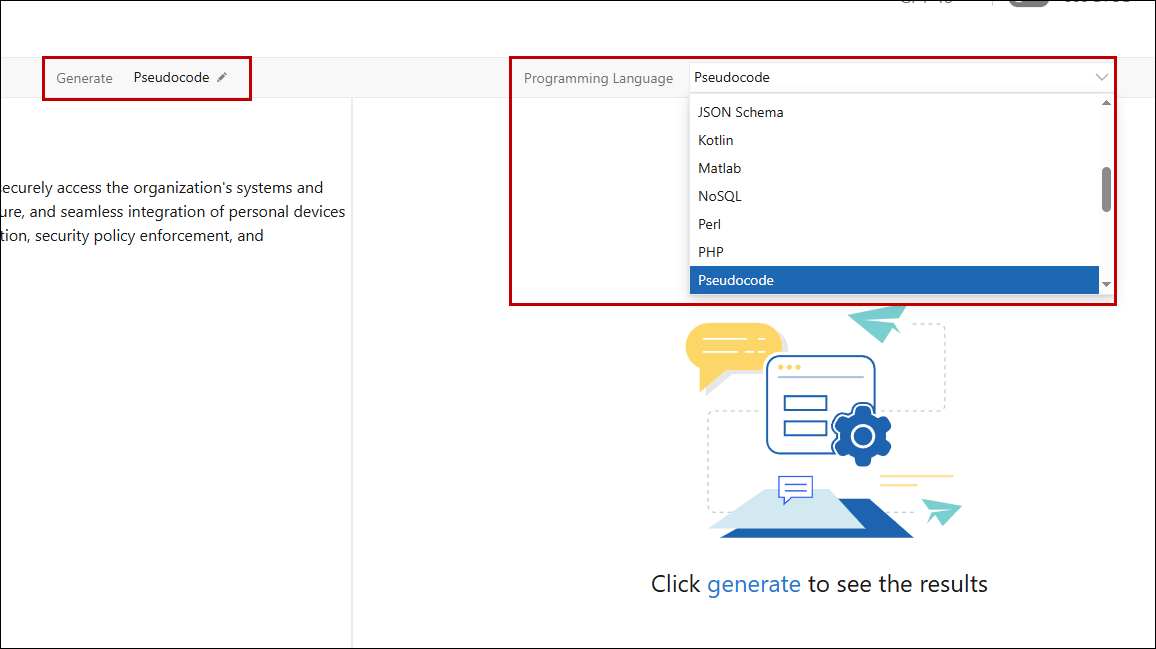
11. If the user selects Pseudocode from the Generate dropdown, they can then choose the desired programming language from the Programming Language dropdown. By default, Pseudocode is selected in the Programming Language dropdown.
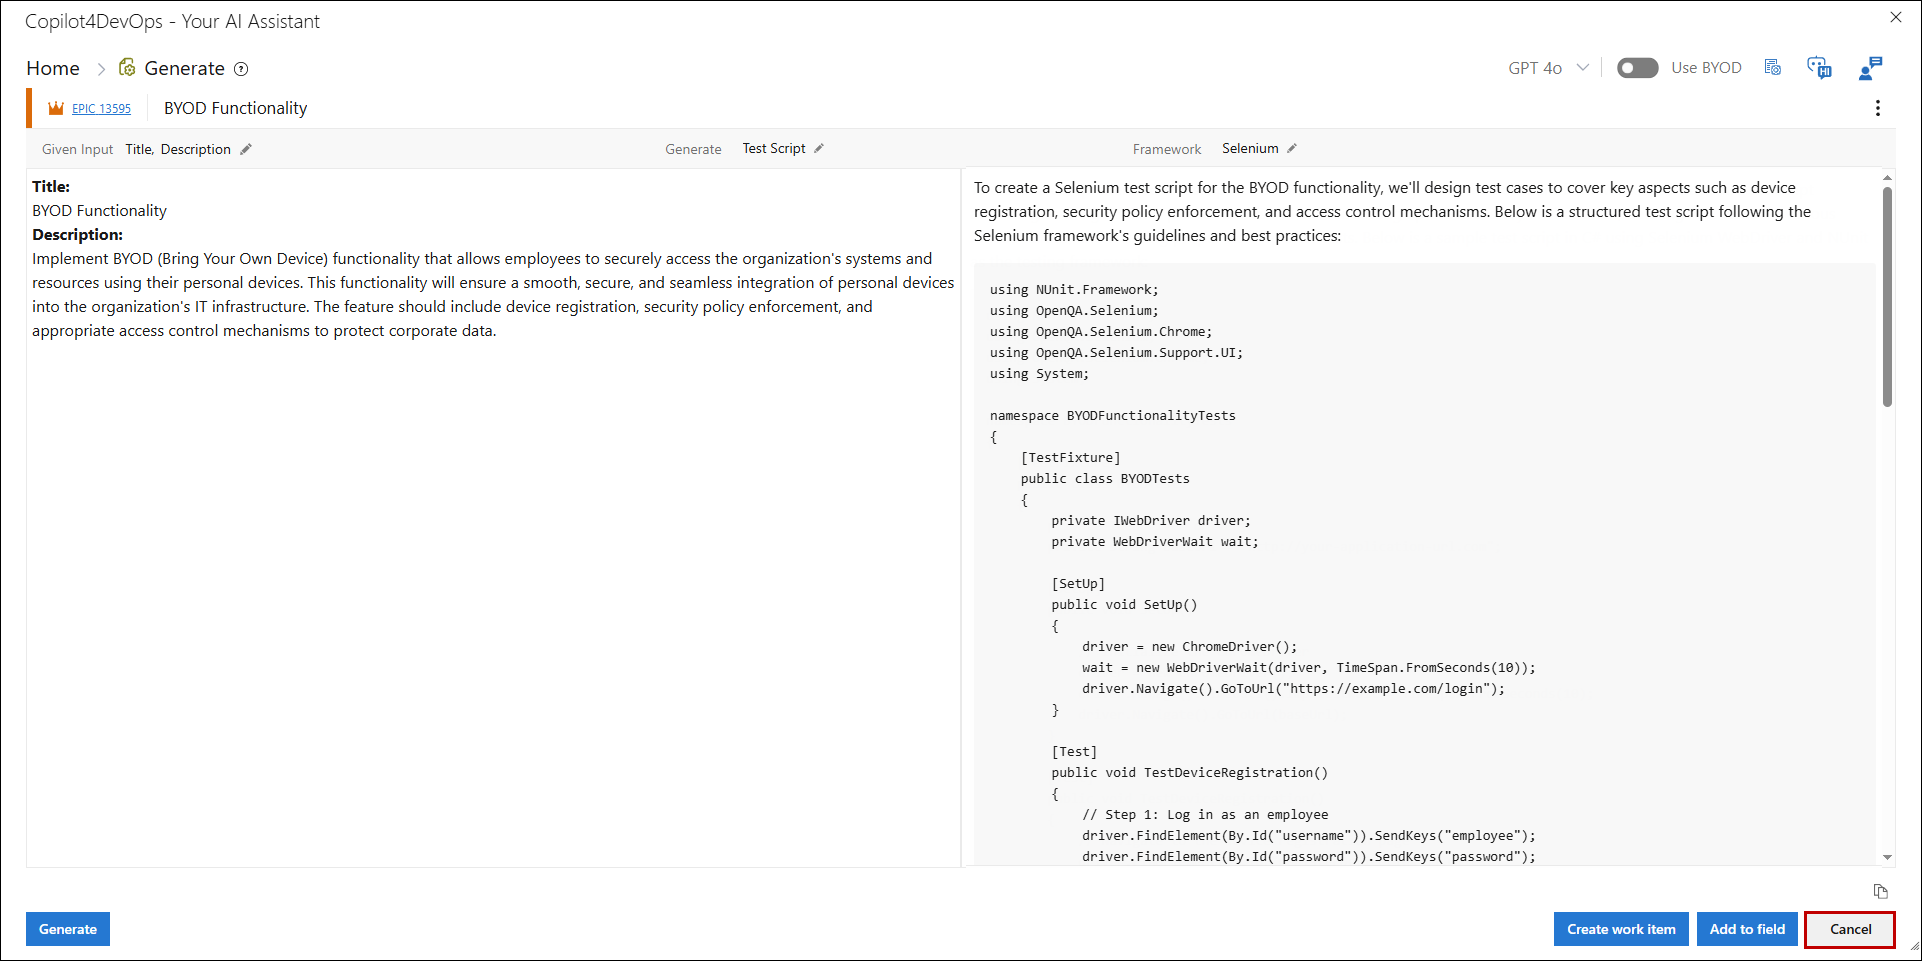
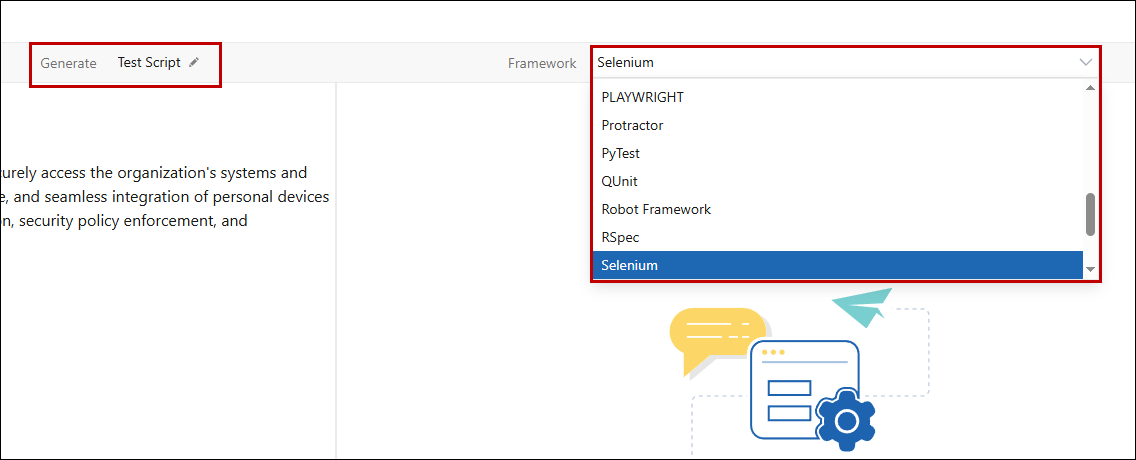
12. If the user selects Test Script from the Generate dropdown, they can then choose the framework from the Framework dropdown. By default, Selenium is selected in the Framework dropdown.
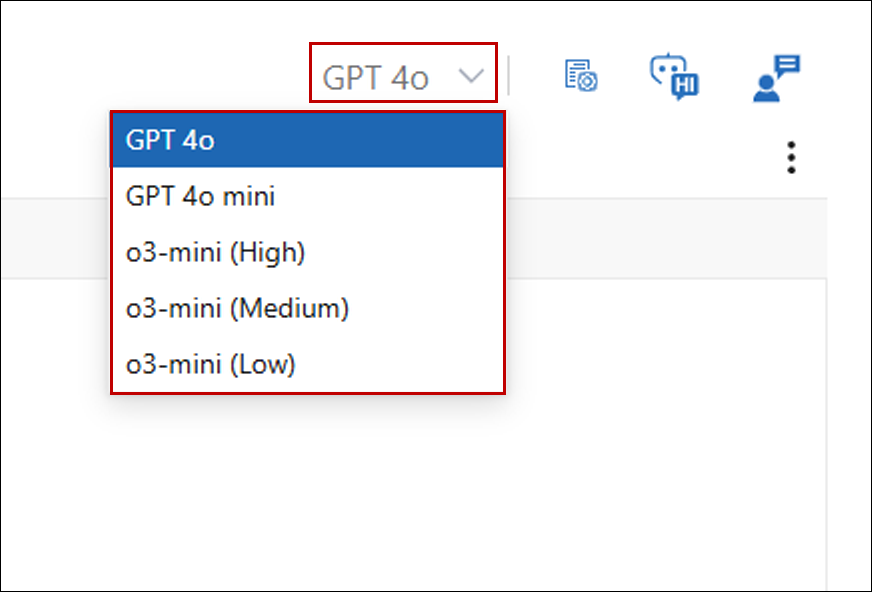
13. Ranked AI models configured in the Admin Panel will be displayed for each corresponding feature on the Home Page.
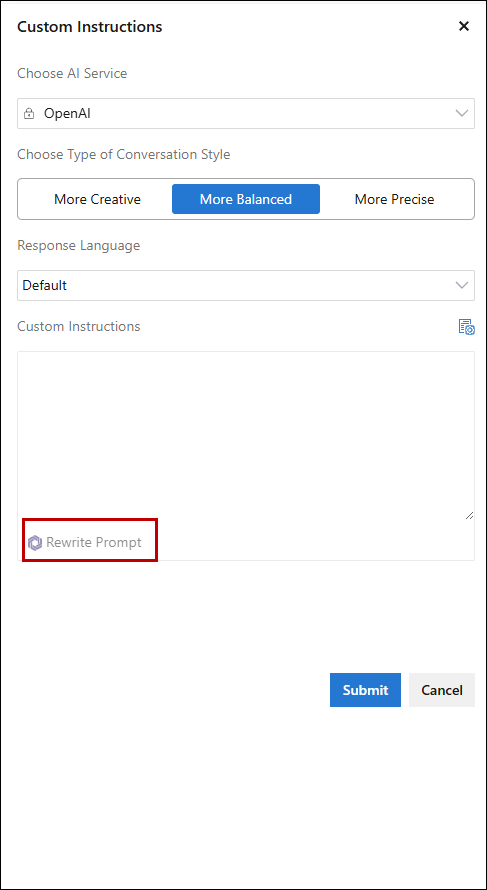
14. Click on Custom instructions option at top right of the breadcrumb, a right panel opens.
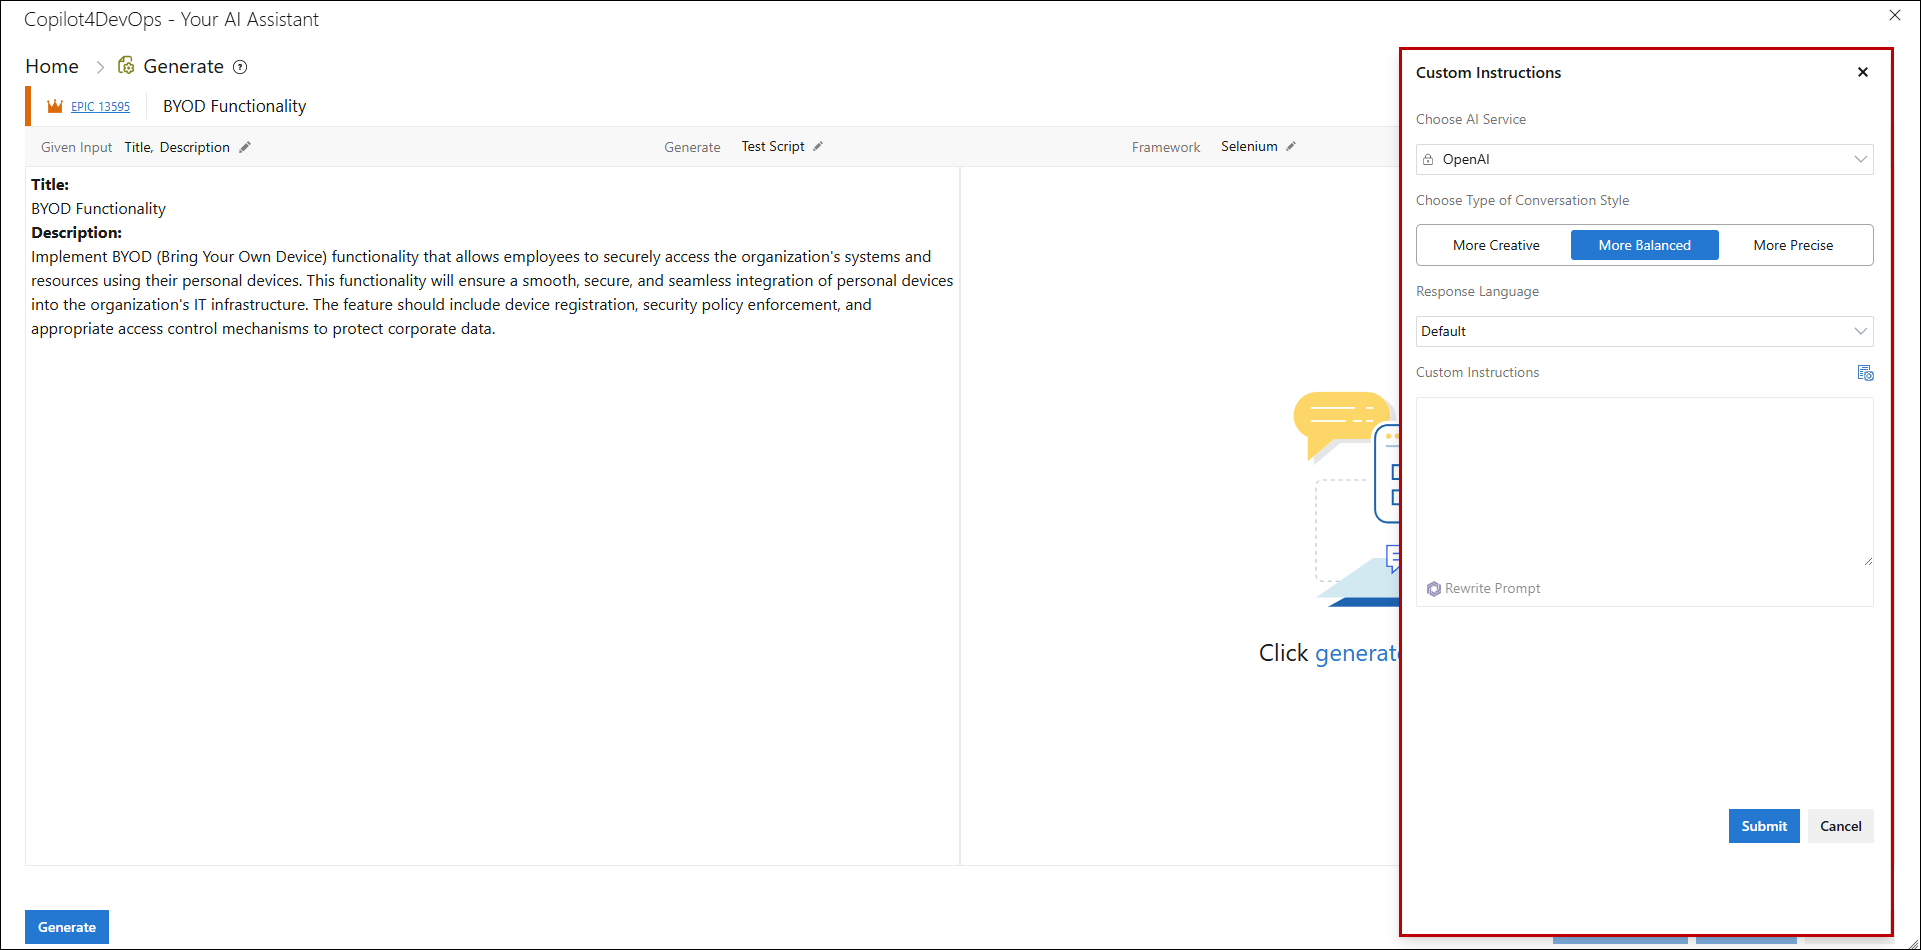
15. From the right panel user will be able to see the AI Service selected in the Admin also able to Choose Type of Conversation Style such as “More Creative”, “More Balanced” or “More Precise”. Users also have the option to specify the Response Language and even include any Custom instructions which will be added with the default prompt.
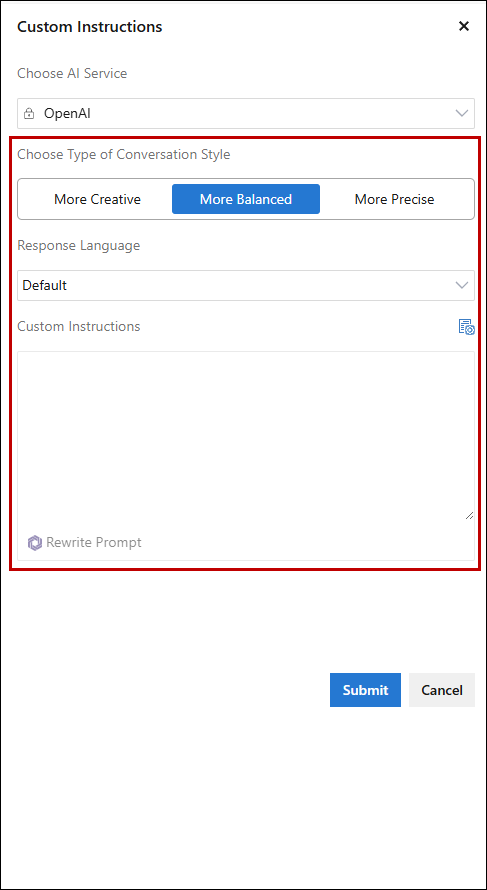
a. Users can rewrite their custom instructions using the Rewrite Prompt option in the Generate function with a single click, producing structured, complete, and accurate instructions—using the AI model selected from the "AI Model Auto Selection and Ranking" section for “Rewrite Prompt” under the General tab in Admin panel.
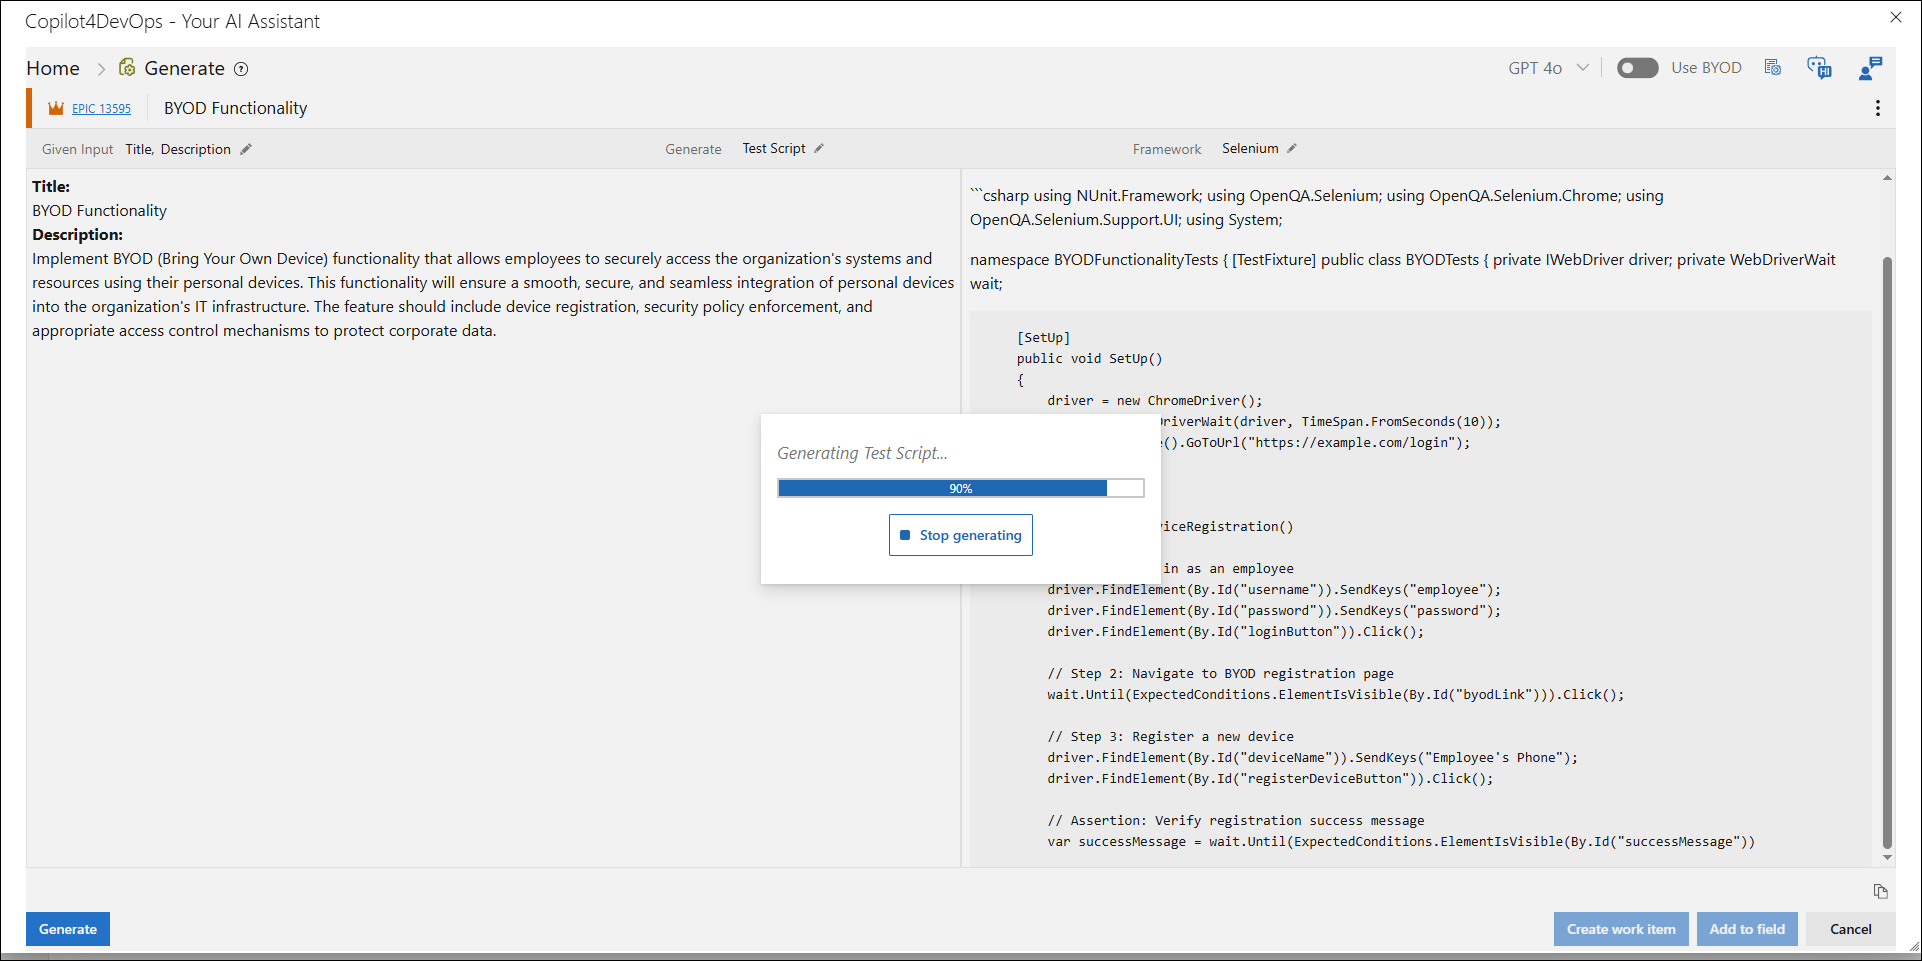
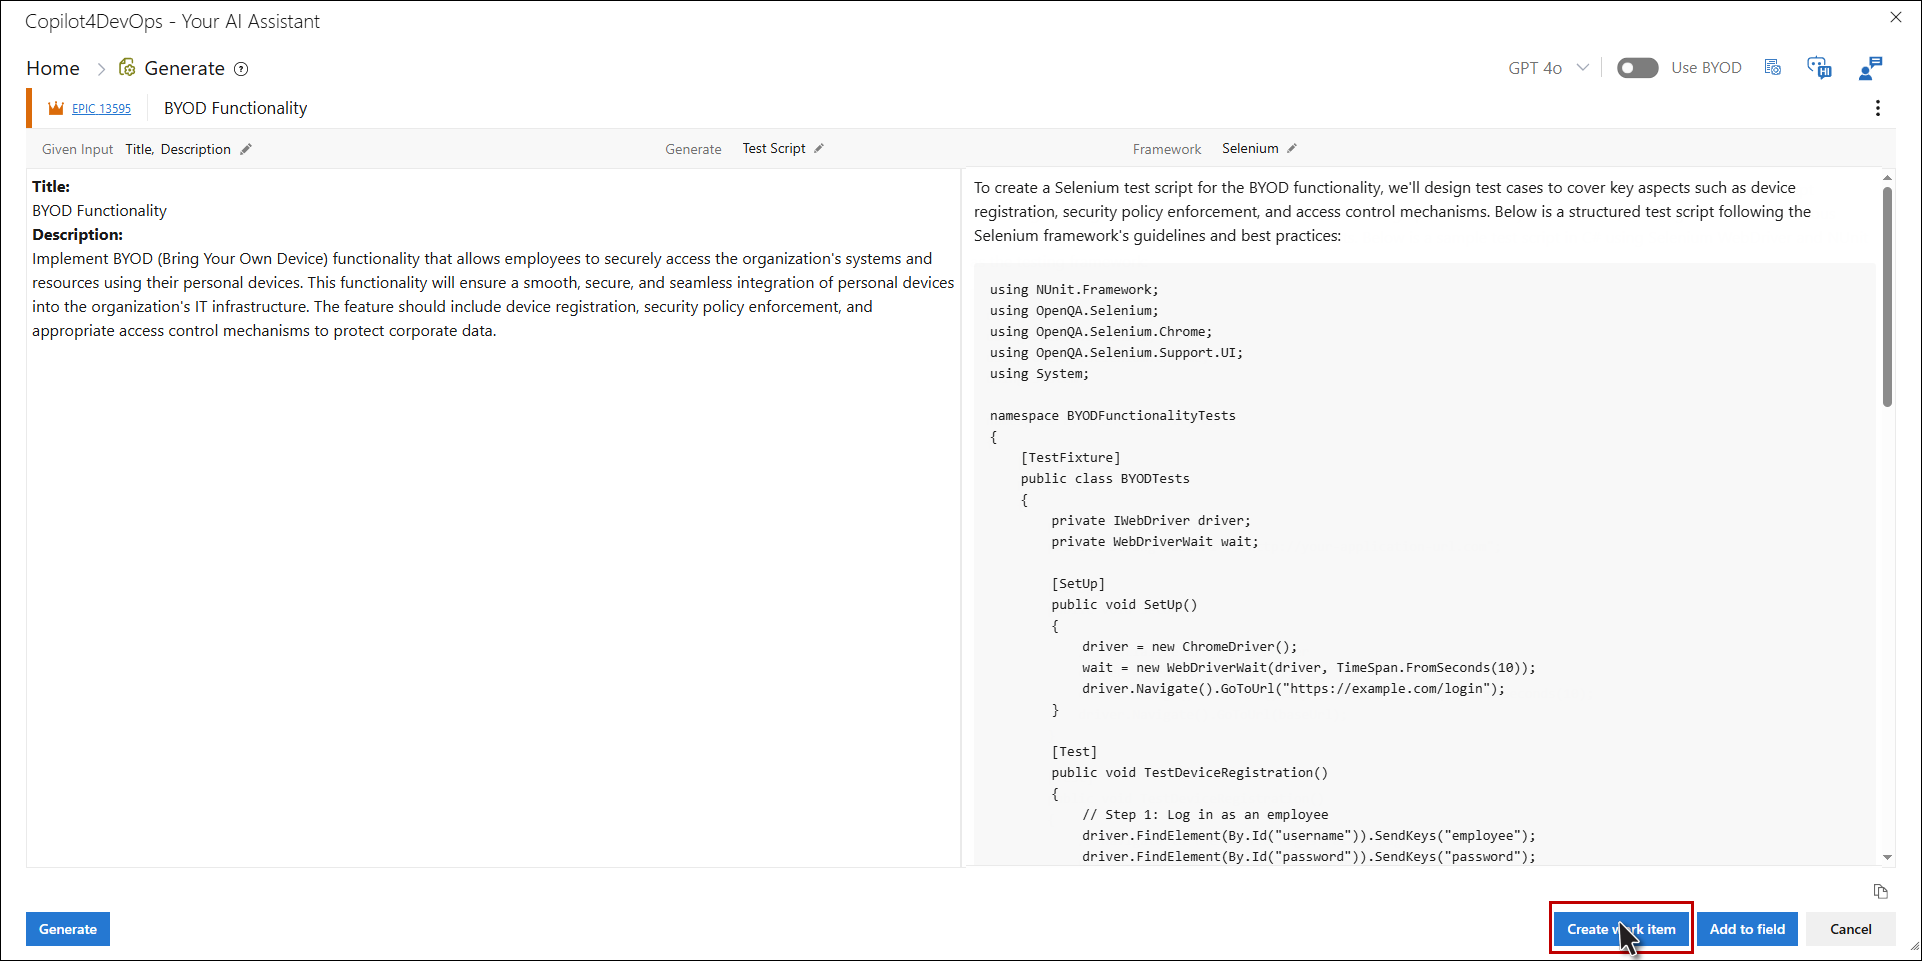
16. On clicking the Generate button or Generate link, Pseudocode / Test Script is generated for the work item field of the selected work item.
17. User can multi-select work items and invoke Copilot4DevOps – Generate , allowing users to generate Pseudocode and Test Scripts for all selected work items cumulatively.
18. The Generate window is divided into two sections, the left panel and right panel.
a. Left Panel: Data of the selected work item field is displayed here.
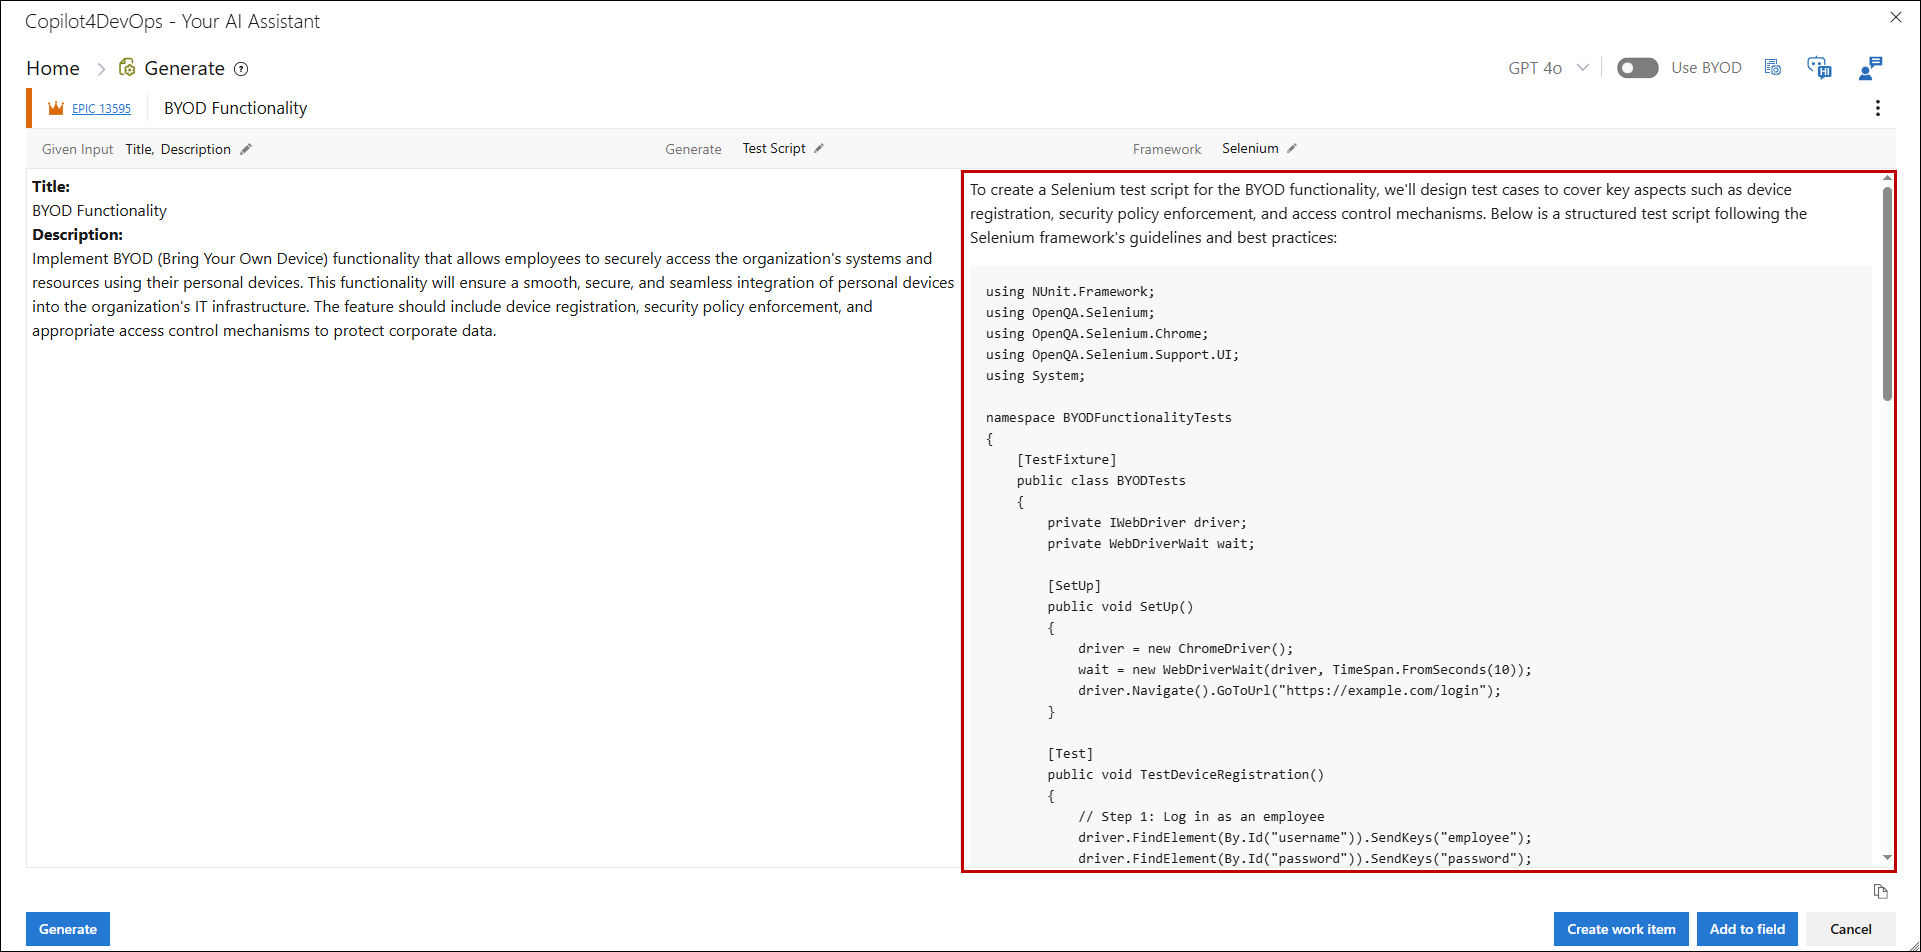
b. Right Panel: The data of the selected work item is converted and is displayed here.

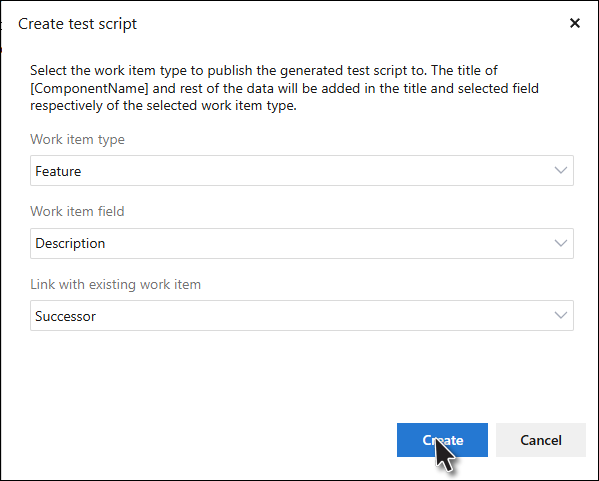
19. Click on the Create work item button, a popup is opened, containing the Work item type, Work item field, and Link with existing work item dropdown.
Note: In case of multiple selected work items Create work item button is not available.
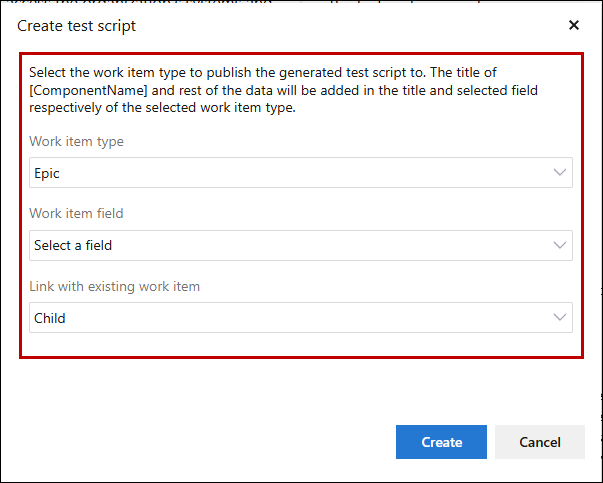
a. Select the Work item type, Work item field, and Link with existing work item from the dropdown to create the new work item.
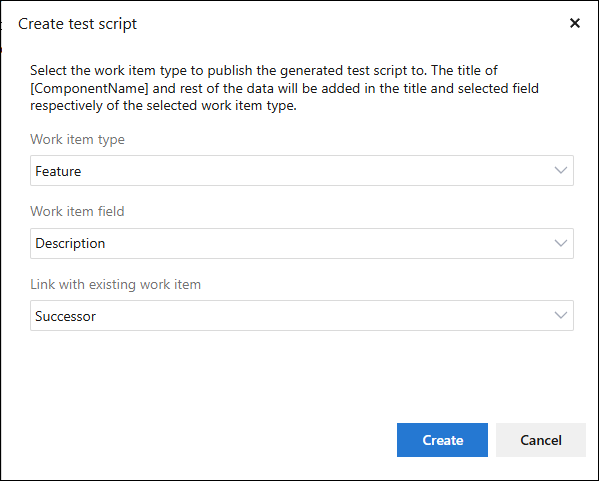
b. Click on the Create button. The work item is now created in the ADO project/team and the generated data is added in the selected field as it is.
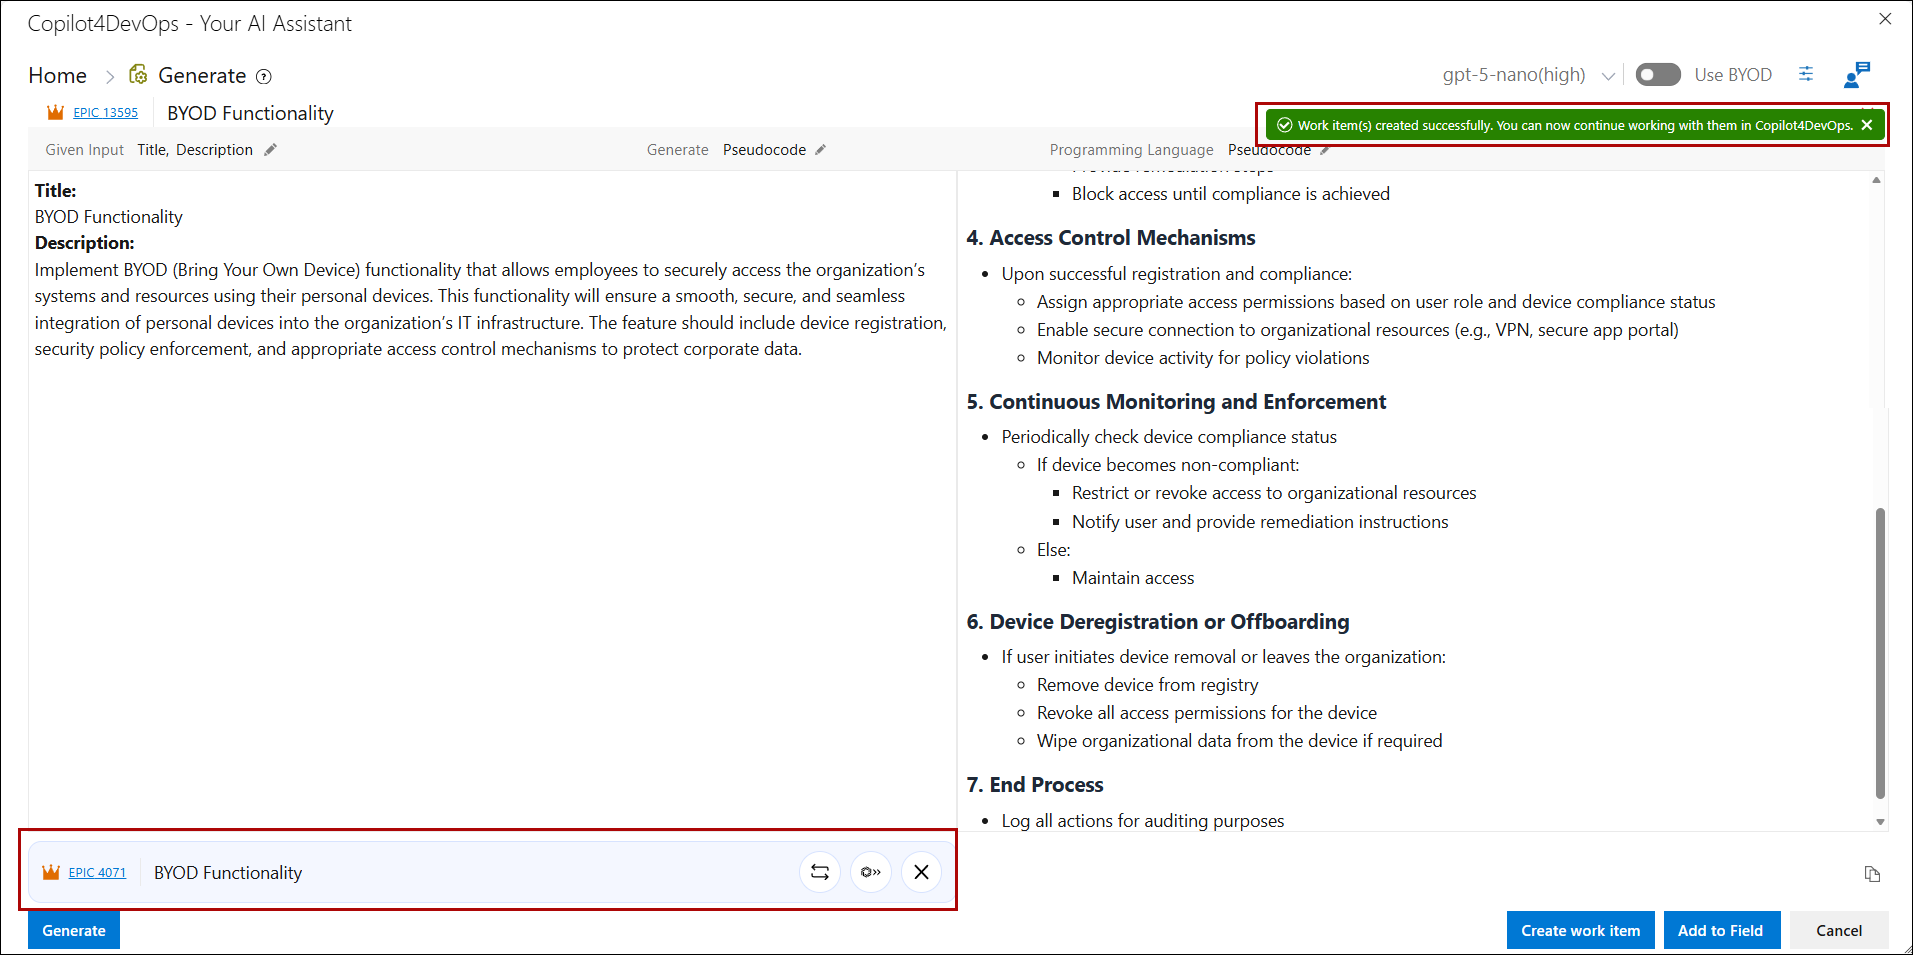
20. a) A notification will be shown confirming the creation of the work item.
b) The user can open the work item in the Azure DevOps editor using the hyperlink.

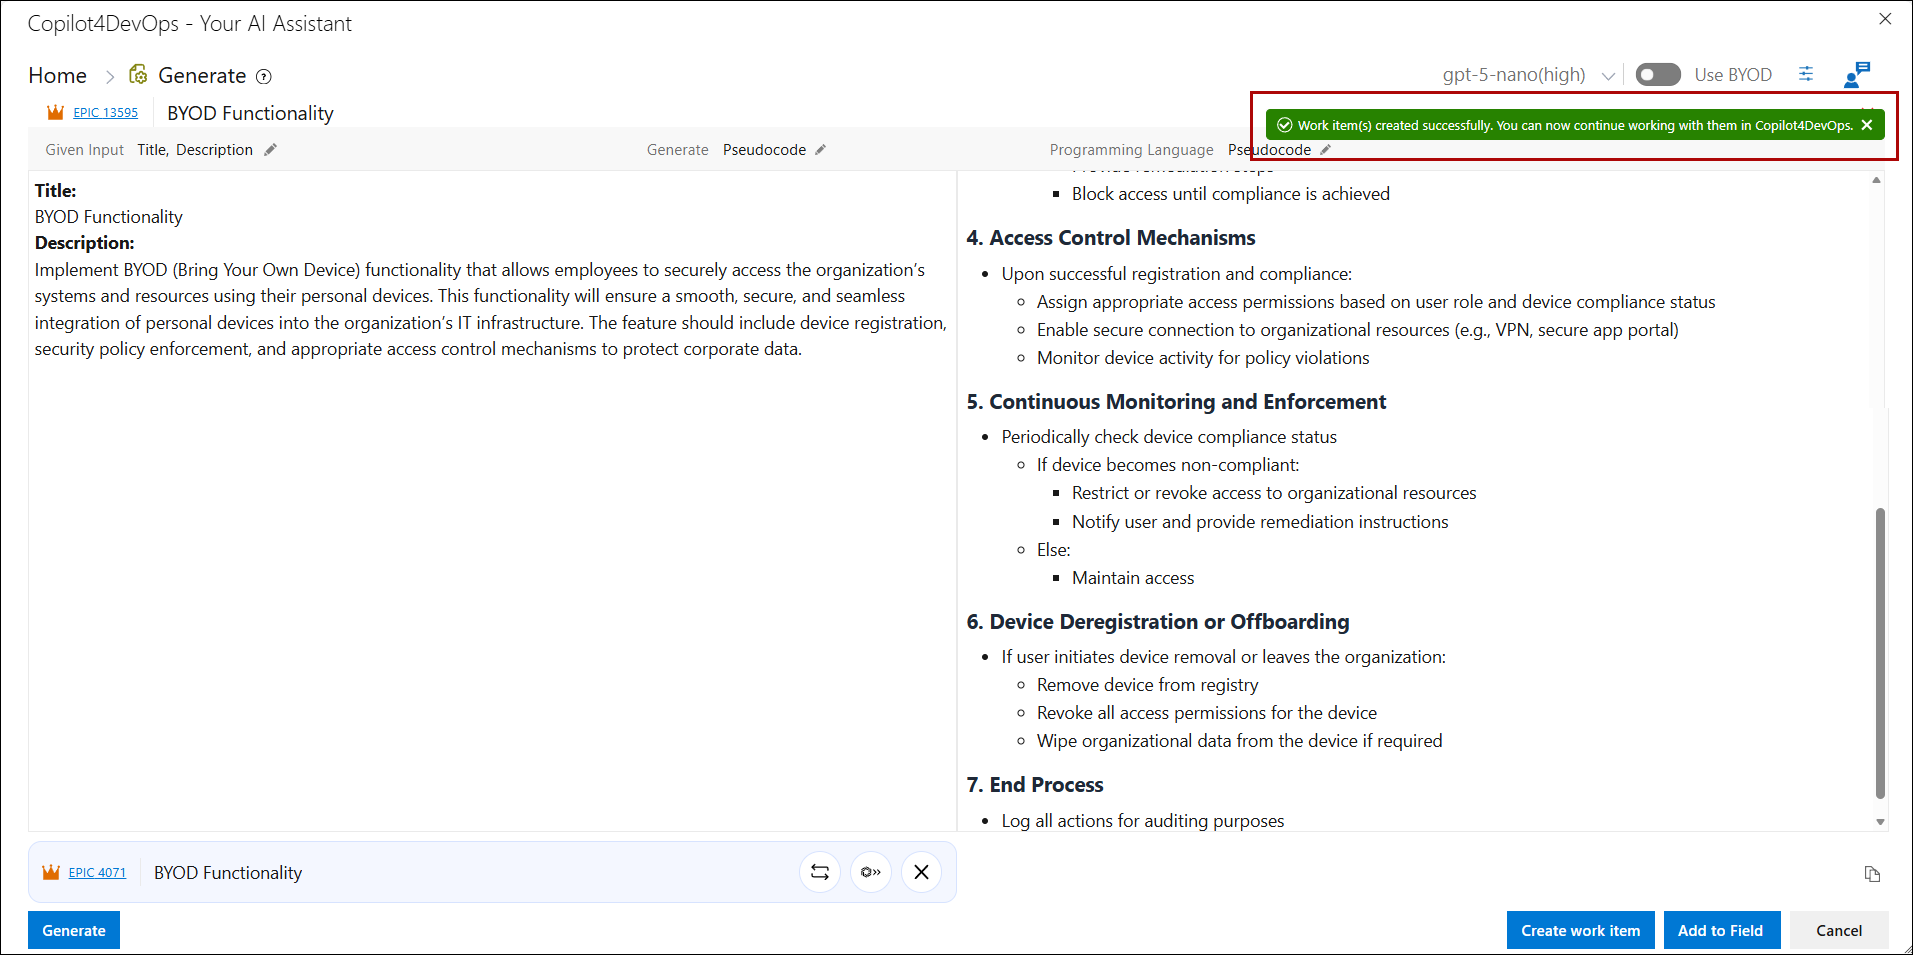
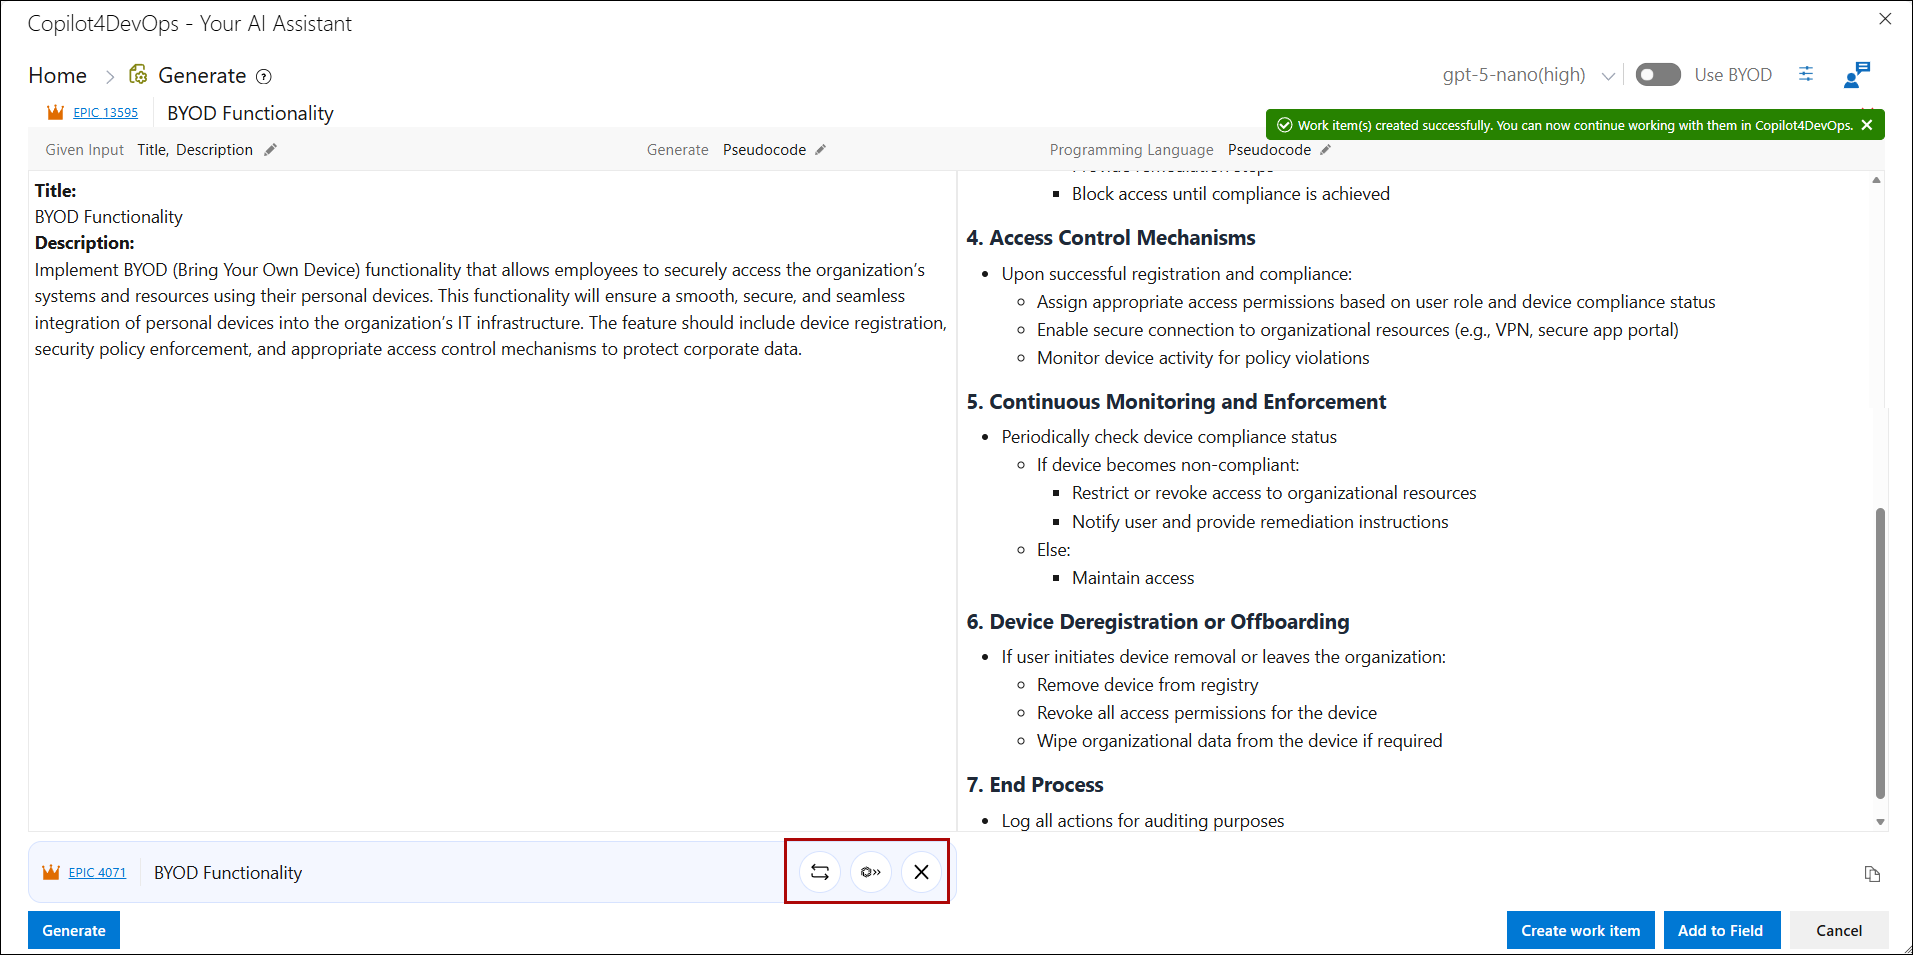
c) The newly created work item will be shown below with the following options:
• Switch work item: When selected, this option sets the work item as the anchor work item.
• Open in module: The user can open the newly created work item in any of the Copilot4DevOps modules.
• Cancel: Removes the work item from the panel.
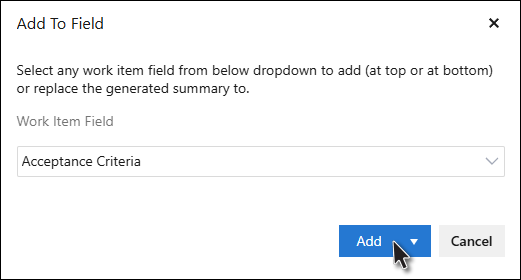
21. Click on the Add to field button, a popup is opened, containing a work item field dropdown to select the work item field from the dropdown to add the generated result.

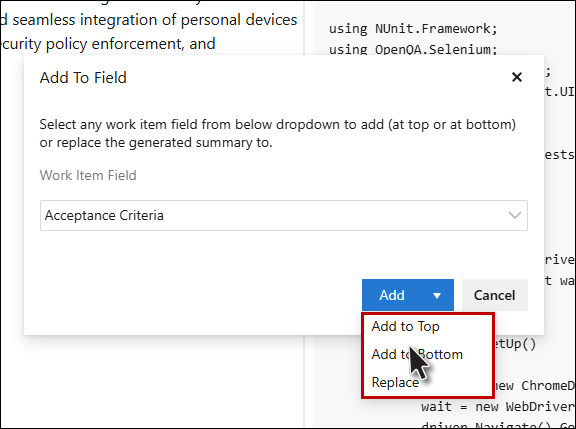
a. Click on the Add dropdown, to add (at the top or bottom) all the converted data or replace the original data under the selected work item field in the ADO Editor window.
Note: In case of multiple selected work items Add to field button is not available.
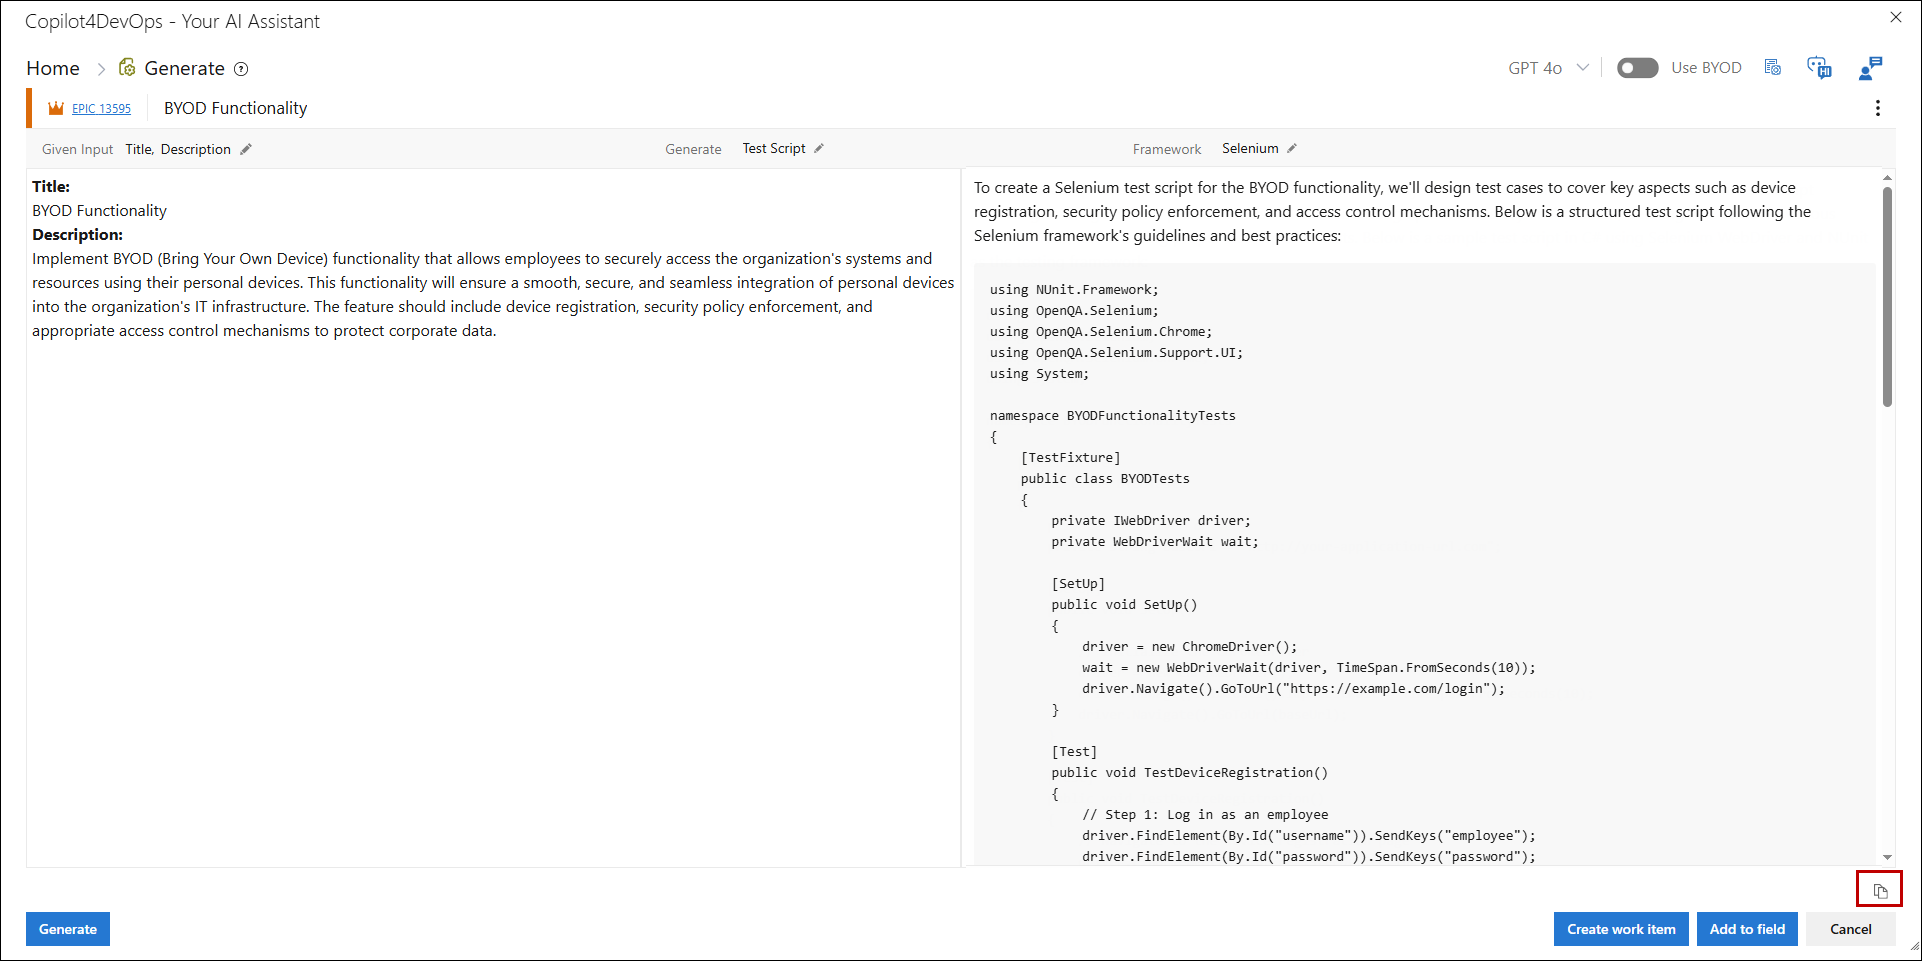
22. Click on the Copy ‘ ’ option to copy the generated result.
23. On clicking the Cancel button, Generate popup closed.