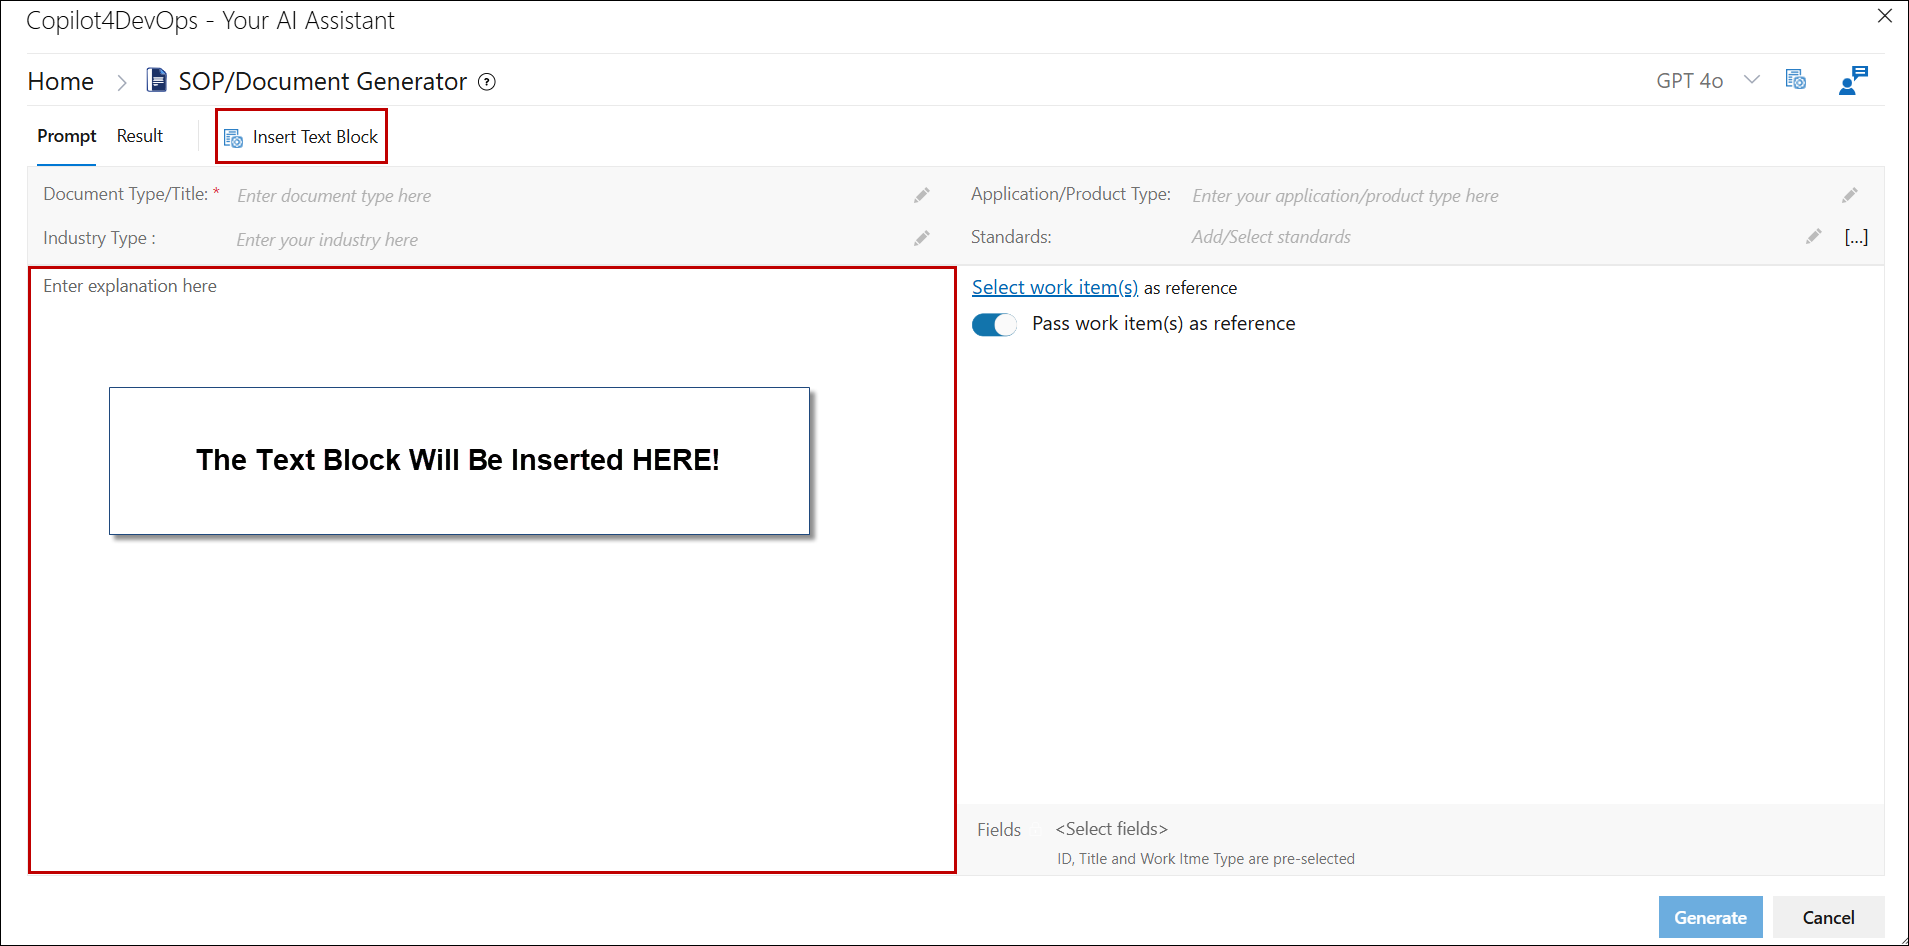
Inserting a Text Block
The Text Block feature in Copilot4DevOps significantly enhances productivity by allowing users to save and store predefined text/prompts. These text blocks can be quickly recalled and reused, which not only saves time but also improves overall efficiency by eliminating the need for repetitive typing.
This feature is particularly valuable in Text Block Management, where predefined text blocks can be easily retrieved and inserted as needed. Similarly, in Custom Instructions, rather than writing out custom instructions each time, users can simply recall and use predefined text blocks, ensuring consistency and further streamlining the process.
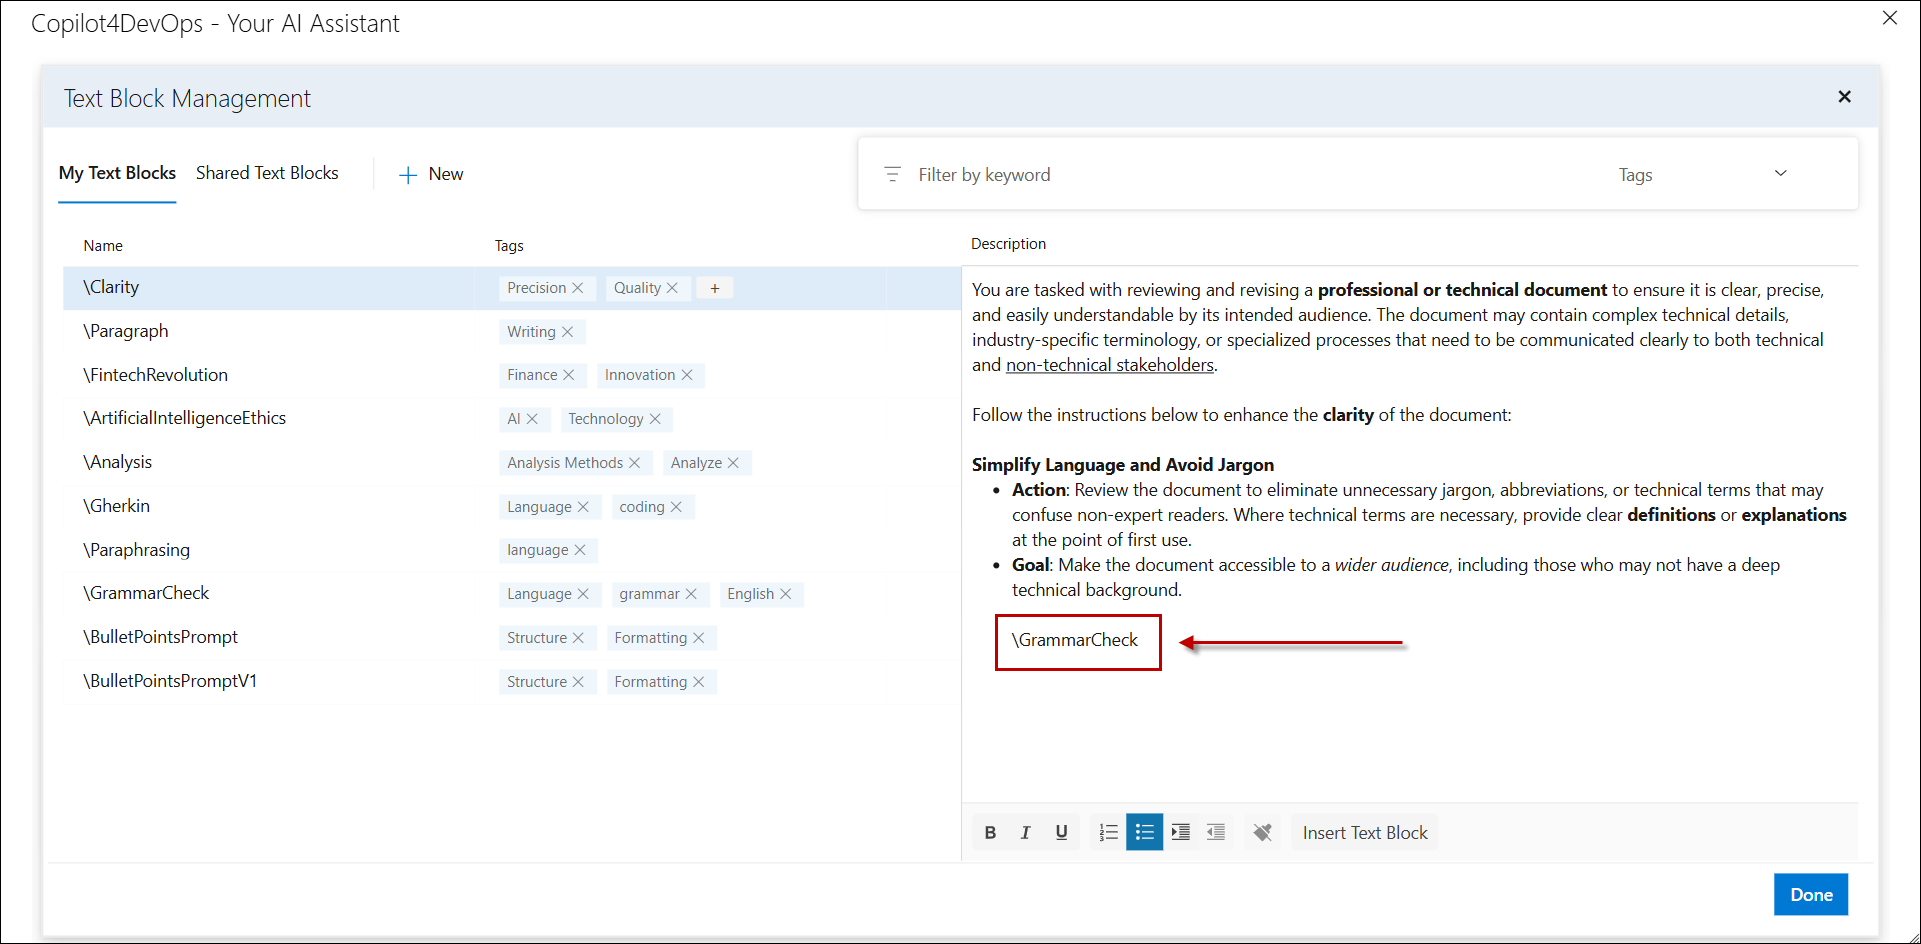
Using Insert Text Block in Text Block Management Description Area
a. To reuse a text block, click on the Insert Text block option.
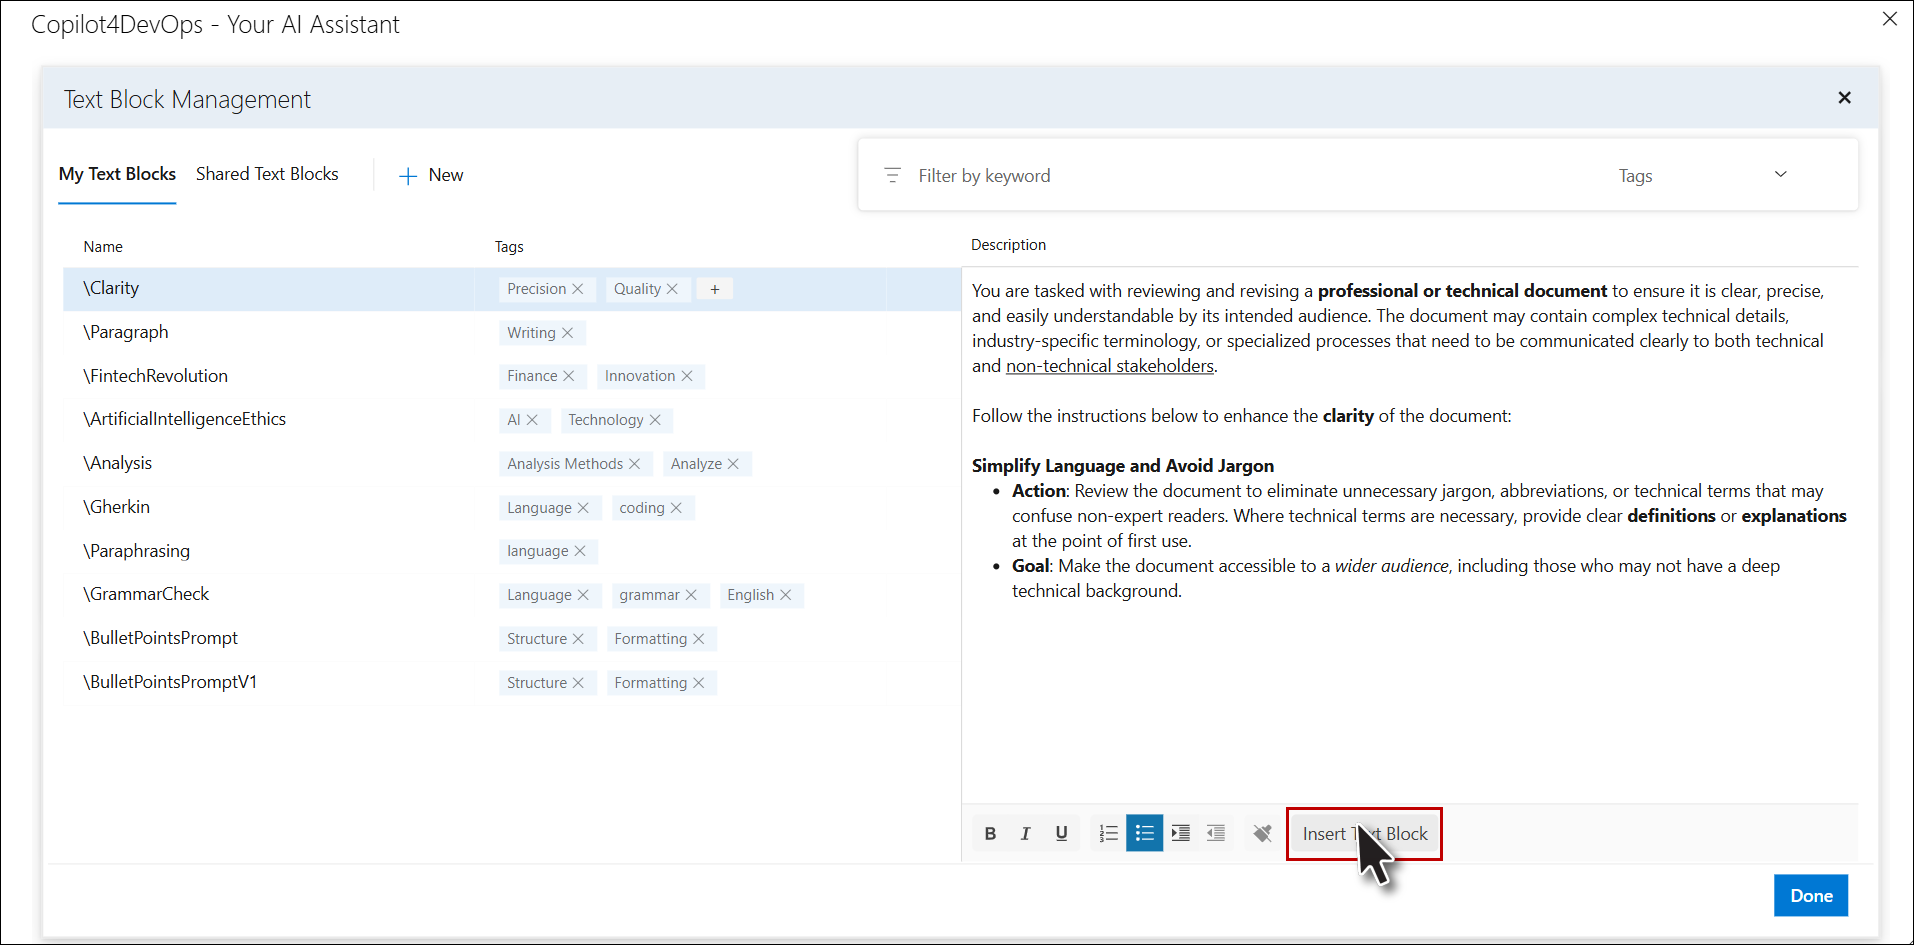
b. Upon selection, you will be directed to an interface displaying all existing text blocks except the one where it is being inserted. This interface serves as a centralized location for managing and selecting pre-created text blocks for reuse.
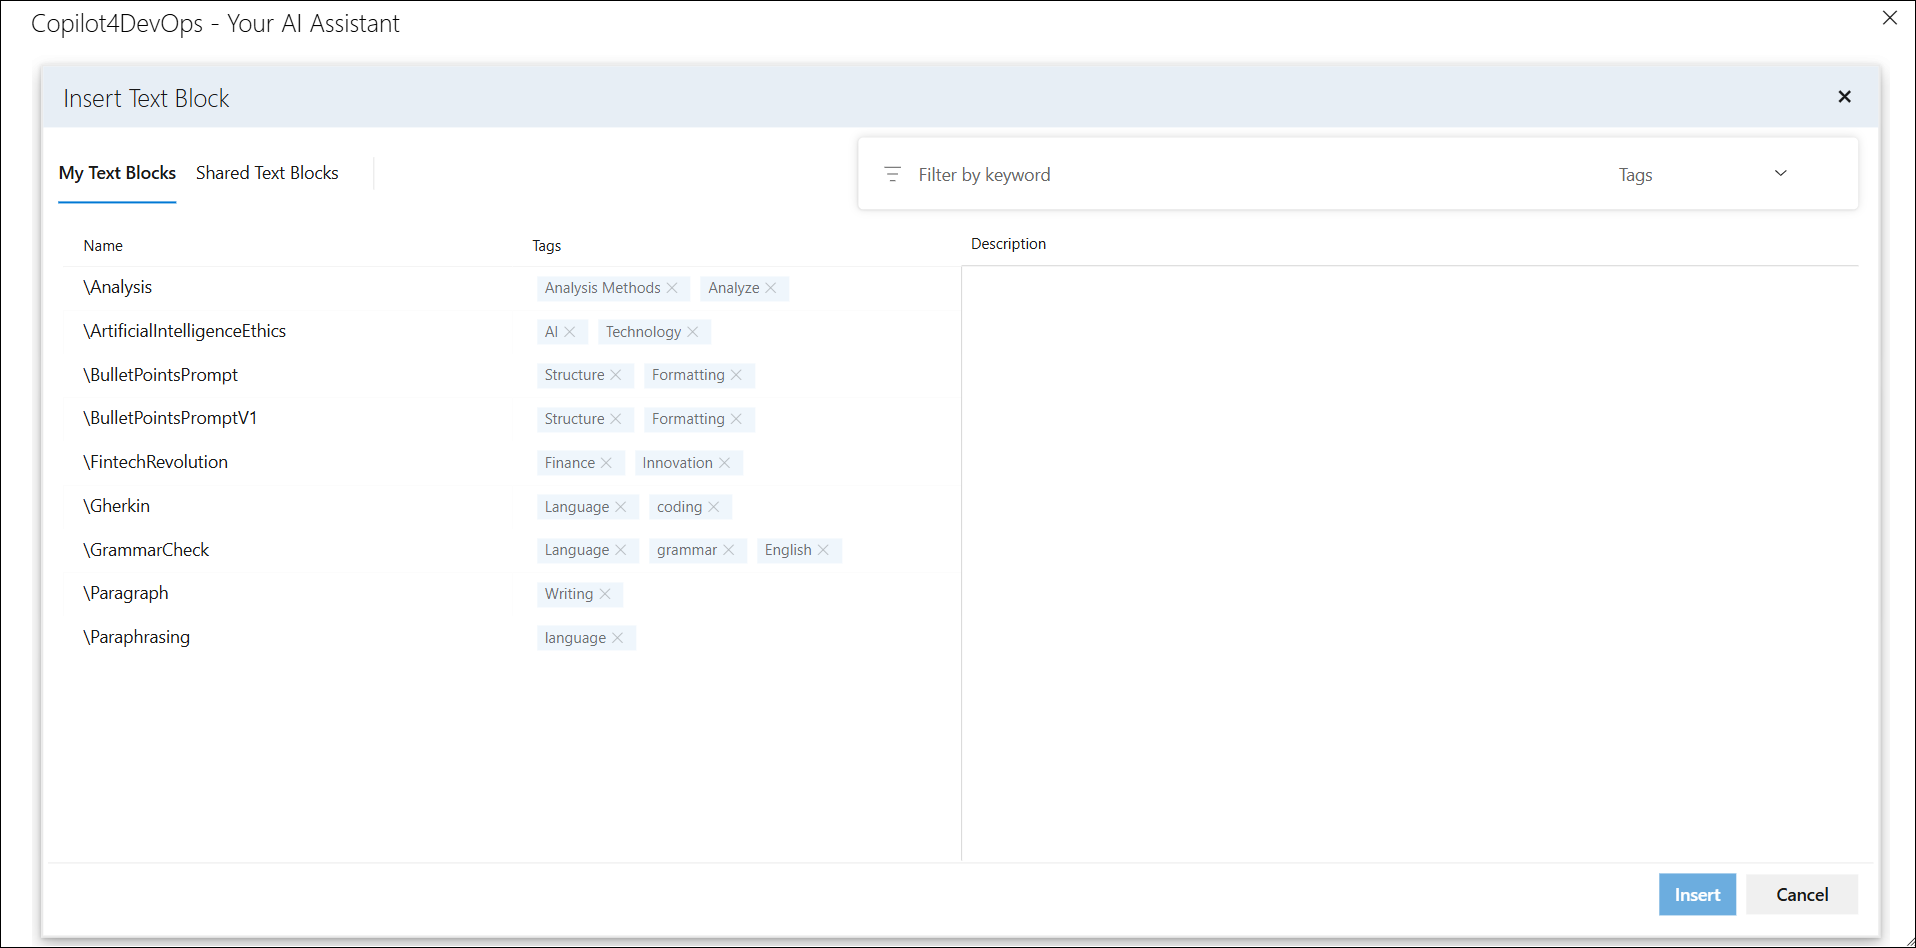
c. Select the text block you want to reuse and click on the "Insert" button.
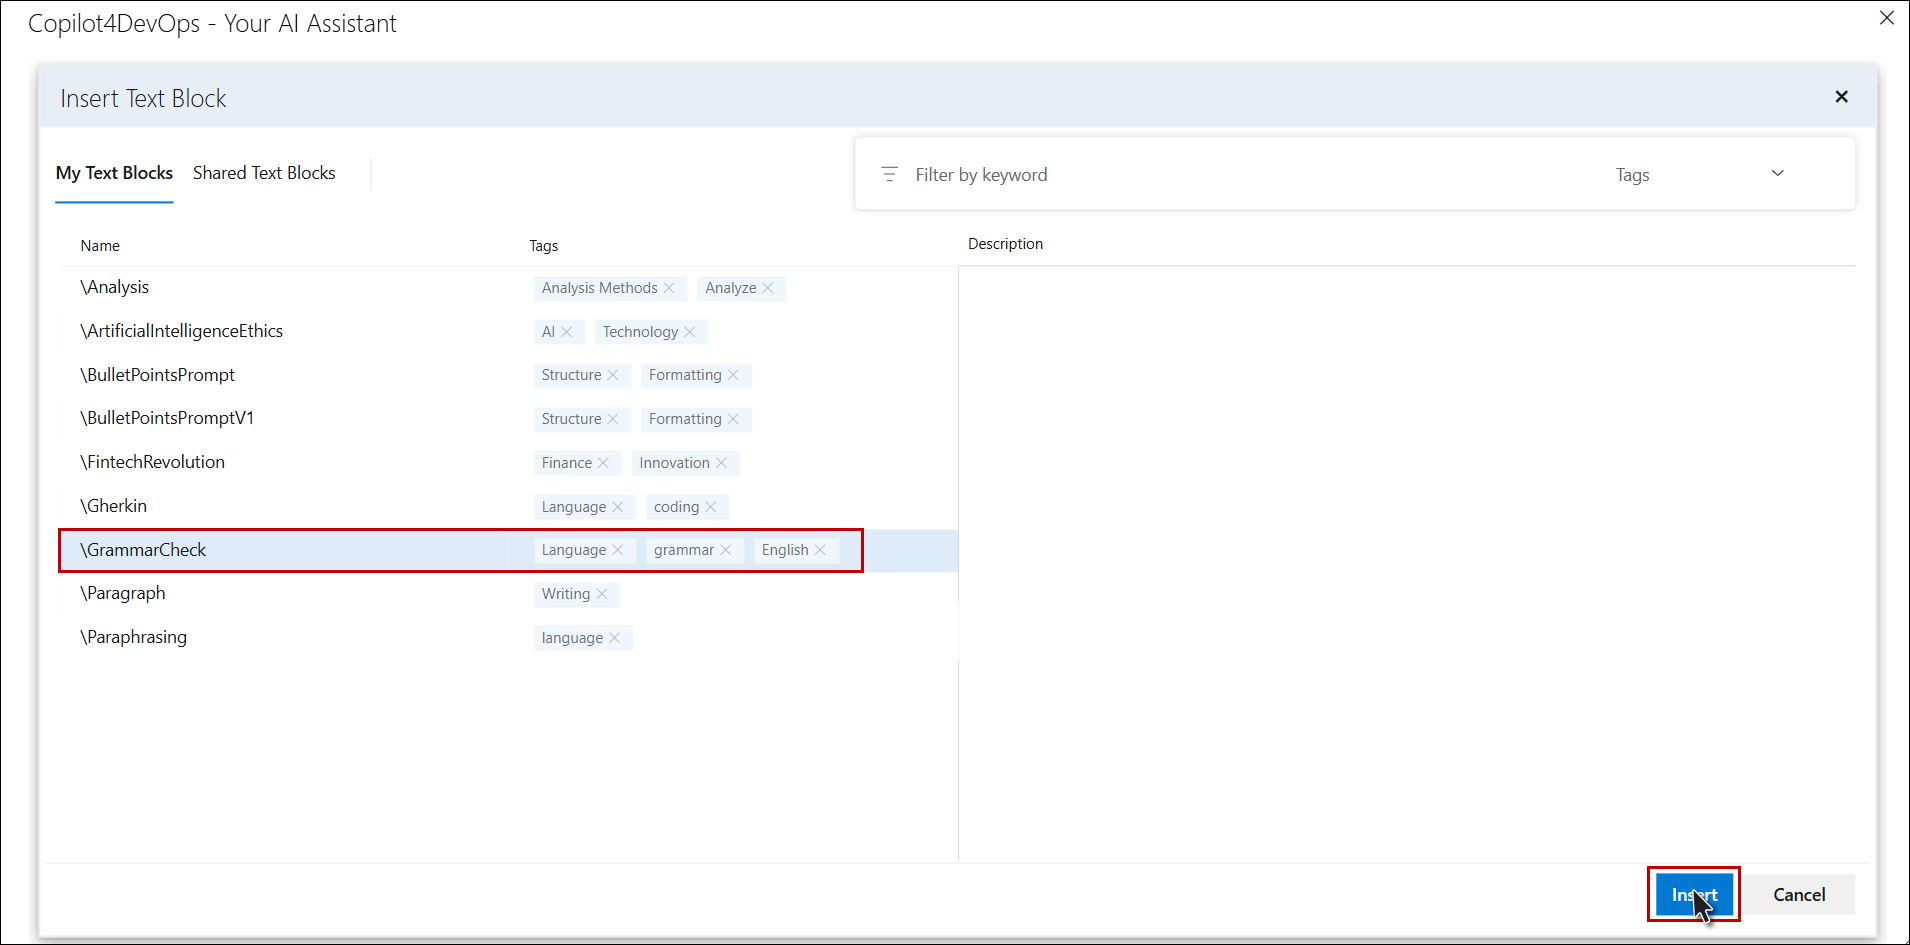
d. Selected Text Block has been inserted in the description of your Text Block.
Using Insert Text Block in Custom Instructions & Prompt Area of any Feature
1. Open Custom Instructions from any Copilot4DevOps feature.
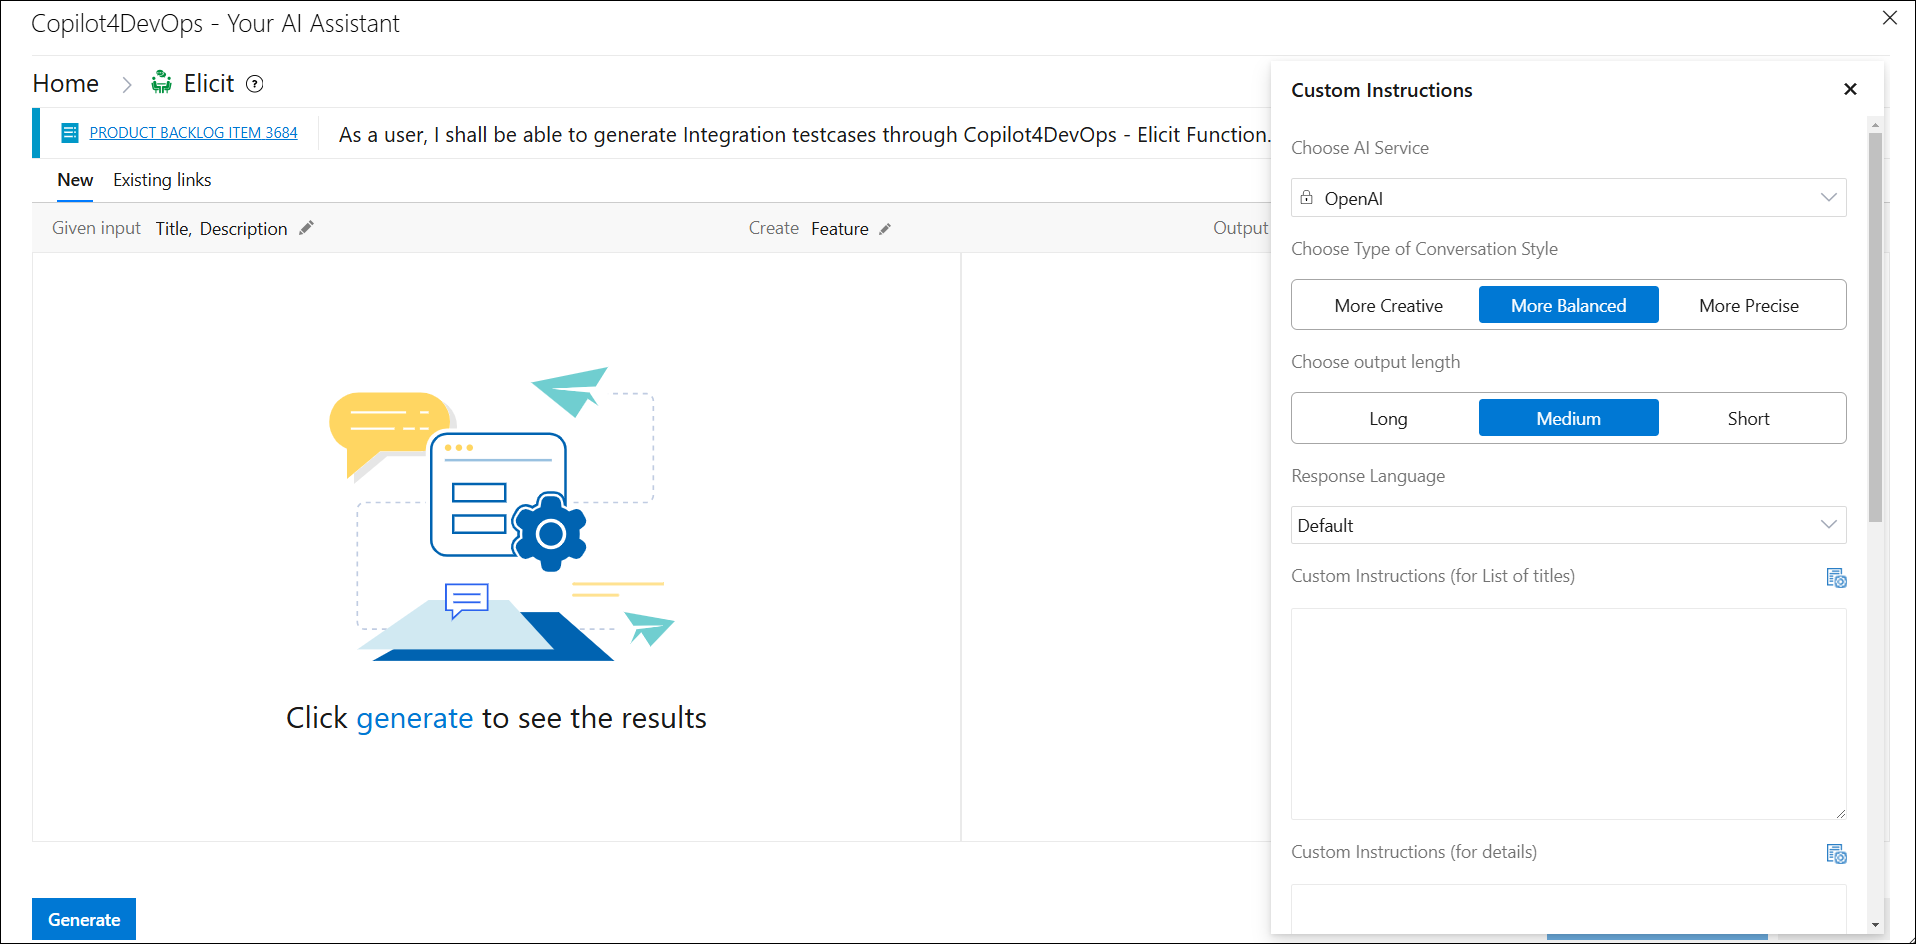
2. Click on the Insert Text Block option in the Custom Instructions.
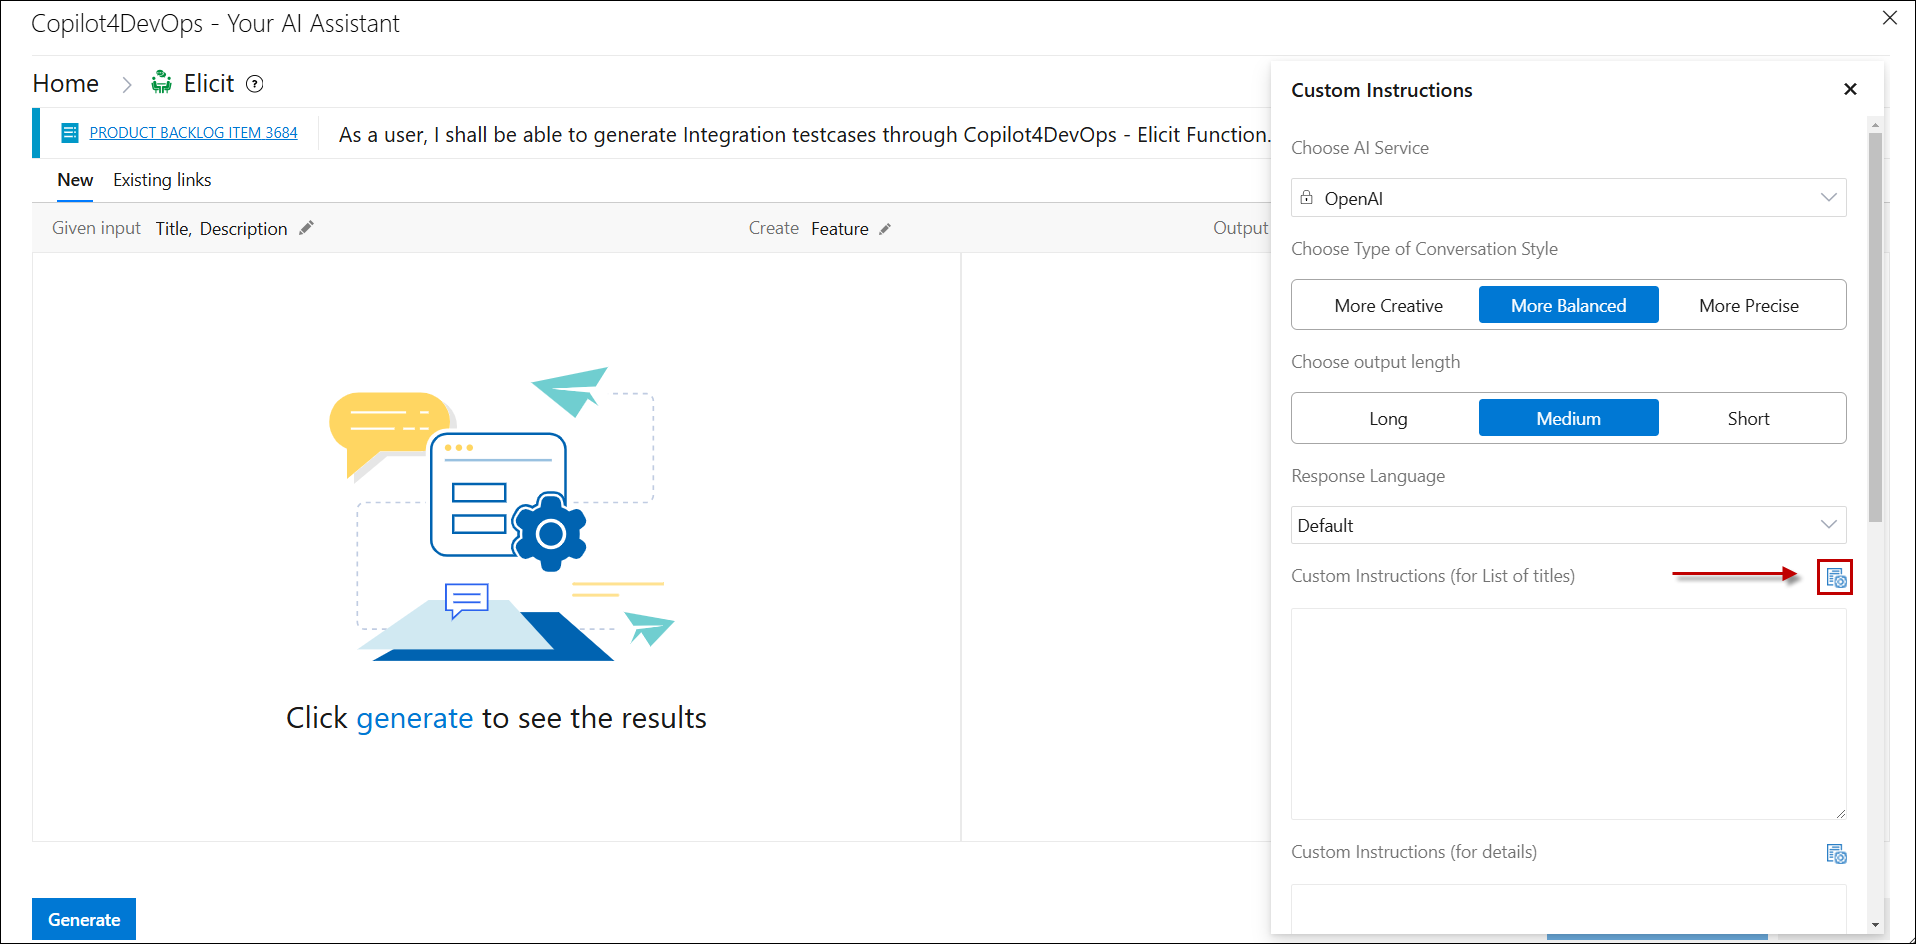
3. The Insert Text Block window now opens. Click on the Text Block which you want to insert into custom instructions.
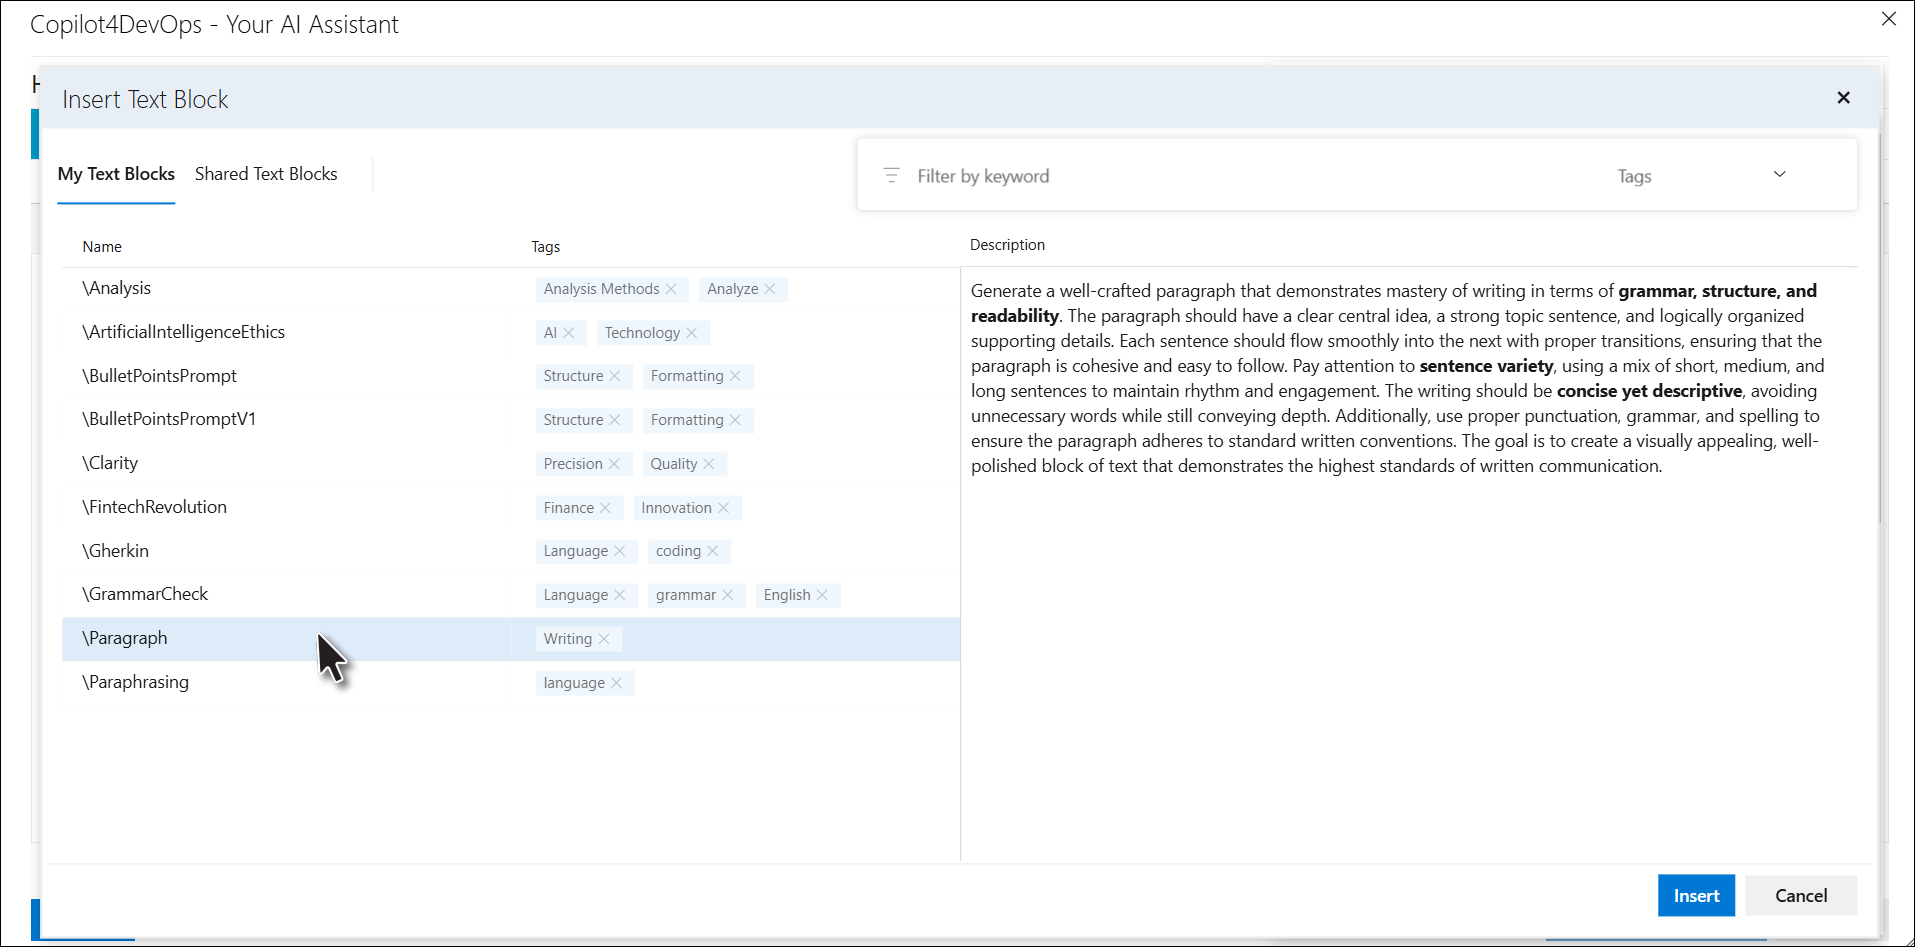
4. Now click on the "Insert" button.
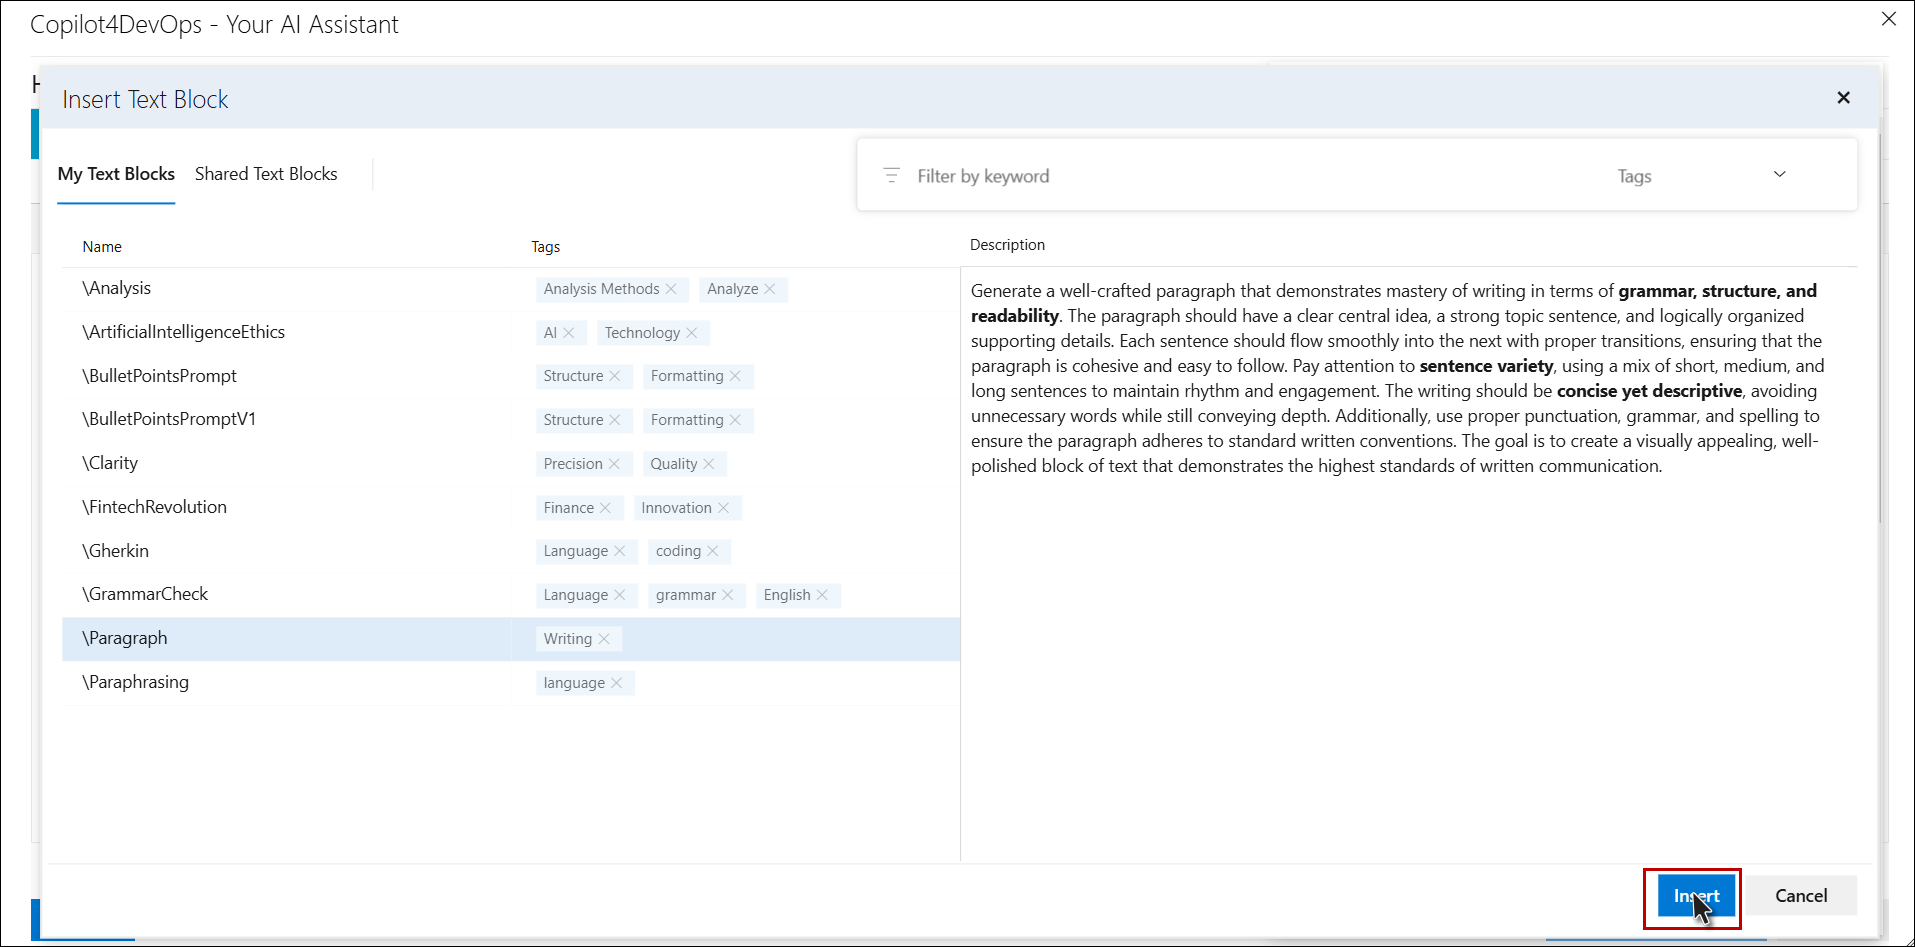
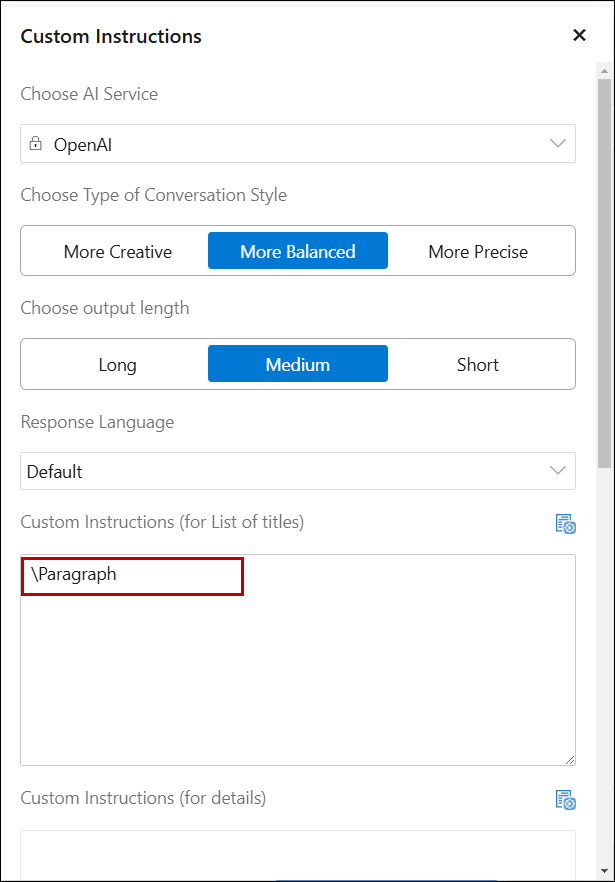
5. The selected Text block has been inserted into the custom instructions field.
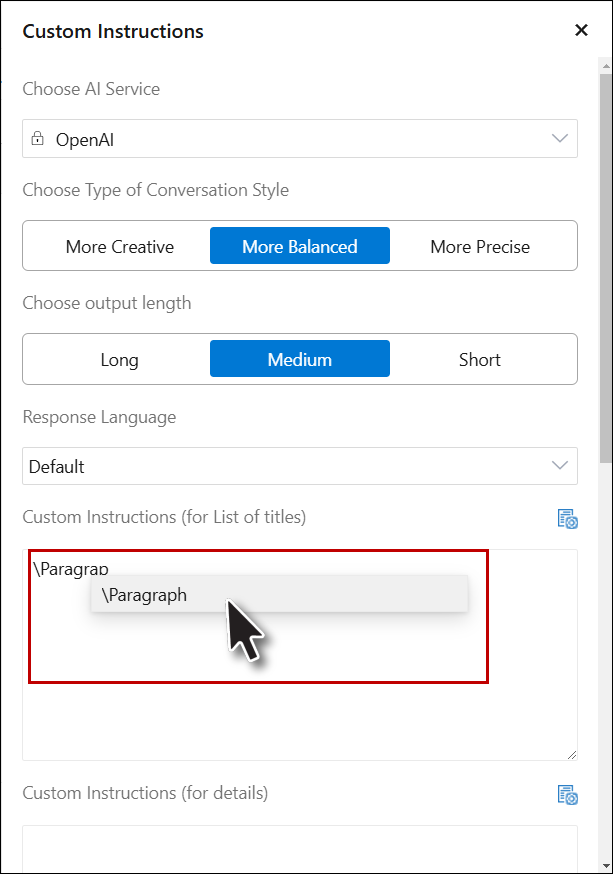
6. Users can also insert a Text Block by typing its name preceded by a backslash, and it will be automatically suggested, as demonstrated in the image below.
Note: User can Insert Text Block into any prompt / description area throughout Copilot4DevOps (SOP / Document Generator, Diagram, Impact Assessment, Dynamic Prompt) using the Insert Text Block option as shown below. Once the insert Text Block window is opened, follow the above steps (Step#3 and Step#4).
