Mockup
This guide will walk you through the process of using the Mockup feature within the Copilot4DevOps environment. Follow these steps to efficiently access and utilize the mockup tools to optimize your workflow.
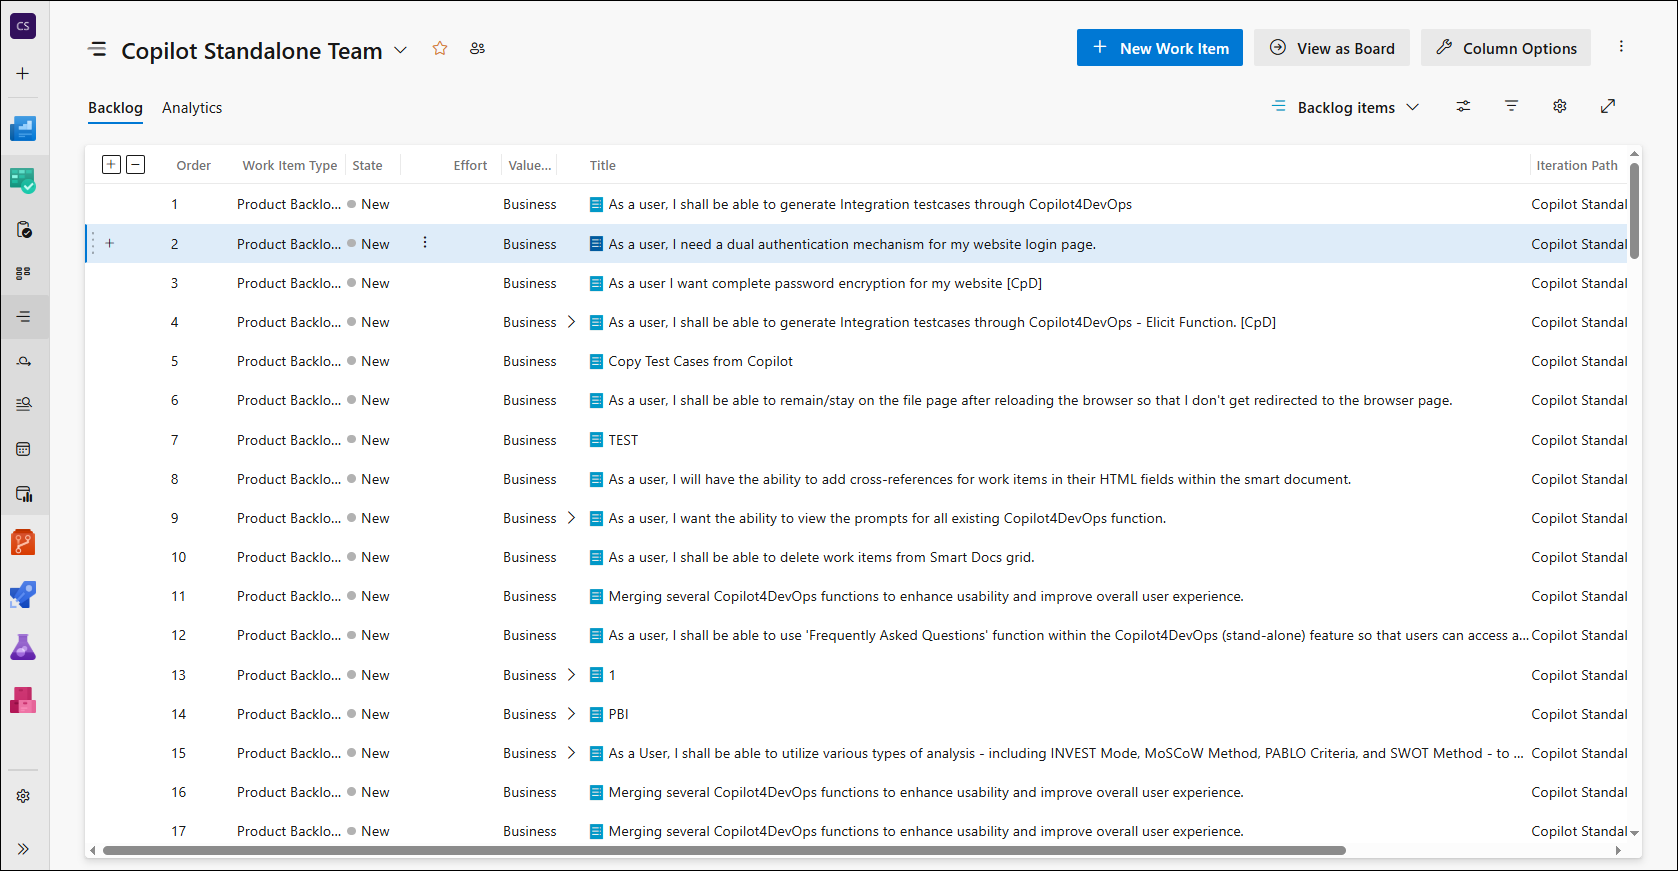
1. Navigate to your Backlog or Query section where your work items are located and choose the work item you want to open the Mockup feature for.
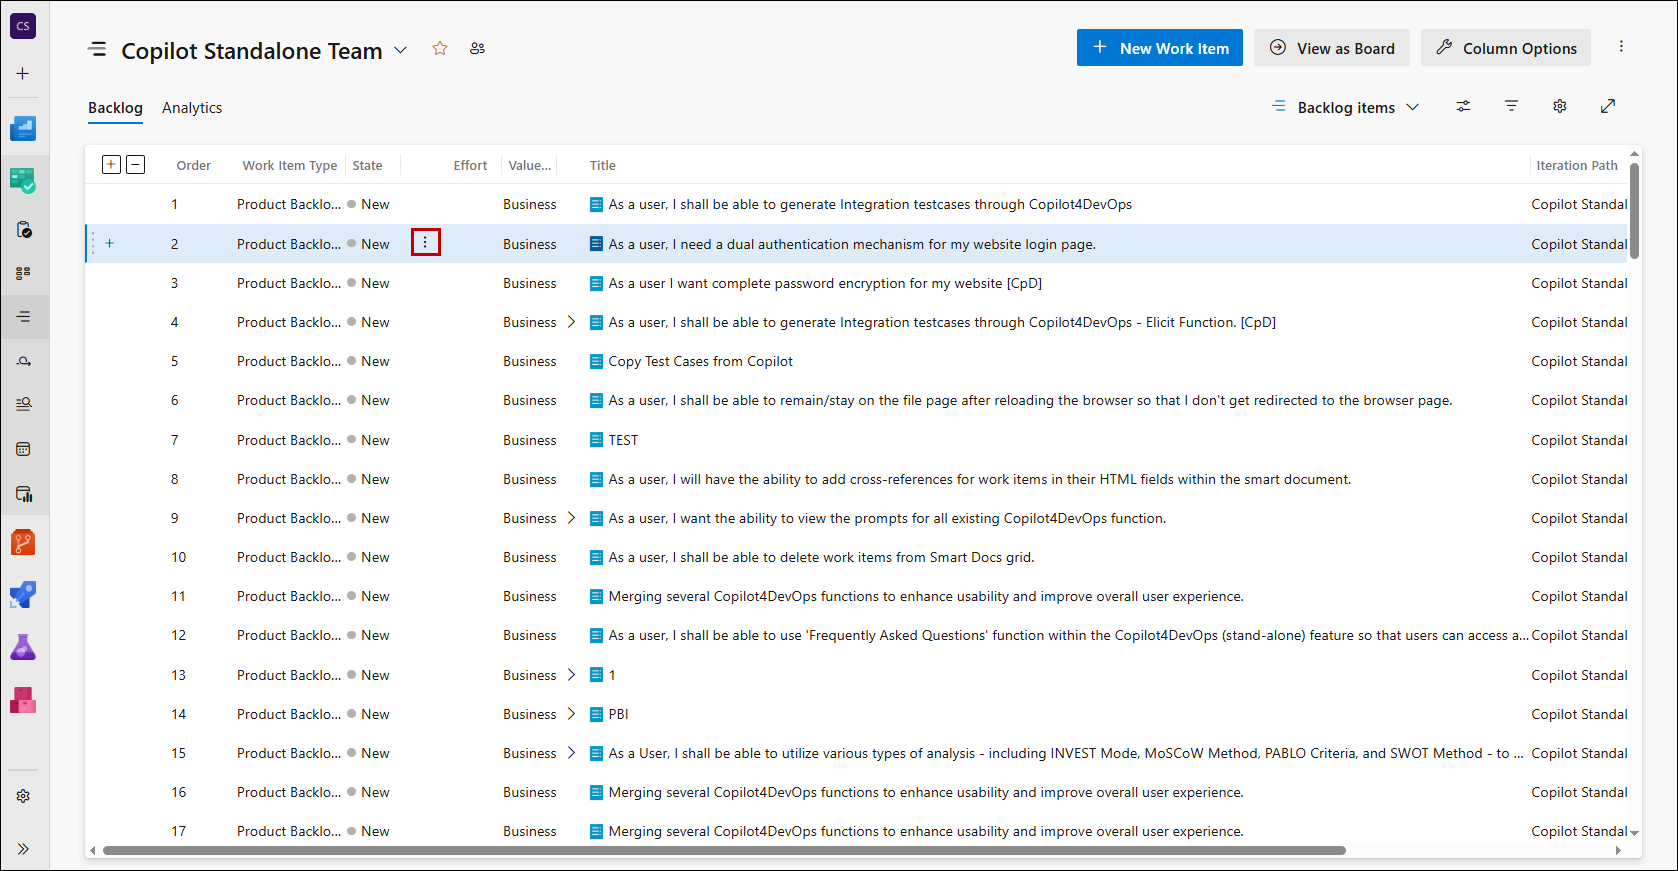
2. Once you've selected your work item, click on the three dots option.
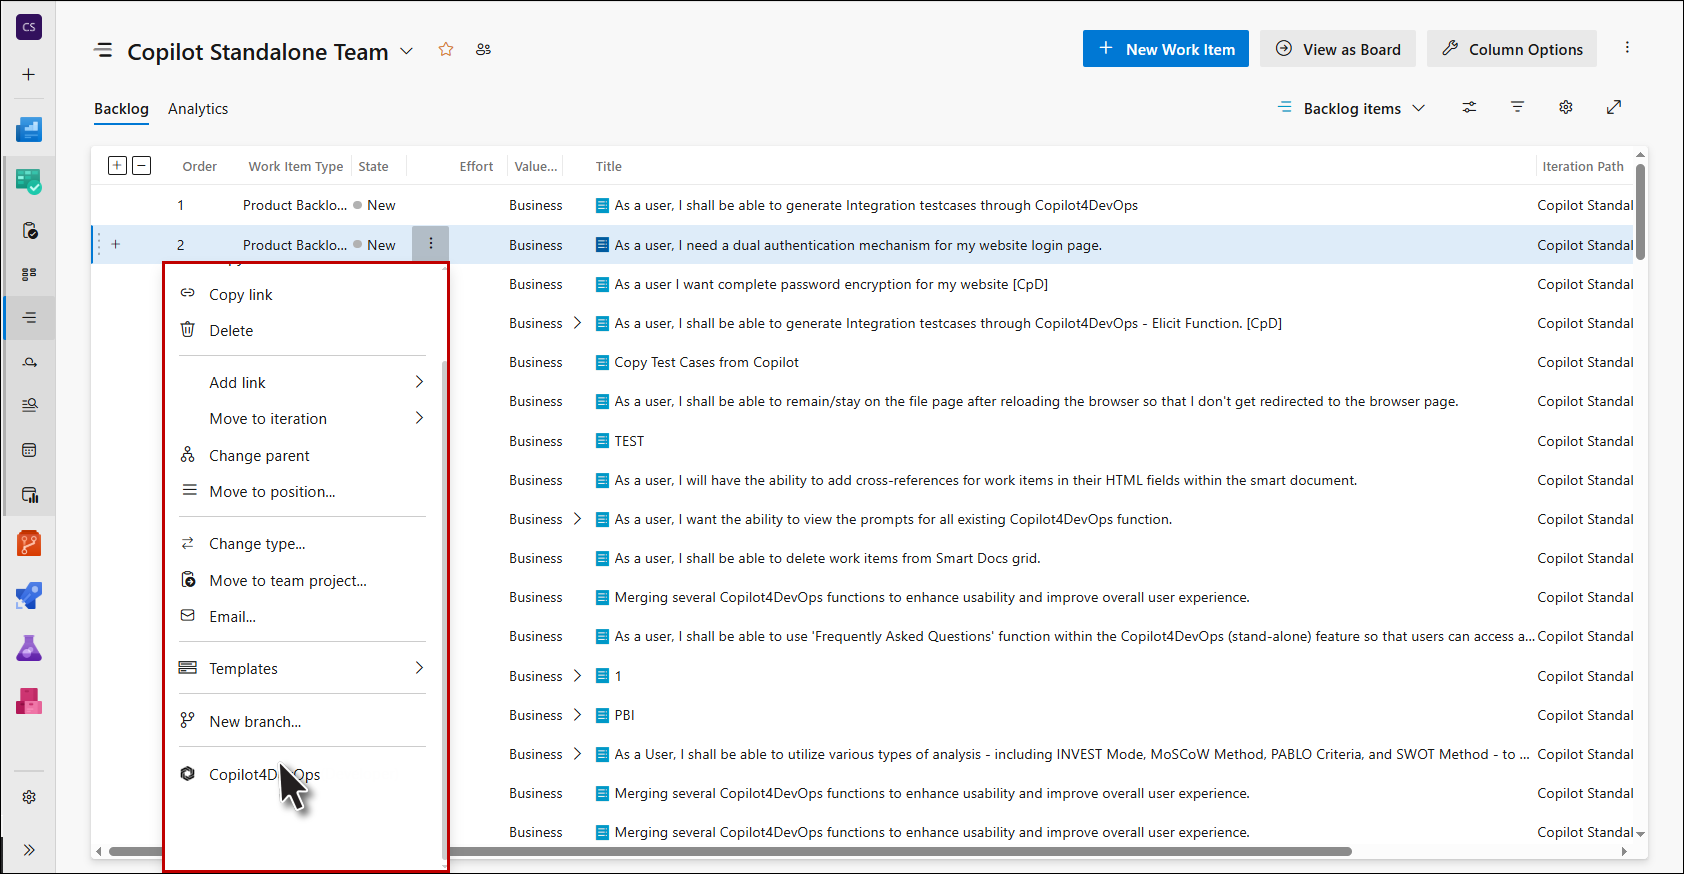
3. From the options in the dropdown, select Copilot4DevOps.
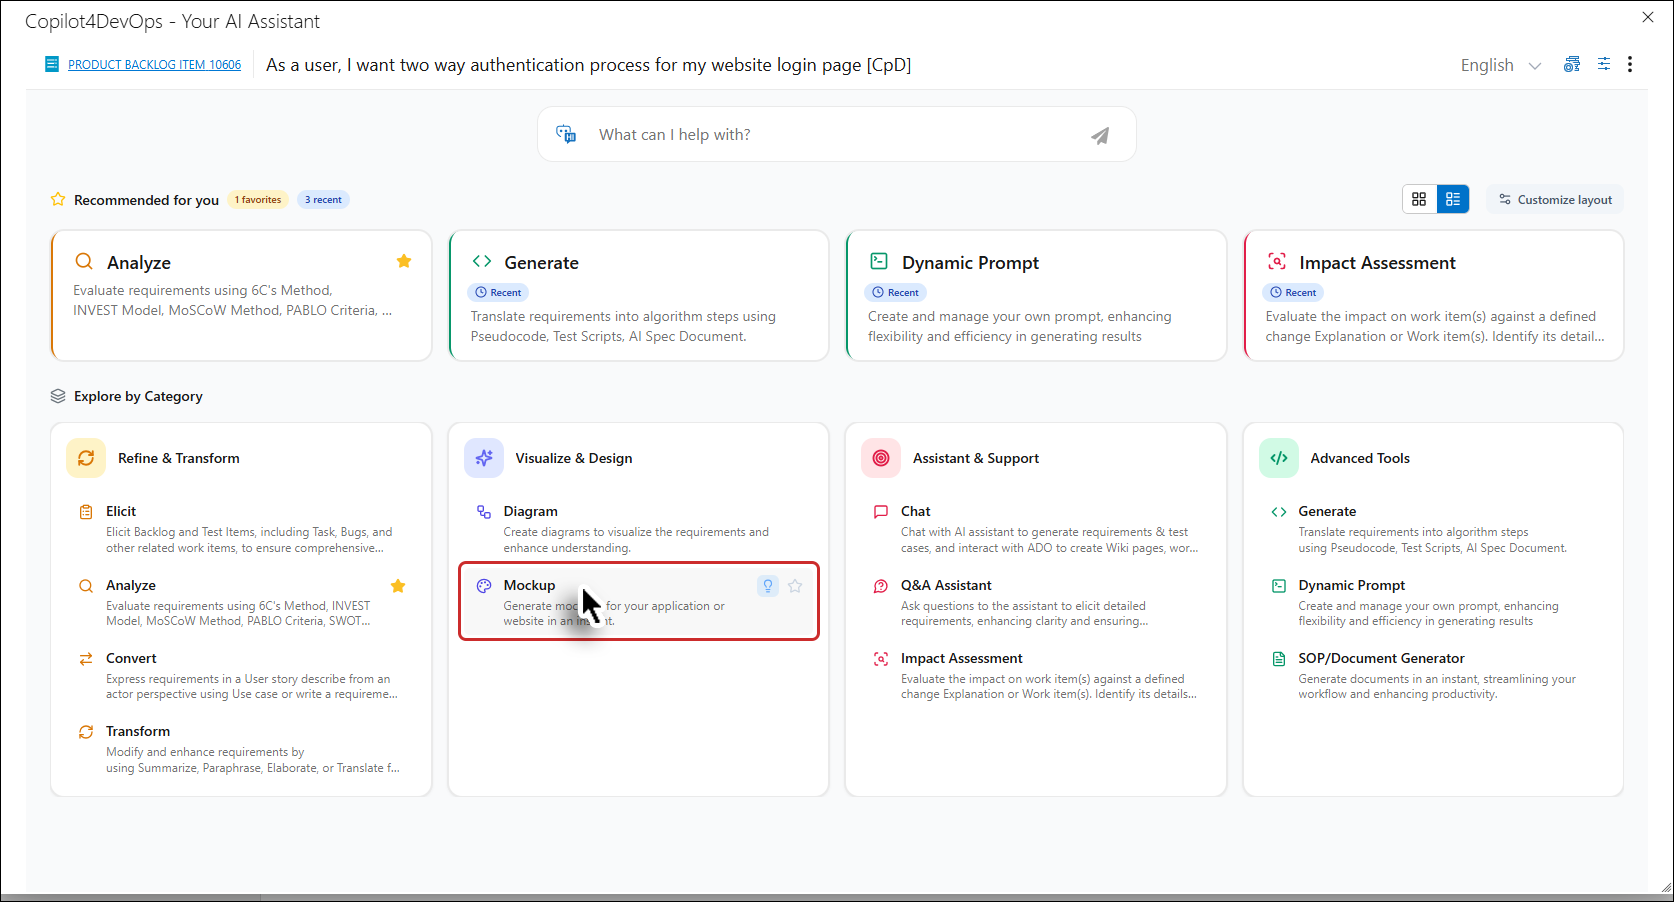
4. Copilot4DevOps window now opens.

5. Inside the Copilot4DevOps window, look for the Mockup Feature option.
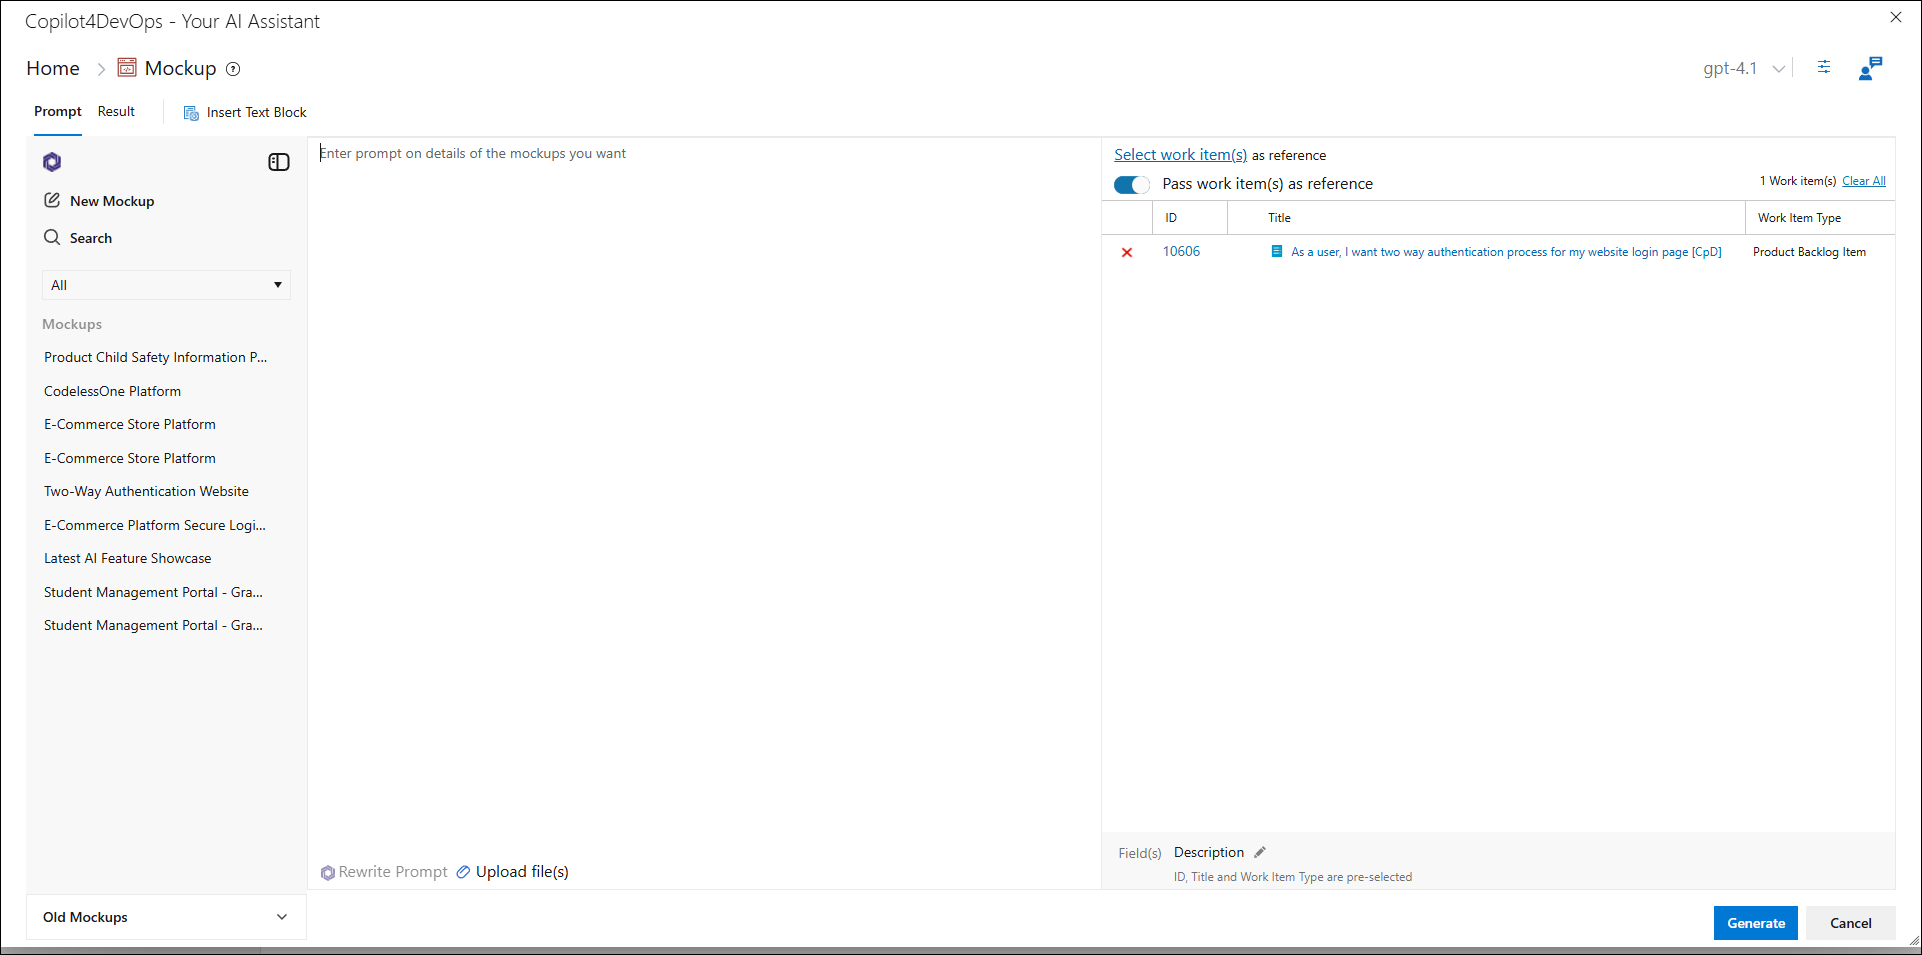
6. Upon clicking the Mockup option, a Mockup pop-up window will appear.
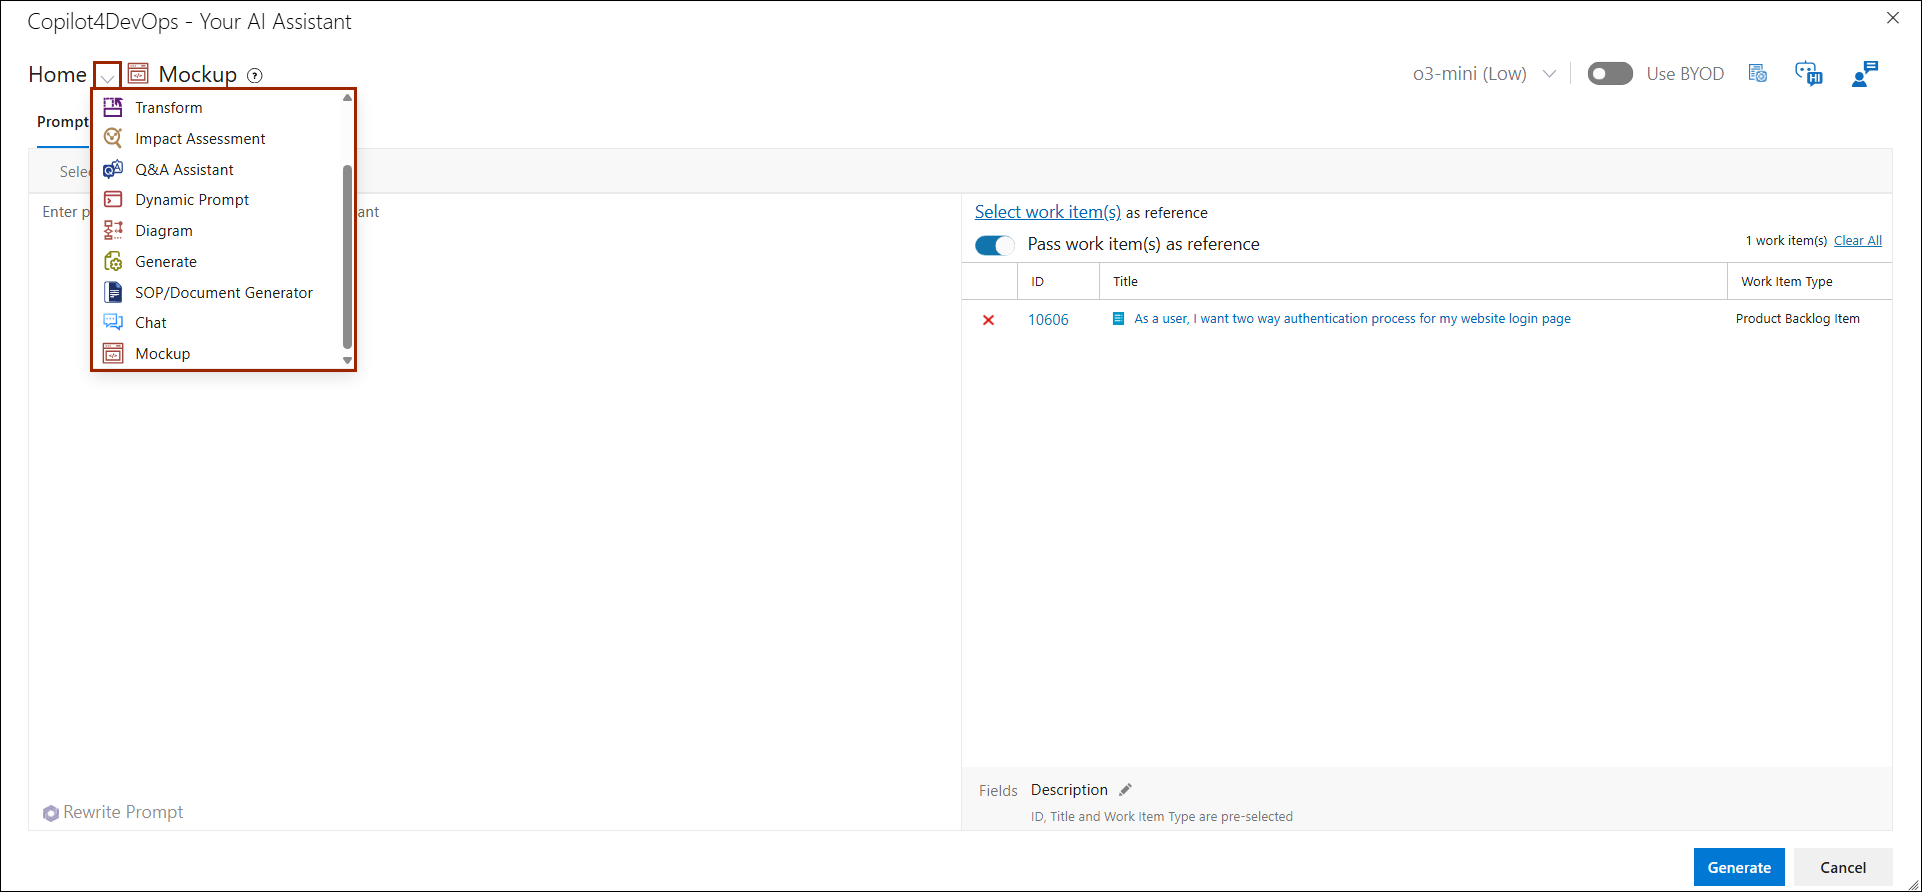
7. In the Mockup pop-up, you will find breadcrumb navigation, which allows you to easily navigate to the other features of Copilot4DevOps.
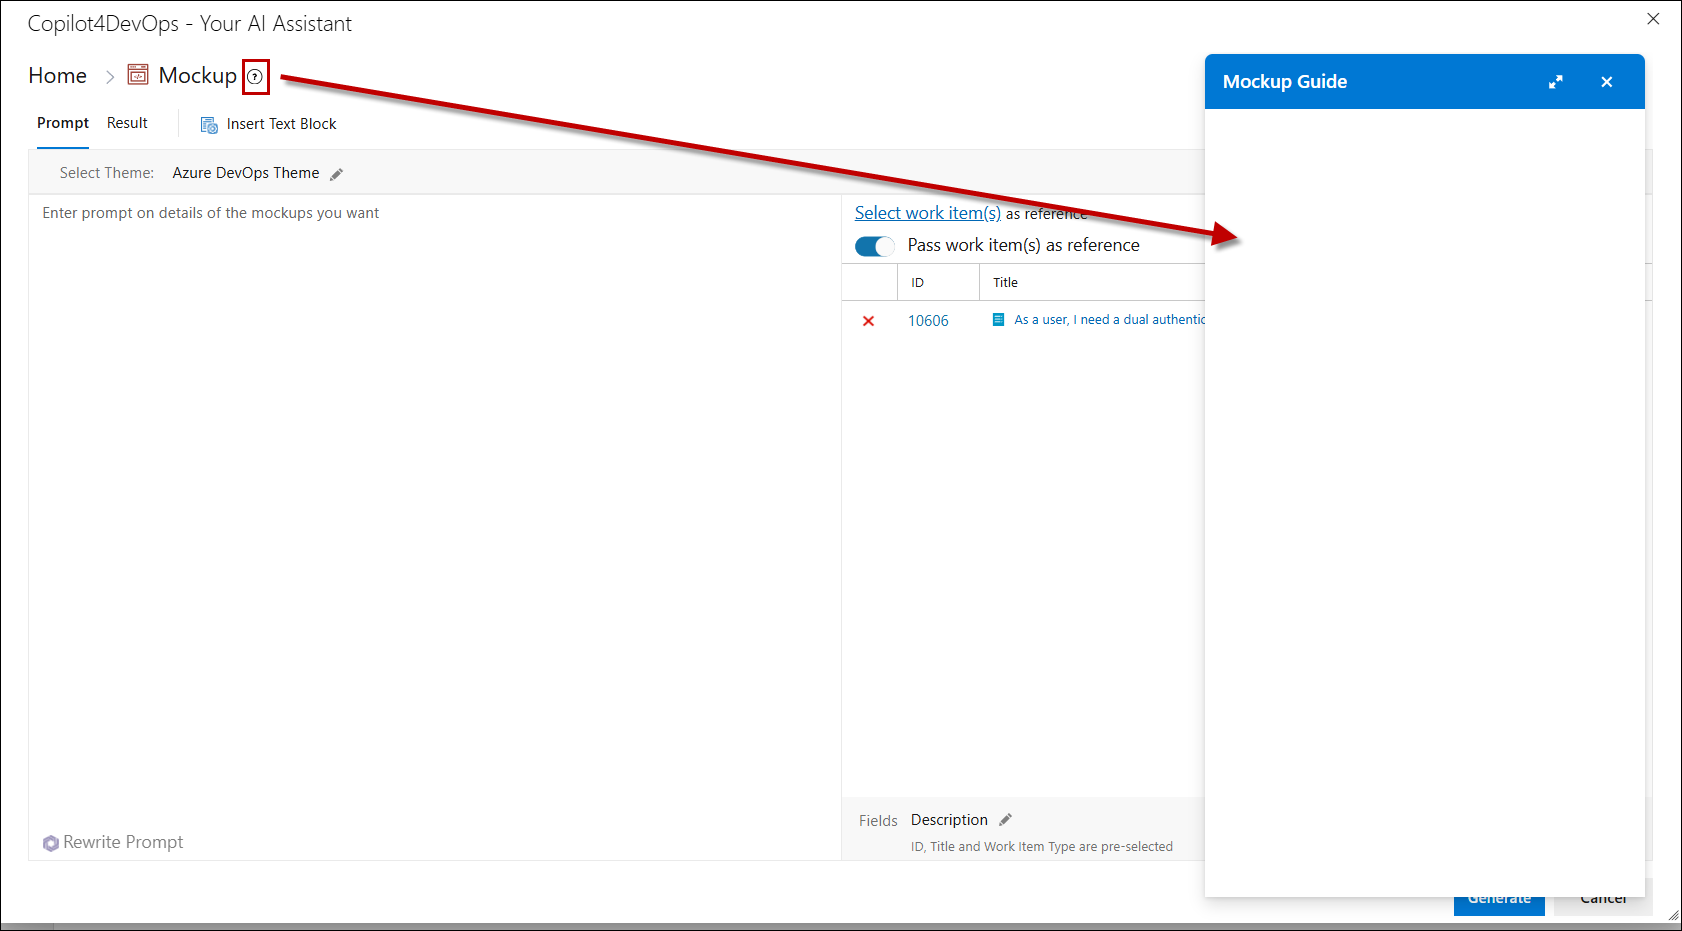
8. At the top of the Mockup window, you will see a Help Icon. Clicking this icon will open a detailed Mockup Guide. The guide contains instructions and videos explaining various features of the Mockup.
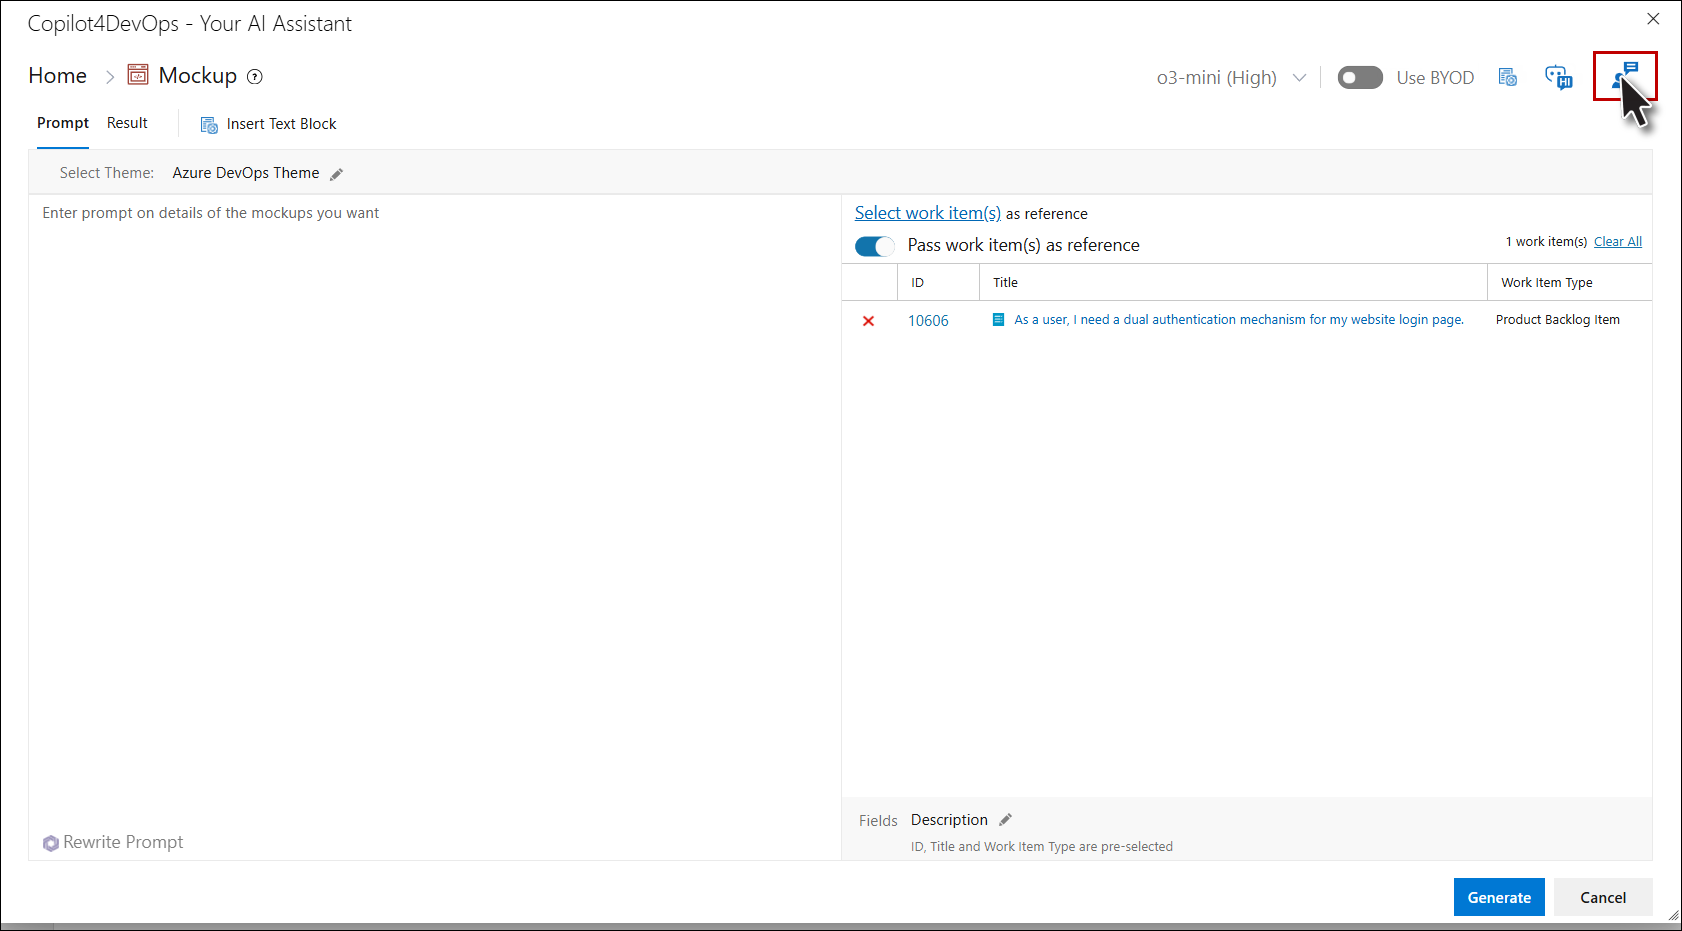
9. The Copilot4DevOps toolbar contains several key features that allow customization and interaction with your project.

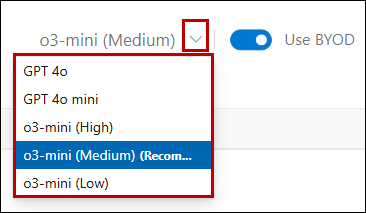
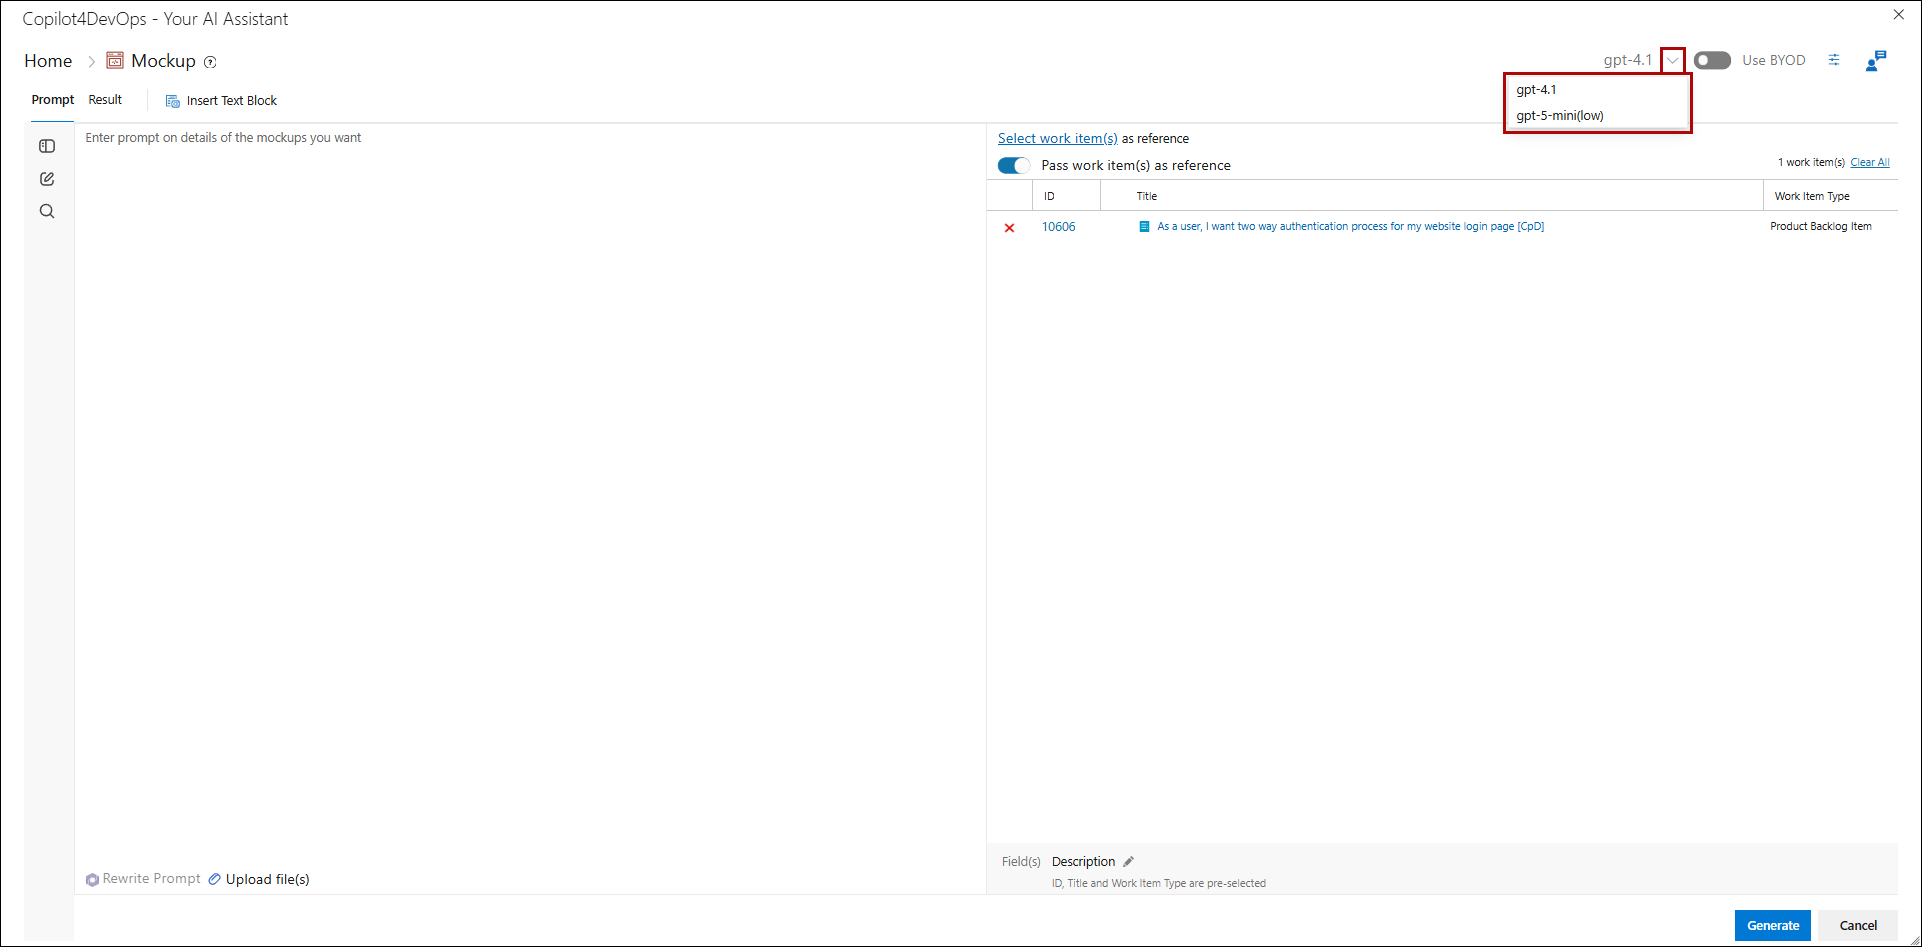
AI Model
Ranked AI models configured in the Admin Panel will be displayed for each corresponding feature on the Home Page.
Enable 'Use BYOD'
Enable the Use BYOD toggle. This allows you to access data previously uploaded through the admin interface, which the AI will use to generate tailored outputs based on your uploaded data.

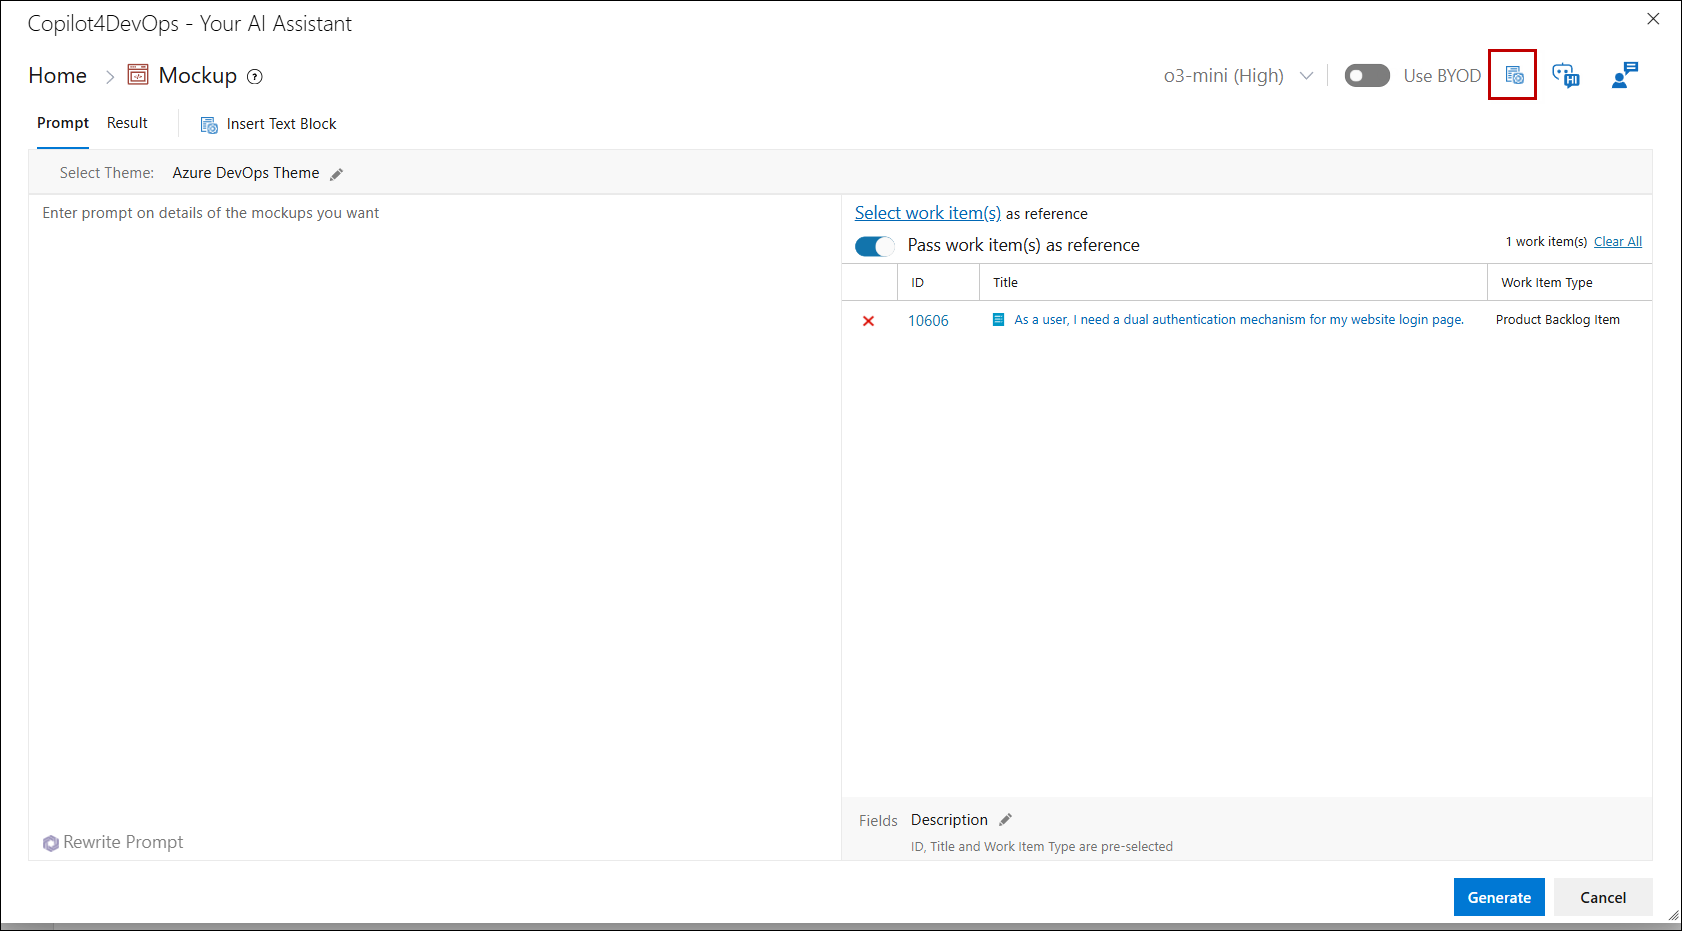
Text Block Option
Use the Text Block feature to insert predefined prompt or instruction text. This is helpful for saving time or organizing your workflow.
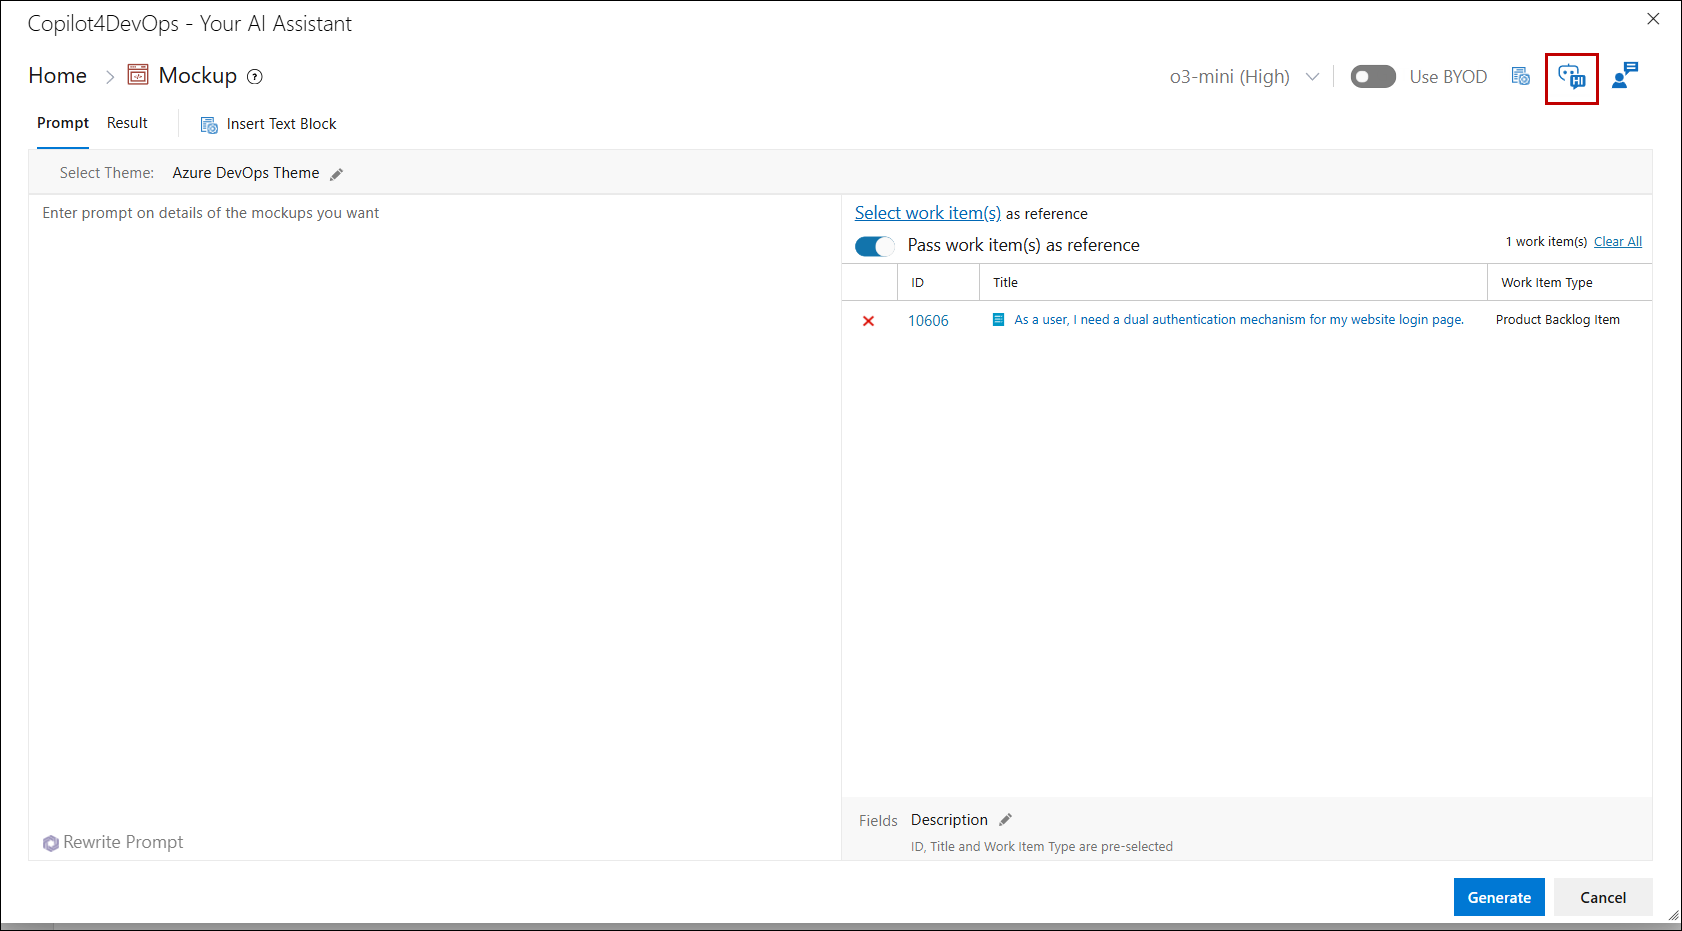
Smart Prompt
The Smart Prompt option allows you to request detailed instructions or ask questions related to any feature.
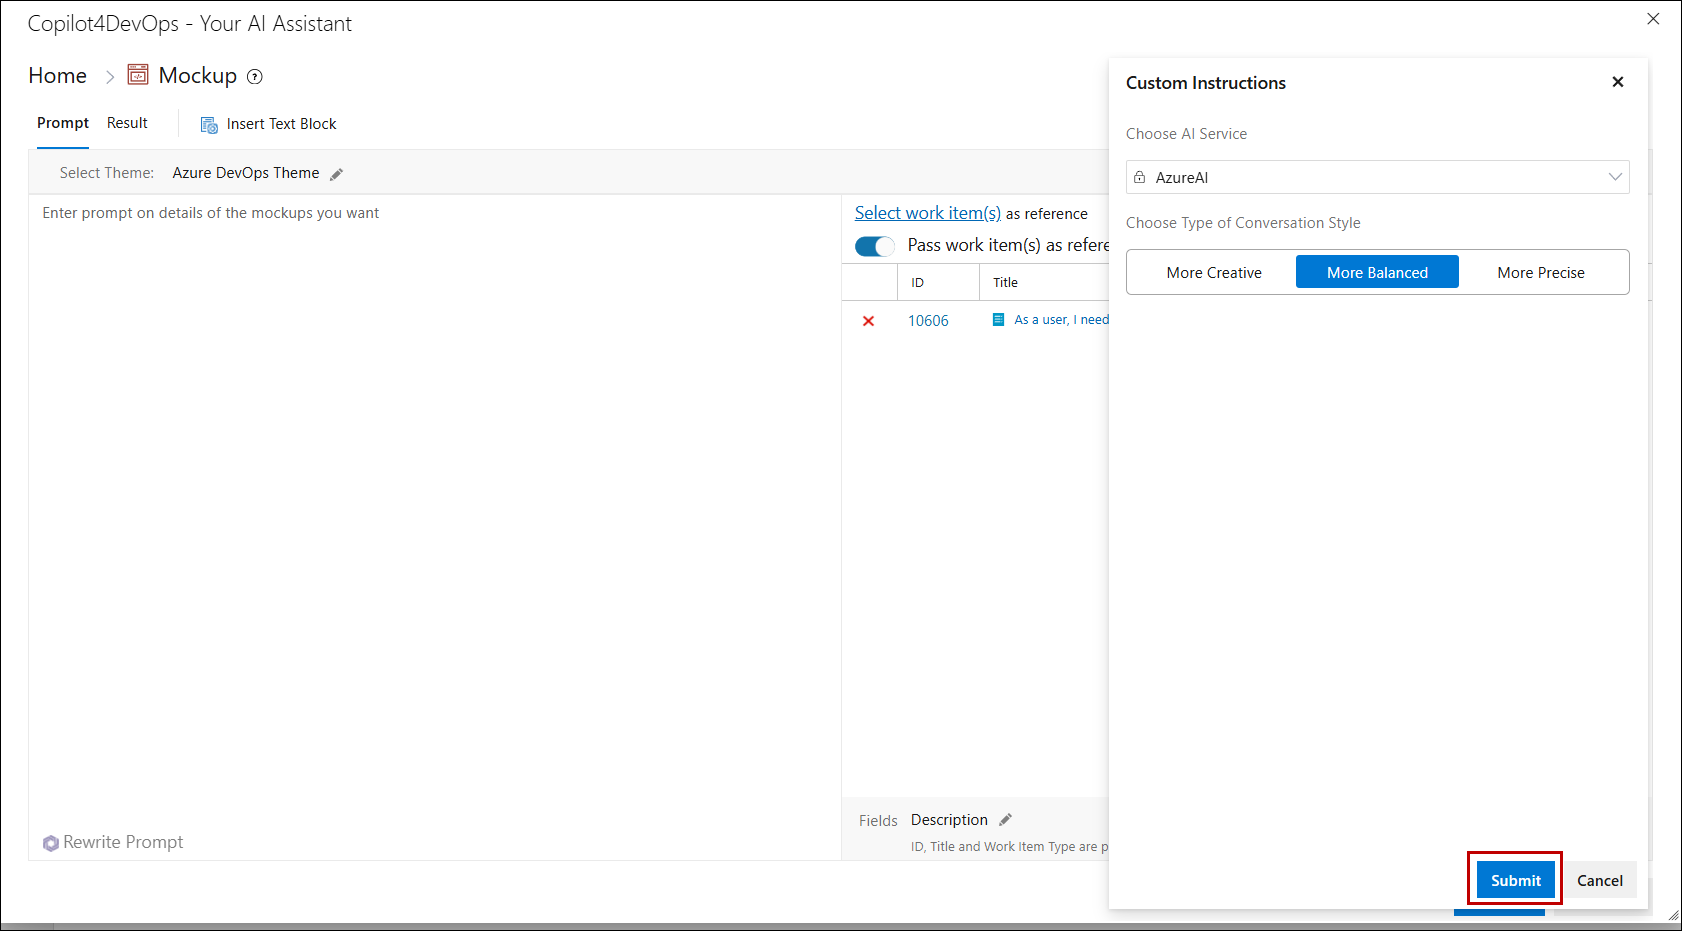
Custom Instructions
In the toolbar, find and click the Custom Instructions option.
1. From the right panel user will be able to see the AI Service selected in the Admin also able to Choose type of conversation style such as “More Creative”, “More Balanced” or “More Precise”.
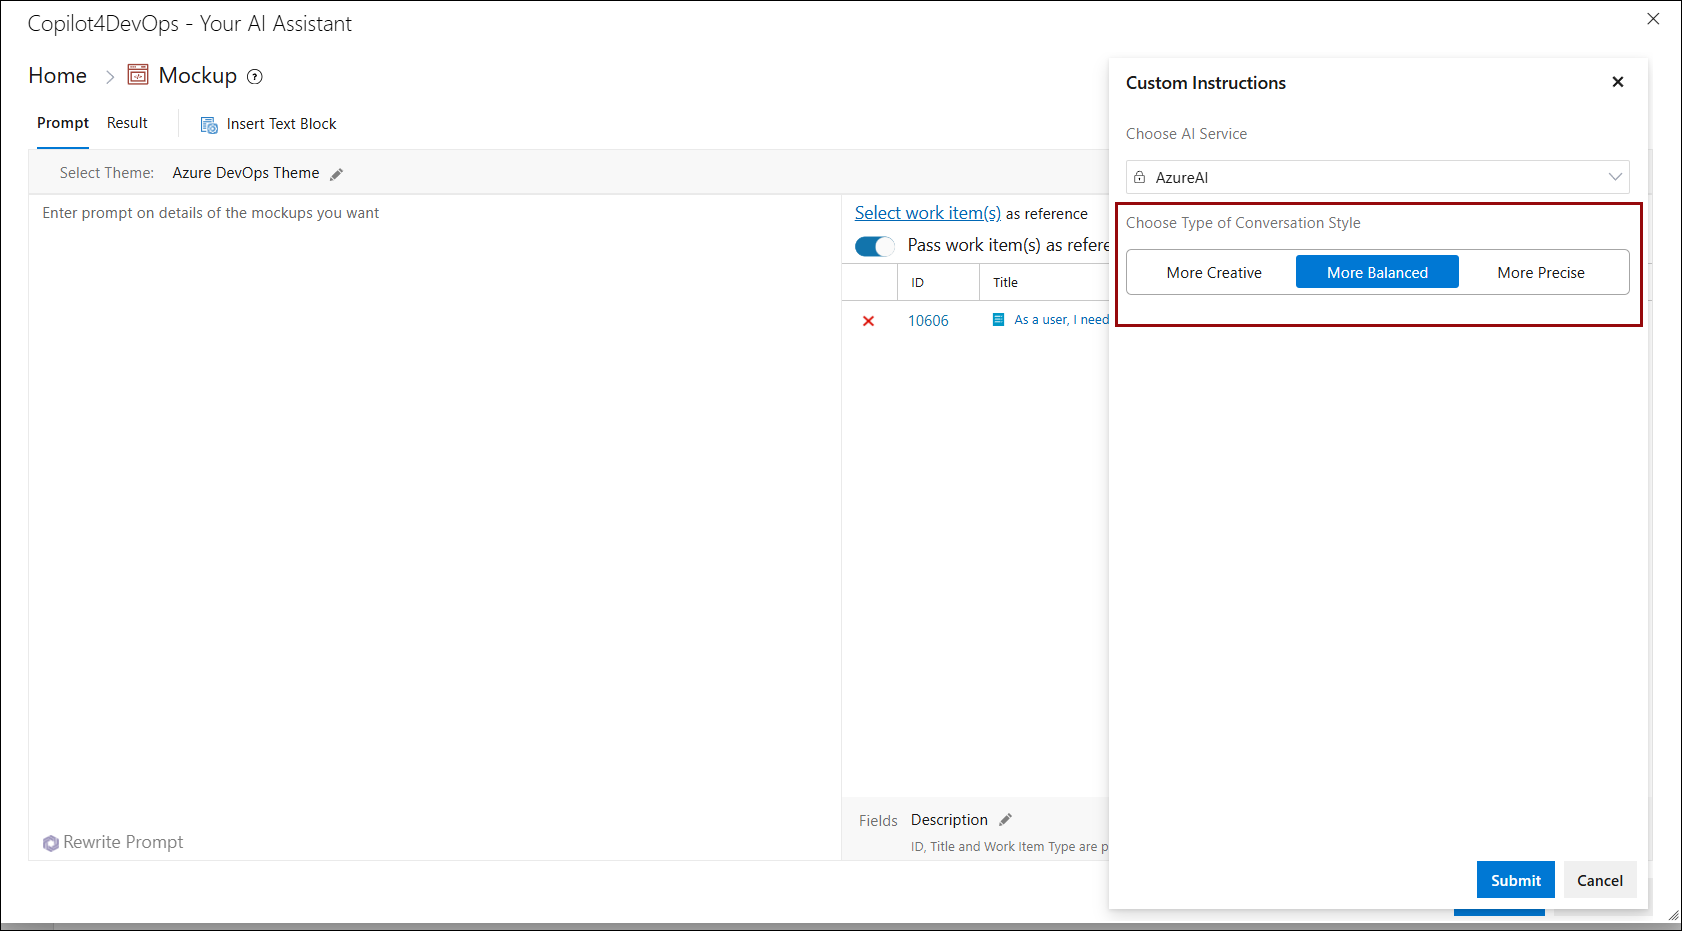
2. After choosing your preferred conversation style, close the window to apply the custom instructions.