Setup Elicitation
Setup Elicitation
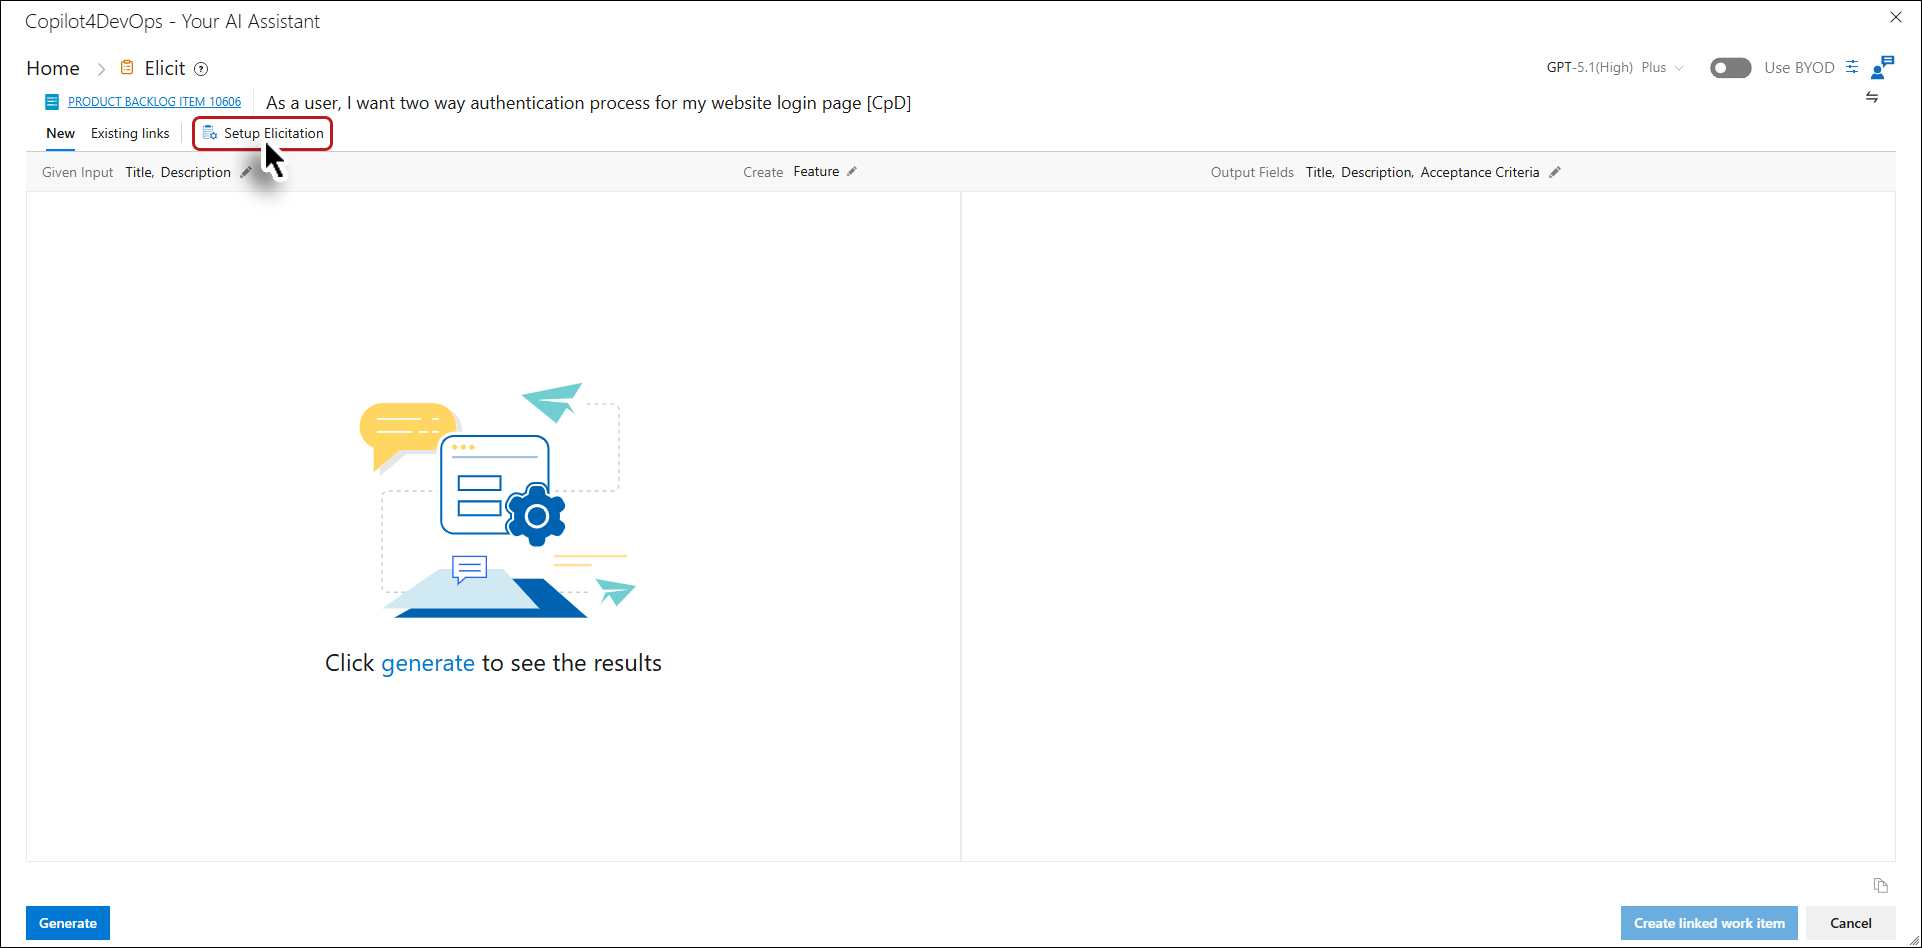
1. Click on the "Setup Elicitation" option.
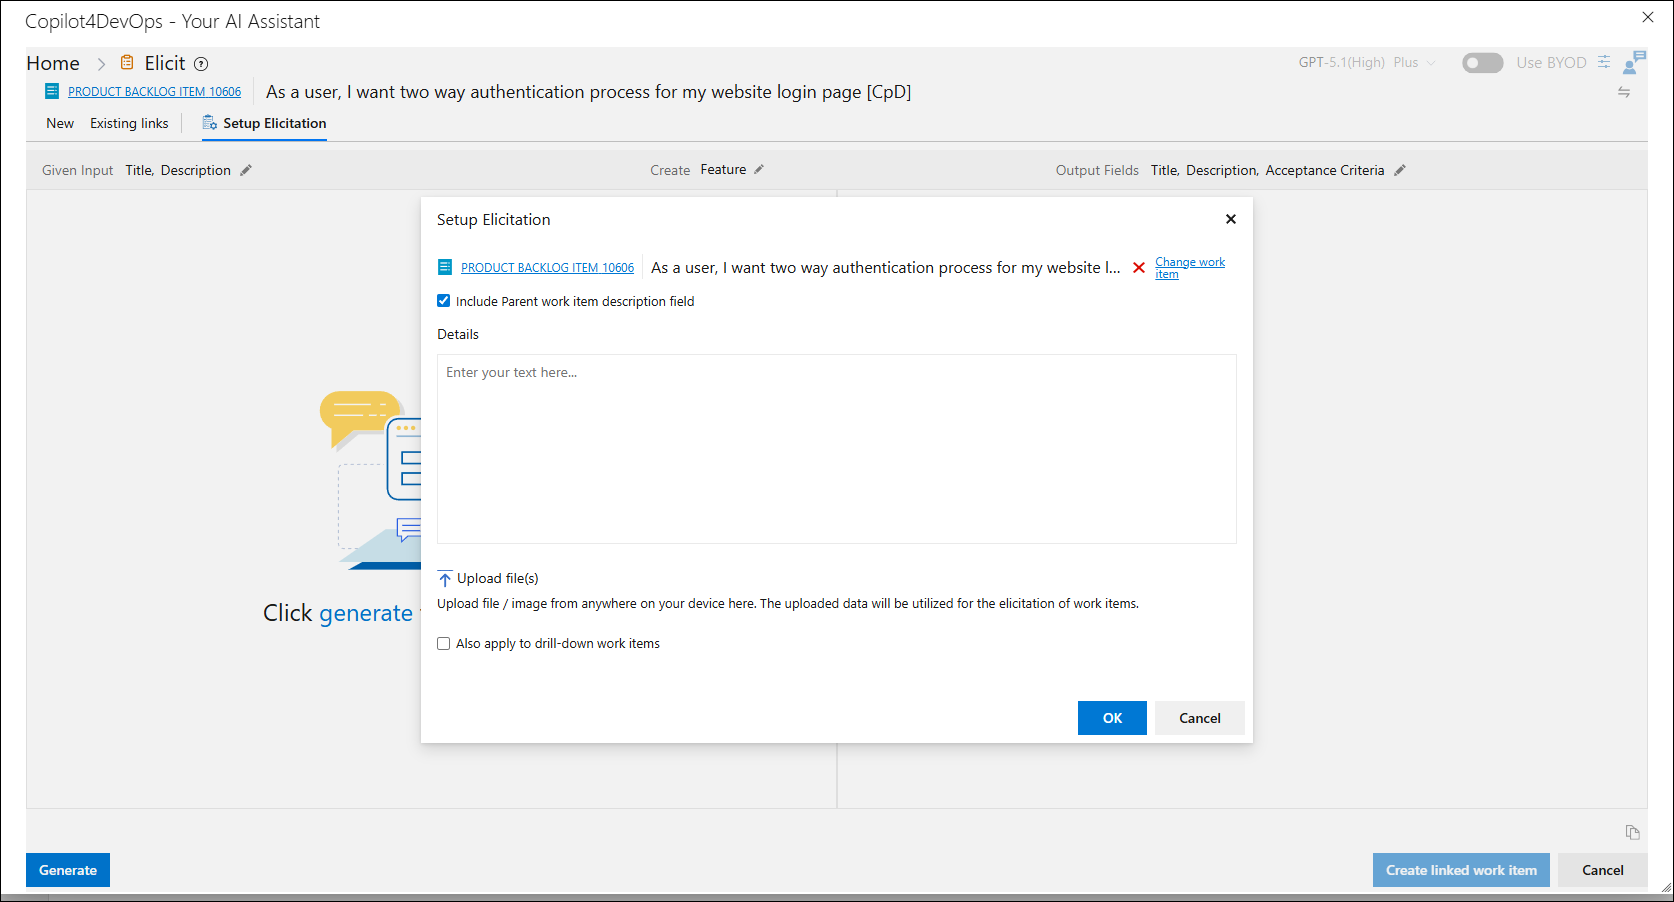
The Setup Elicitation popup is displayed.
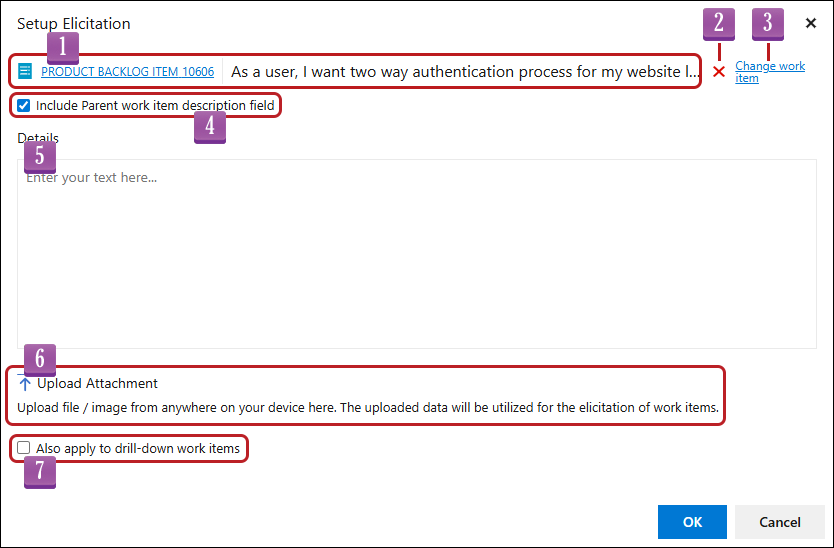
2. The popup options are elaborated below:
 |
Displays the currently selected work item with
• Type • ID • Title |
 |
Remove work item |
 |
Change/Add work item via "Add work item"or "Change work item" options |
 |
Checkbox: Include Parent Work Item Description Field (enabled by default) |
 |
Multi-line text box for project description or additional details |
 |
Attachment Upload* (up to 10 files, each file size of max 20 MB): • Supported formats: .pdf, .xlsx, .csv, .docx, .txt, .xml, .json, .css, .js, .png, .jpeg, .jpg, .svg, .webp. • Files must be associated with a work item or user details. |
 |
Checkbox: Also apply to drill-down work item to persist attachments and details |
*The attachment upload process is elaborated in detail here.
• Clicking the Change work item link opens the following dialogue box.
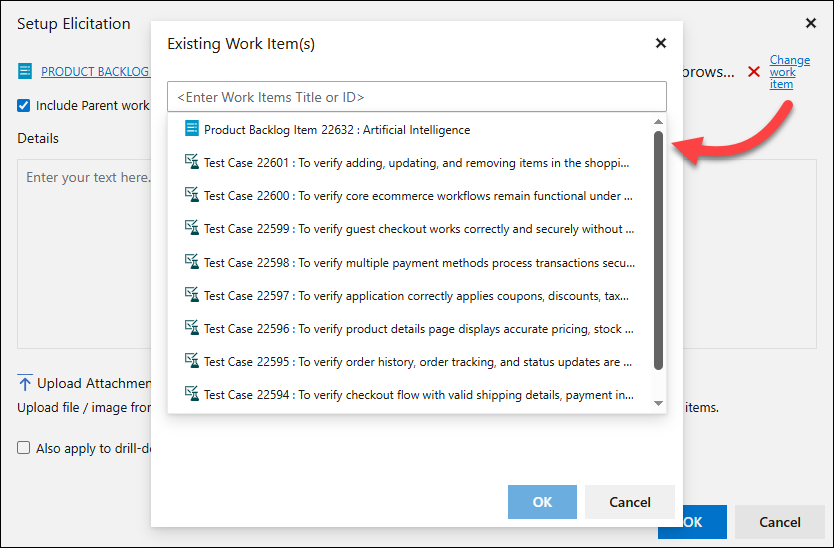
4. Clicking OK updates the Elicit function pop-up.
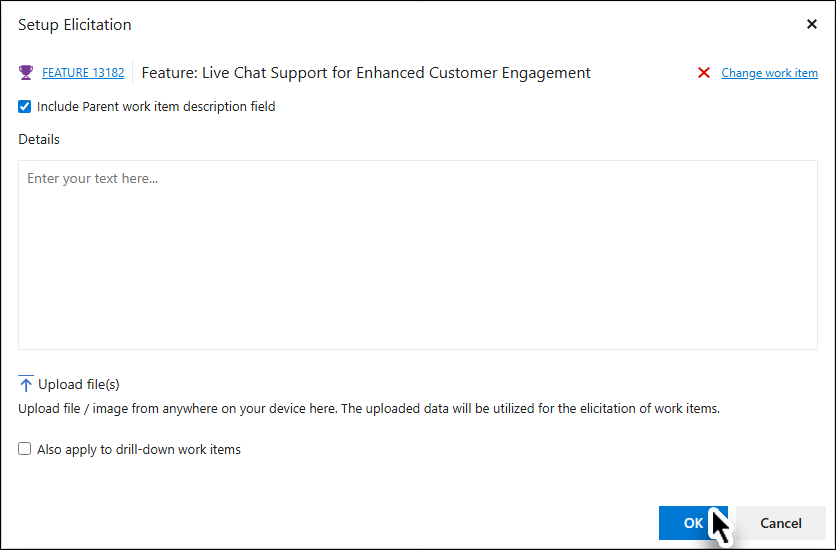
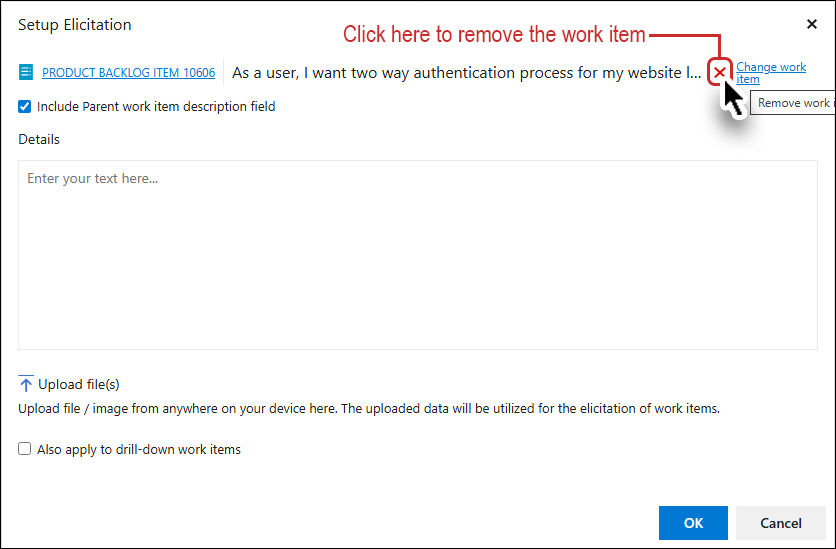
5 (a). You can remove the current work item by clicking the relevant button.
5(b). Provide some details and click the OK button.
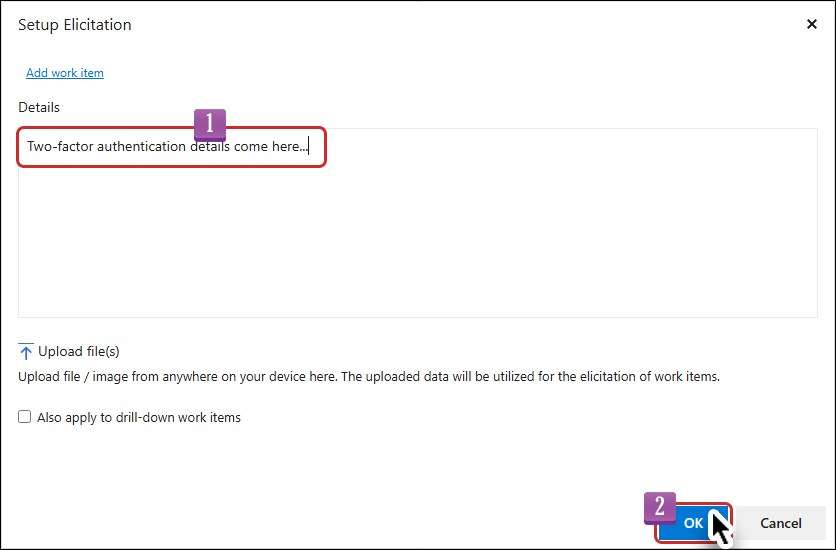
If the selected work item is removed, the user-provided details replace work item info, hiding specific options (e.g., ‘Given Input’ dropdown, ‘Existing Links’ tab).
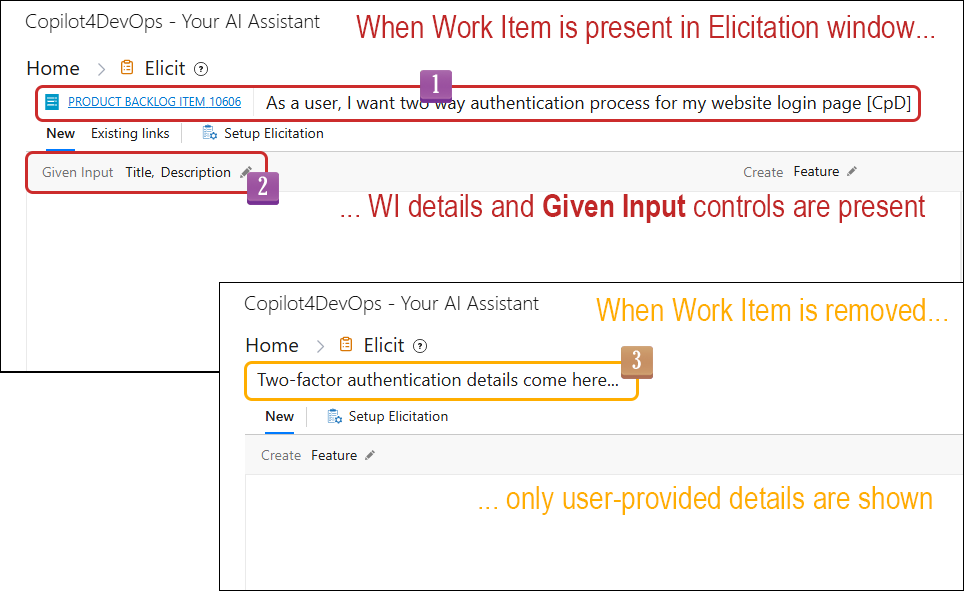
Note: When the user clicks 'Create Linked Work Item' from the first level 'Create Work Item', no pop-up appears, and the work items are created directly in Azure DevOps (ADO).
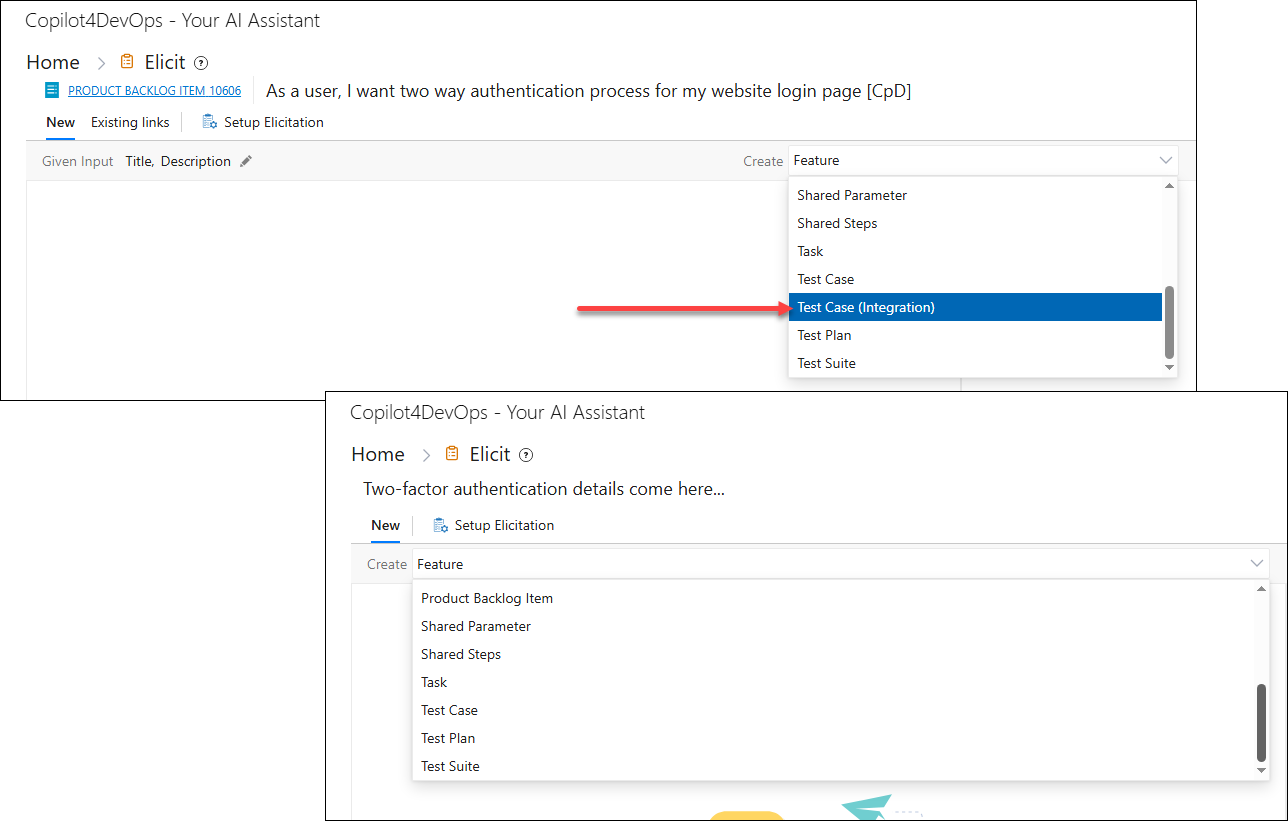
Similarly Test Case (Integration) is also hidden from the Create dropdown control.
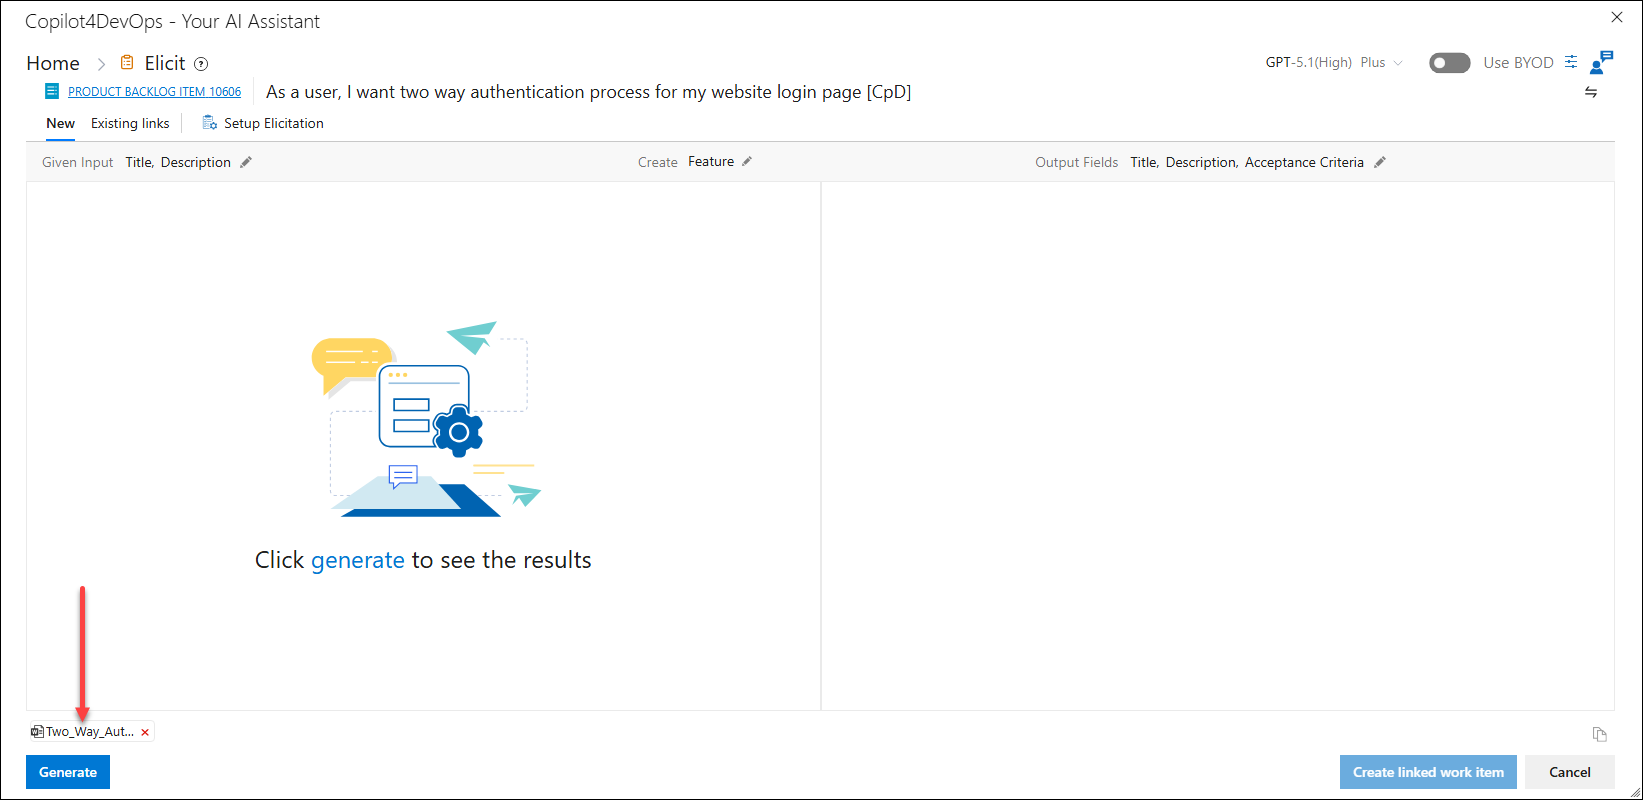
If a user adds a file to the WI (the process is elaborated here), the uploaded document’s name is displayed above the “Generate” button.