Sub Diagrams
Accessing Sub Diagrams
Users can decompose complex diagrams into Sub Diagrams for better clarity and management. The Sub Diagrams panel lists all sub diagrams (workflows) found in the main diagram.
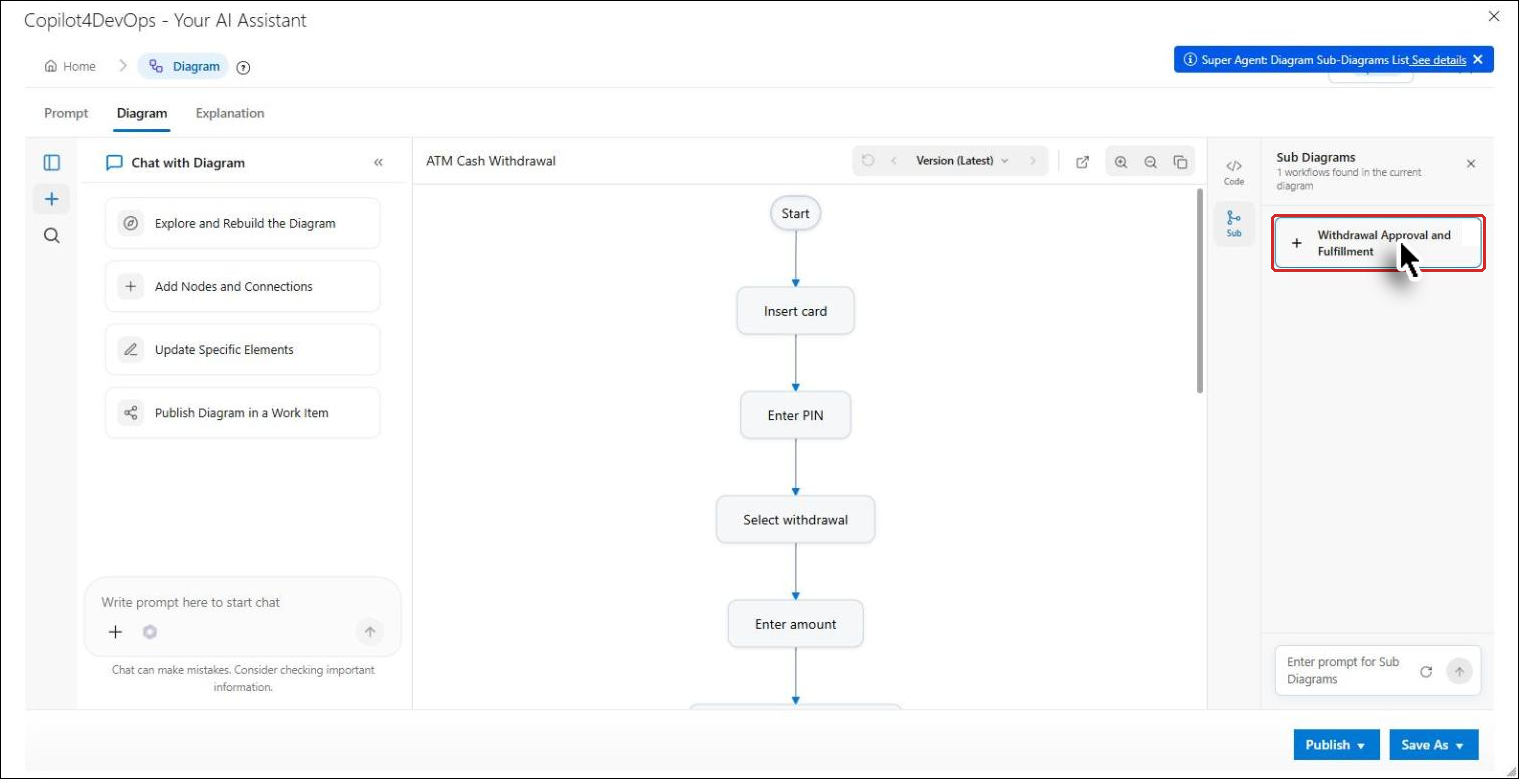
1. Click on the Sub icon in the right-side panel.
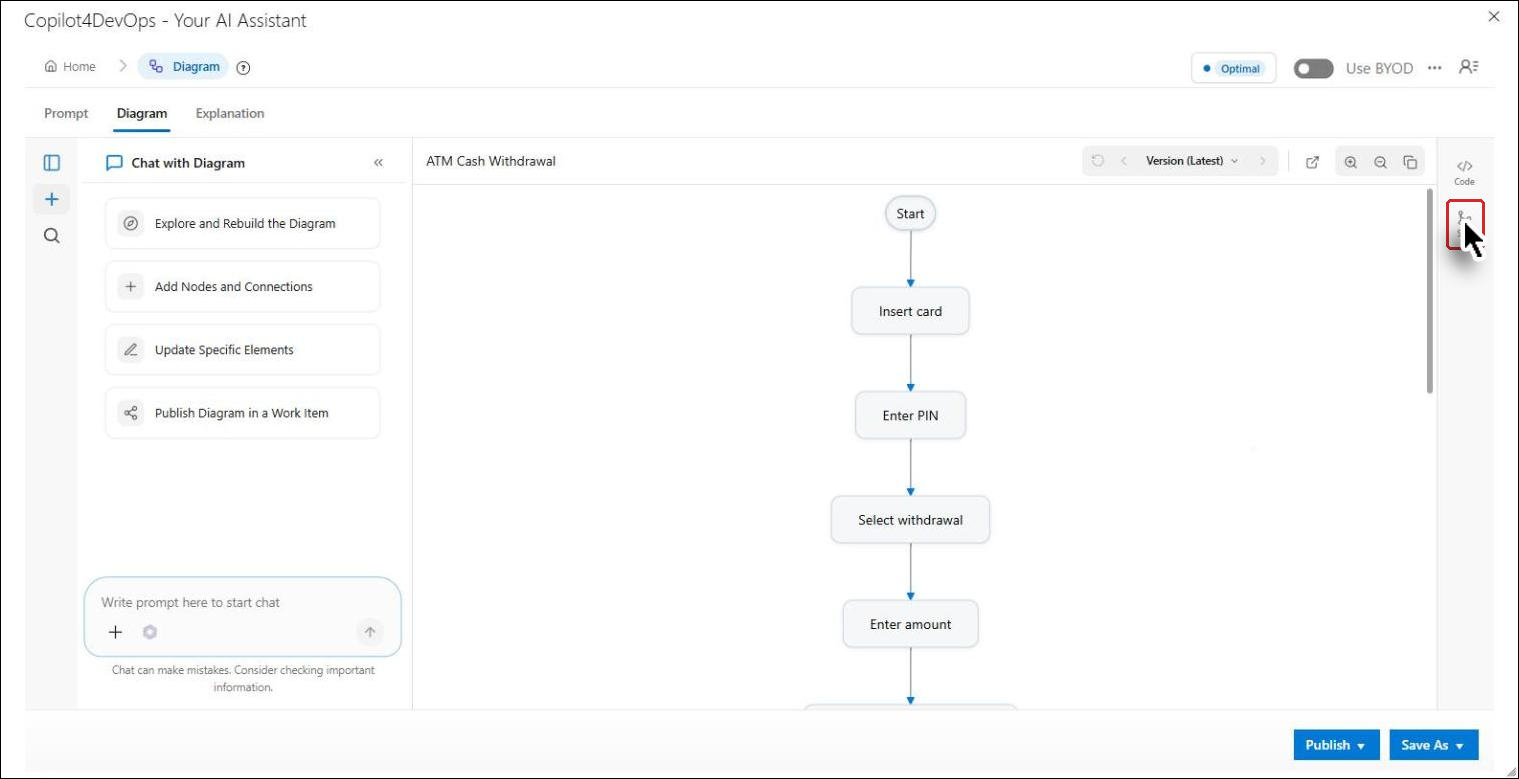
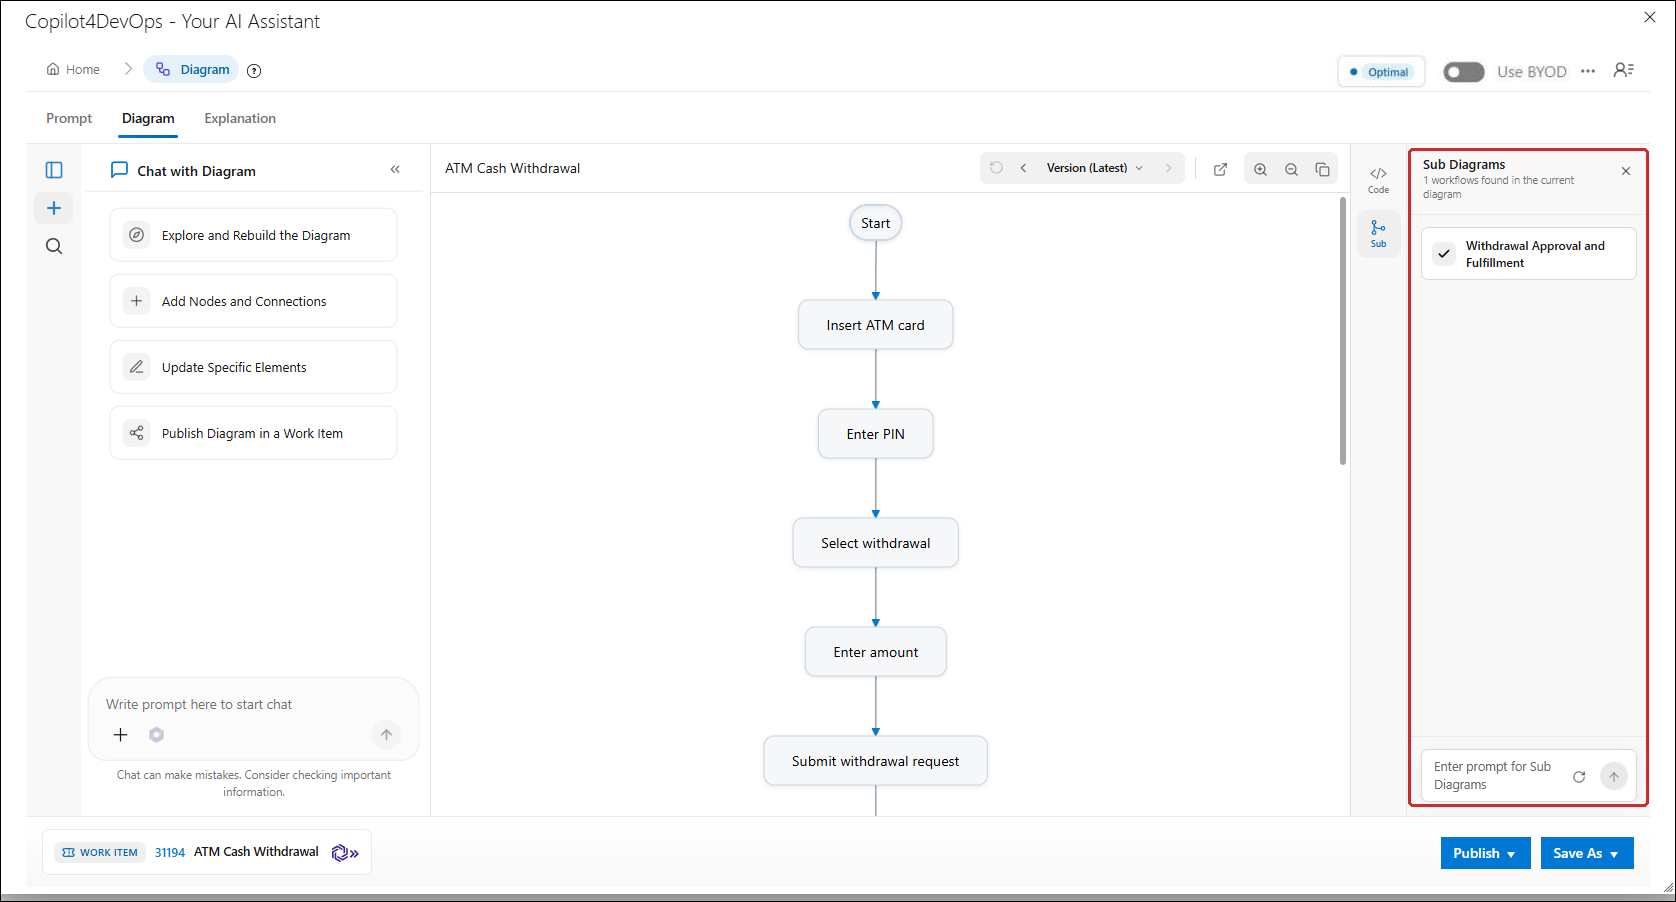
The Sub Diagrams panel opens and lists the workflows (sub diagrams) found in the current diagram.
Note: You cannot proceed to Sub Diagrams until the diagram is published to a Work Item (WI). If you click a sub diagram before that, the message "Please publish the work item to proceed with sub-diagrams." is shown.
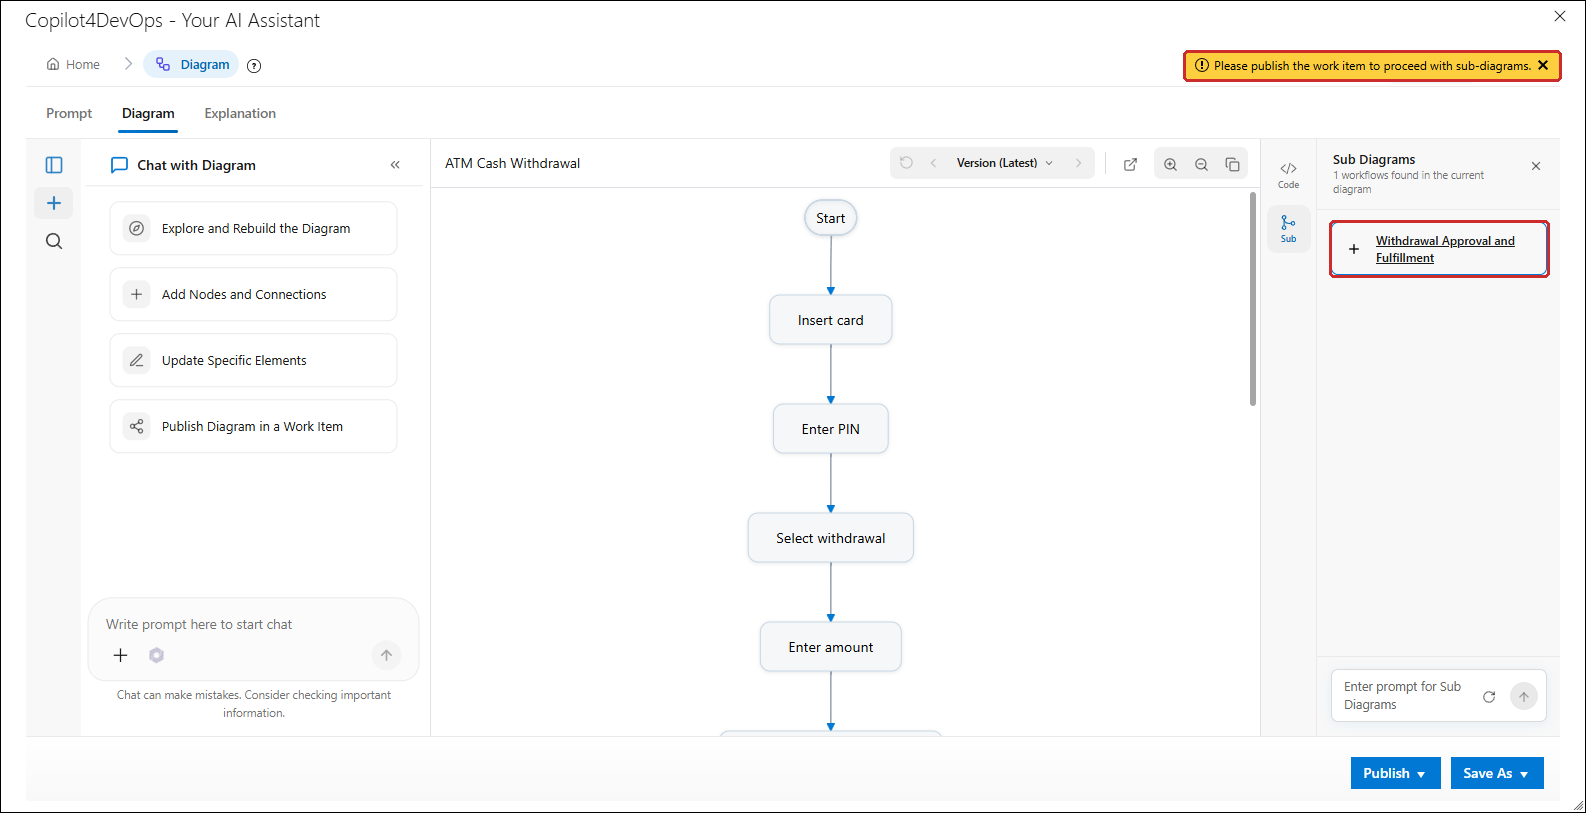
2. To publish the diagram to a WI, follow the publishing workflow in Saving and Publishing a Diagram.
3. Once the diagram is published, access and interact with the Sub Diagrams as needed. Click on your required Sub Diagram.
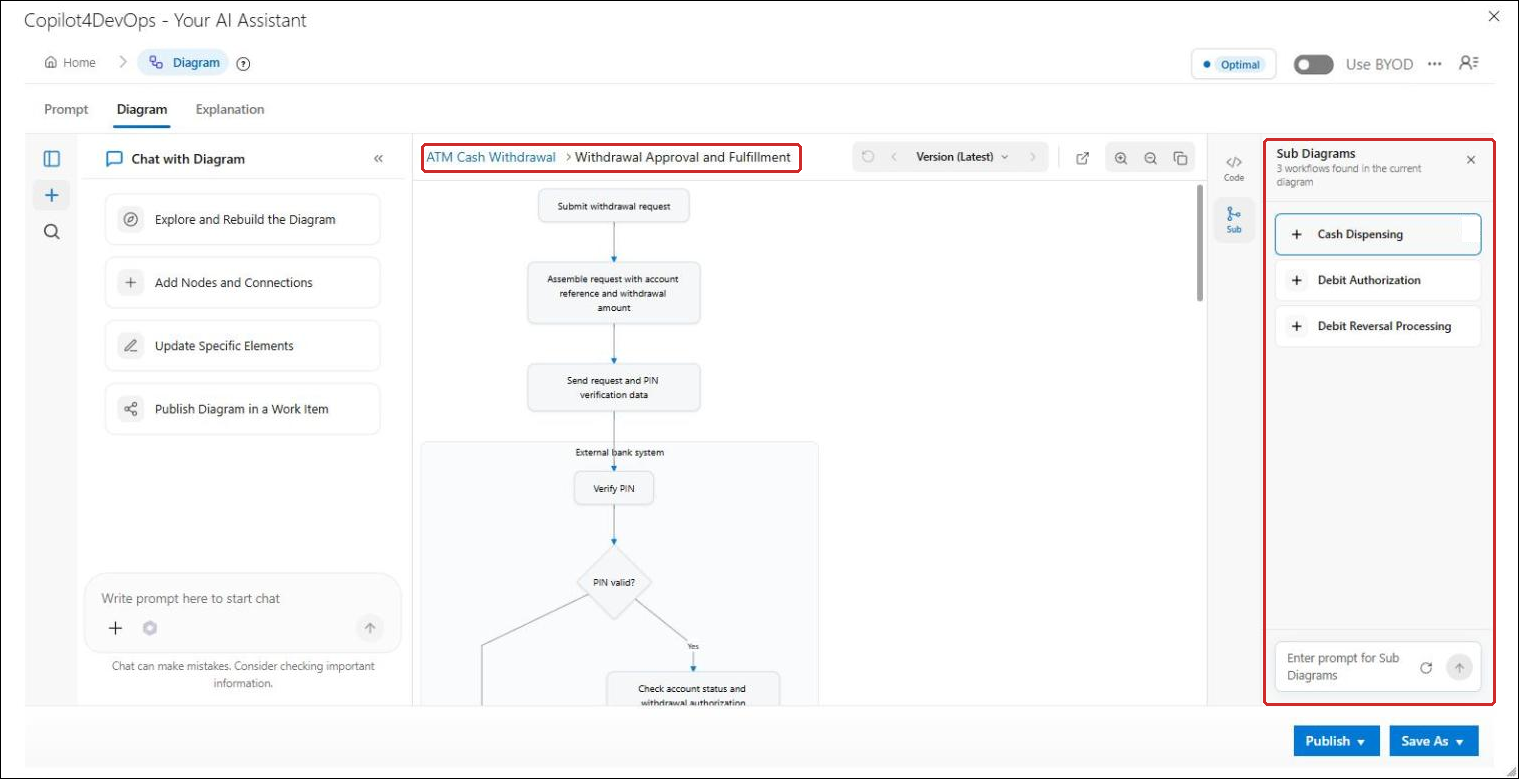
The selected Sub Diagram is generated. The title above the diagram shows the main diagram and the sub diagram (for example, ATM Cash Withdrawal > Withdrawal Approval and Fulfillment), and the Sub Diagrams panel lists the workflows found in the sub diagram.
Publishing Sub Diagrams
Just like regular Diagrams, users can also publish Sub Diagrams to Existing Work Items and New Work Items. Let's discuss each of the two ways.
Users must publish work items at each level of the diagram hierarchy before generating further sub-diagrams.
To an Existing Work Item
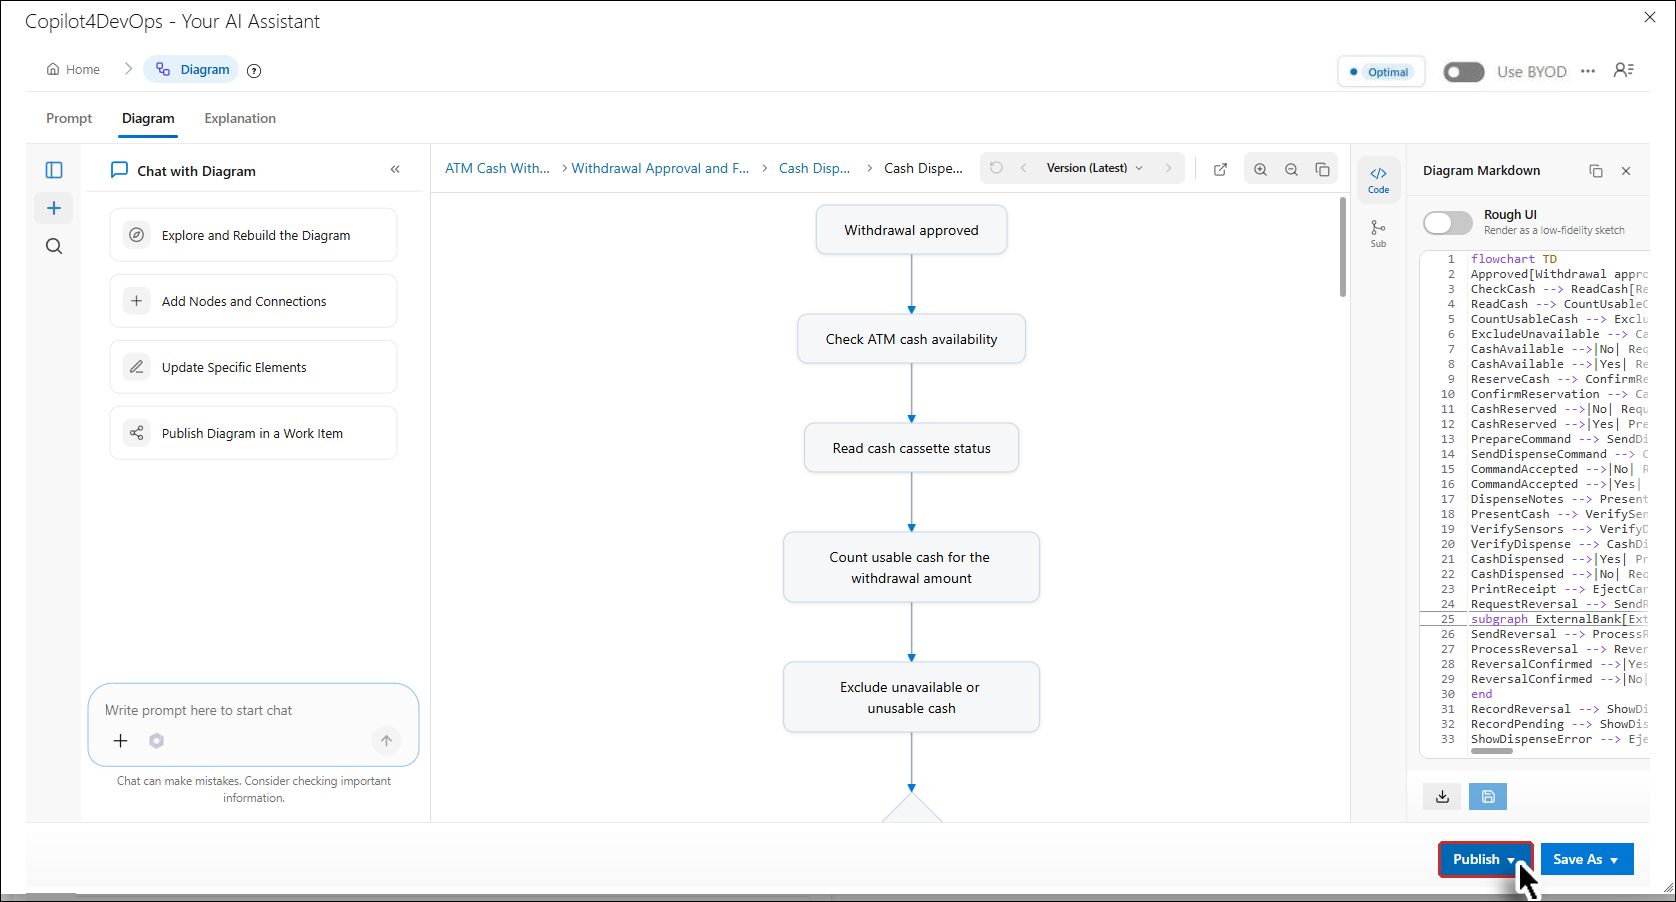
1. Click on the "Publish" button.
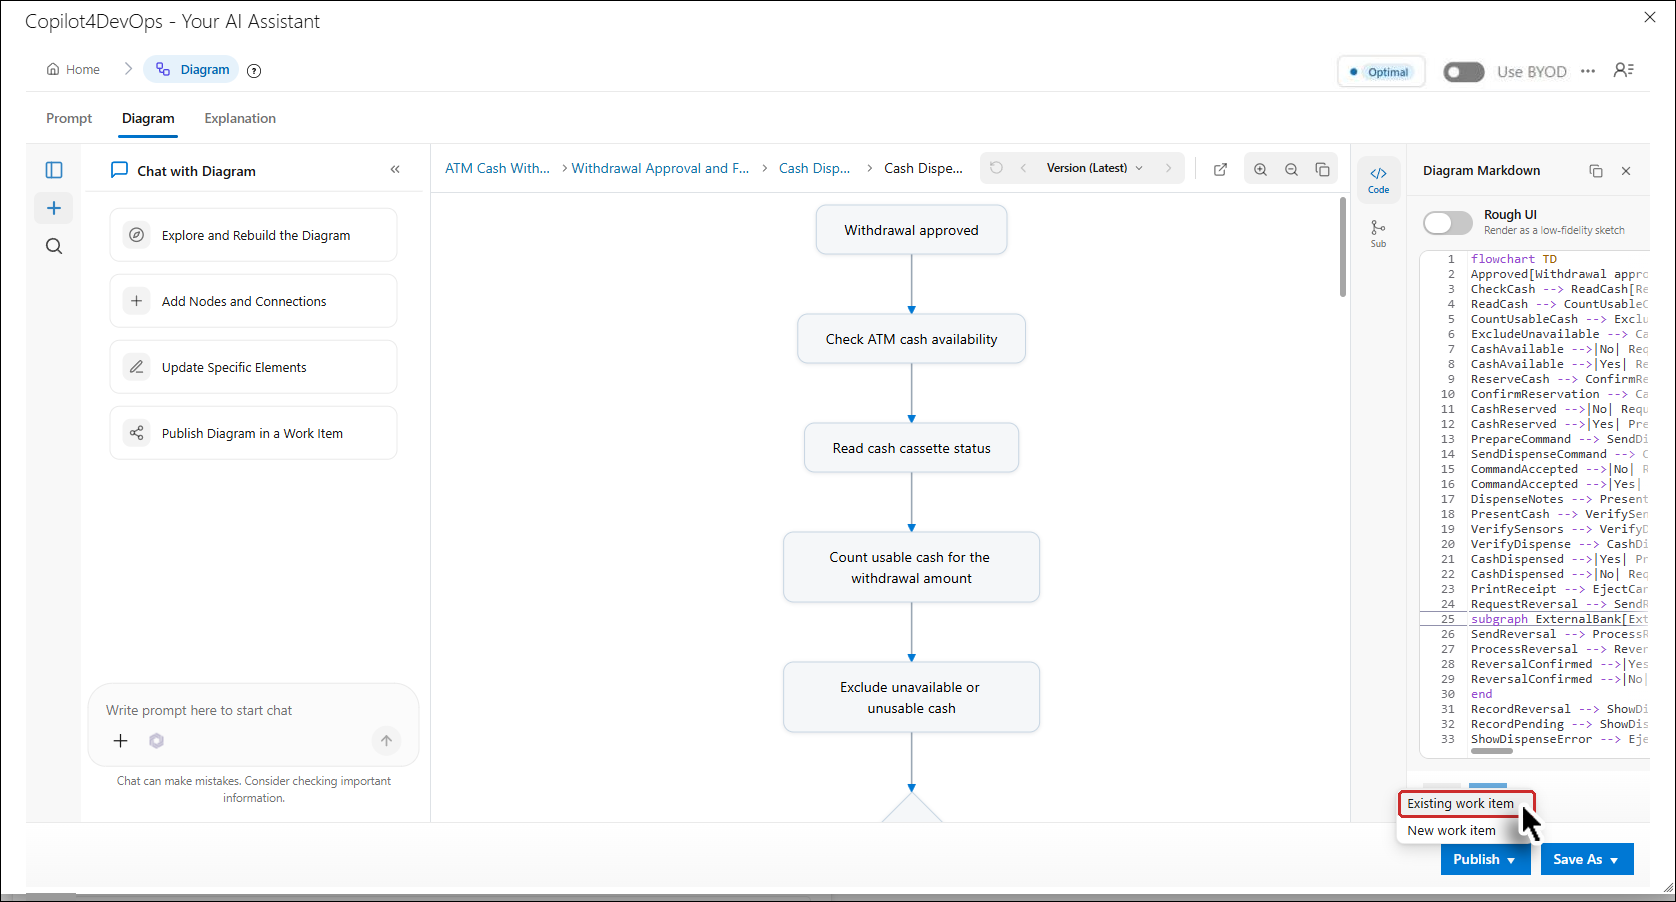
2. Select the Existing work item option.
The Publish to existing work item pop up window will open.
3. Select the Link Type from the dropdown (By default, Child will be selected as the Link type).
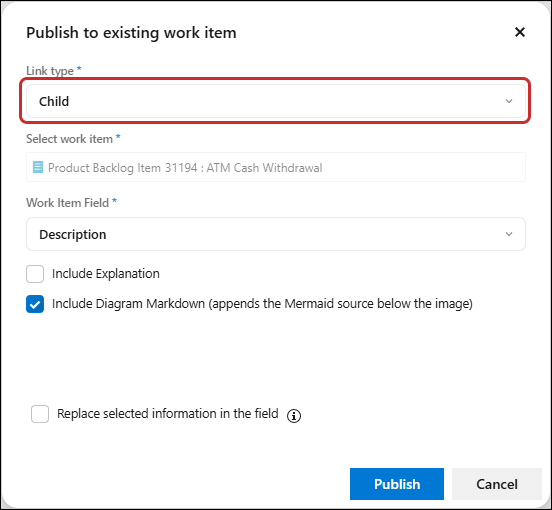
4. Select the Work Item Field for the sub-diagram.
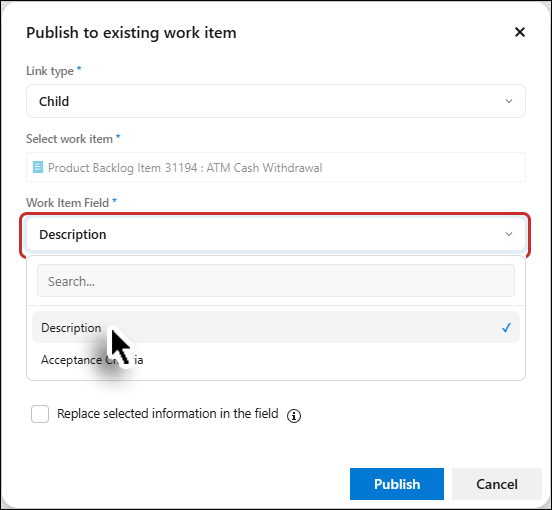
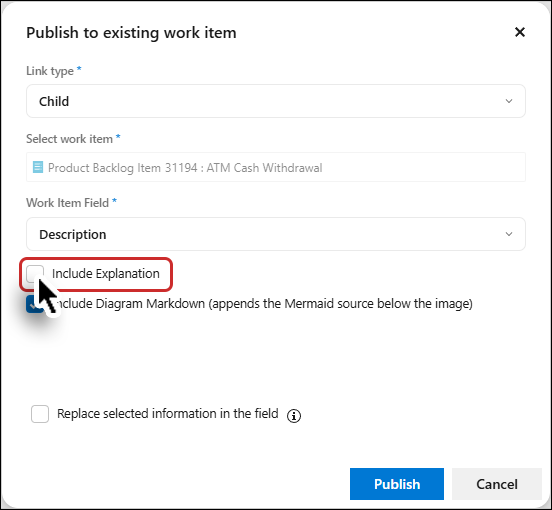
5. Choose whether you want to include the Diagram Explanation.
Note: In cases where a diagram explanation has not been pre-generated, the checkbox will be displayed as unchecked by default. If the user chooses to check this box, the system will initiate the generation of the explanation in real-time. Conversely, if the checkbox is already checked upon first interaction, it indicates that the explanation has been pre-generated and is readily available.
While the explanation is being generated, "Generating explanation..." is shown below the checkbox and the Publish button is disabled.
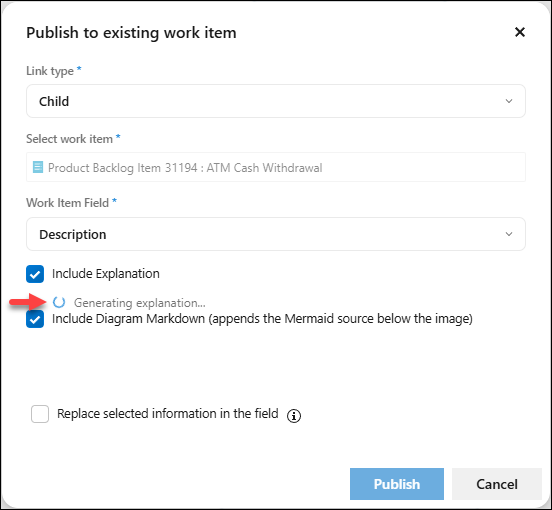
6. Determine whether to select the "Include Diagram Markdown" option (the option is selected by default).
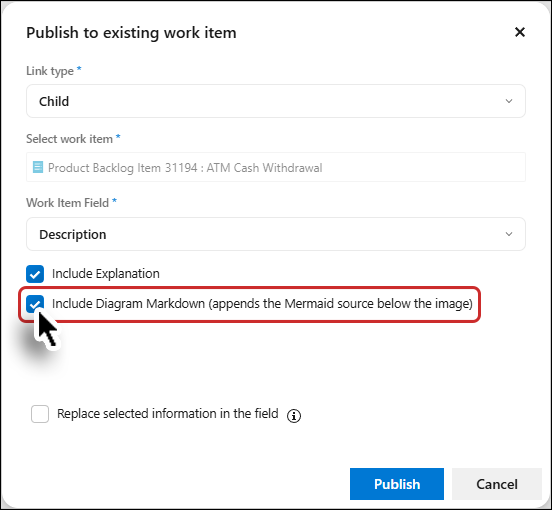
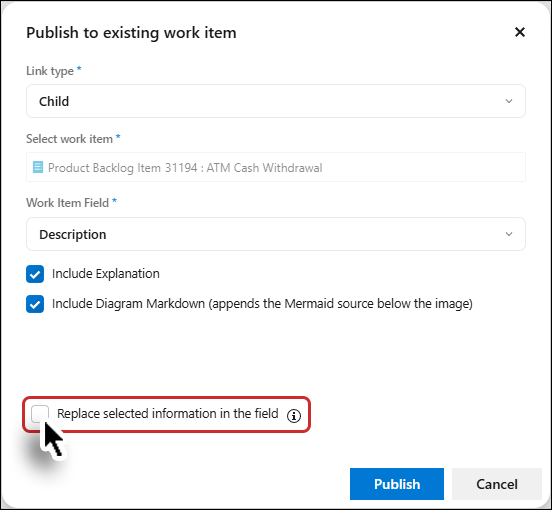
7. Decide whether to replace the information in the selected field.
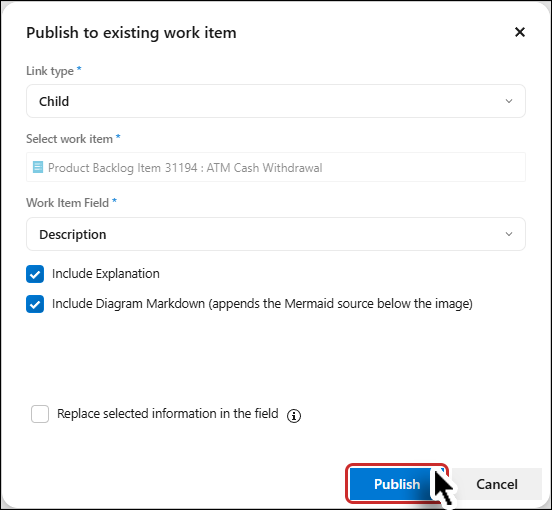
8. Click on the "Publish" button.
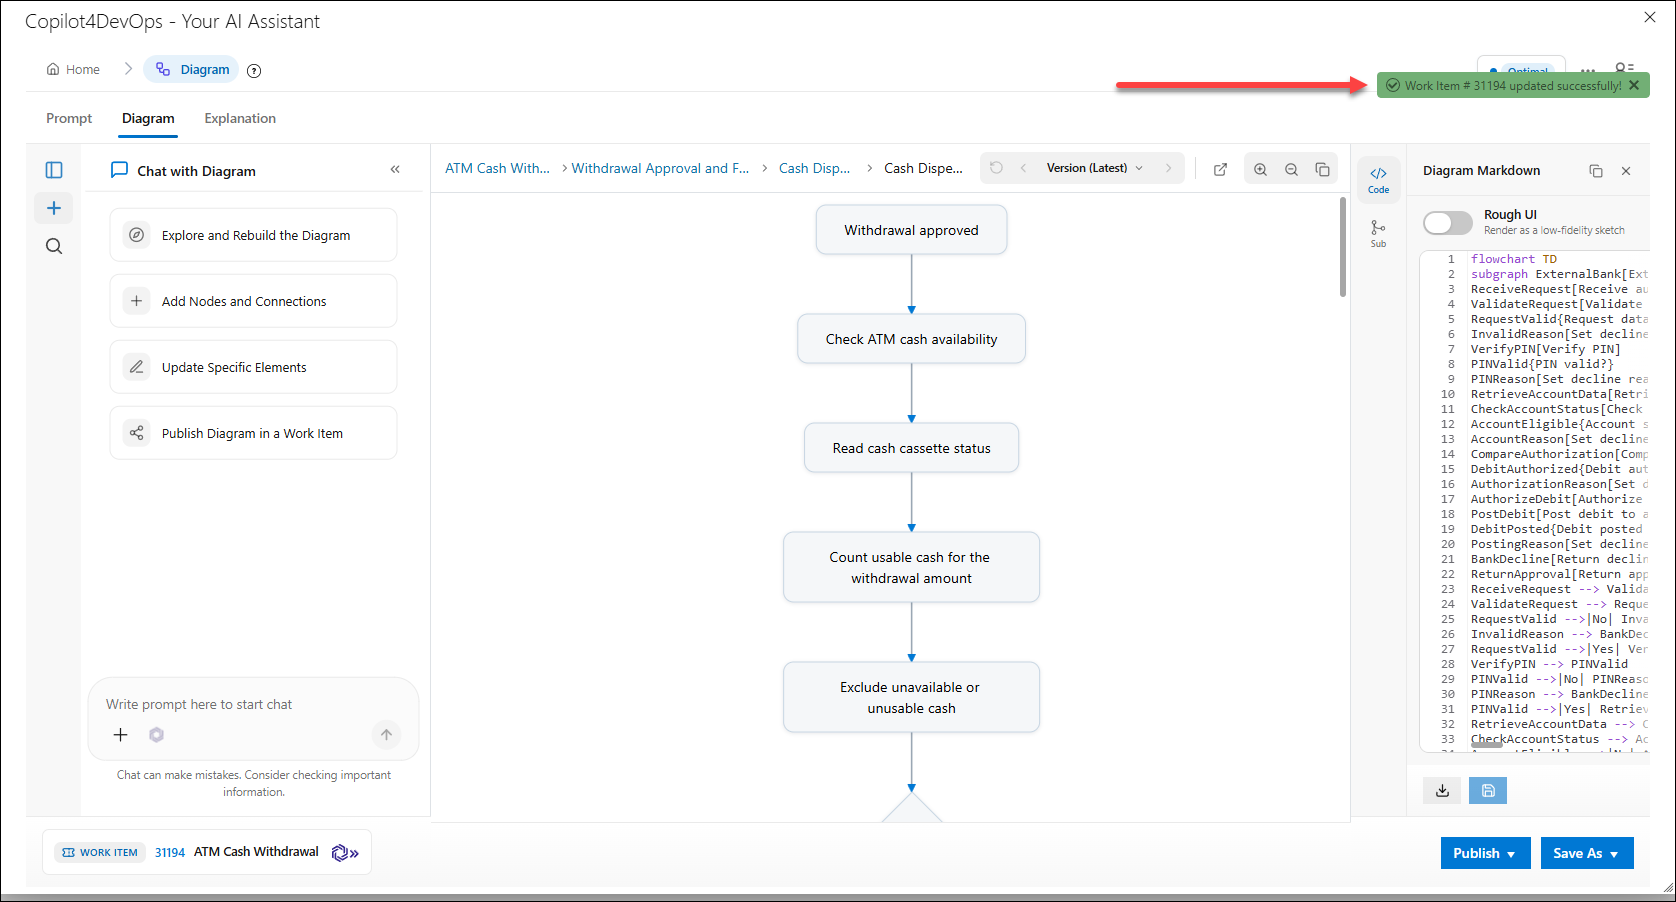
The sub-diagram has been published to an existing work item. The message "Work Item # <ID> updated successfully!" is shown.
To a New Work Item
1. To publish a Sub Diagram to a new work item, click on the Publish button and select the New work item option.
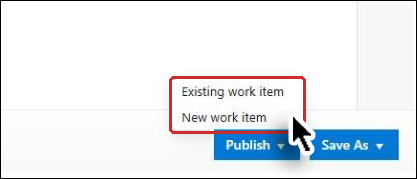
The Publish to new work item popup window opens.
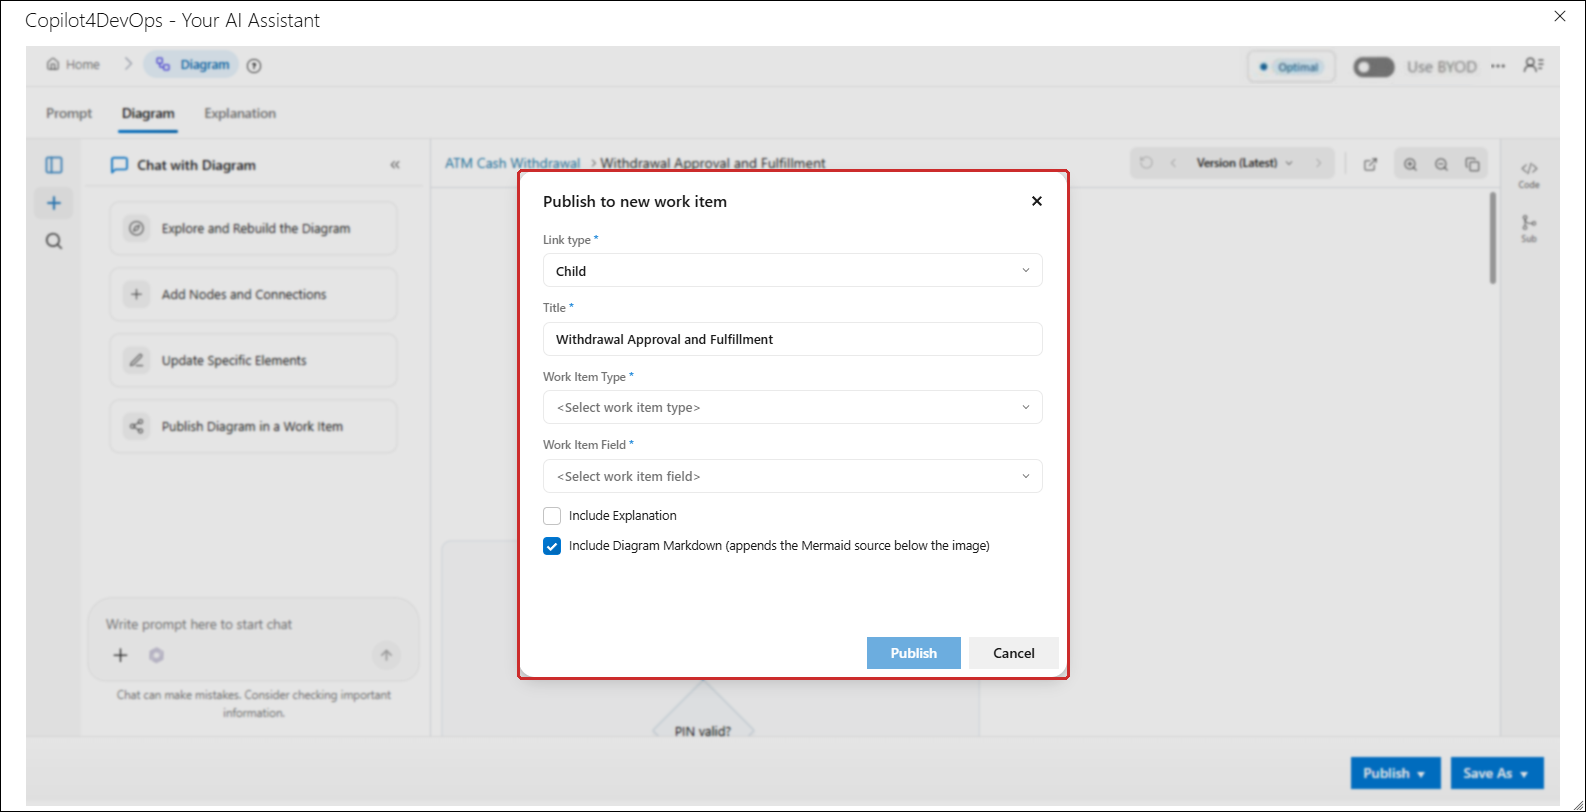
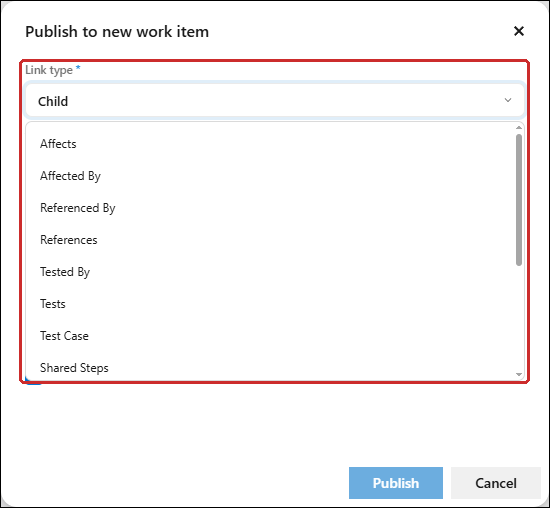
2. Select the Link Type. By default "Child" will be selected as the link type.
3. By default, the Title of a new work item is automatically set to the name of the sub diagram. However, users have the flexibility to modify the title as needed to better align with their specific requirements.
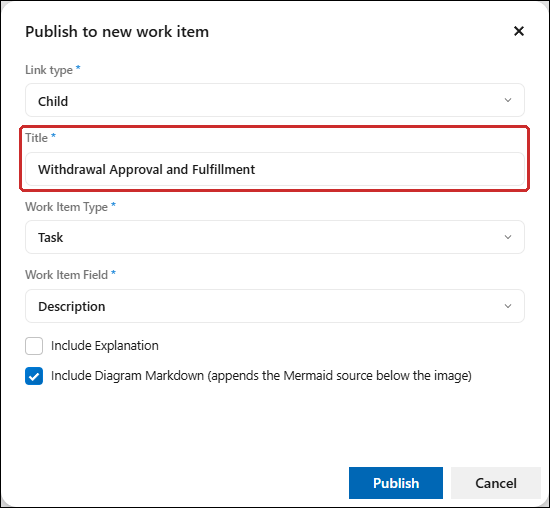
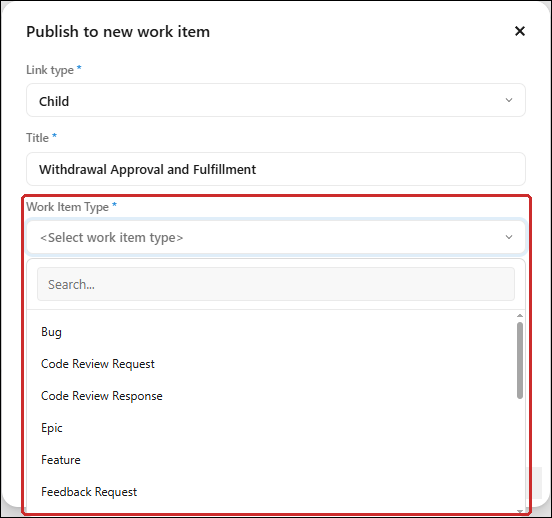
4. Select the Work Item Type.
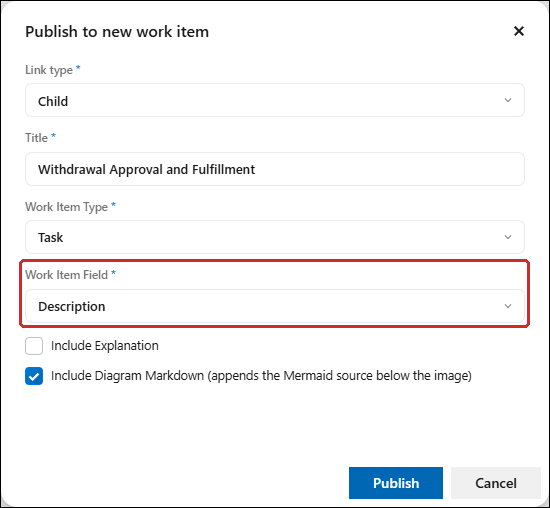
5. Select the Work Item Field.
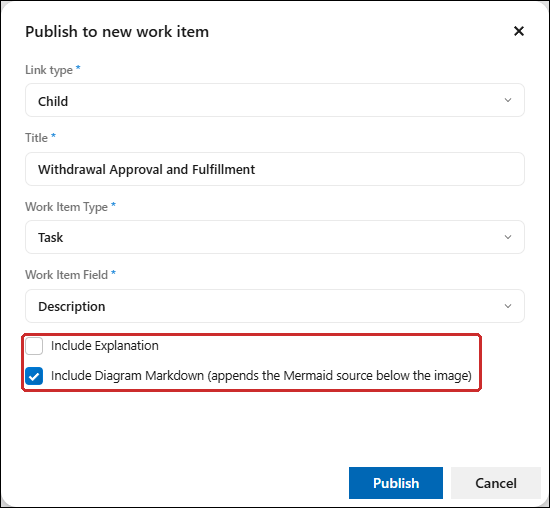
6. Select whether you wish to include the Explanation and Diagram Markdown in the new work item.
7. Click on the Publish button.
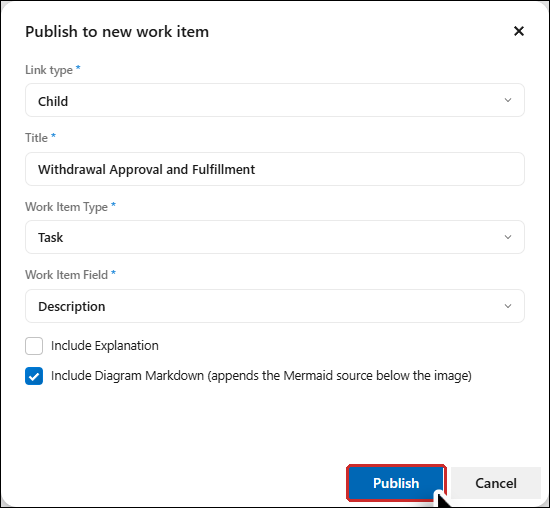
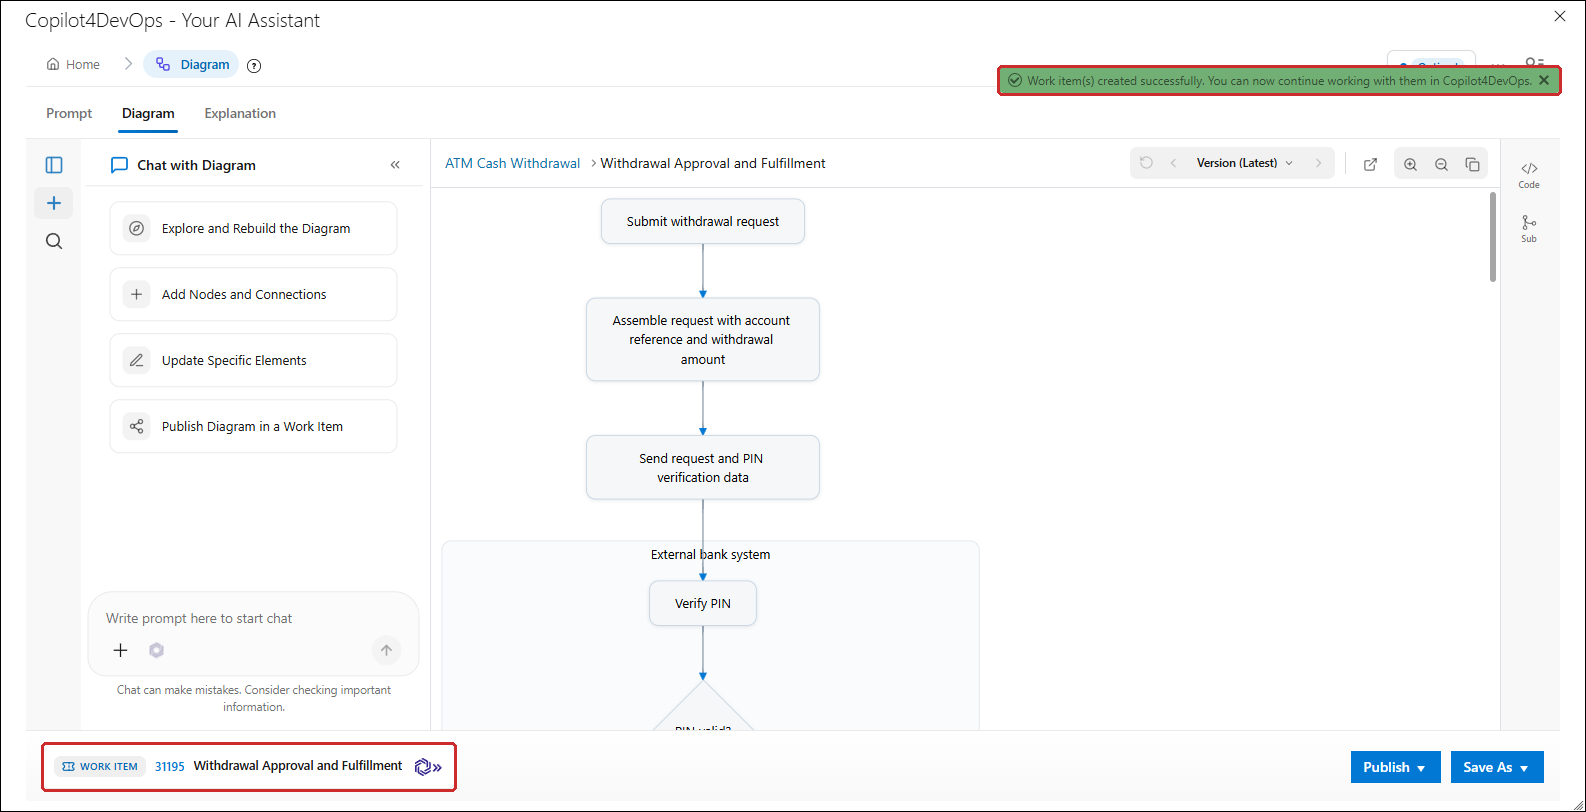
The Sub Diagram has been successfully published to a New Work item. The message "Work item(s) created successfully. You can now continue working with them in Copilot4DevOps." is shown, and the new work item appears at the bottom left of the Diagram tab.
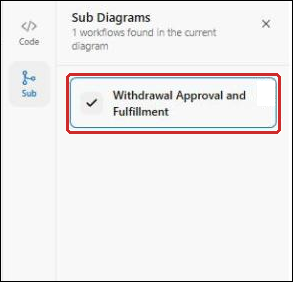
Note: When a sub-diagram is successfully published, a check mark is shown next to its name in the Sub Diagrams panel, indicating its published status. Sub-diagrams that are not yet published show a plus sign (+) next to their names, indicating that they are available for further action.
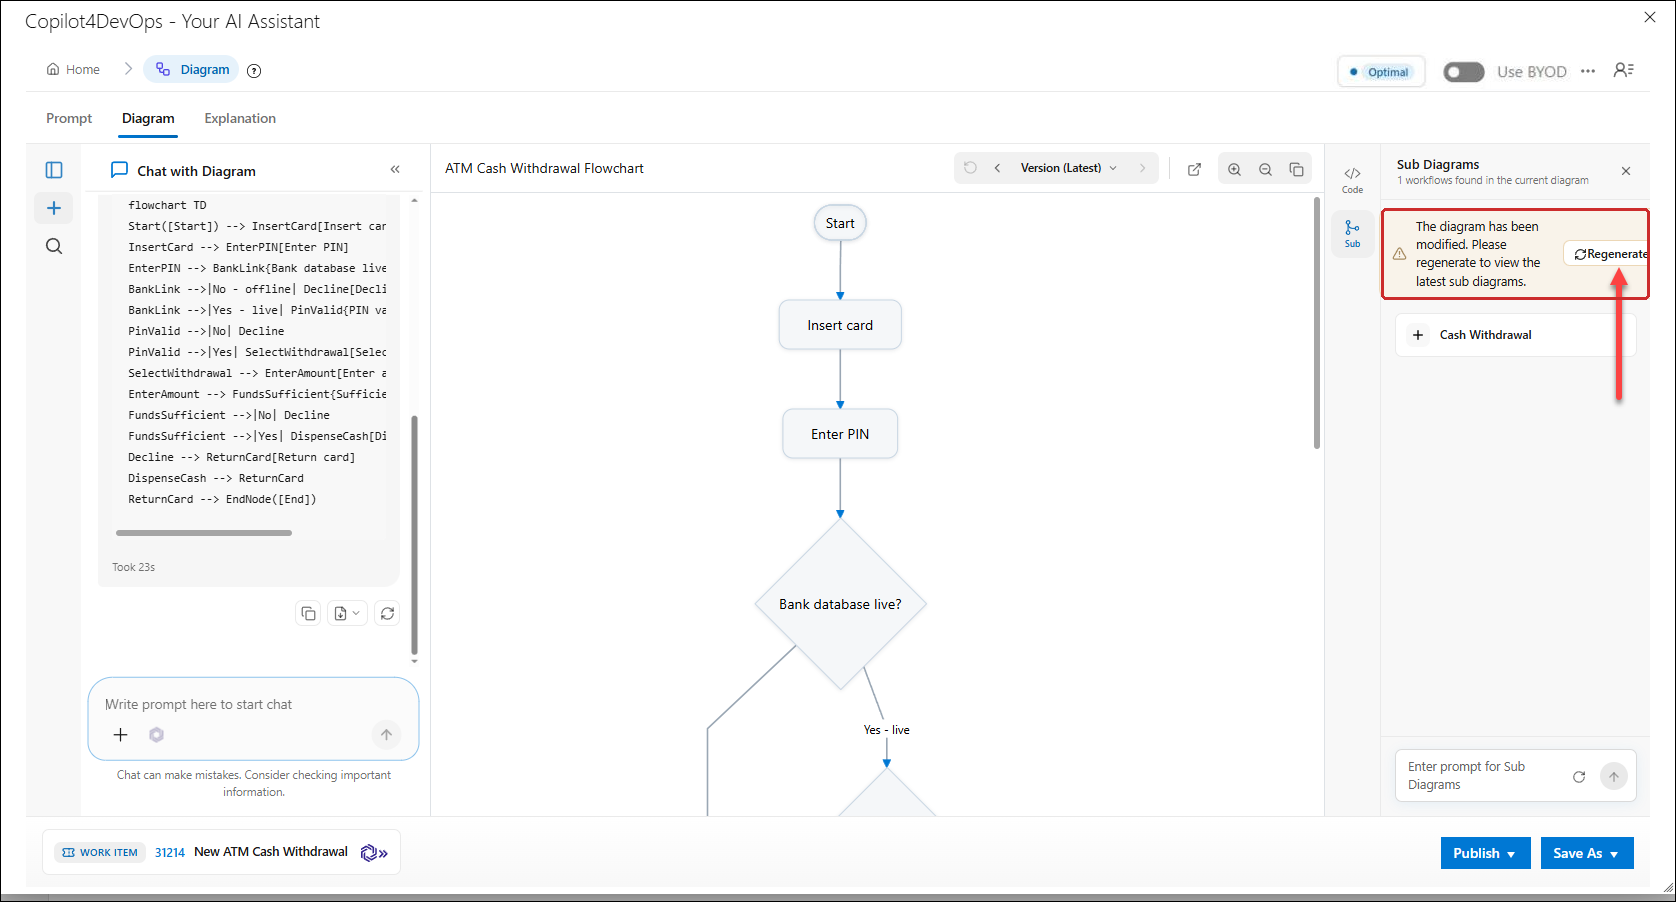
Note: A notification message is shown above the Sub Diagram list when there is a change or update in the diagram. This can happen in the following scenarios:
If any changes are made to the diagram using the Diagram Markdown or the "Chat with Diagram" panel.
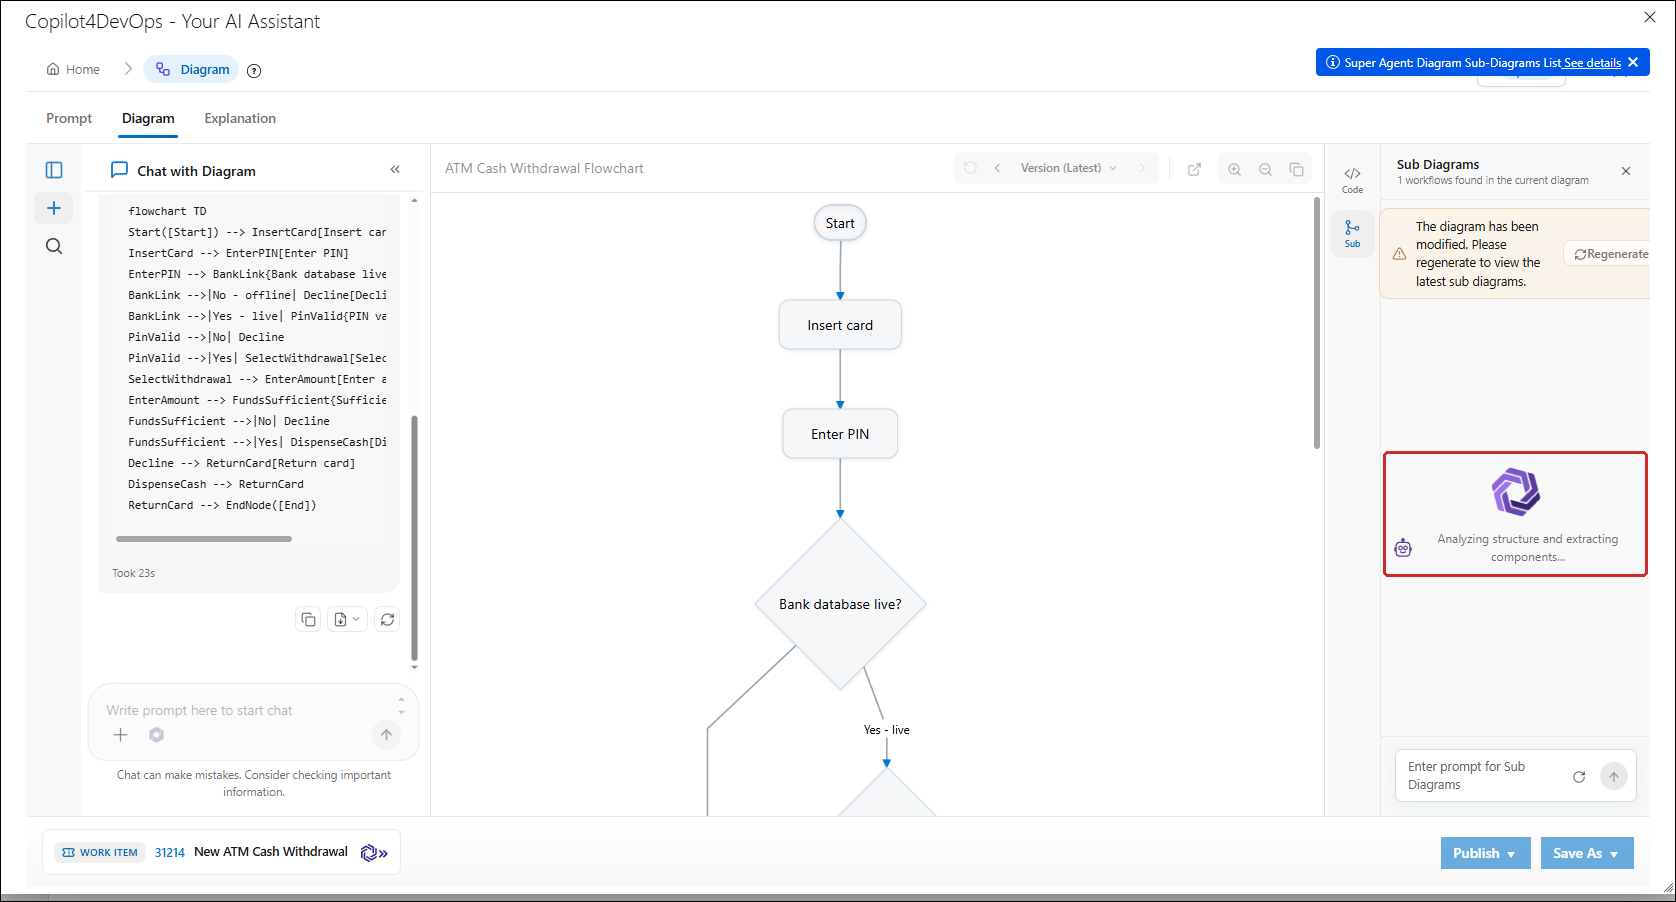
The message "The diagram has been modified. Please regenerate to view the latest sub diagrams." is shown with a Regenerate button to regenerate the Sub Diagrams.
Click the Regenerate button to regenerate the Sub Diagrams for the changed diagram.
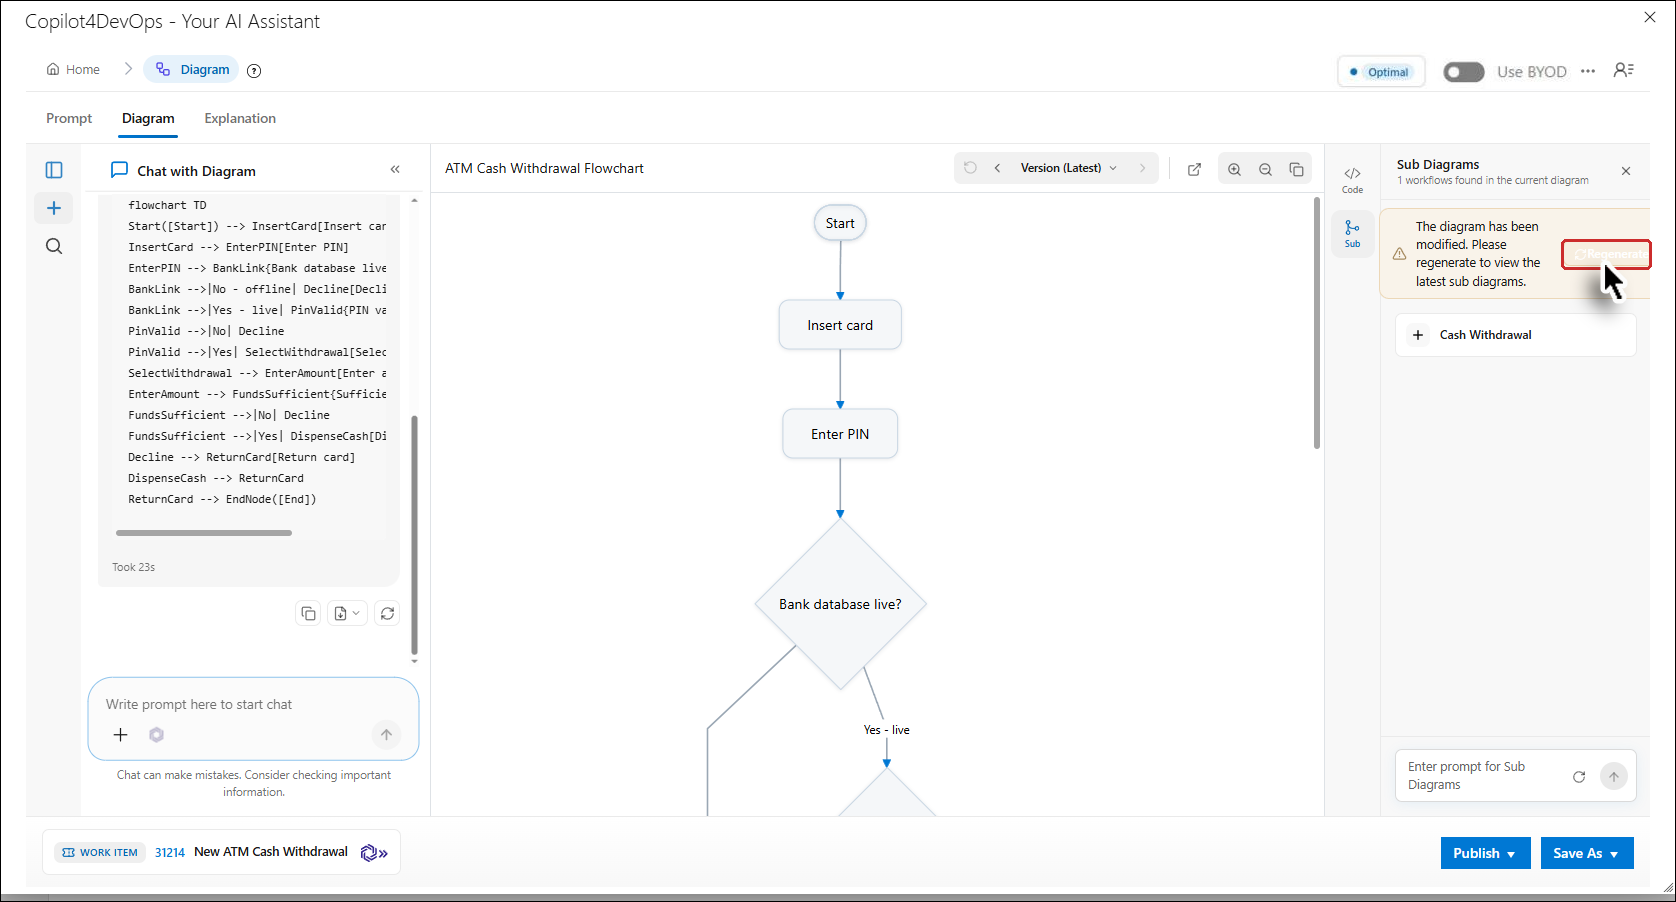
The Sub Diagrams are regenerated for the changed diagram ("Analyzing structure and extracting components...").
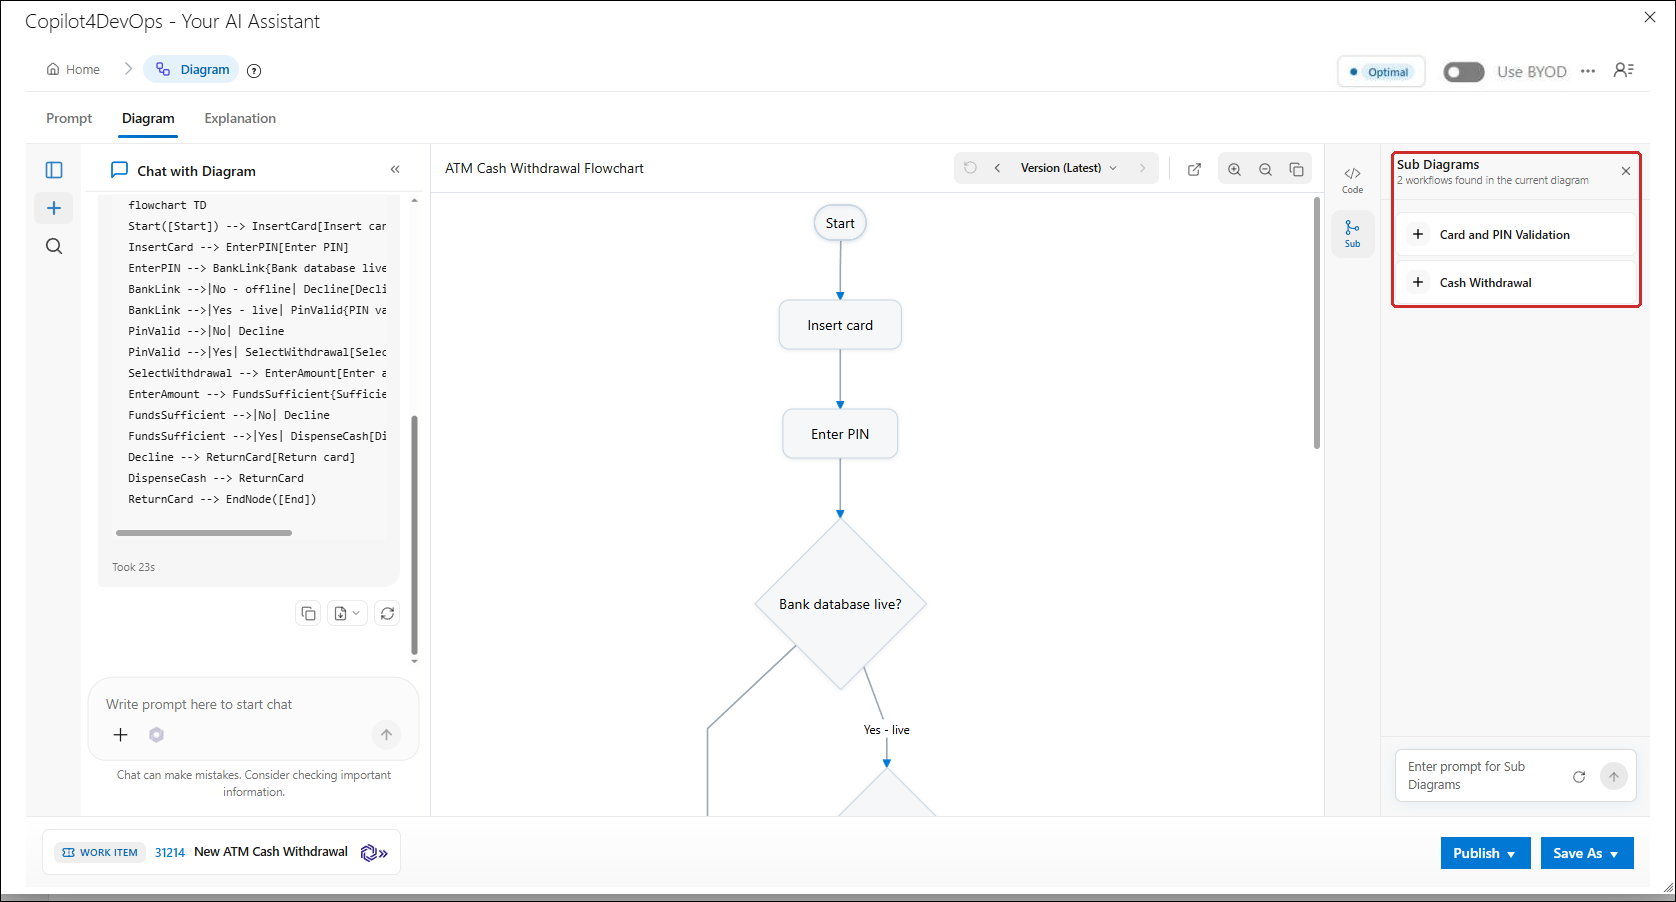
The message is removed and the Sub Diagrams panel lists the workflows found in the changed diagram. In this example, a new workflow, Card and PIN Validation, has been found.
Saving a Sub Diagram
1. To save a sub diagram, click on the Save As button.
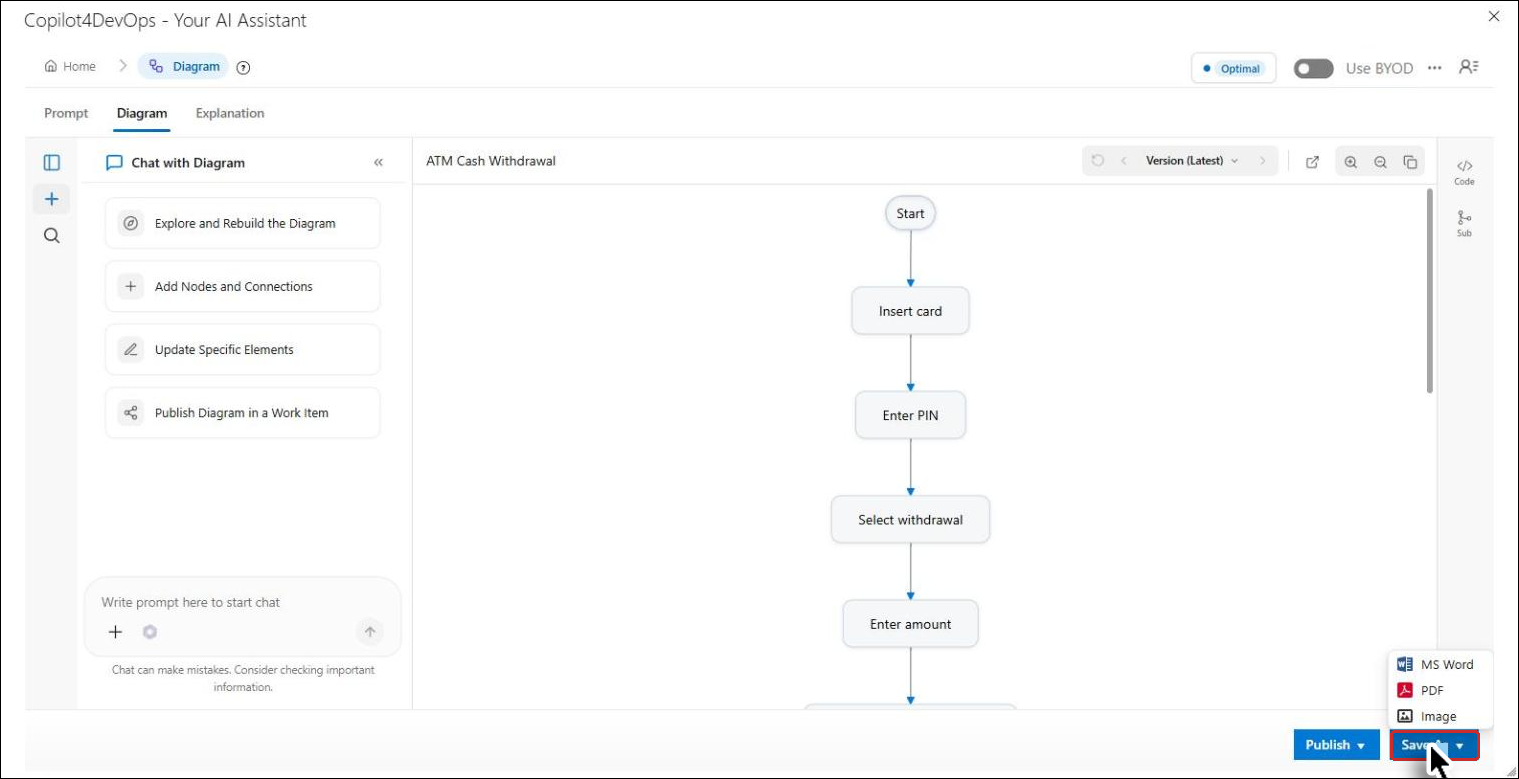
2. Choose the desired format for saving the sub diagram:
MS Word (.docx): Includes the Diagram, Explanation, and Diagram Markdown.
PDF (.pdf): Includes the Diagram, Explanation, and Diagram Markdown.
Image (.svg): Saves the Diagram as a standalone image.
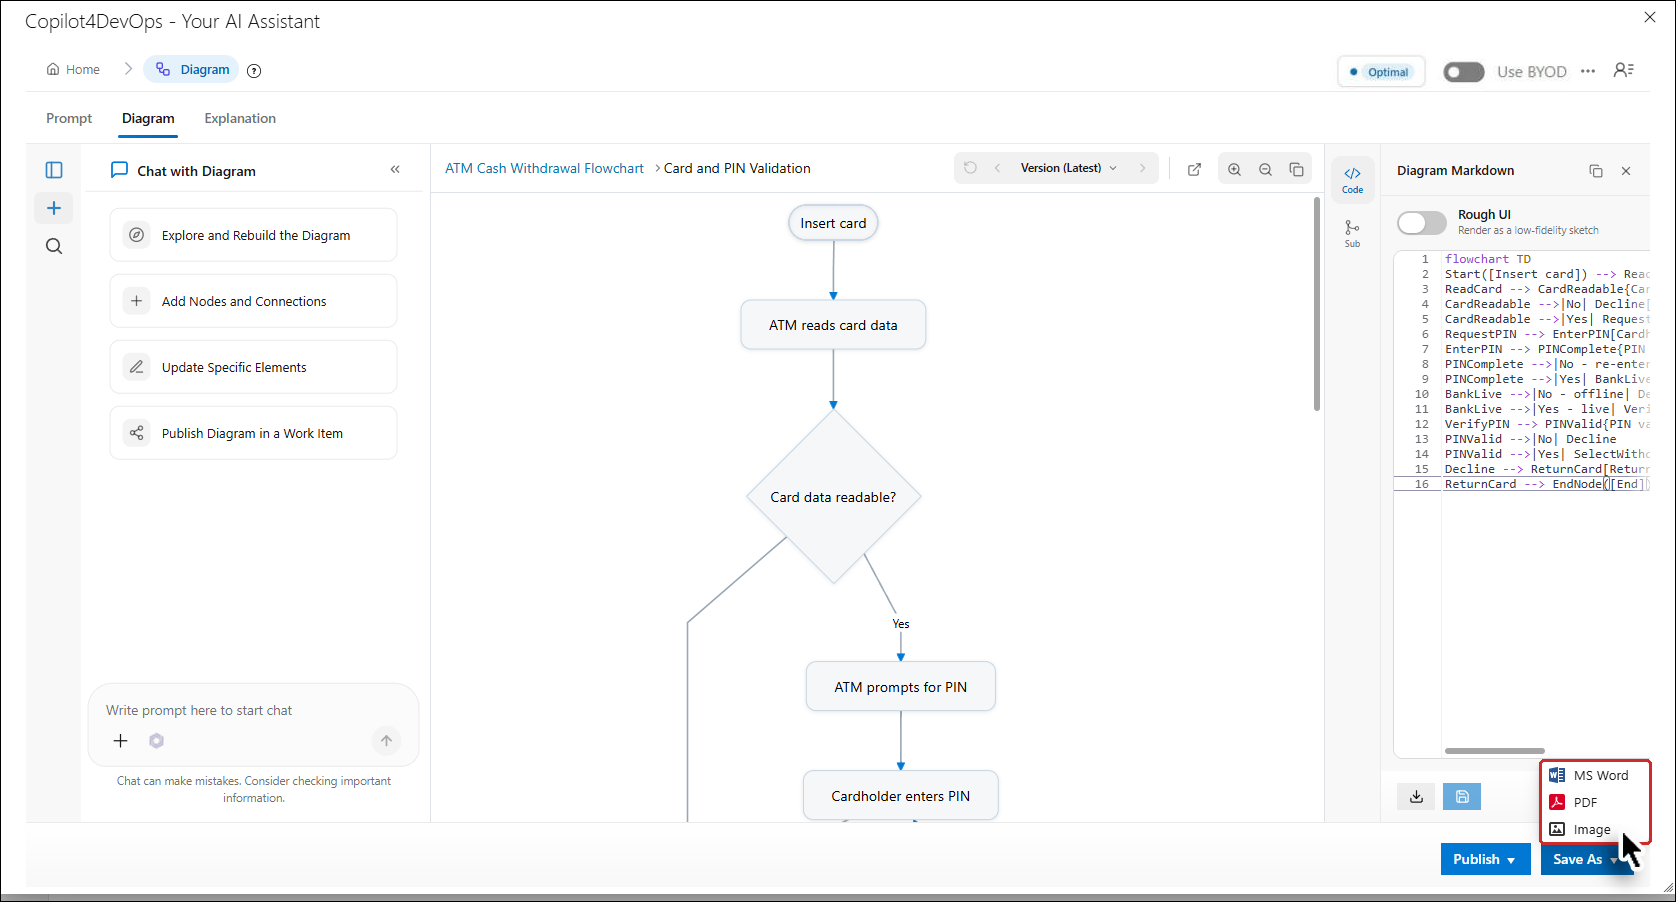
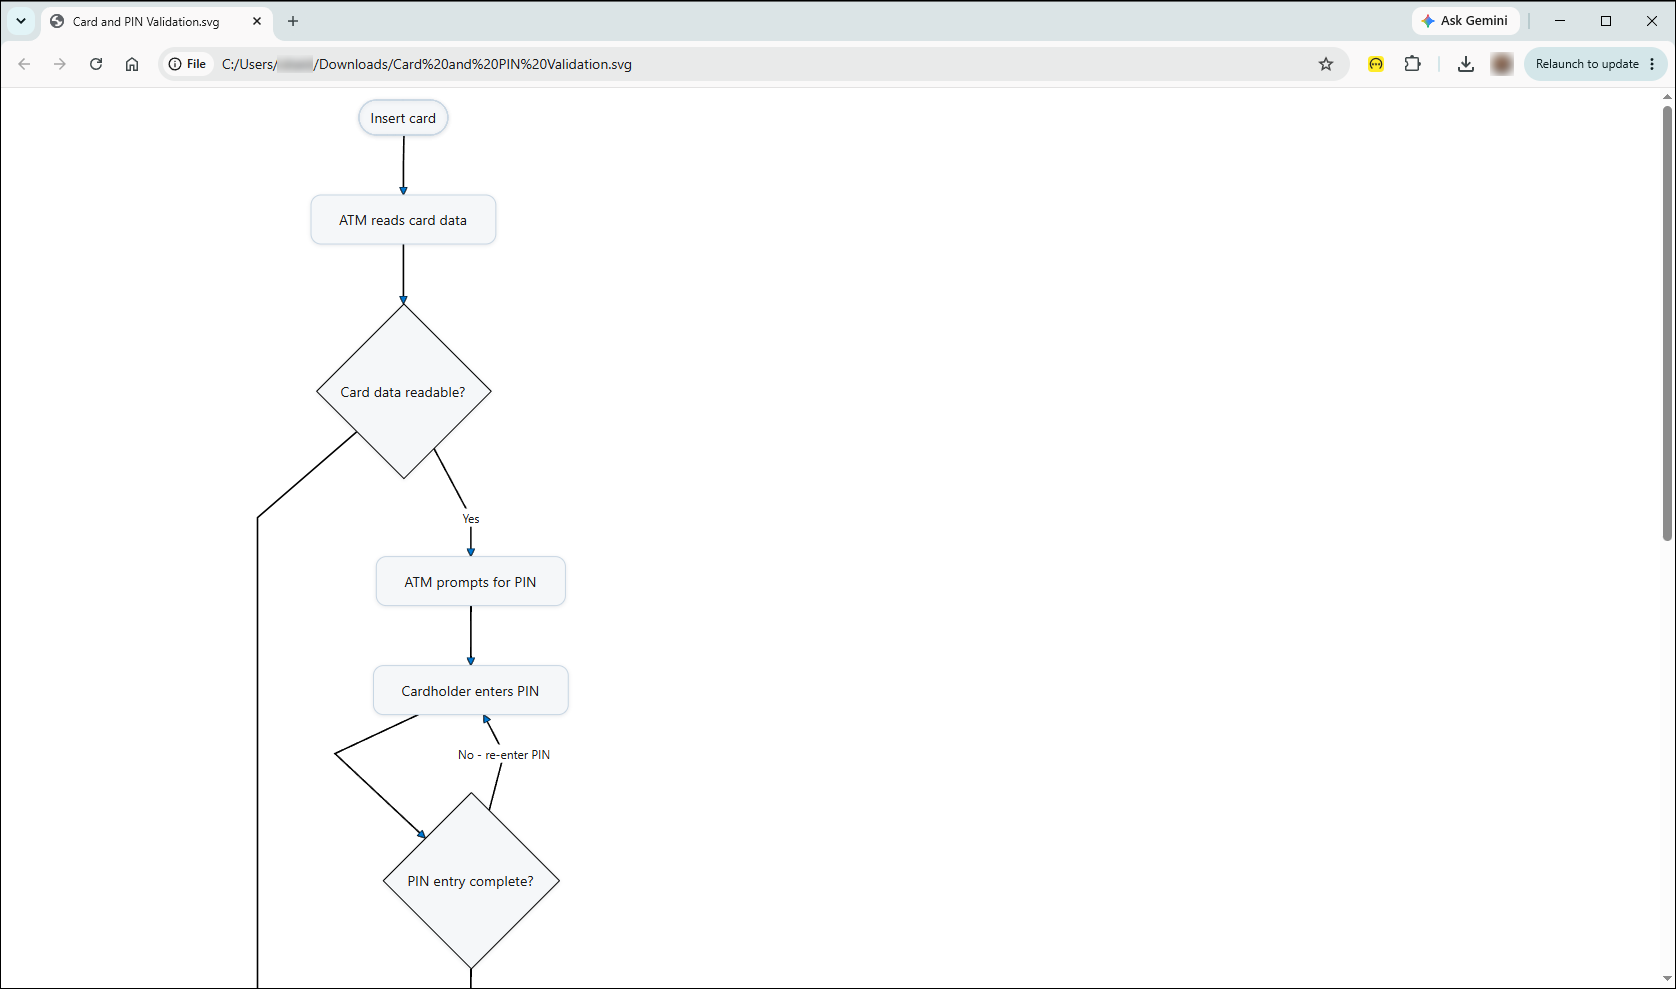
The Sub Diagram is downloaded with the sub diagram's name as the file name (for example, Card and PIN Validation.svg).
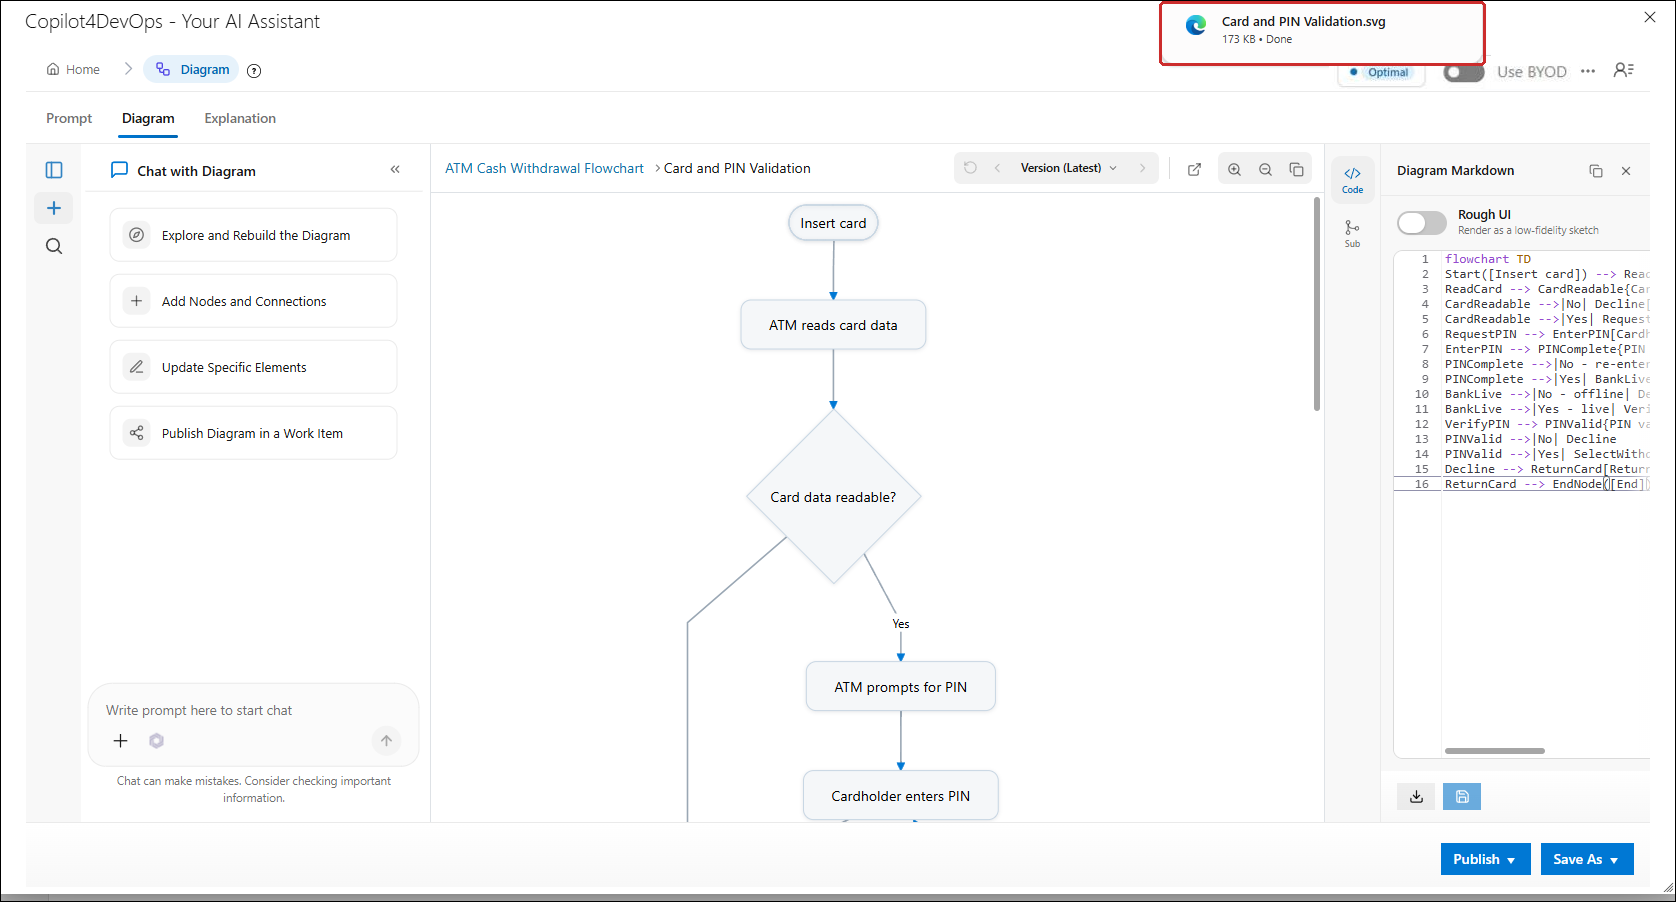
Open the downloaded file to view the sub diagram. In this example, the Image (.svg) file is opened in the browser.
Accessing Sub Diagrams in a Previous Version of a Diagram
If you want to view the sub-diagrams for a previous version, restore it to the latest version and then regenerate the sub-diagrams.
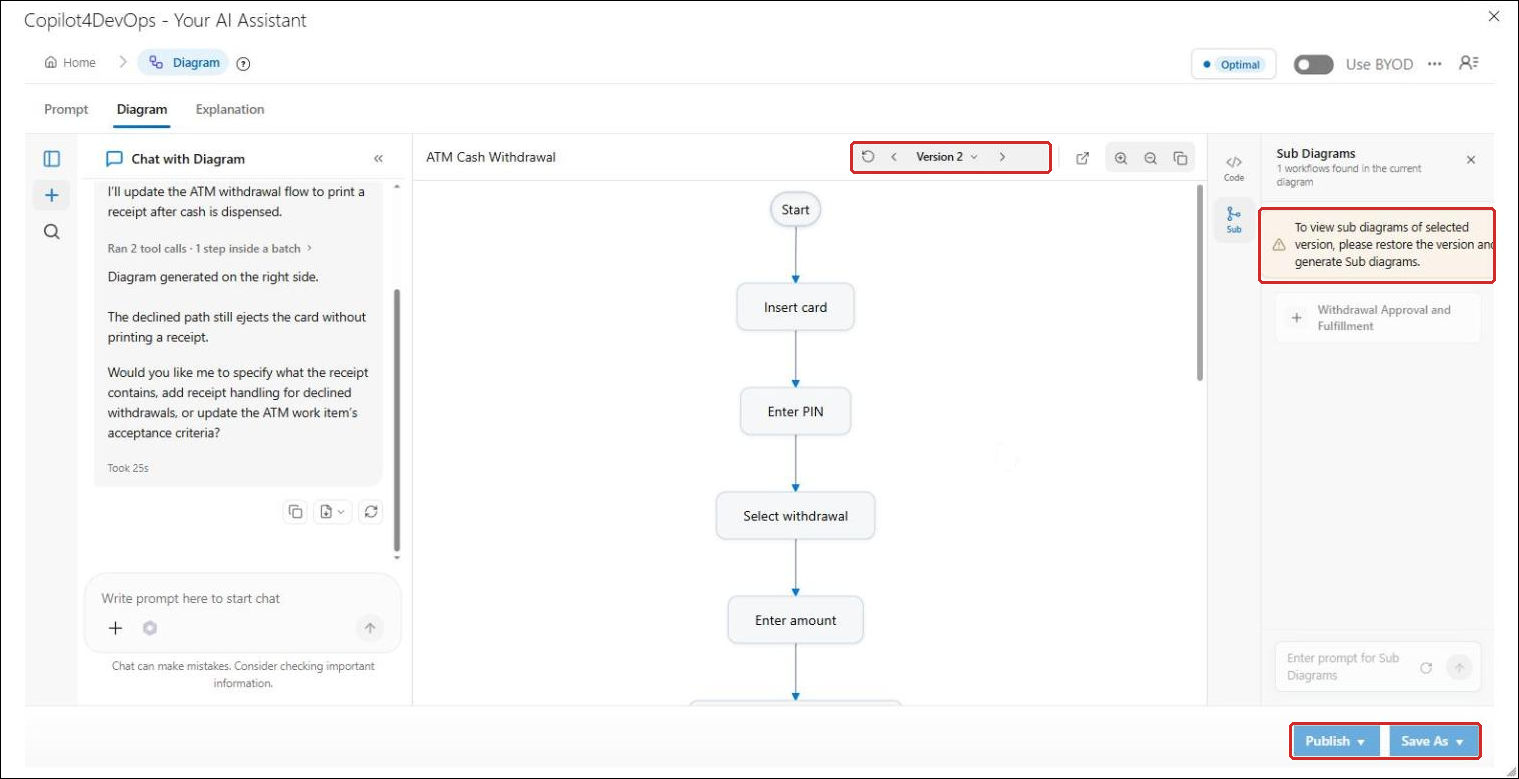
Note: When you switch to a previous version of the diagram, the Sub Diagrams panel shows the message "To view sub diagrams of selected version, please restore the version and generate Sub diagrams."