Understanding Mockup UI
When a user open the Mockup feature in Copilot4DevOps, the interface displays two main tabs and a History Panel to access previously generated diagrams while the user is on any of the tabs:
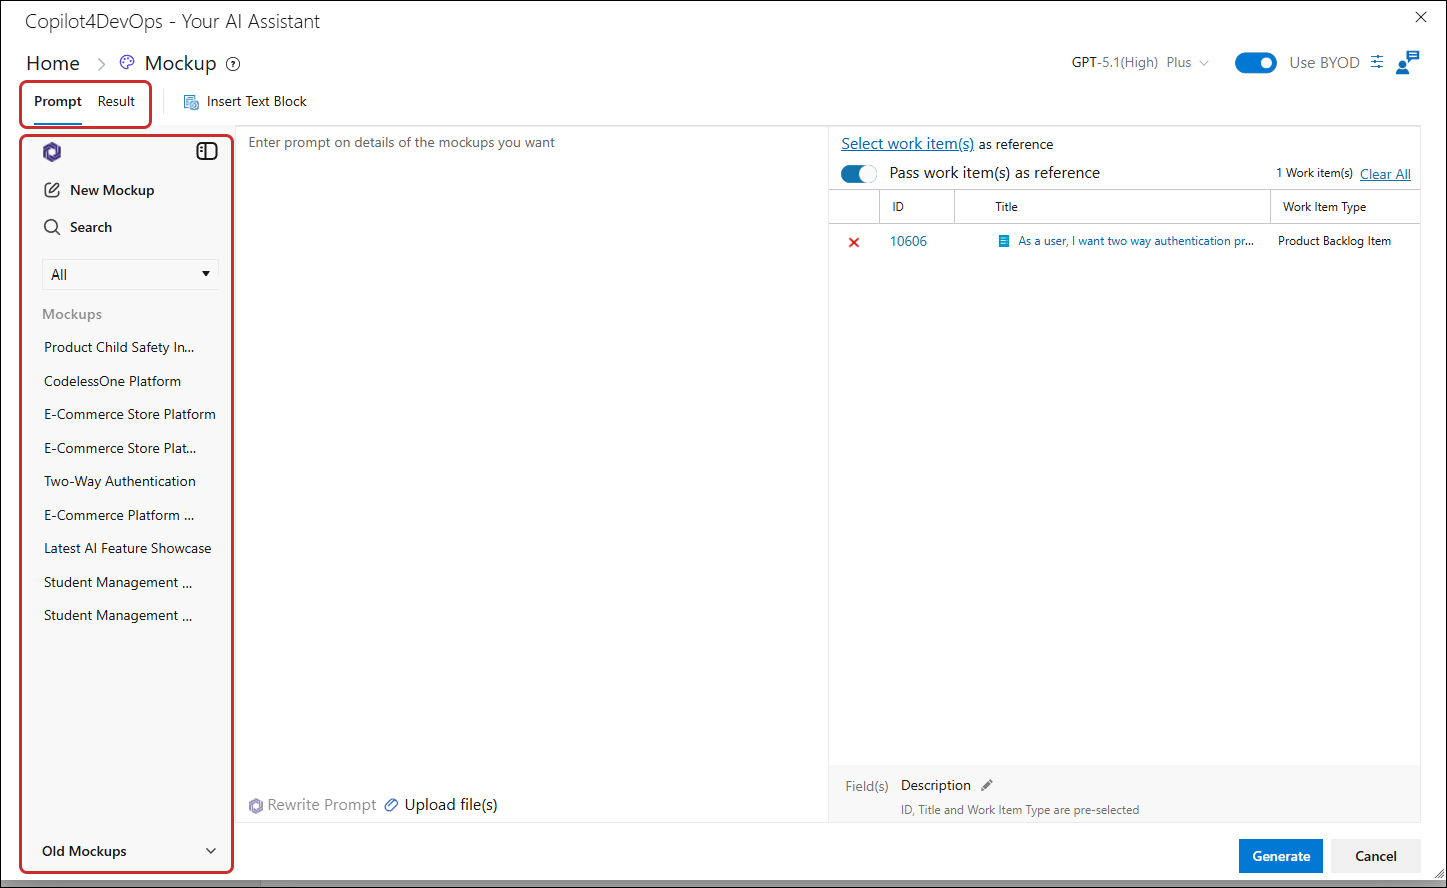
1. Prompt Tab: The Prompt tab is where you set up your inputs and references before generating a mockup.
2. Result Tab: The Result tab shows the mockup that is generated based on your input.
Prompt Tab
By default, the Prompt tab is active when you launch the feature.
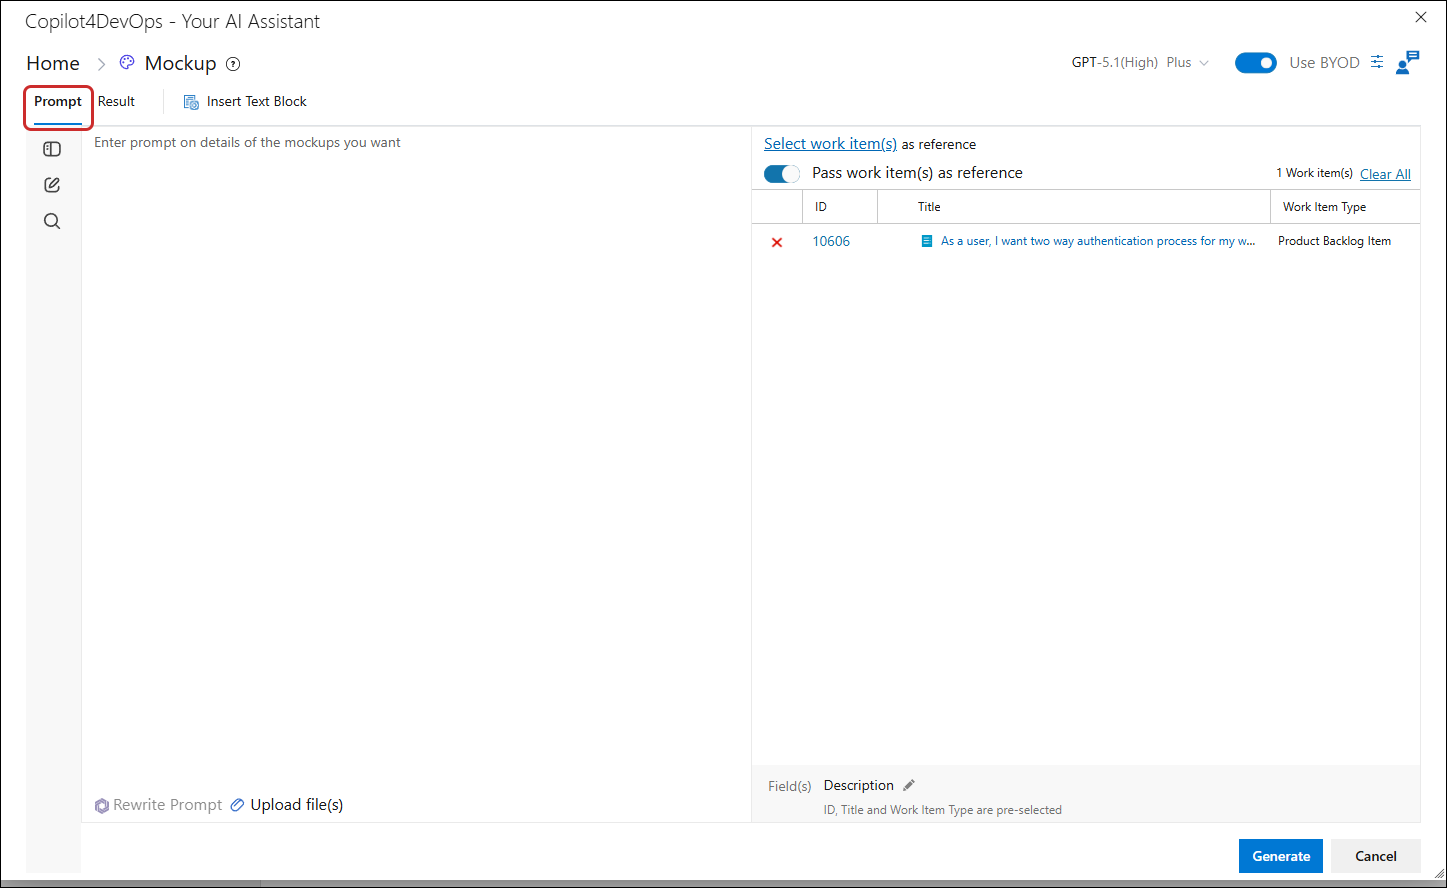
This tab is divided into two panels:
Left panel – your Prompt Area
Right panel – your Work Item Reference area
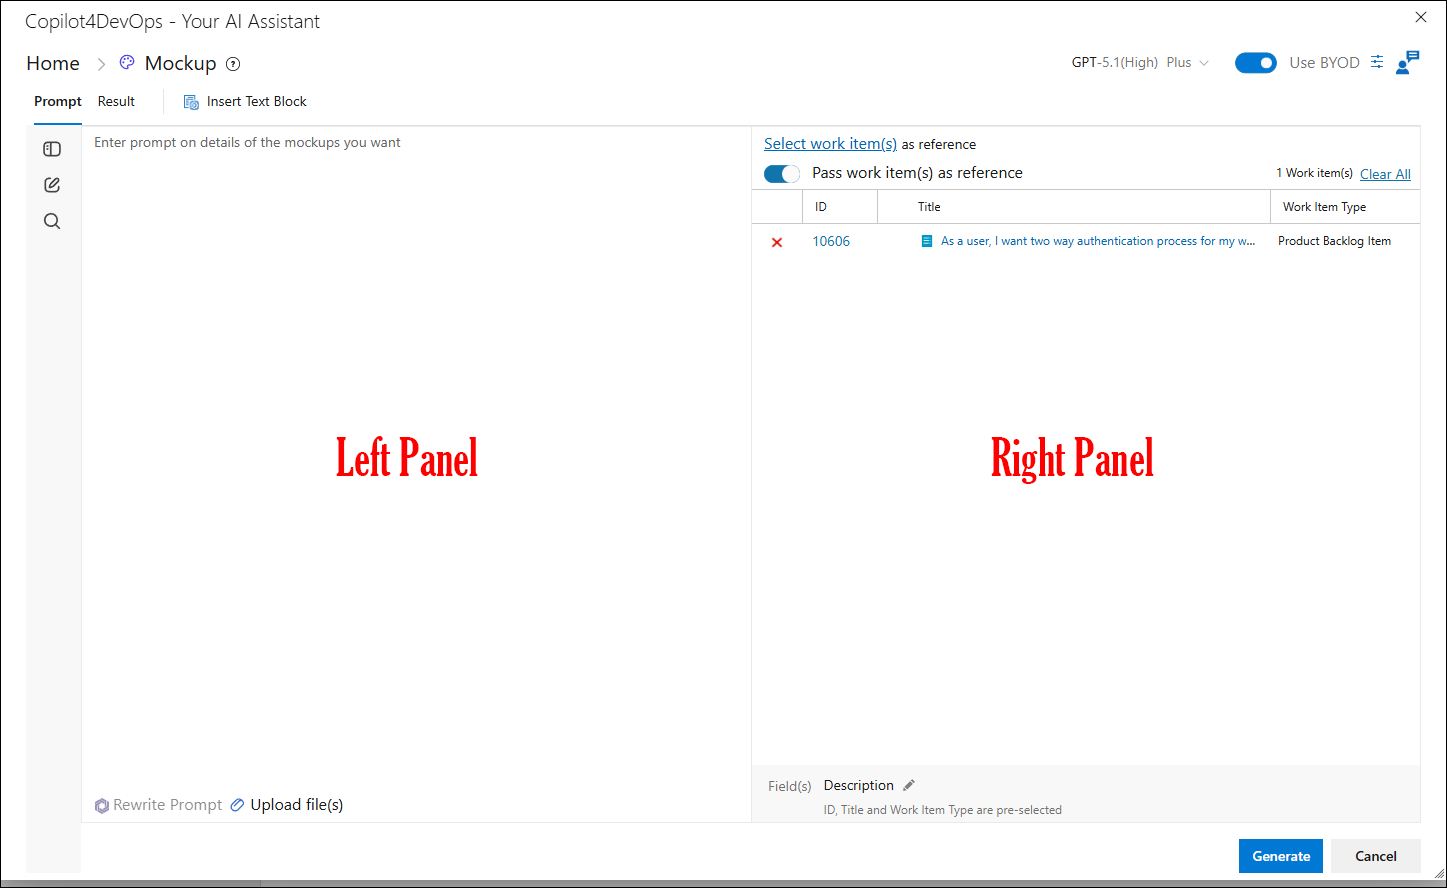
Using the Left Panel (Prompt Area)
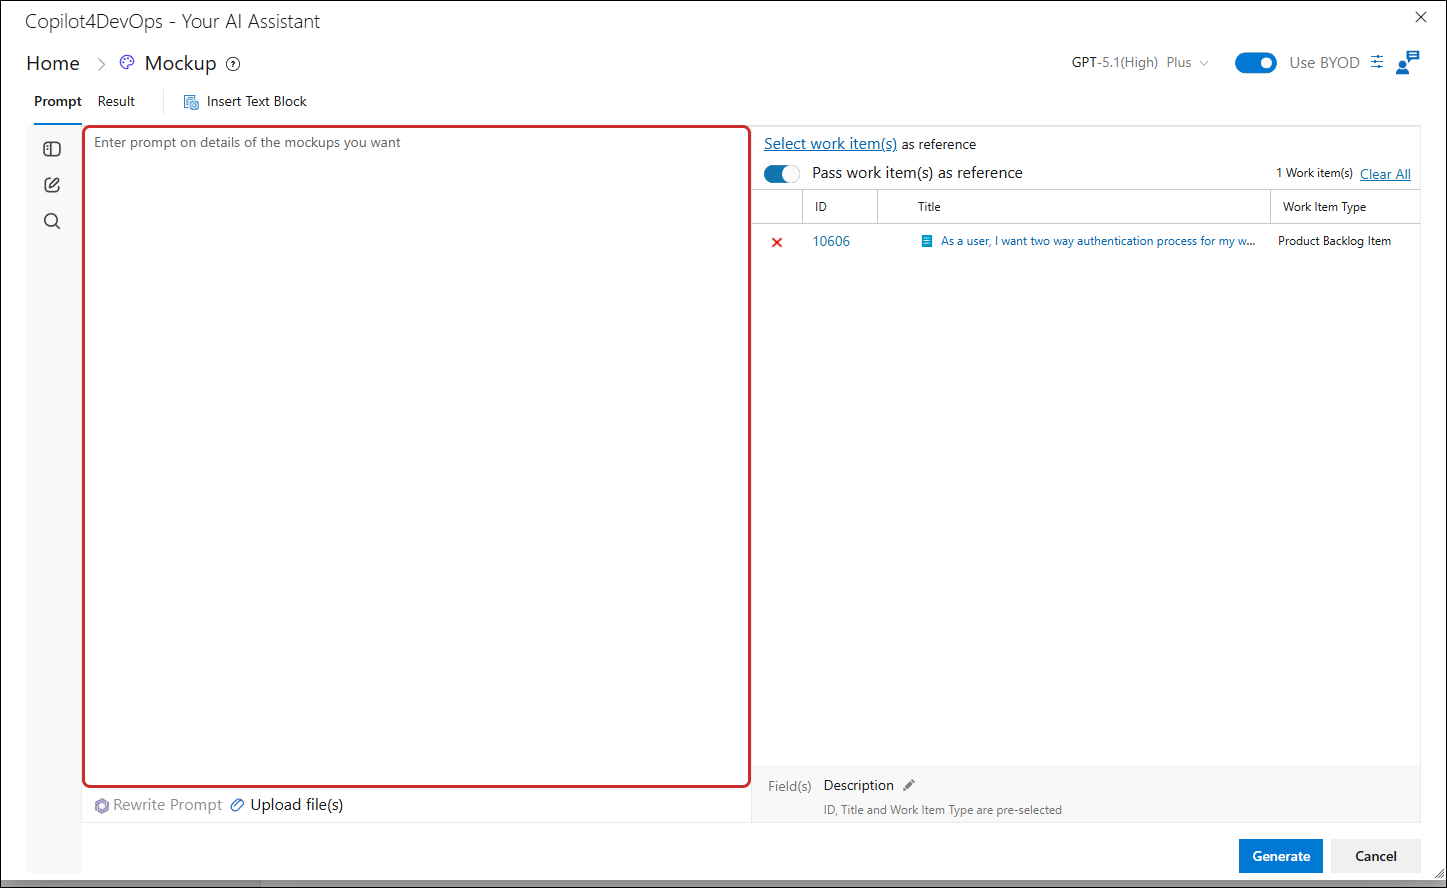
The left panel is where you craft and refine your prompt.
1. Enter your detailed instructions for the mockup you want to generate. Be clear and descriptive about what you expect.
Rewrite a Prompt
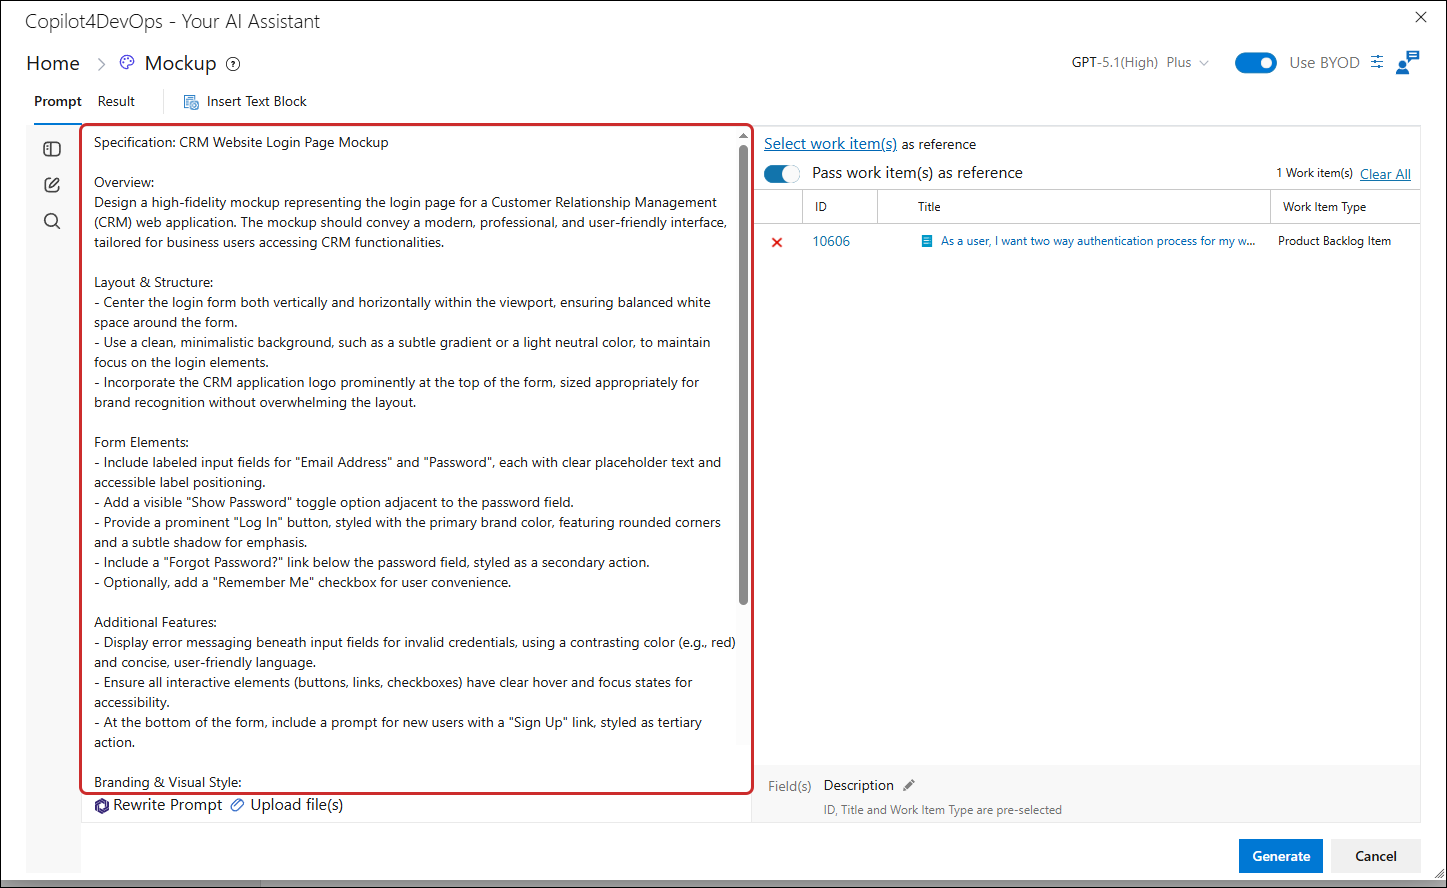
Rewrite Prompt generates a detailed, well-structured version of your input prompt. It expands and refines your instructions to create a clear specification that helps produce accurate and high-quality mockups.
2. If you want to improve the effectiveness of your existing prompt and get better results, click Rewrite Prompt.
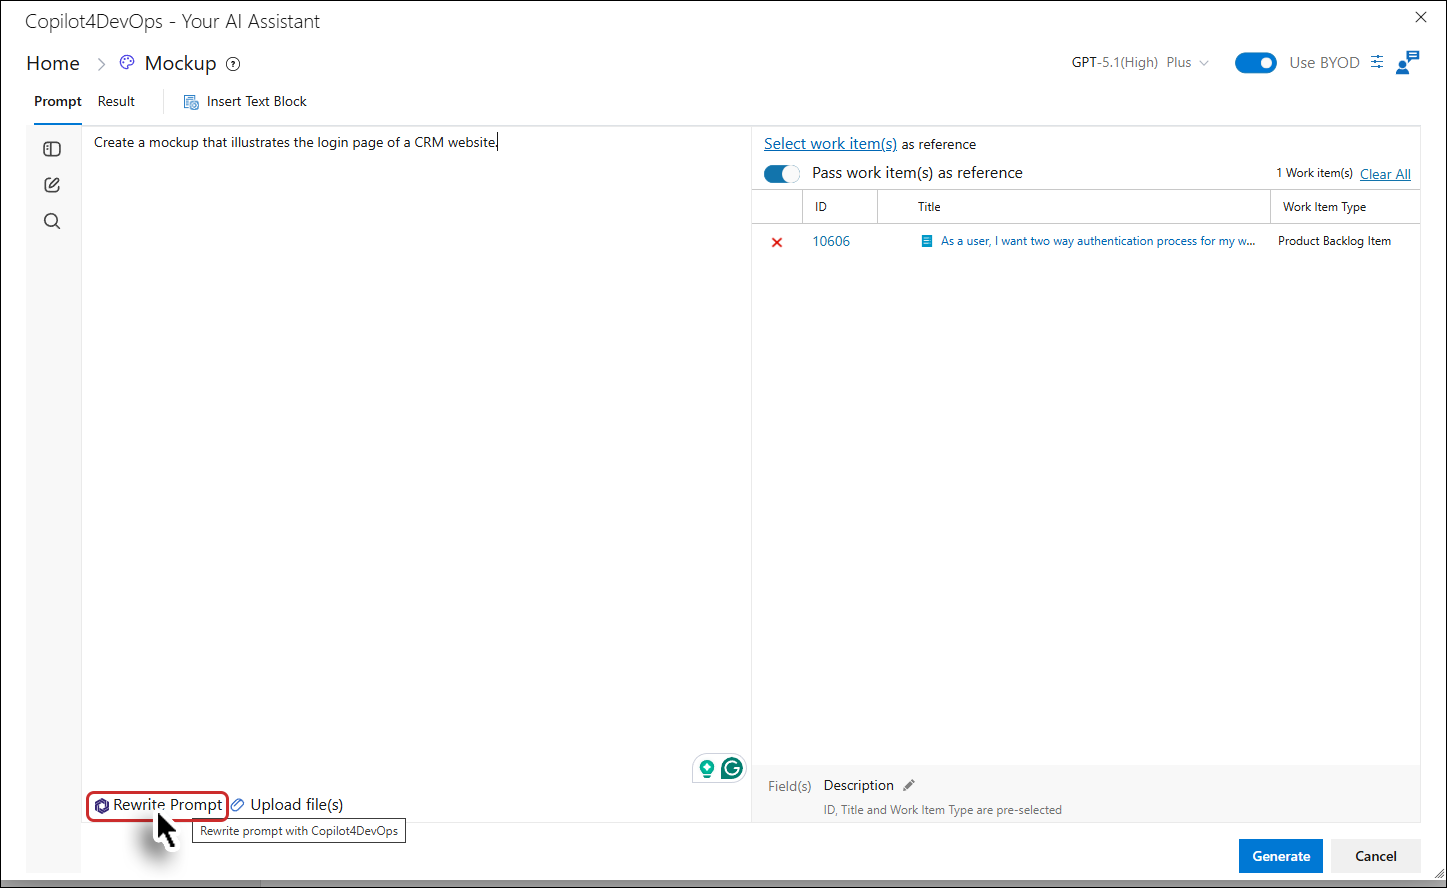
The system will automatically rewrite your prompt to make it more precise, comprehensive, and outcome-focused.
Upload a File
The "Upload File(s)" feature allows users to attach relevant files that serve as contextual reference material to generate more accurate and tailored Mockup outputs.
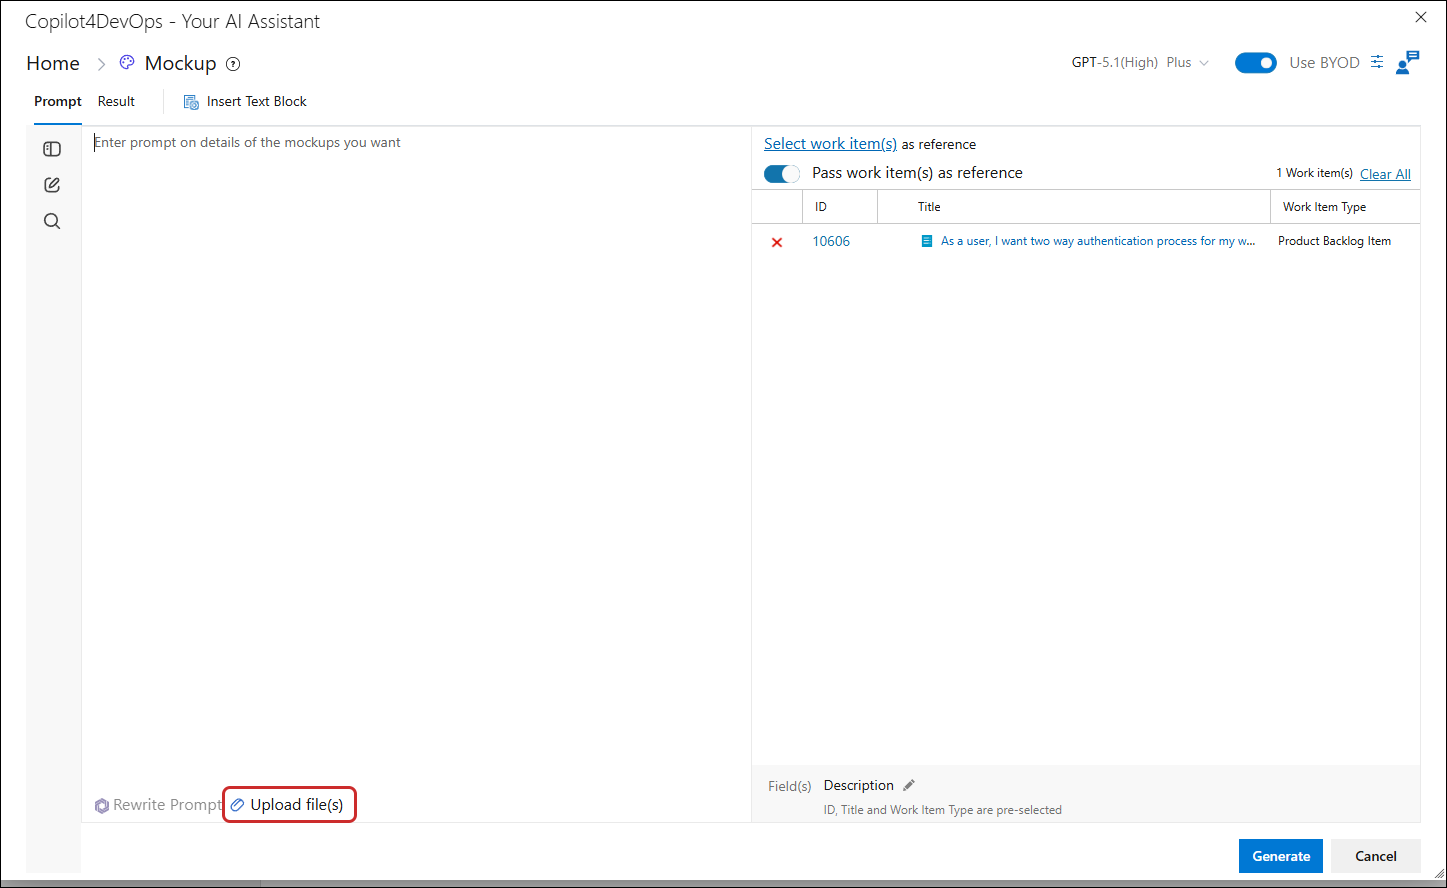
Steps to Upload a File
3. Click on the "Upload File(s)" option, found next to the "Rewrite Prompt" button
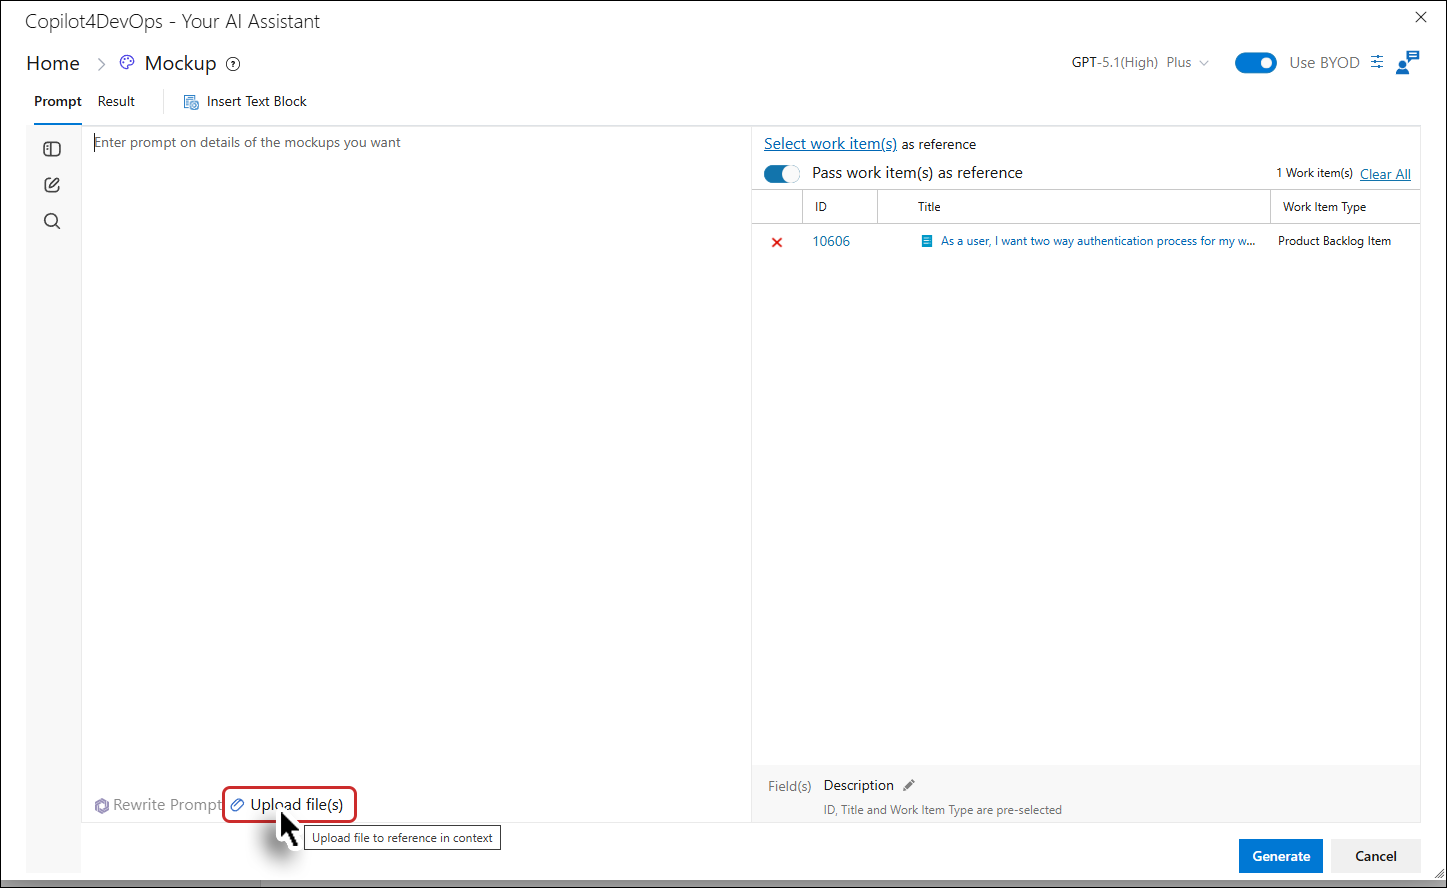
A popup window will appear titled Upload File.
Note: The file/attachment upload process is elaborated in detail here.
All uploaded files will now be visibly listed below the "Rewrite Prompt" and "Upload File(s)" buttons, clearly indicating the files attached to the current session.
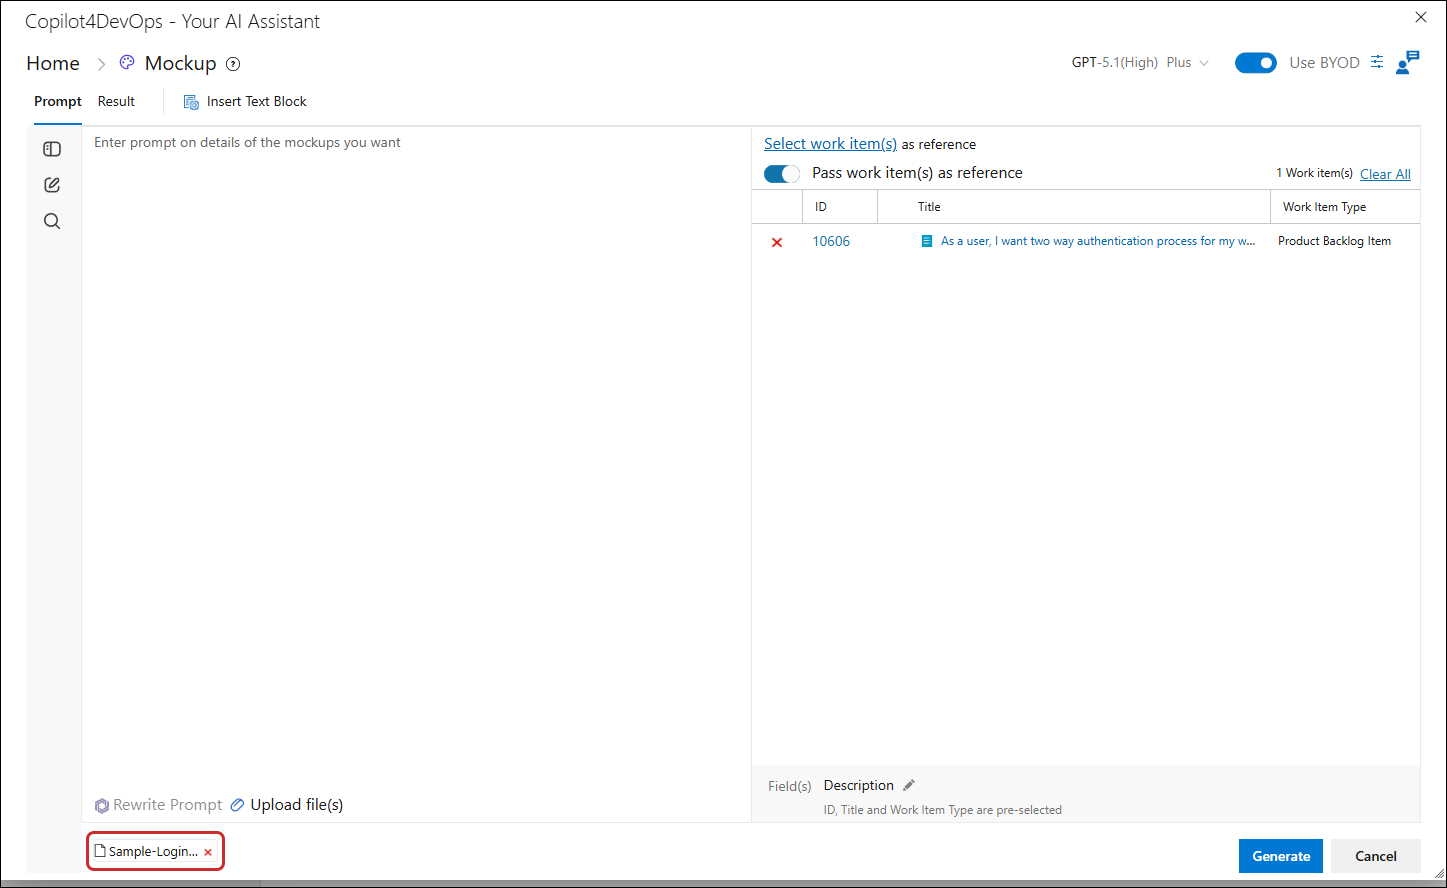
Note: supported file types, ".xls",".xlsx",".csv",".docx",".xml",".json",".pdf",".txt",".png",".jpg",".webp",".gif",".CSS",".HTML""JS".
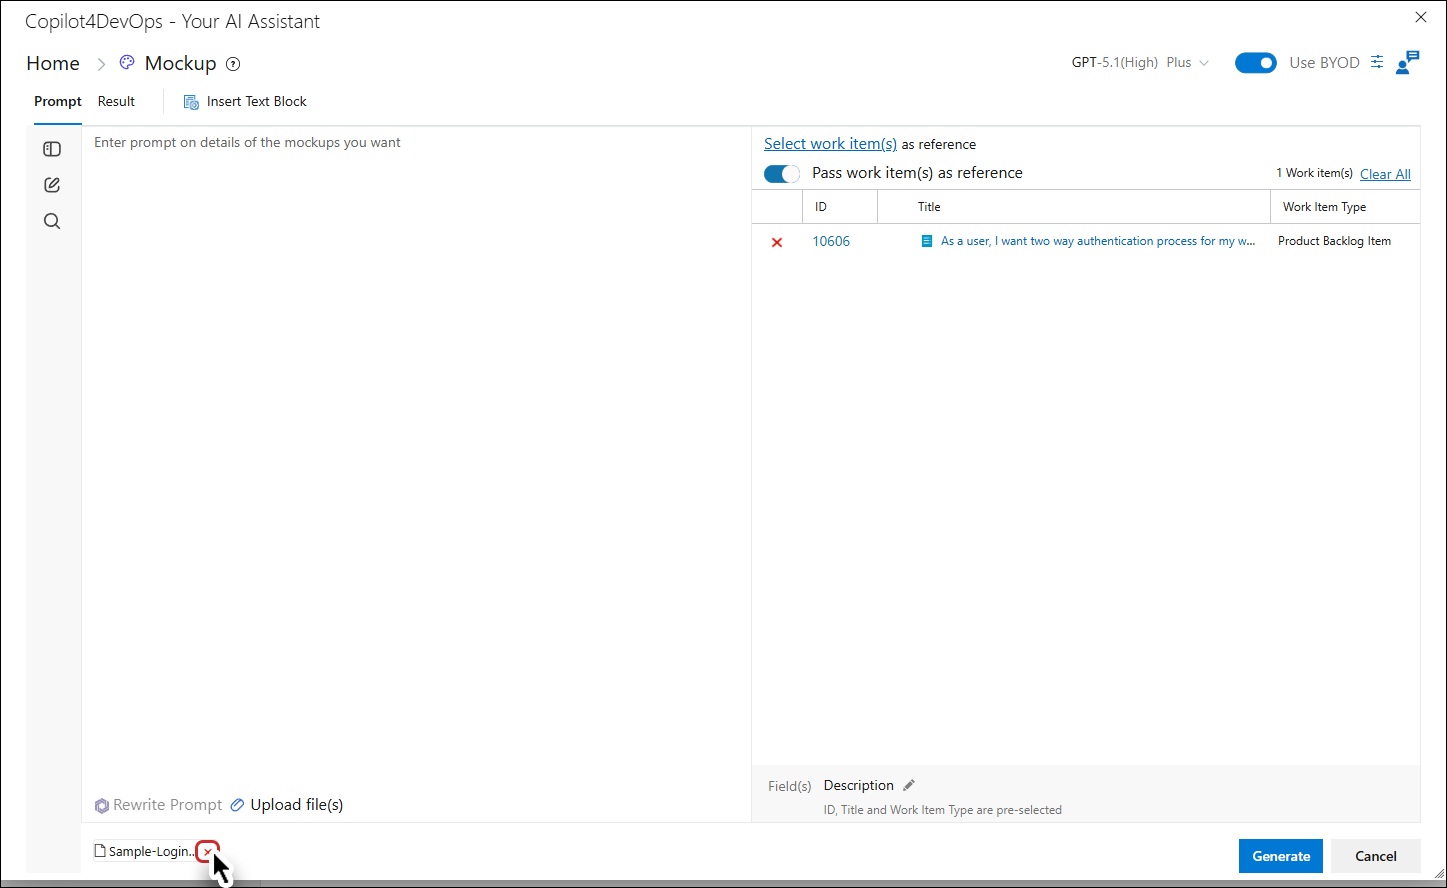
4. If a file was uploaded by mistake, it can be removed by clicking the "X" (cross) icon next to the file name.
Using the Right Panel (Work Item Reference)
The Right Panel is where you select the work items that you want to use as references for the mockup.
By default, the work item you initially selected to open the Mockup feature is pre-selected here.
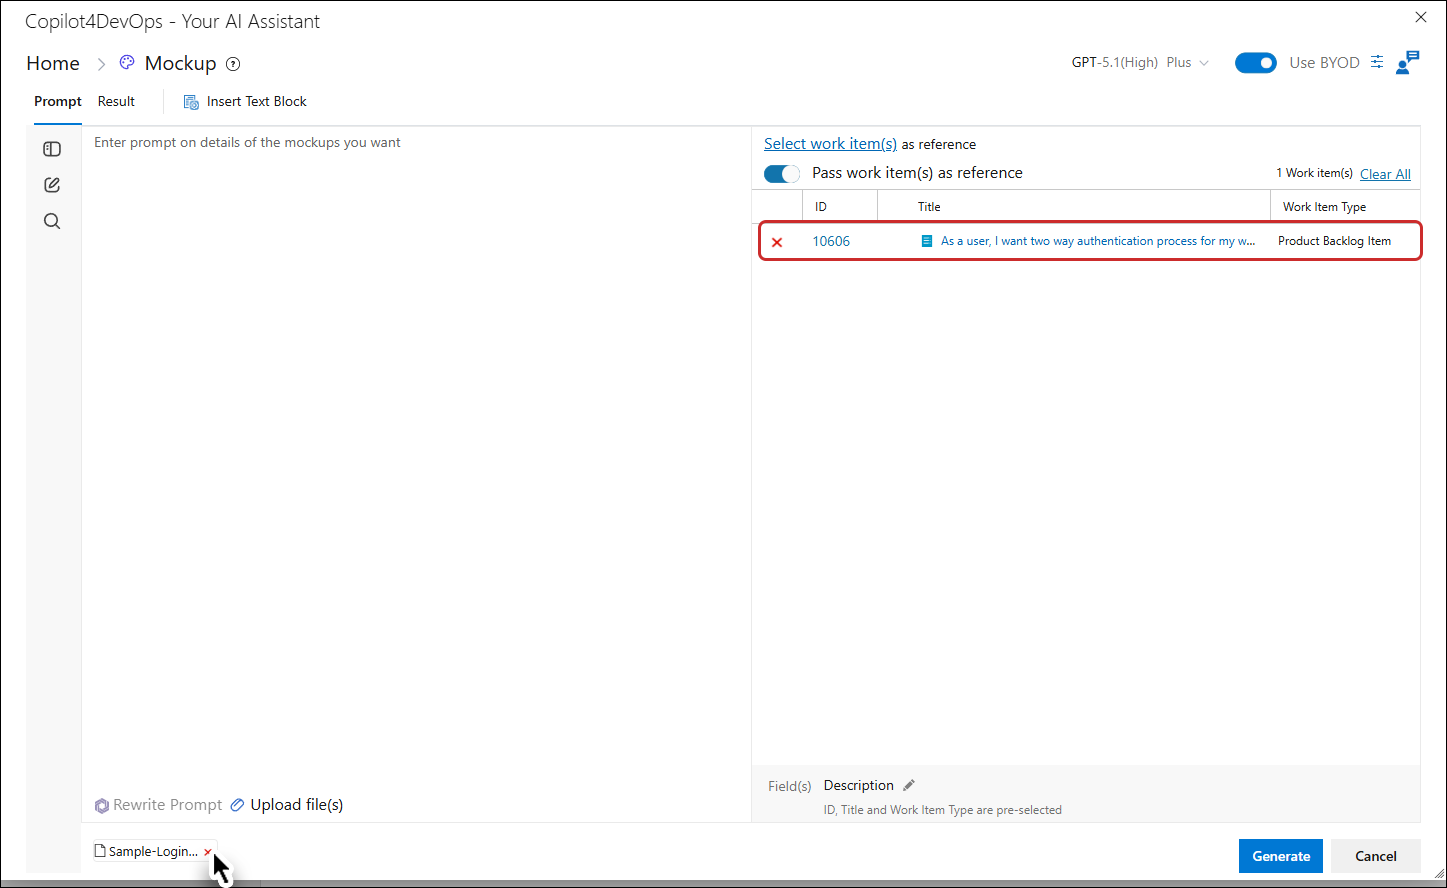
You can also select multiple work items as references by clicking the Select Work Items option.
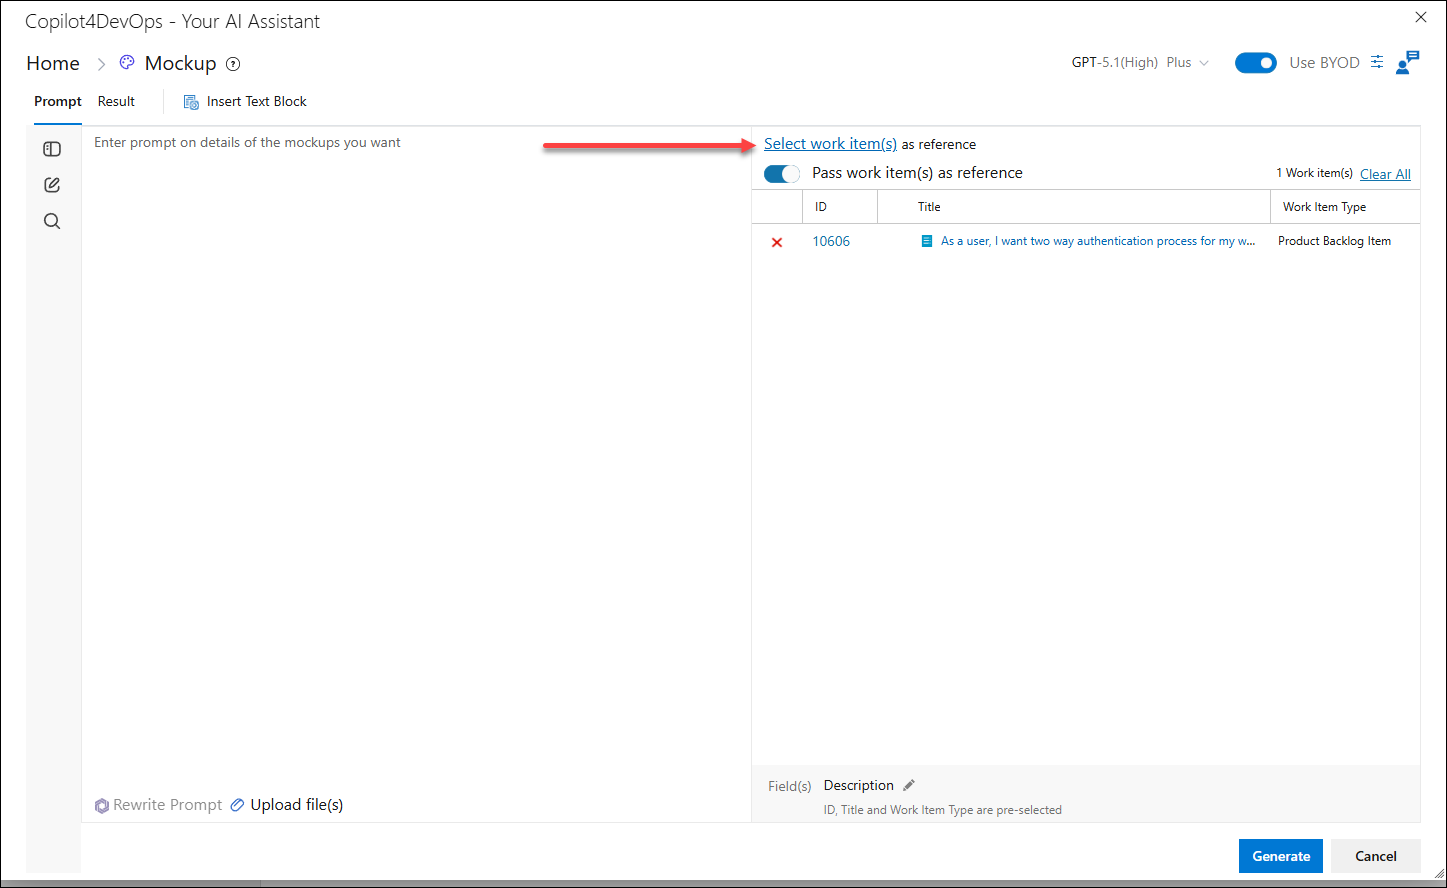
1. In the Right Panel, click on the Select Work Items option.
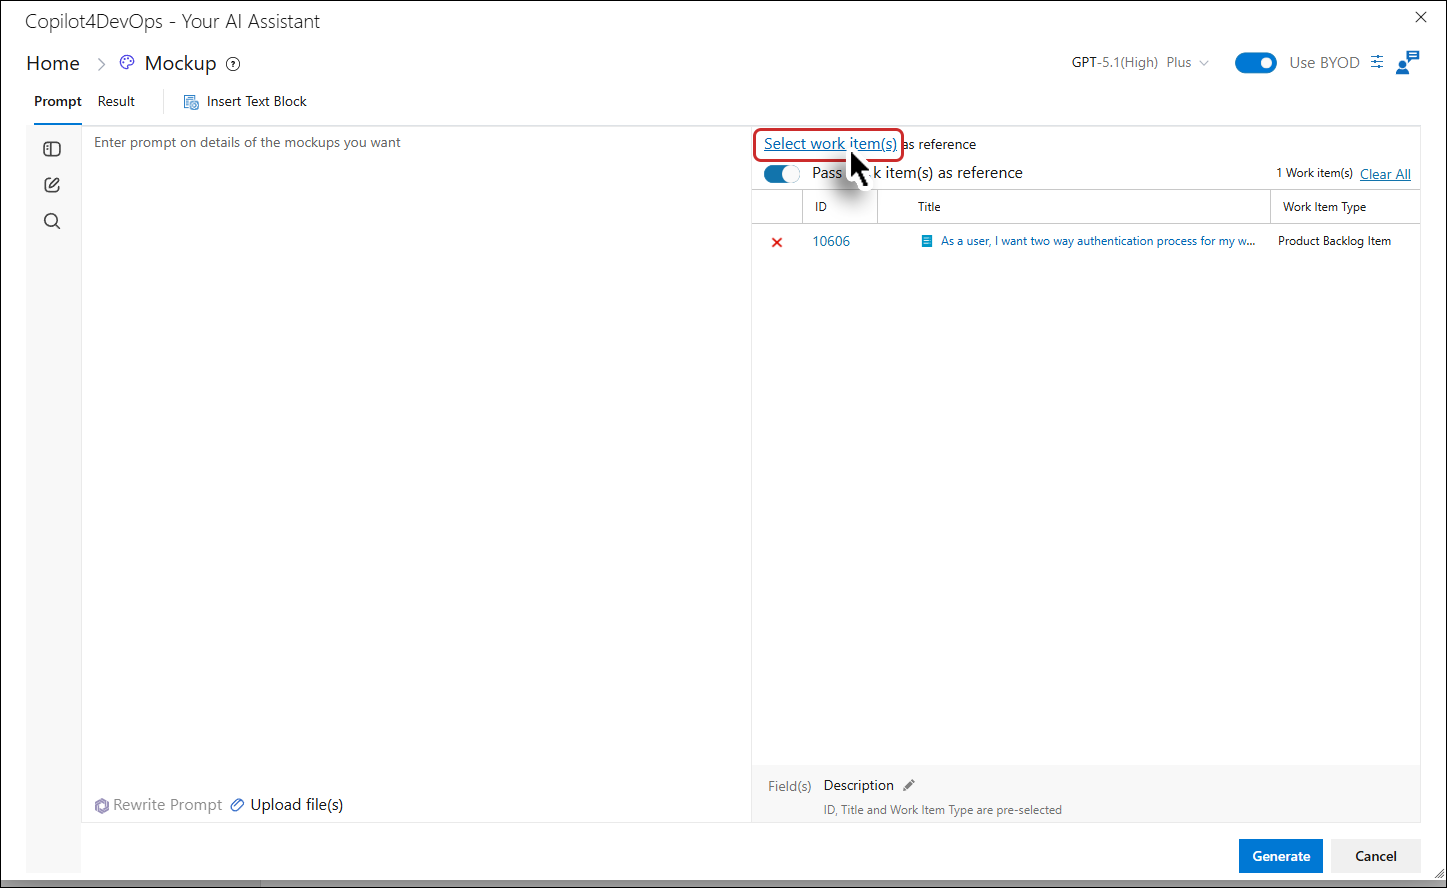
A pop-up window will appear with options to add work items.
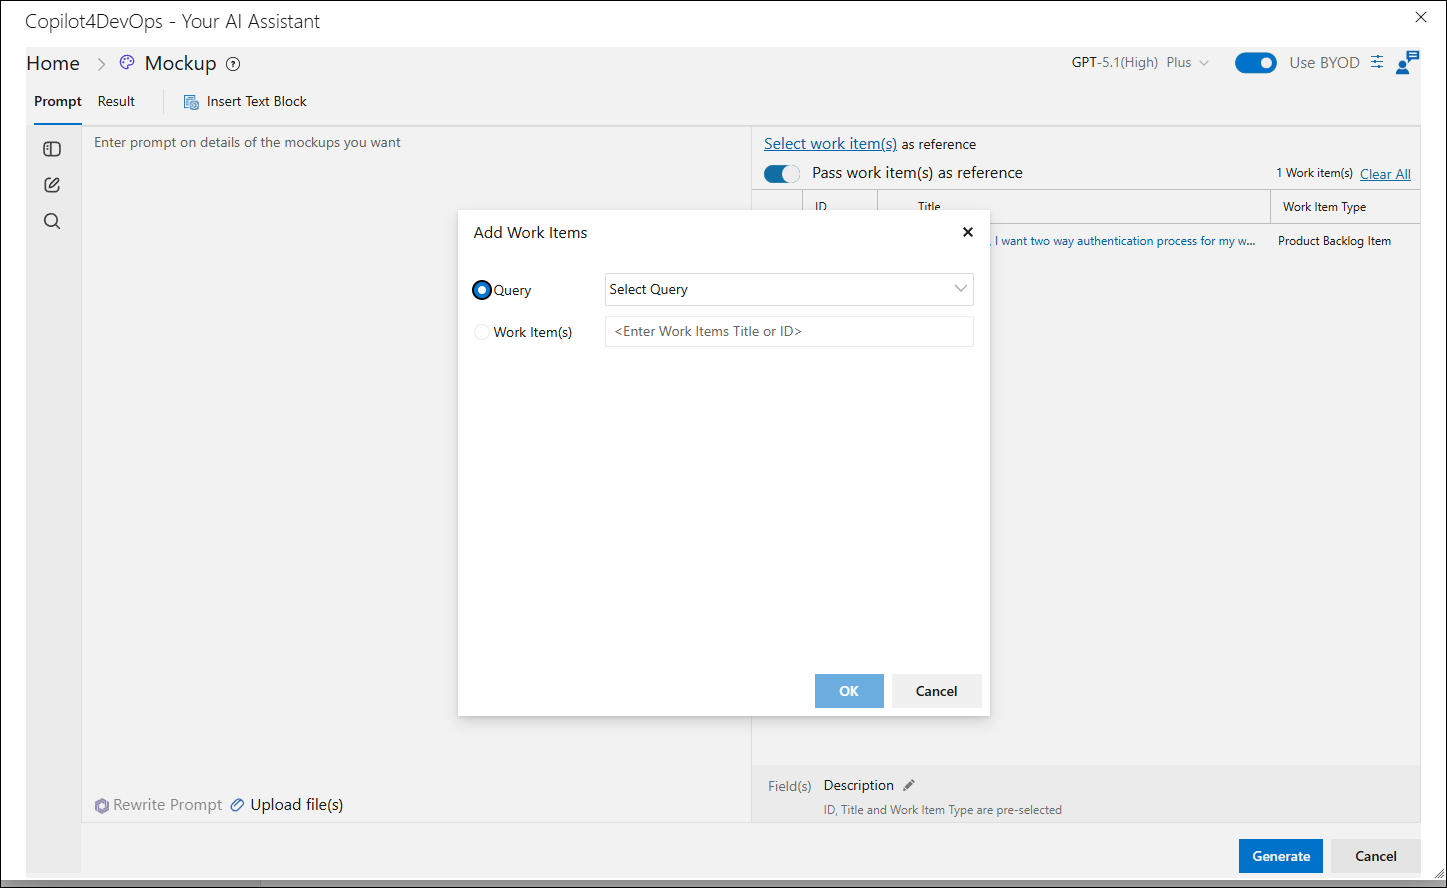
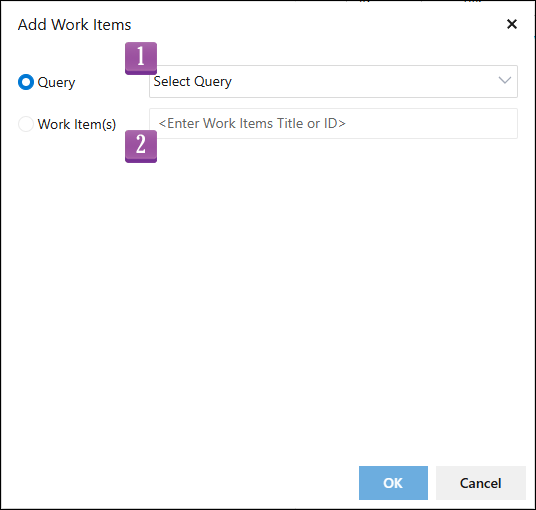
In the pop-up window, you have two methods for adding work items:
• Query: Choose the option to add work items via a Query if you already have a predefined query or need to search for work items based on specific criteria.
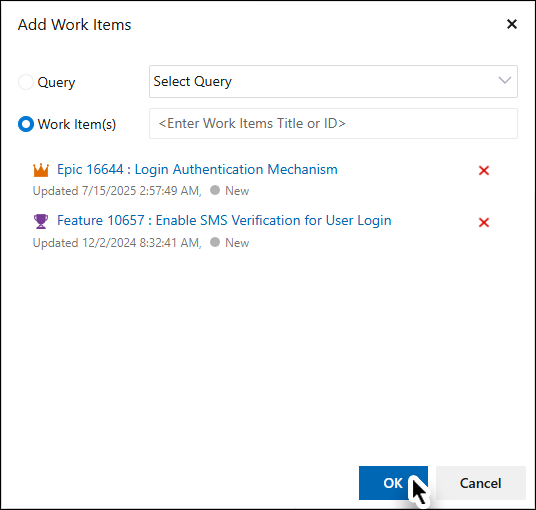
• Work Item(s): If you prefer to add specific work items, use the Work Item(s) option. With this option you can also search for an specific work time by ID or Title.
2. After selecting the work items, click the OK button to add them to your mockup reference list.
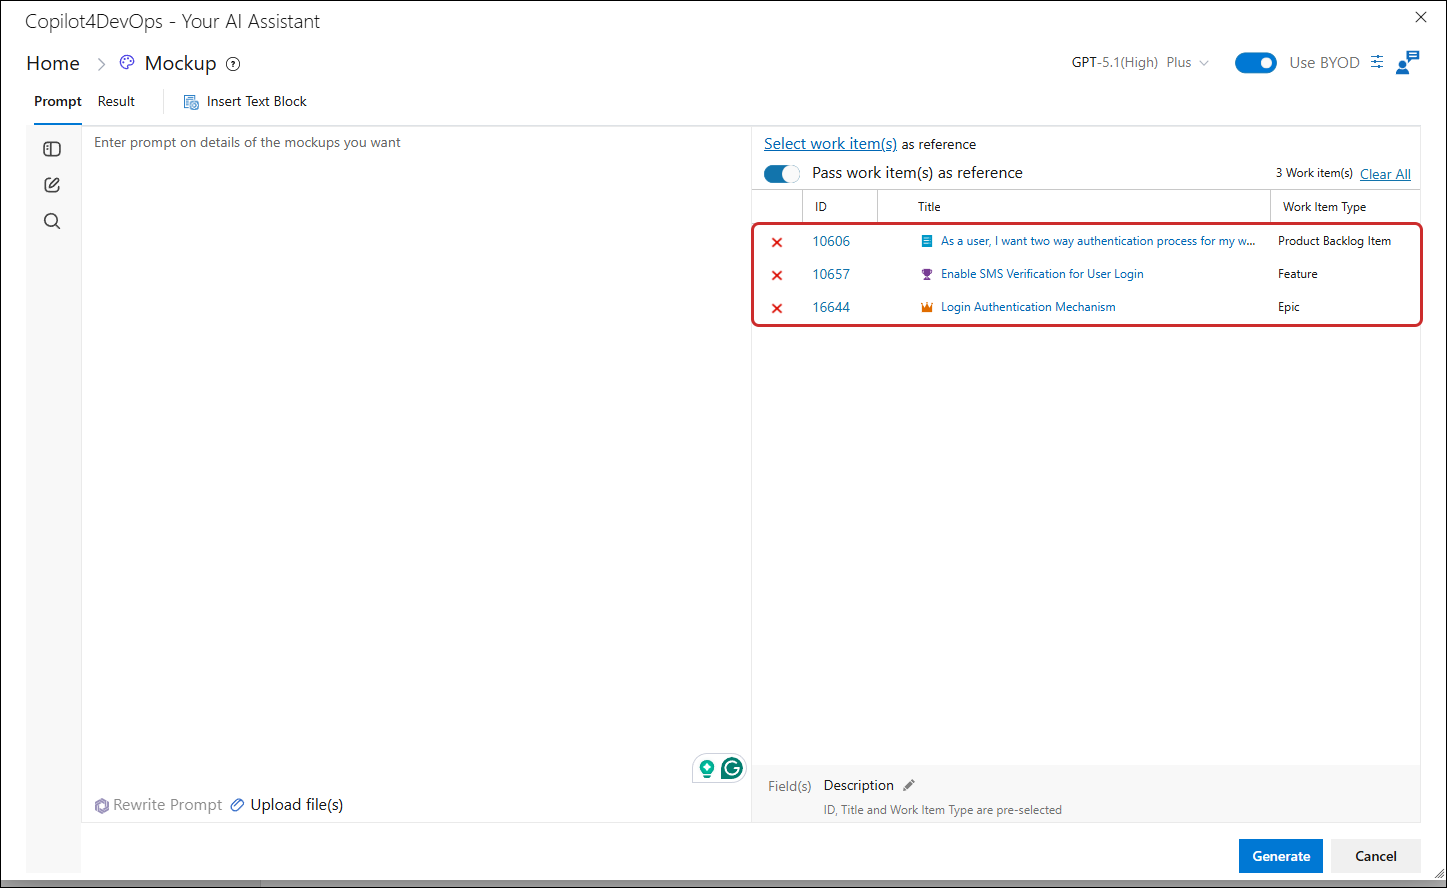
Below the work items section on the Right Panel, you will find the Fields option.
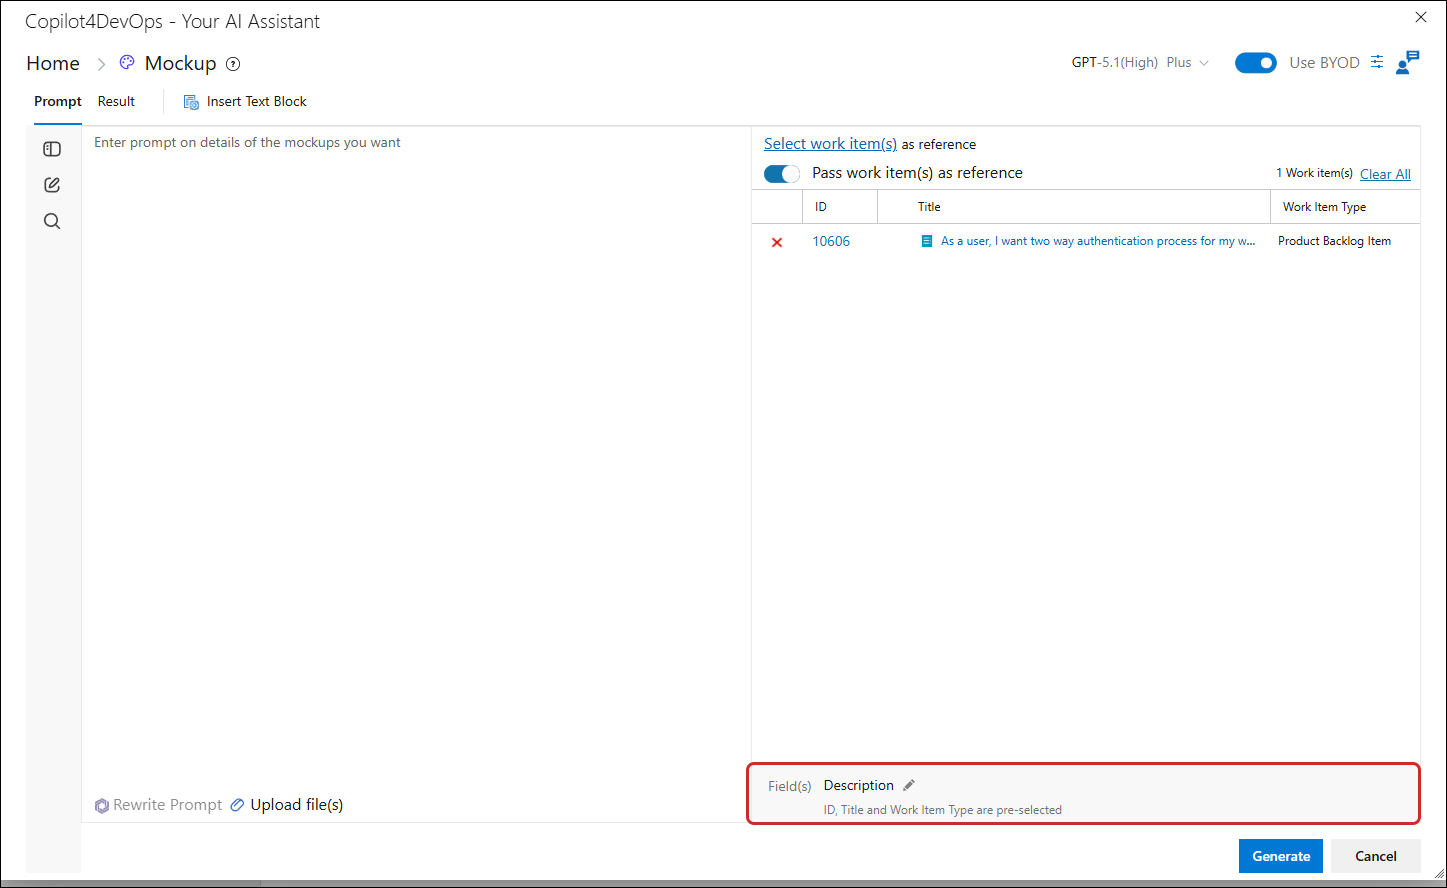
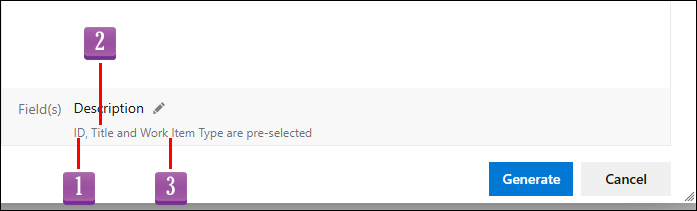
By default, the following fields are pre-selected:
• ID
• Title
• Work Item Type
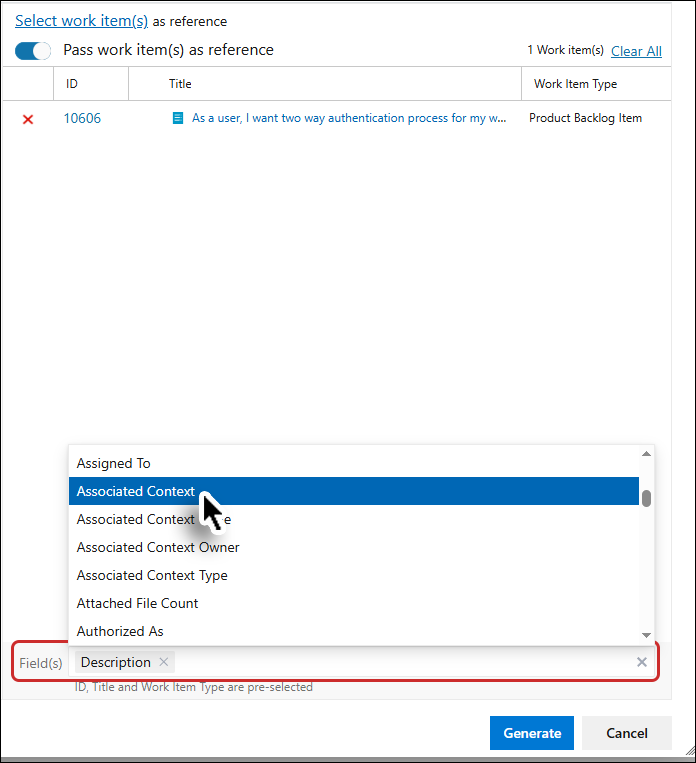
3. You can select additional fields by choosing the corresponding options, depending on the data you want to include in your mockup.
History of Mockups
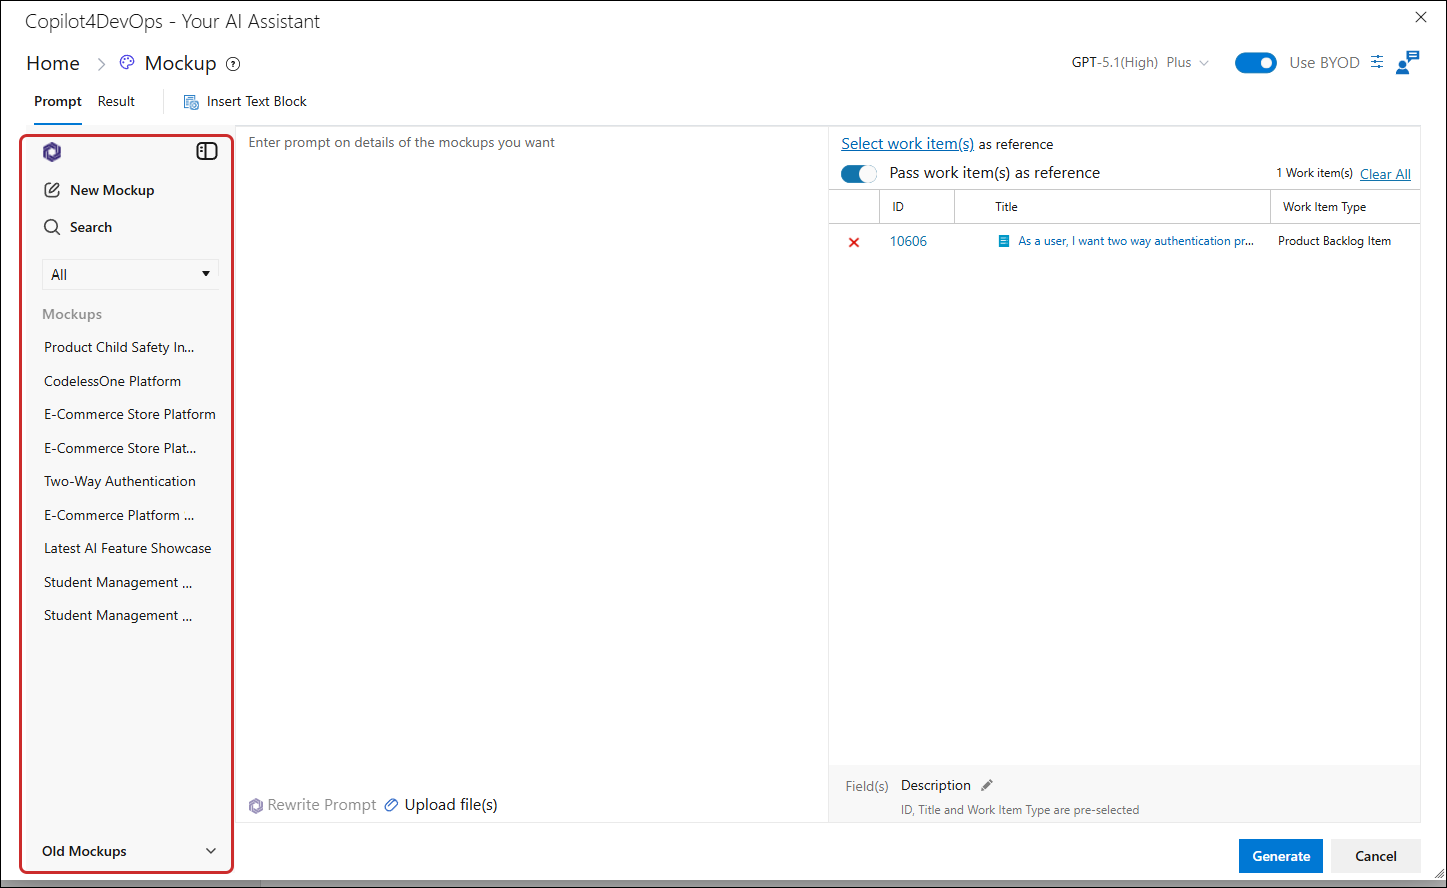
The History Panel (the left side bar) is a shared component across the Prompt and Result tabs. It contains a user’s complete generation history of mockups and provides controls to create, find, manage, and share mockups.
Opening / and closing the History Panel.
1. Click the Close Sidebar icon to slide out the History Panel.
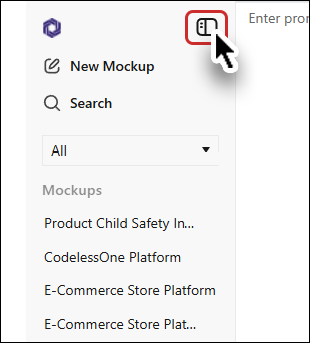
• The icon works as a toggle button. This time clicking the same icon (now named as Open Sidebar) reopens the Mockup panel.
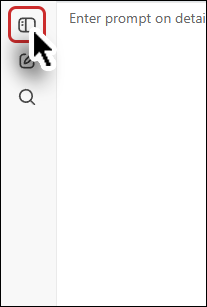
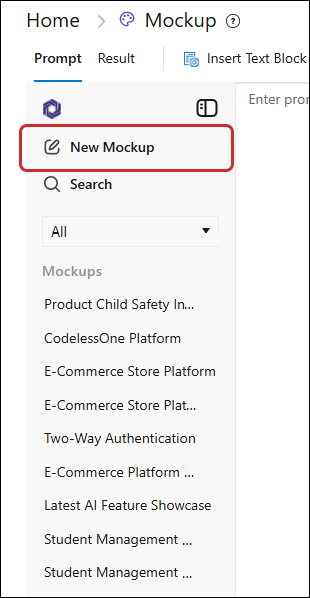
1 .New Mockup Option
The New Mockup Option allows the user to initiate a new mockup generation from any given point.
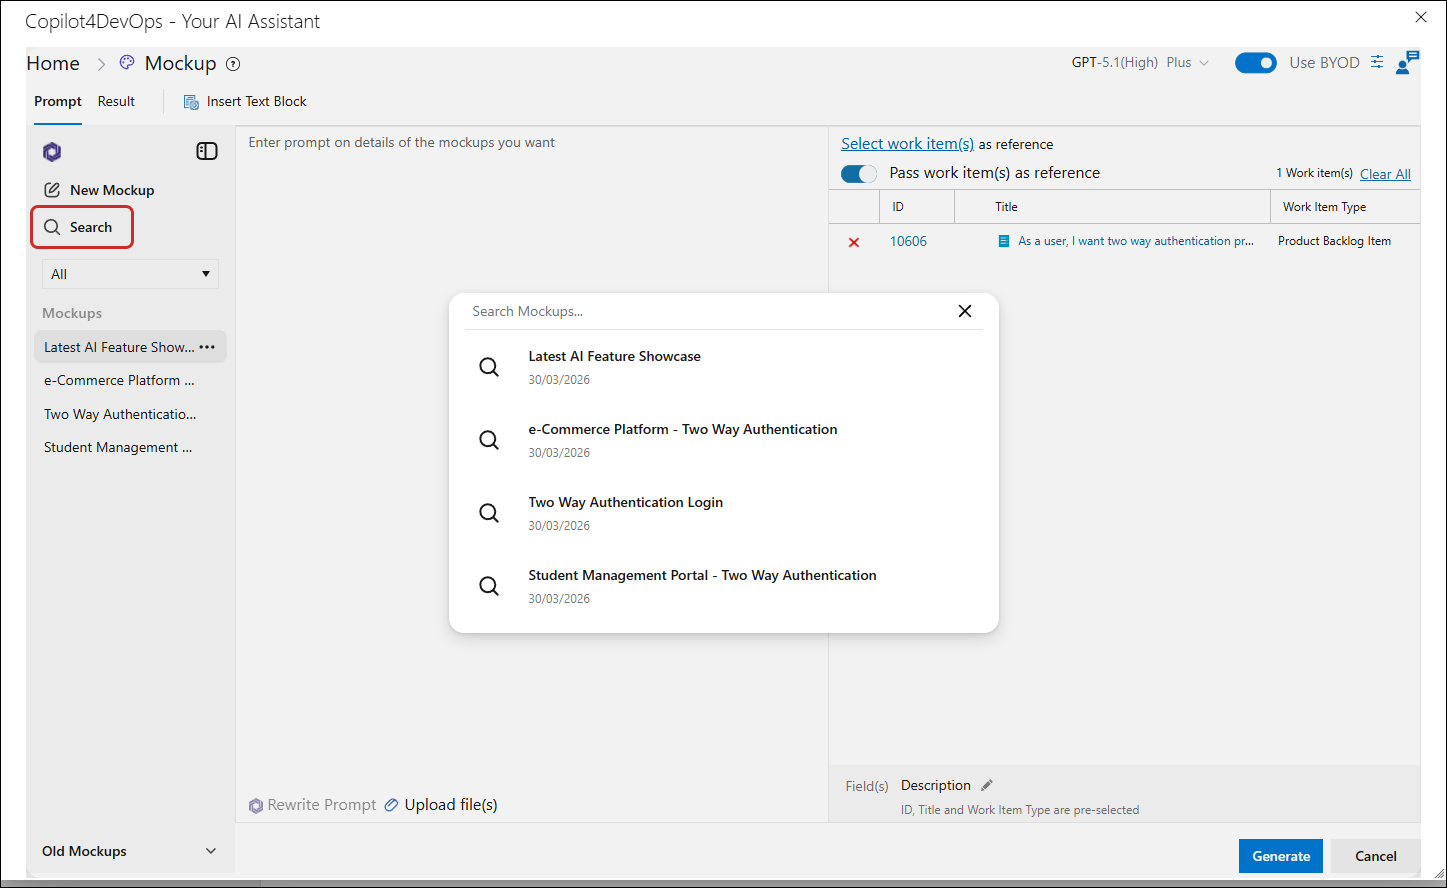
2. Search Option
The Search option opens up a popup for the user to search their generated mockup. Results filter live as you type.
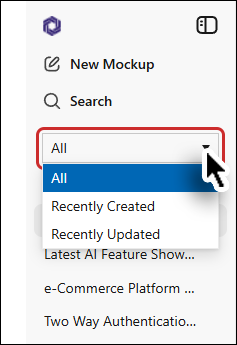
3. Filtering the Mockup List
• All: Shows all the Mockups within the selected tab.
• Recently Created: Shows the newest first.
• Recently Updated: Show Mockups most recently edited or regenerated.
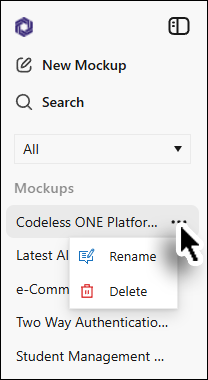
4. Ellipsis Menu
• Each listed mockup shows a small three-dot (⋯) control. Click it to reveal actions:
Rename — Users can use this option to rename a mockup
Delete — This will permanently delete the mockup.
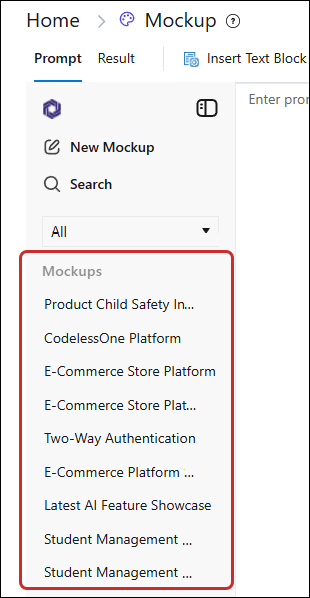
5. Mockups
• The Mockups section lists all the Mockups created by the user.
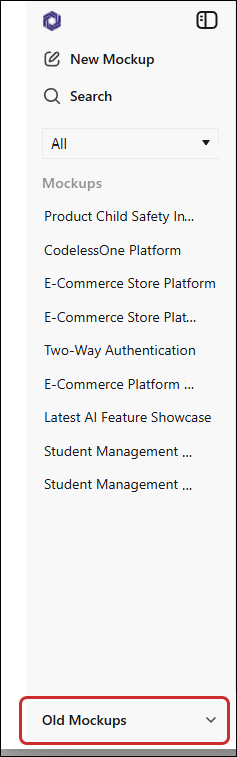
Note: Mockups older than 30 days are moved into the Old Mockups subsection at the bottom of the list.
Result Tab
When the user moves to the Results tab, there are three specific panels or areas:
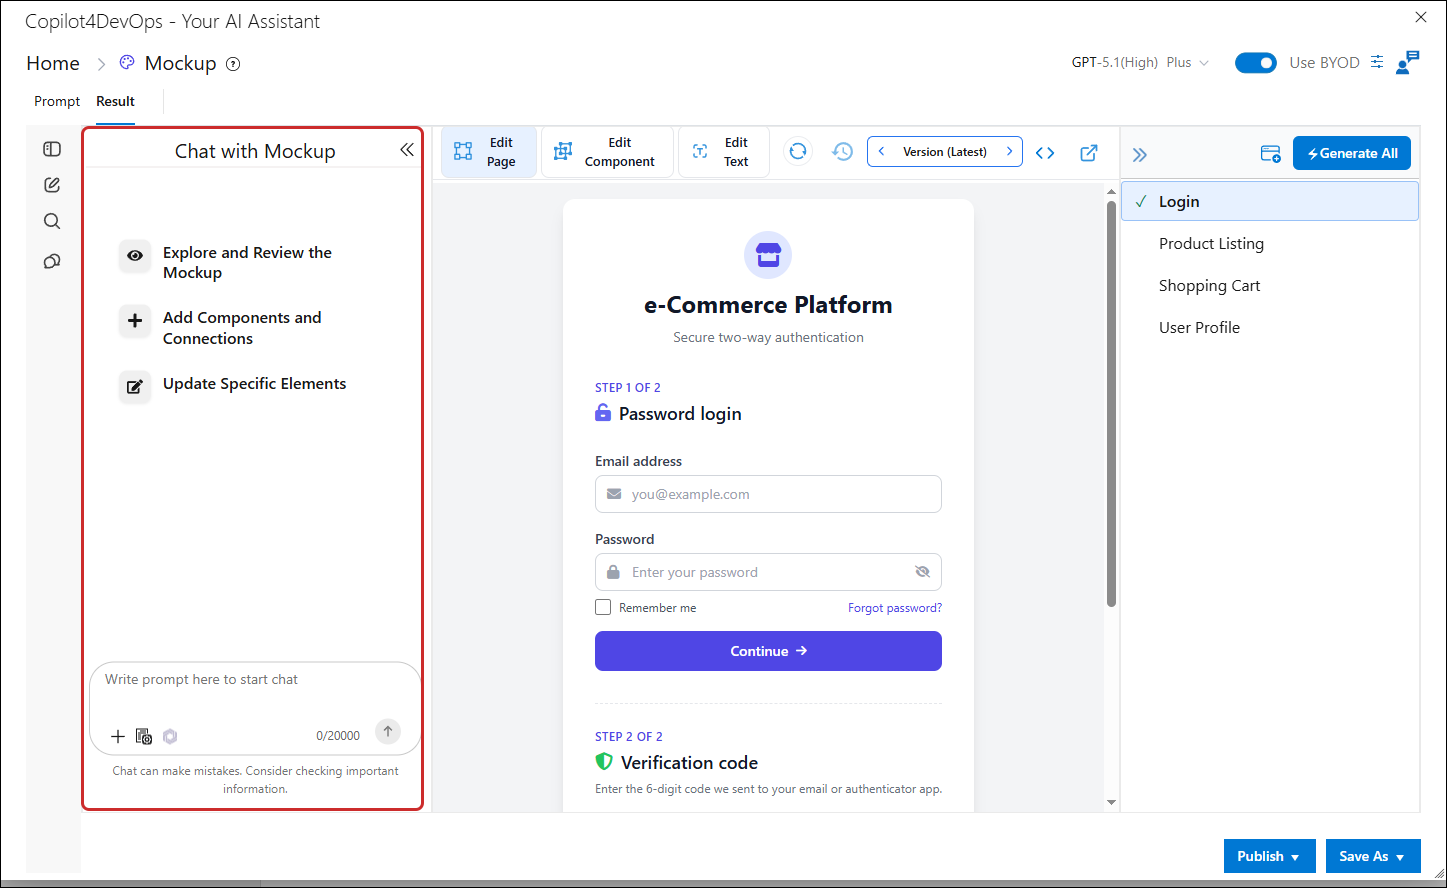
1. Chat with Mockup (the right panel)
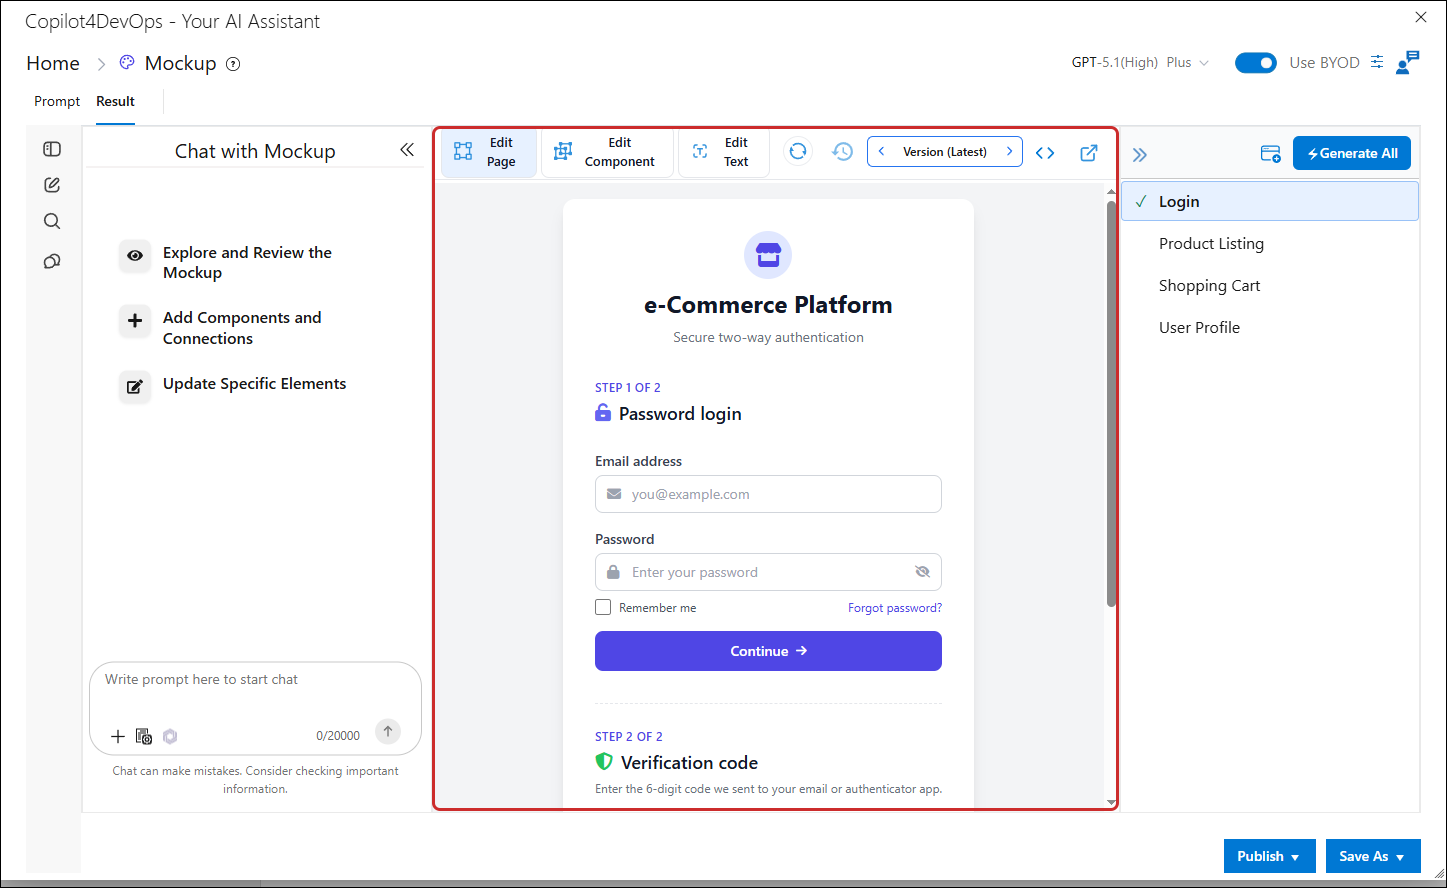
2. Generated Mockup (the center panel)
3. Mockup Pages (the left panel)
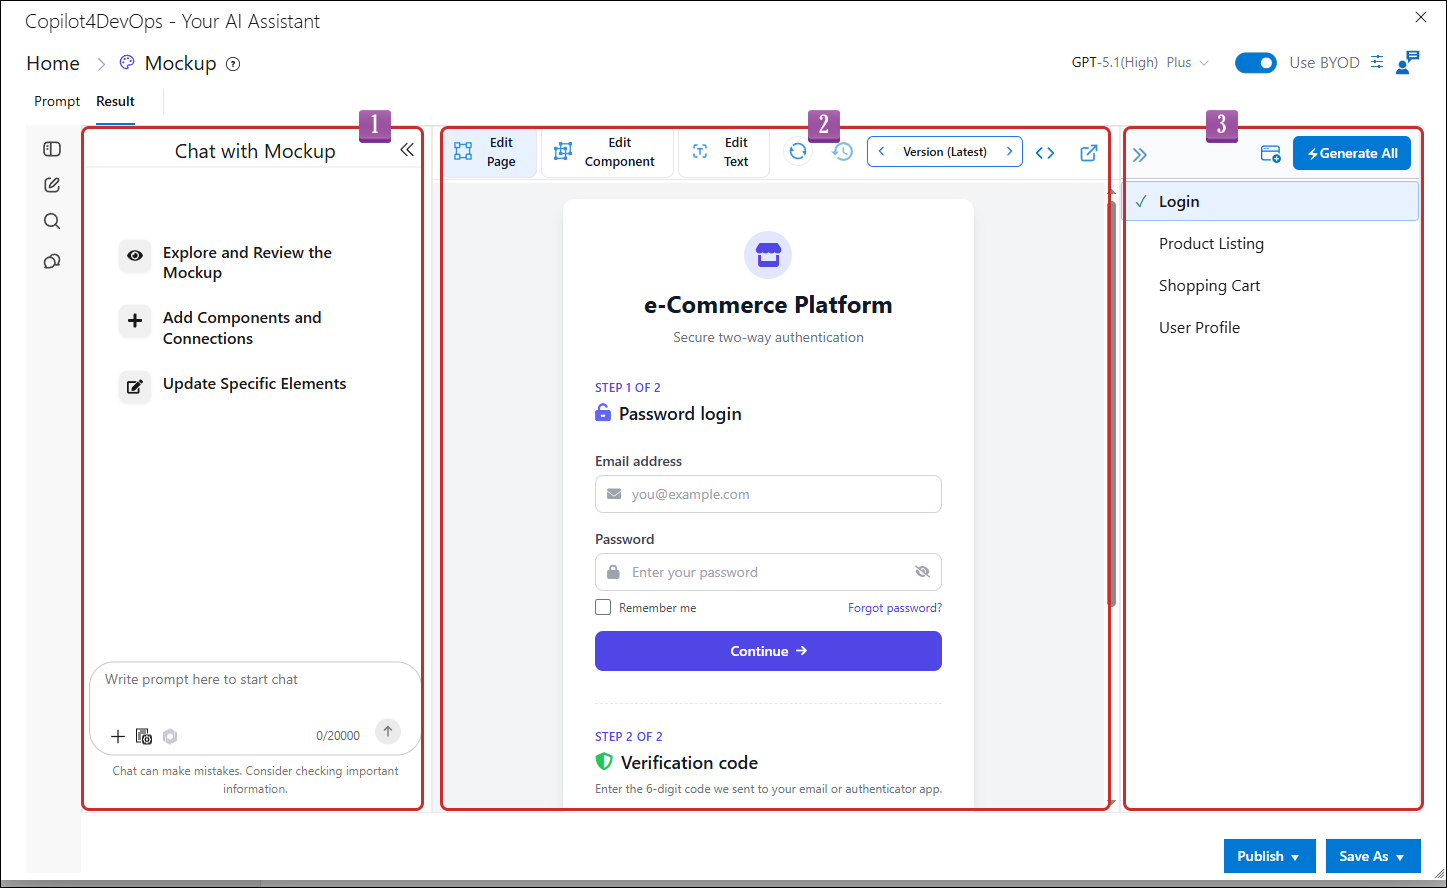
Chat with Mockup
With the Chat with Mockup option users can:
• Examine the existing mockup, understand its layout, and regenerate it with updated screens, components, or design elements.
• Quickly enhance the page by adding new UI components, interactions, or linking existing elements.
• Rename components, adjust placements, swaps visuals, or refine styling on the page as needed.
Generated Mockup (Center Panel)
The generated mockup will be displayed in the Result Tab based on your inputs.
Mockup Pages (Right Panel)
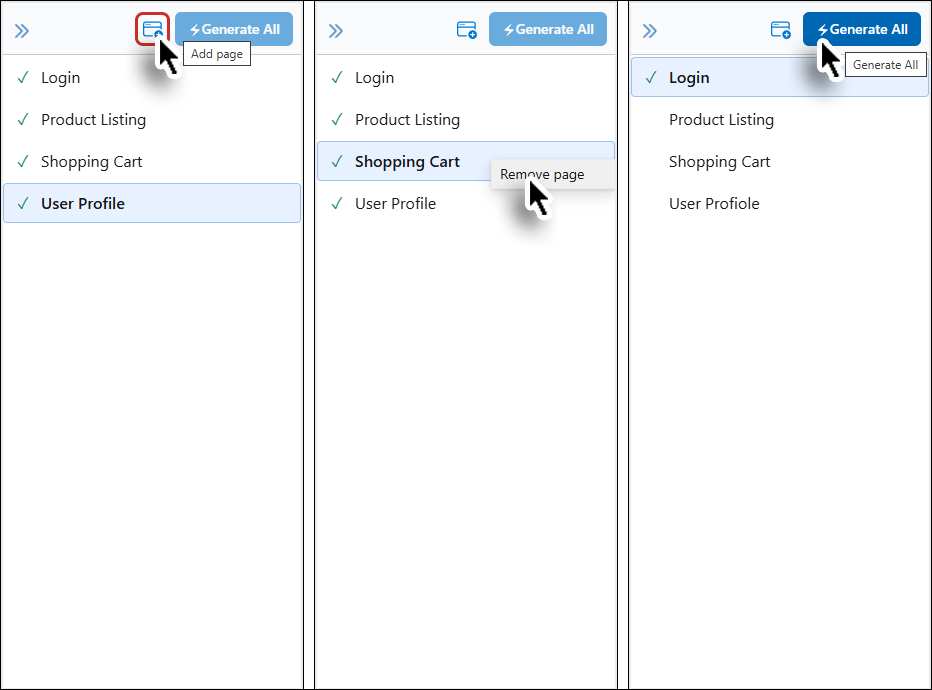
Mockup Page right panel on the right defines and enlists the Mockup Pages. The Mockup Pages panel is expandable, and you can also hide it to allow more space to the generated mockup.
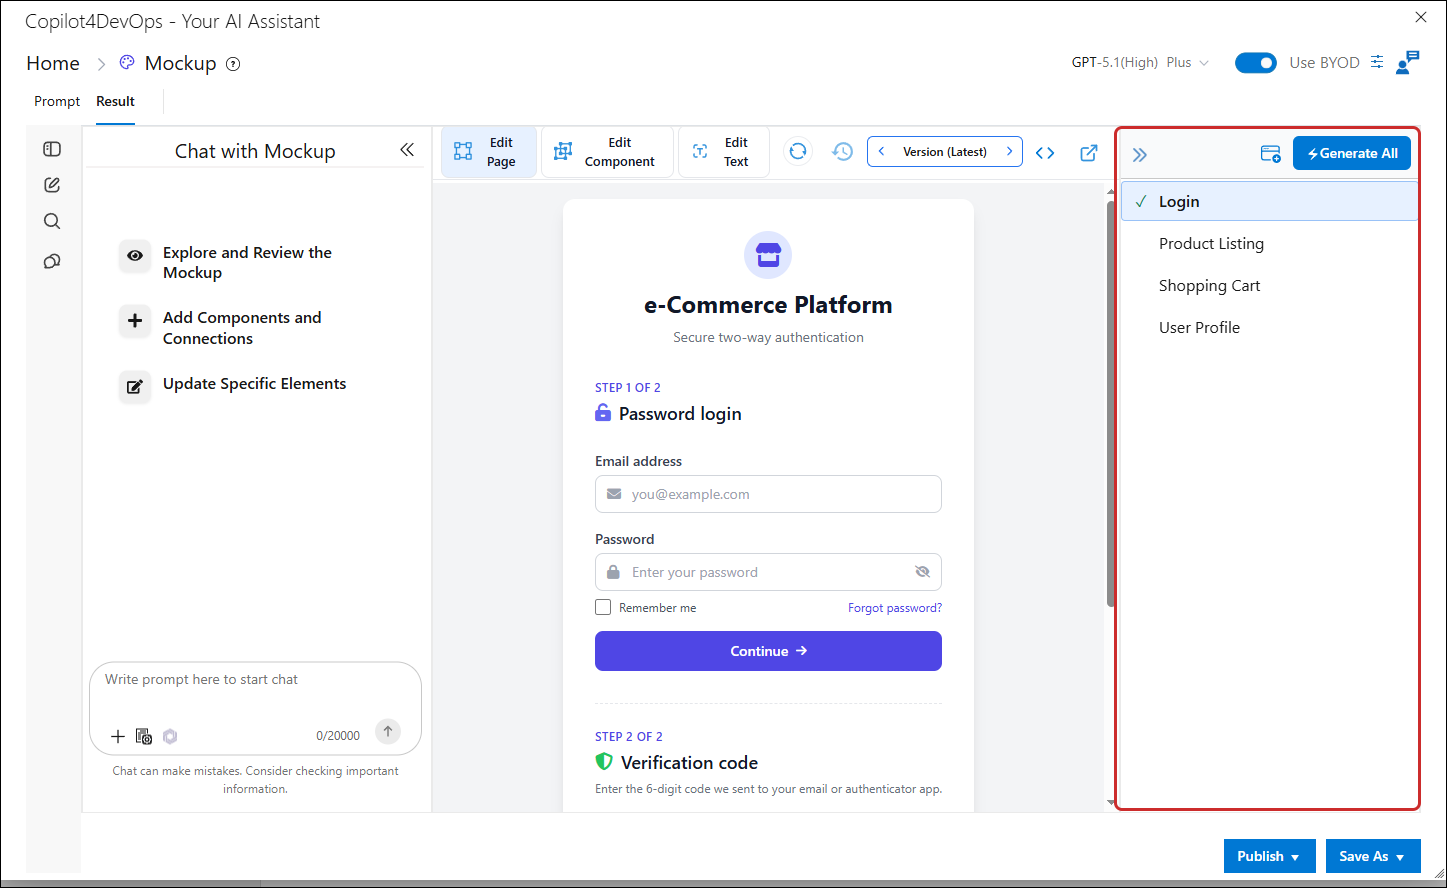
From this panel, users can generate all the pages at once, add a page, and remove a page.
Note: Individual pages can be generated by clicking on them. The first page cannot be removed.
Modifying a Mockup / Making Changes to a Mockup
When a mockup has been generated, users have the ease of making changes to the mockup and modifying it as per their requirement. They can make the changes overall as well as to specific components and texts.
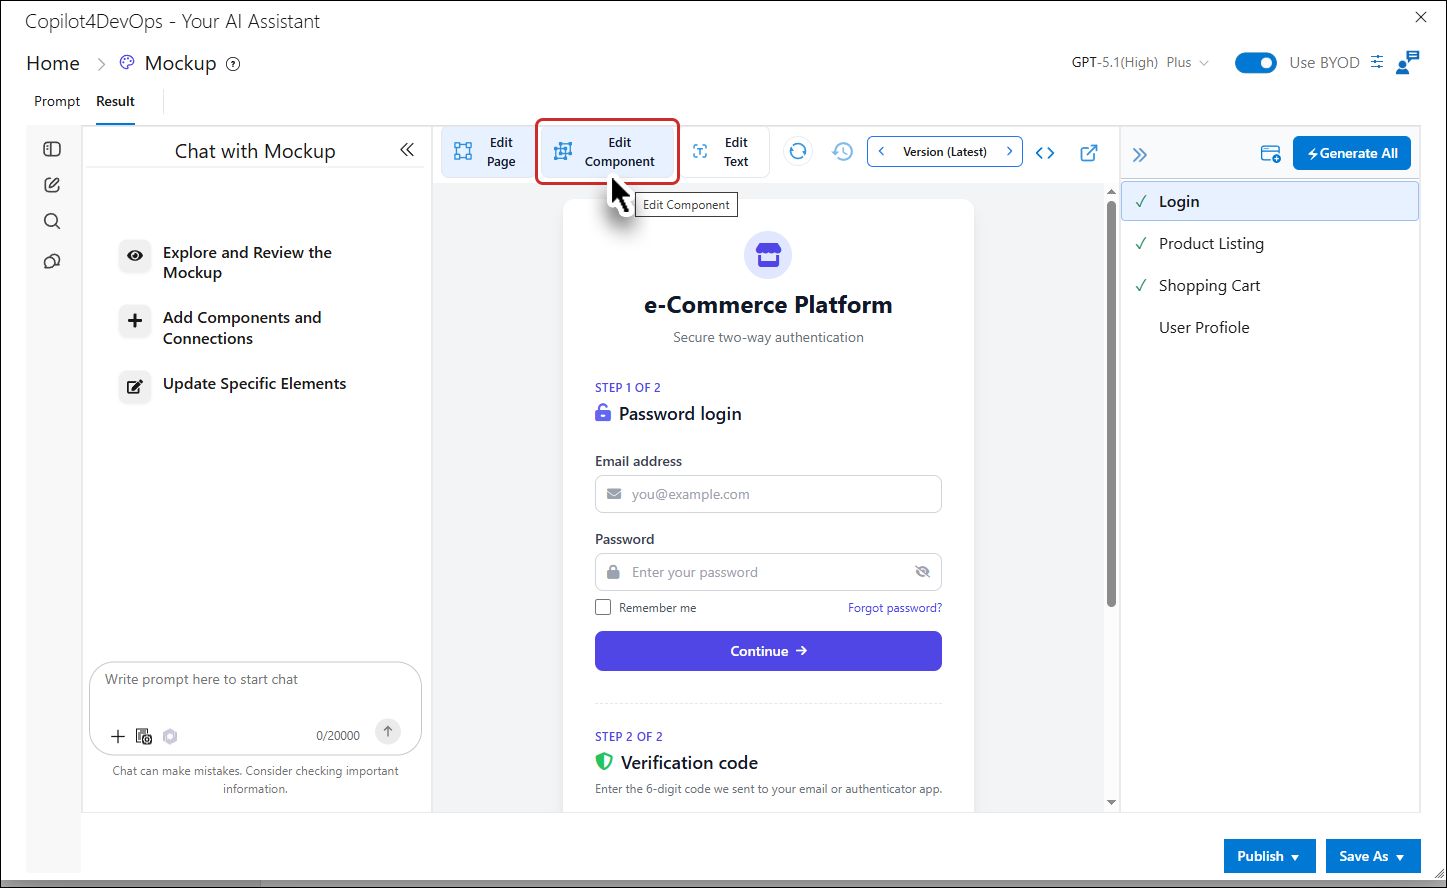
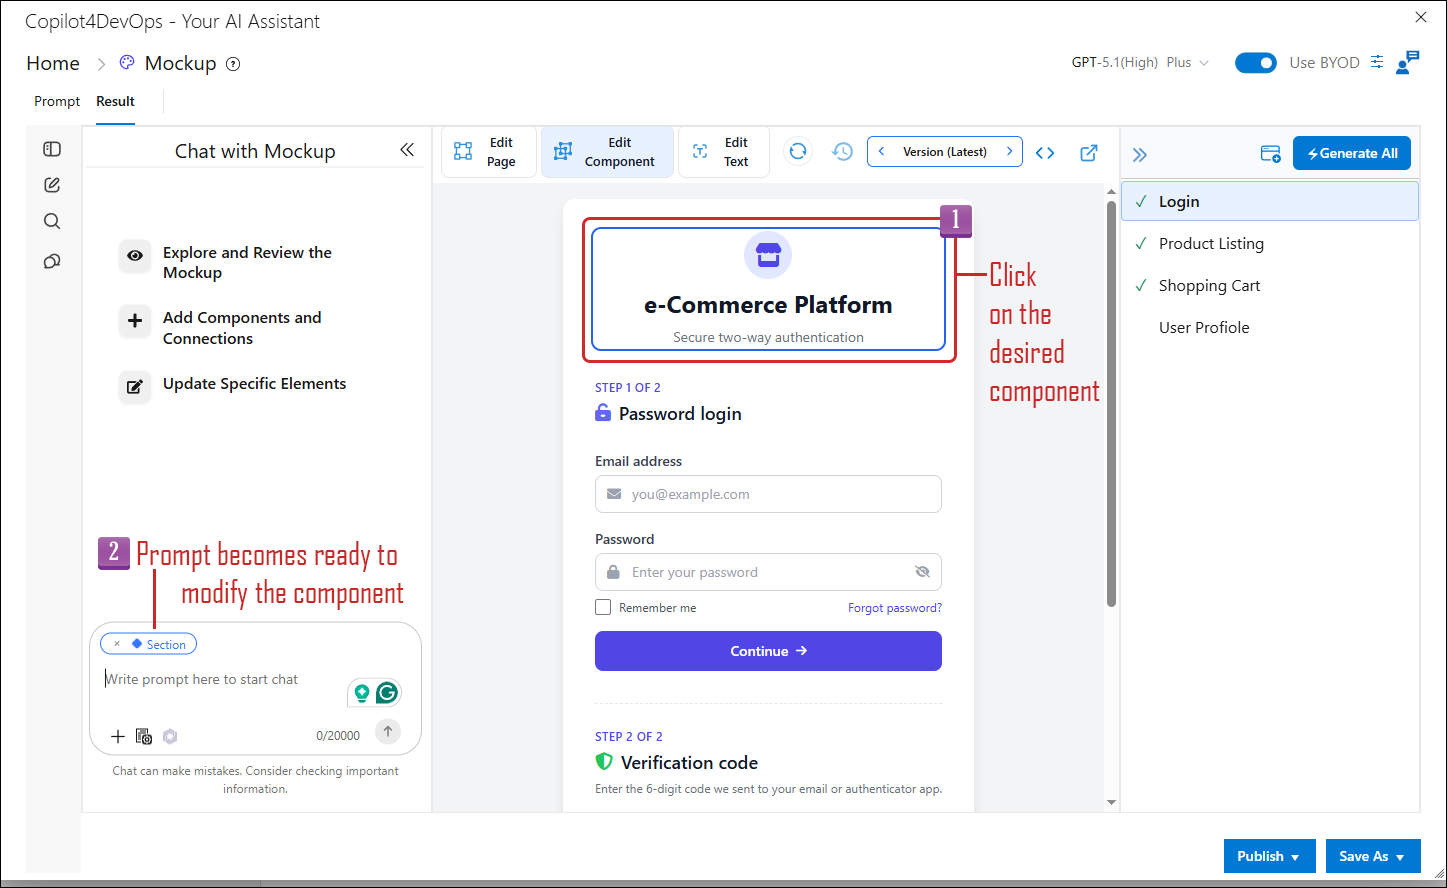
1. If you need to edit a component start by clicking on it.
it is automatically referenced in the Chat with Mockup awaiting your instructions for modification.
2. Enter the instructions to edit the component as per your requirement.
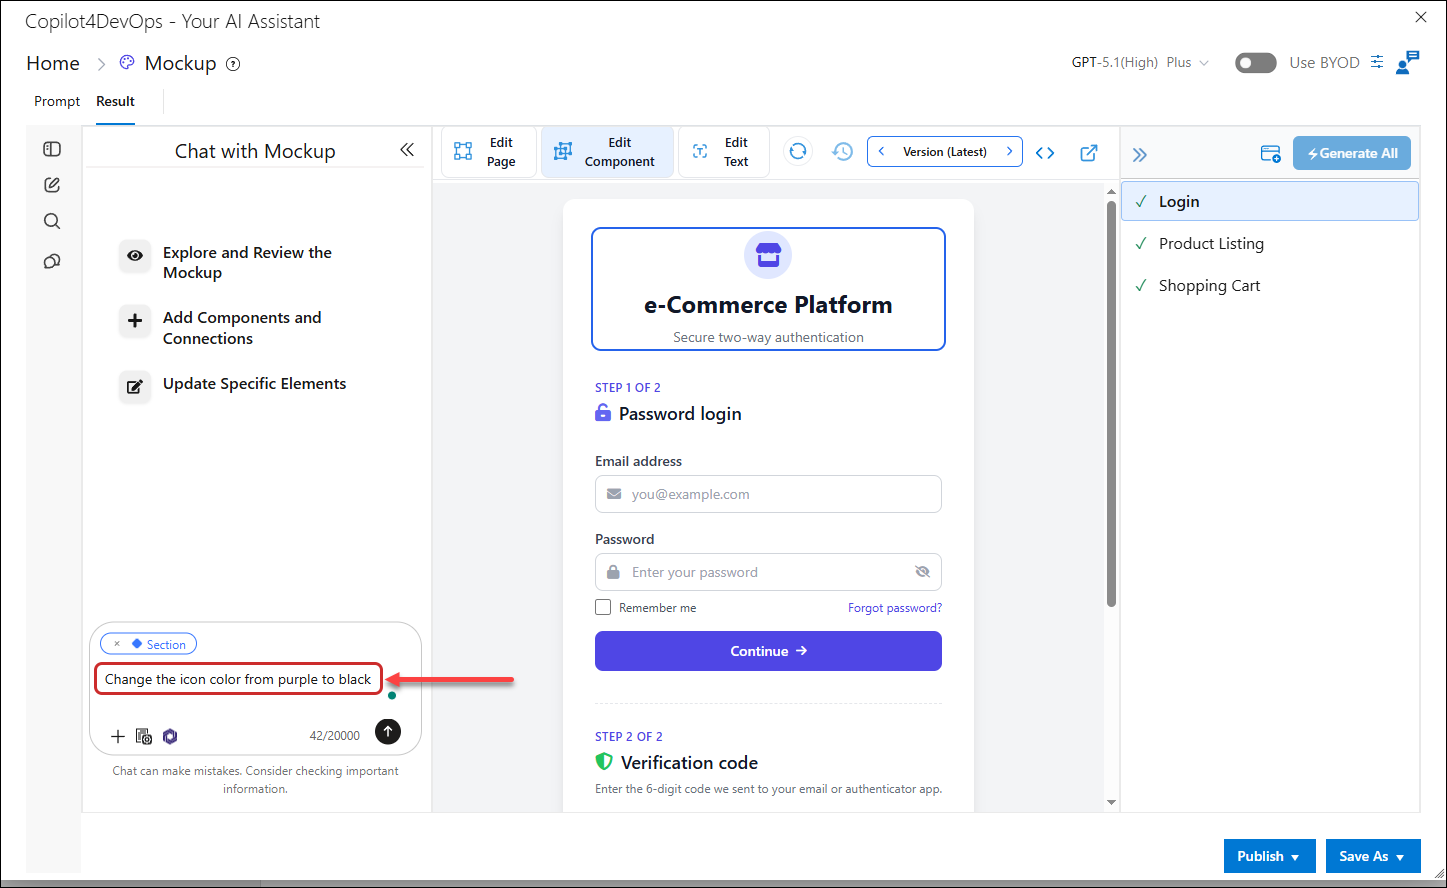
Changes have now been made to the specific component.
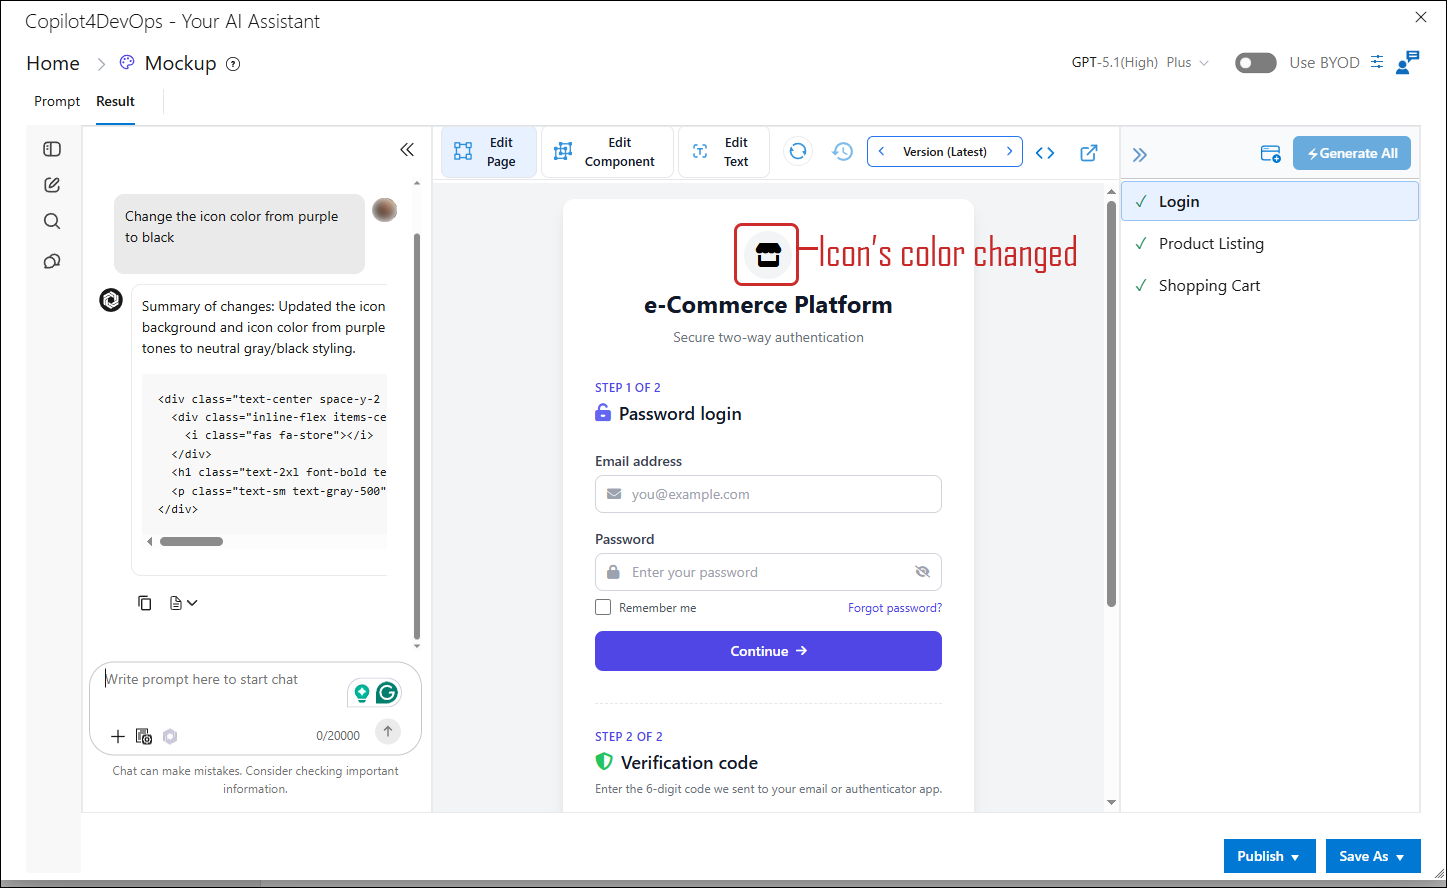
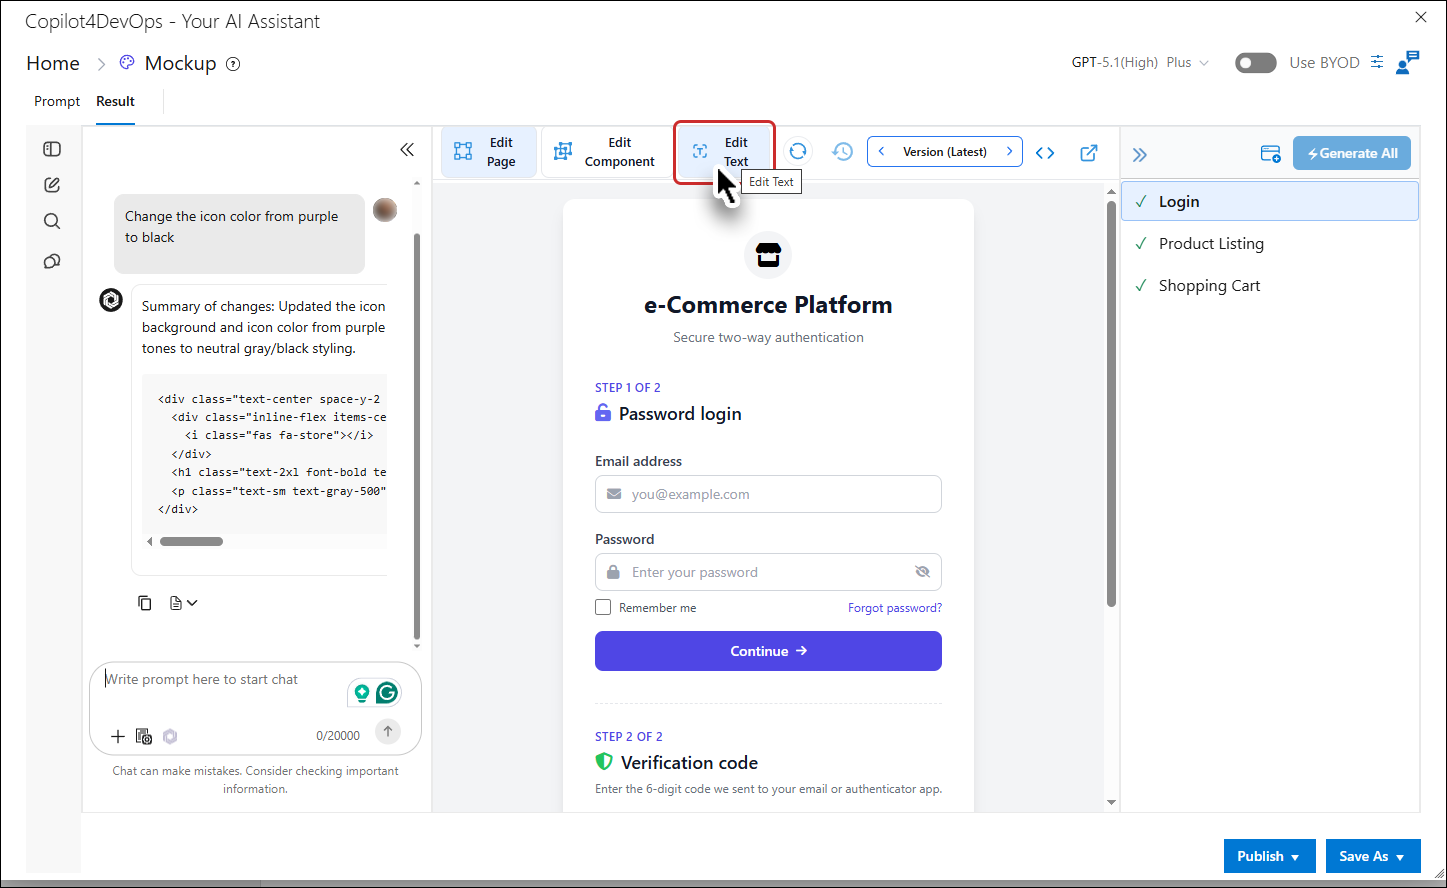
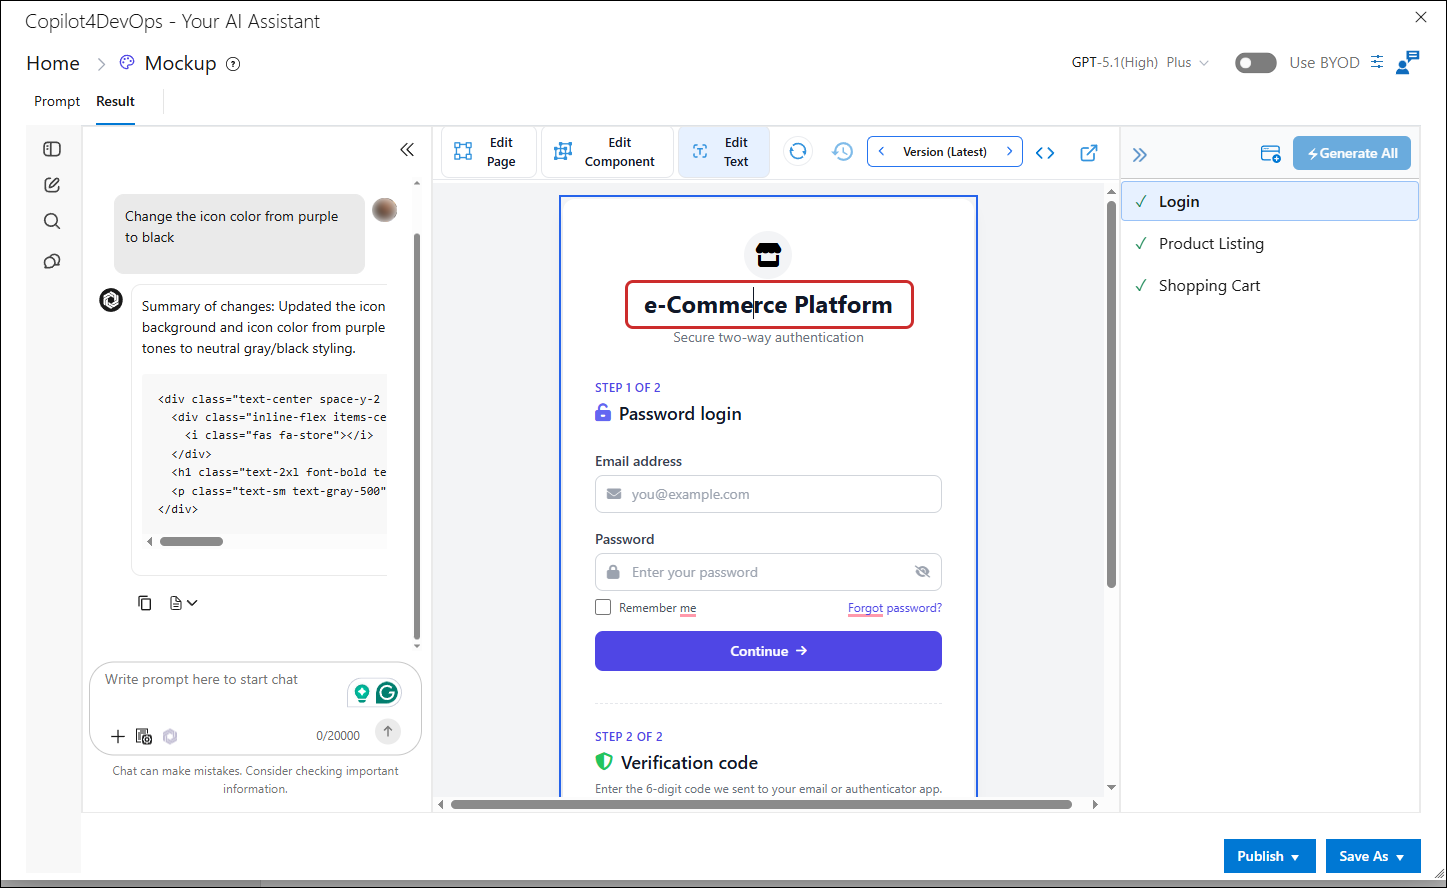
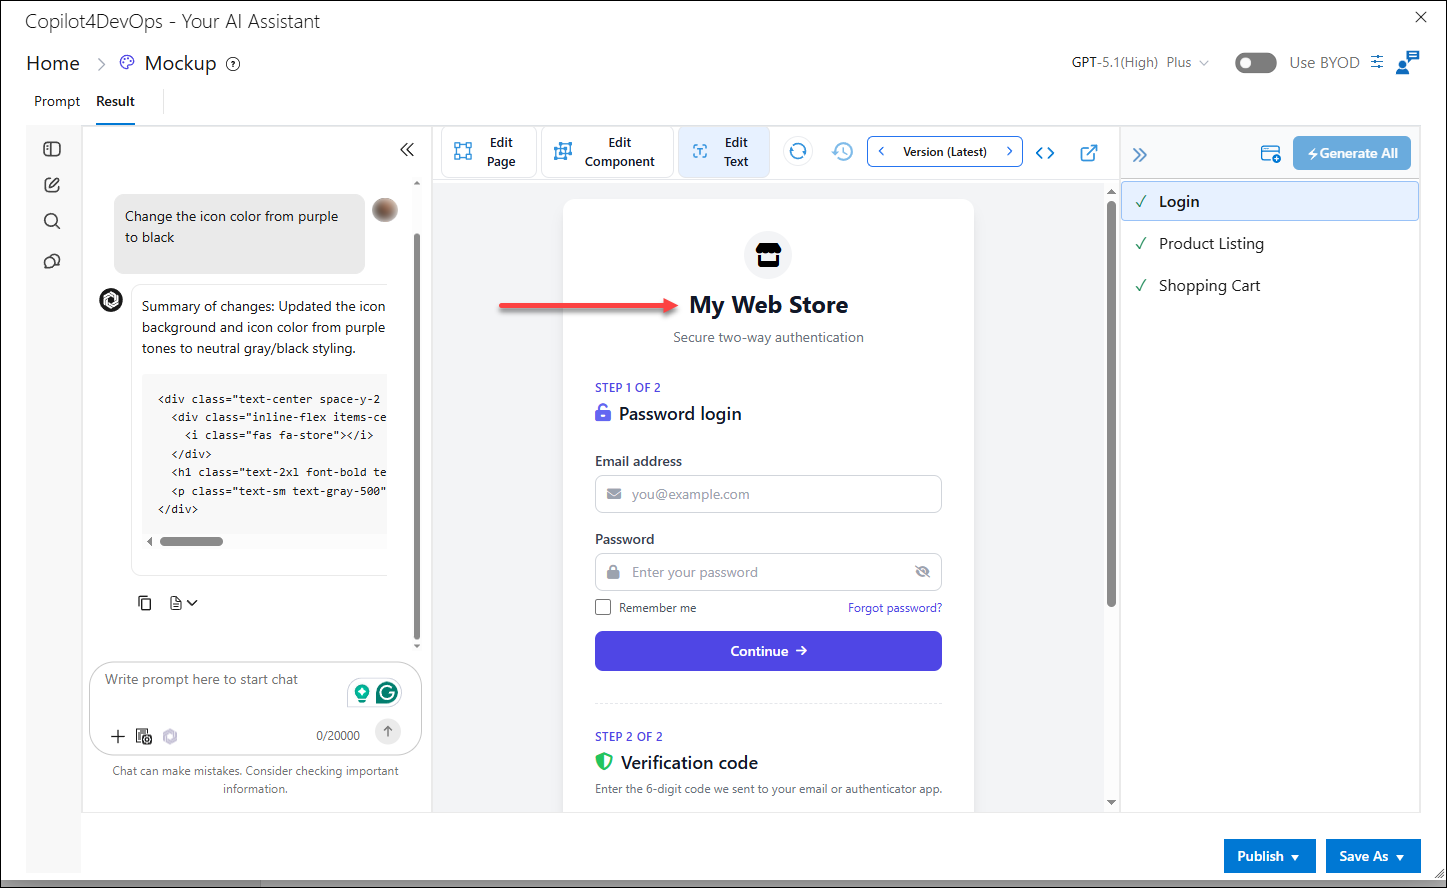
Similarly, to edit a text, the click on the Edit Text option in the center panel and edit the text directly.