Chat UI
Understanding the Chat feature's interface is essential for navigating effectively and making the most out it. This guide walks you through each UI component.
The Main Chat Interface
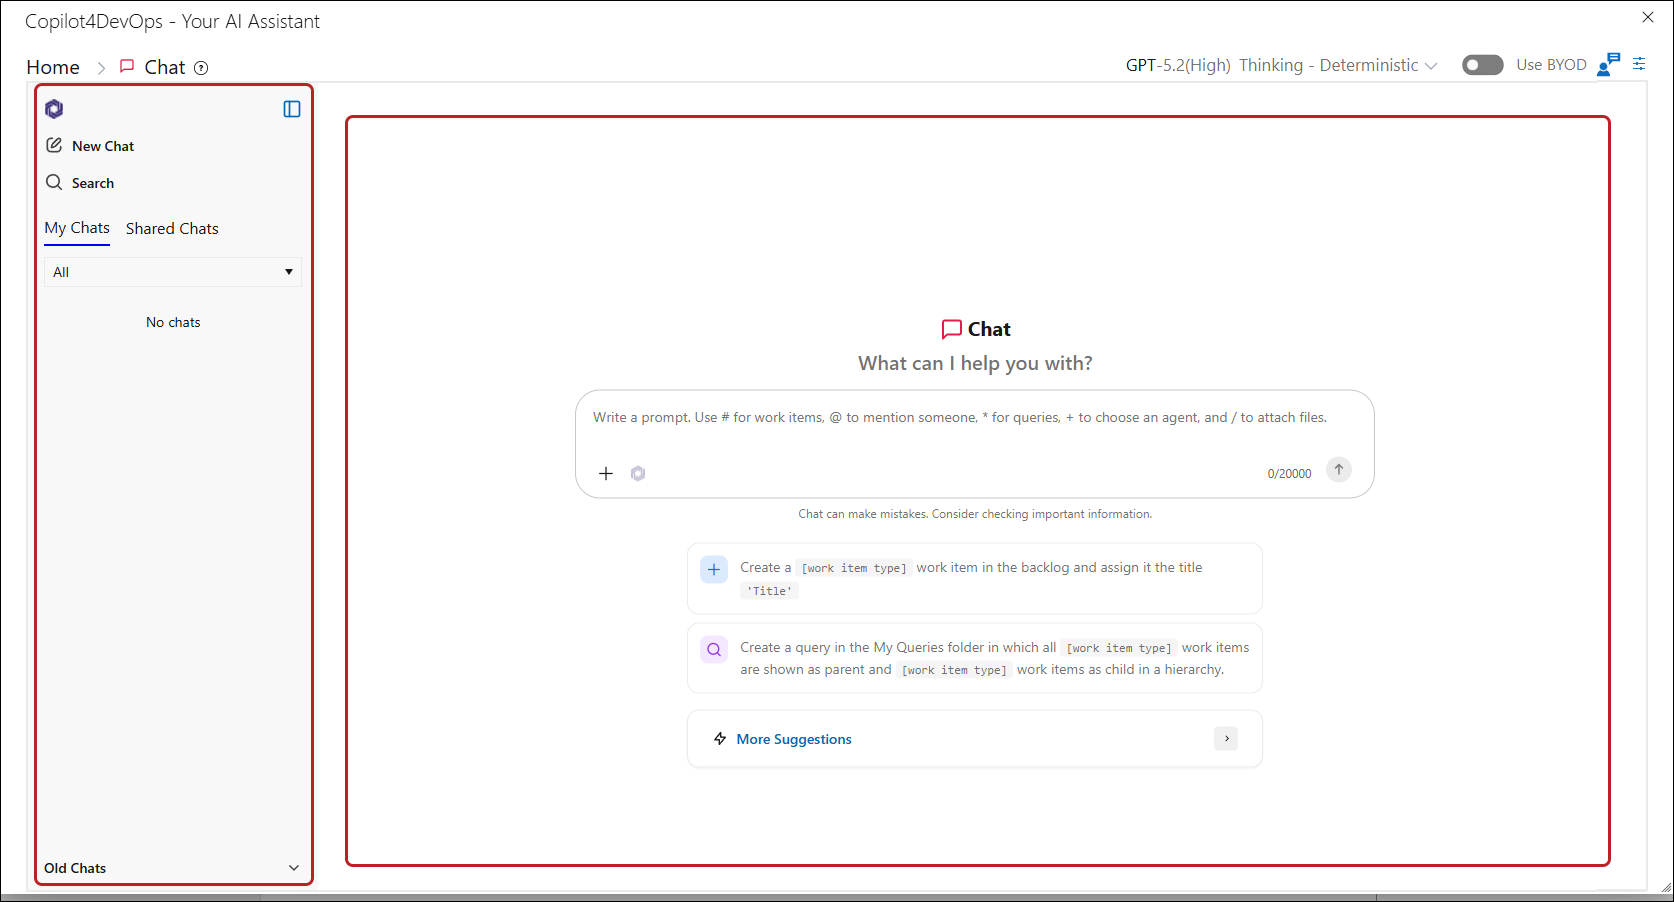
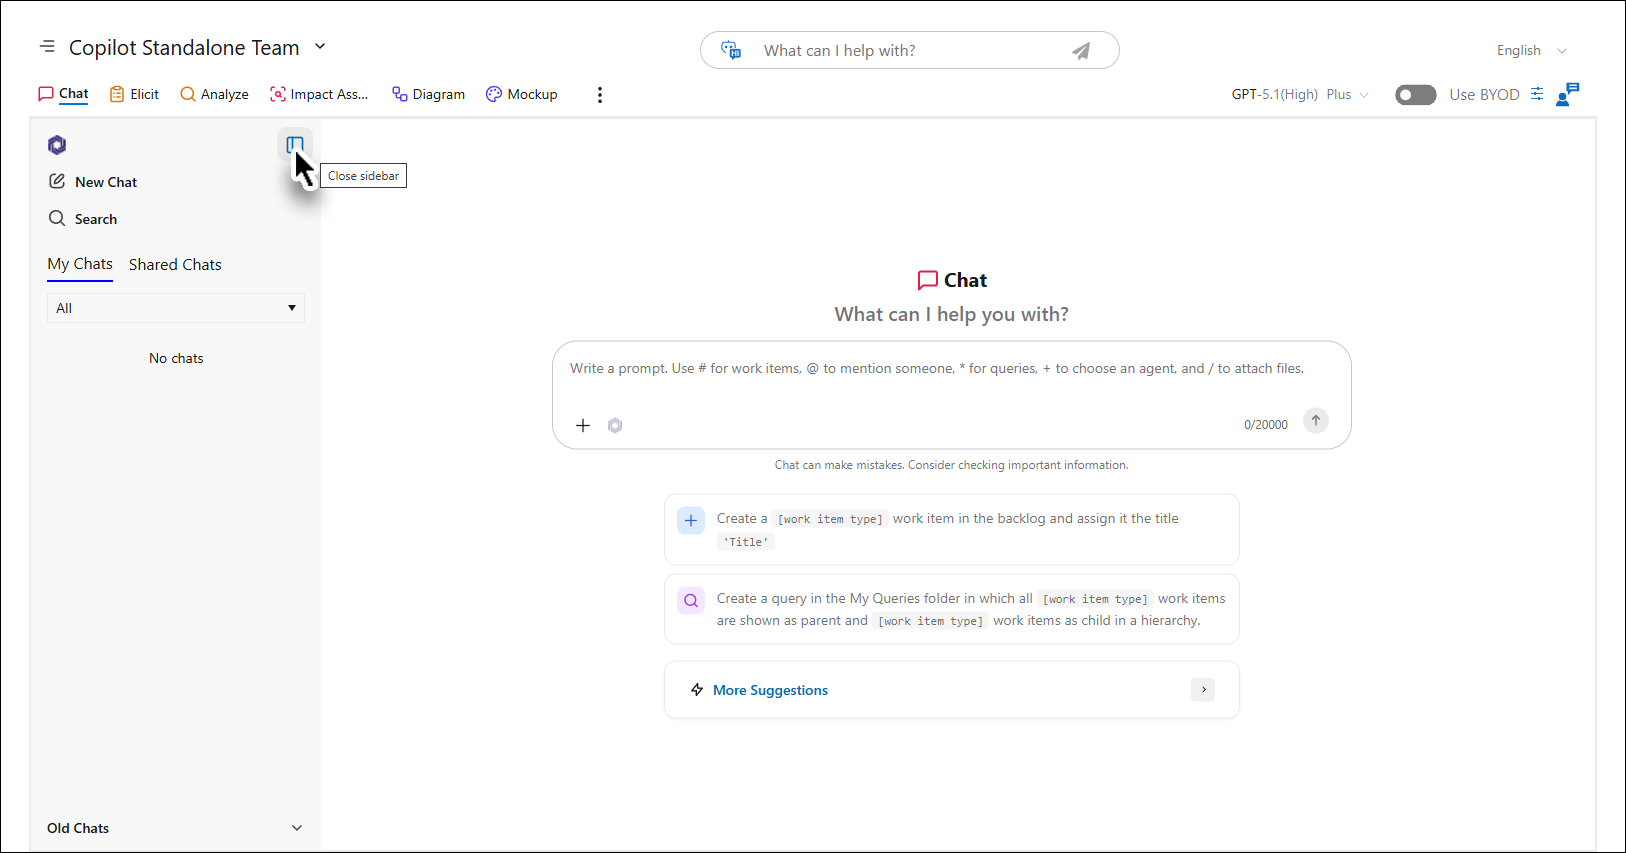
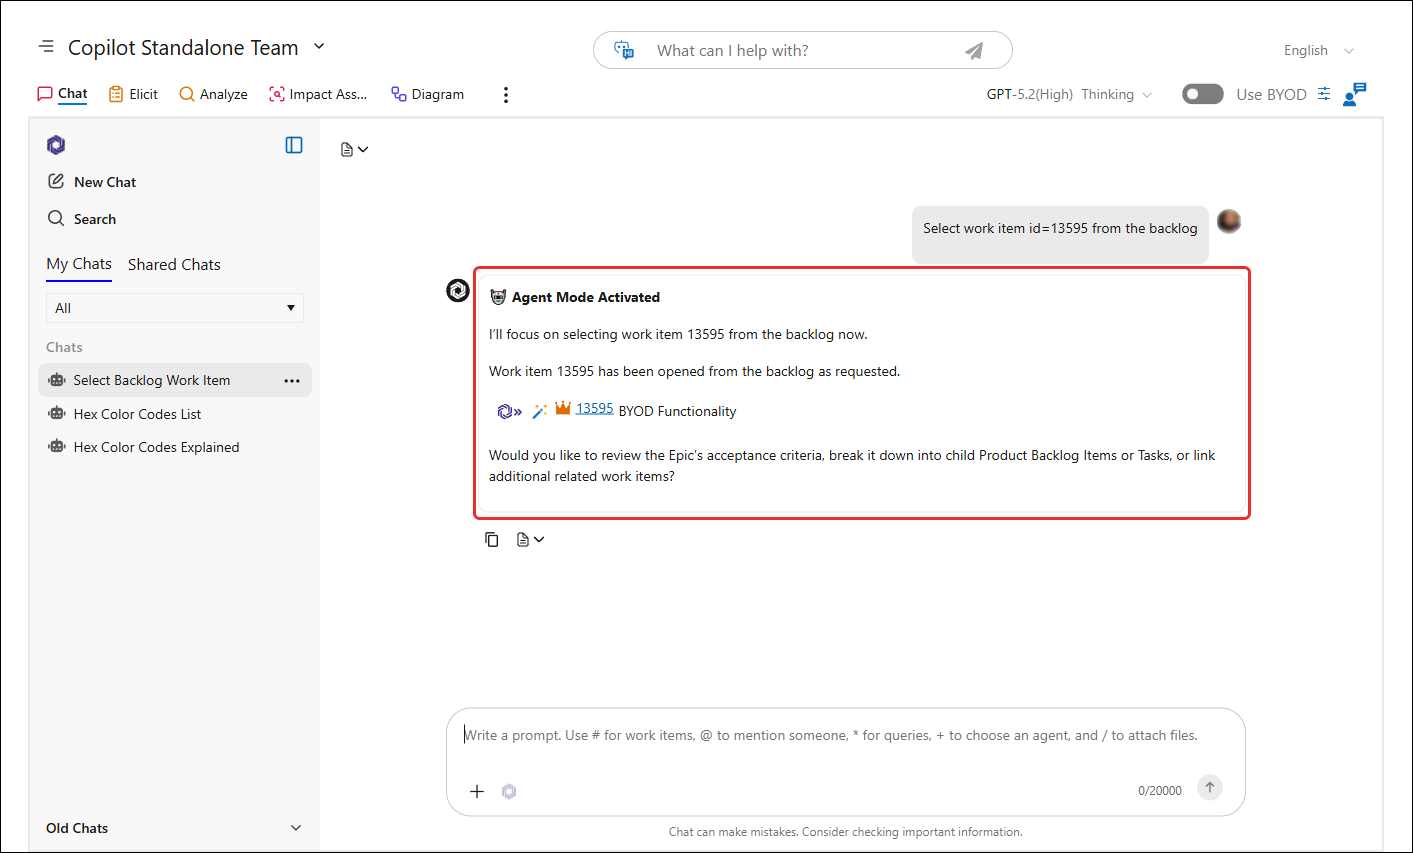
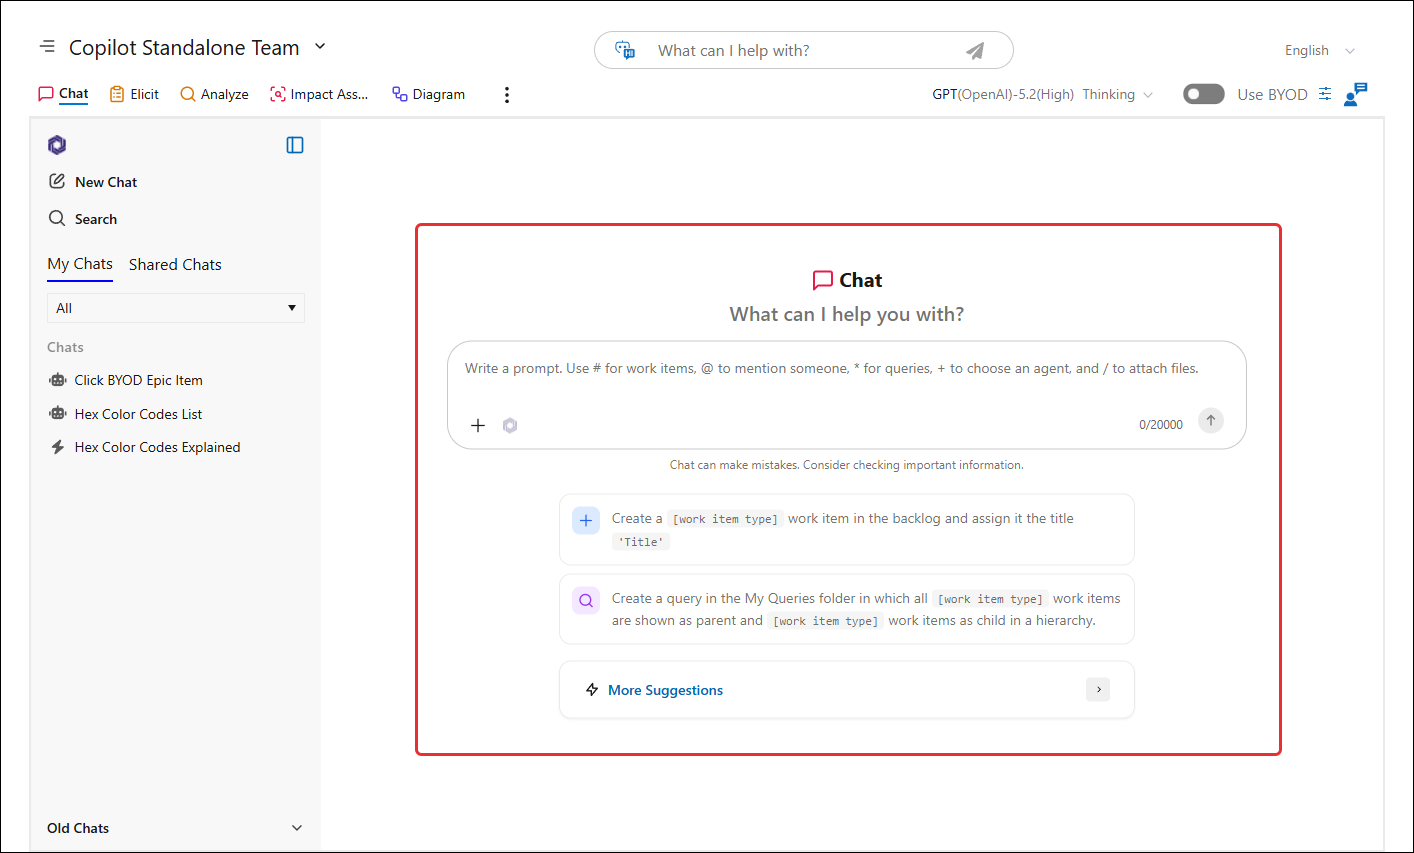
When you open the Chat feature, your screen is divided into two main areas: a navigation sidebar on the left and a chat prompt window on the right.
Using the Sidebar (Left Panel)
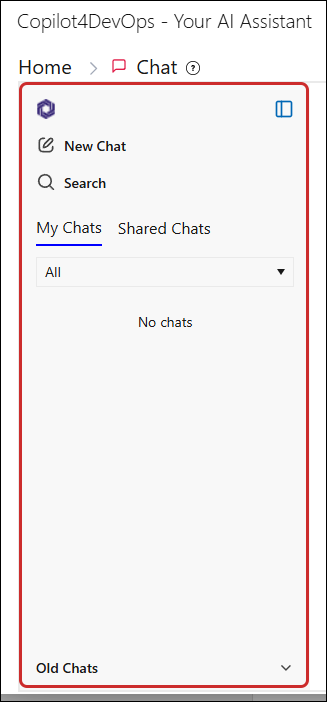
All actions such as starting new conversations, searching old ones, and managing chats are handled from the sidebar.
Sidebar Collapse & Expand
Right next to the Copilot4DevOps icon is a toggle button. Clicking this will collapse the sidebar, allowing the prompt window to expand for better visibility.
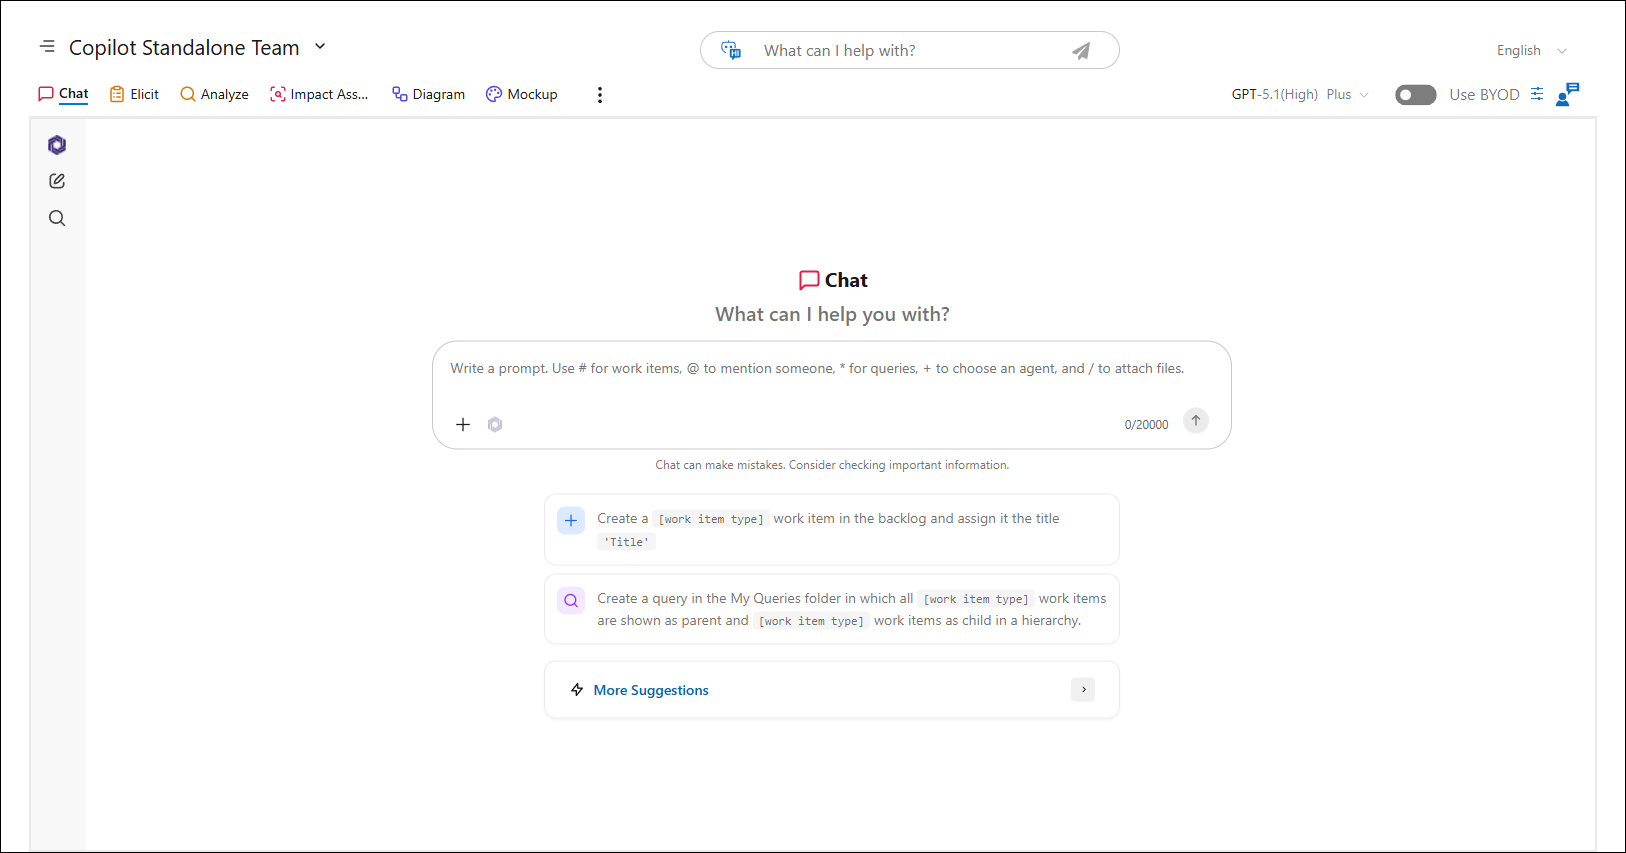
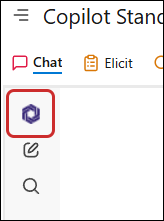
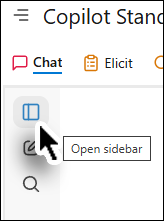
To reopen it, simply hover your mouse over the Copilot4DevOps icon, and the sidebar icon appears which you can click to expand it again.
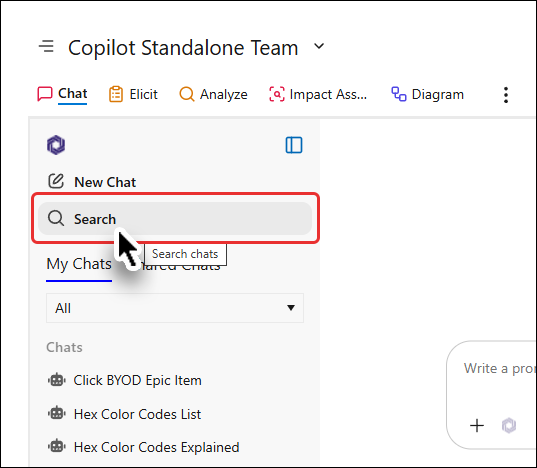
Search Option
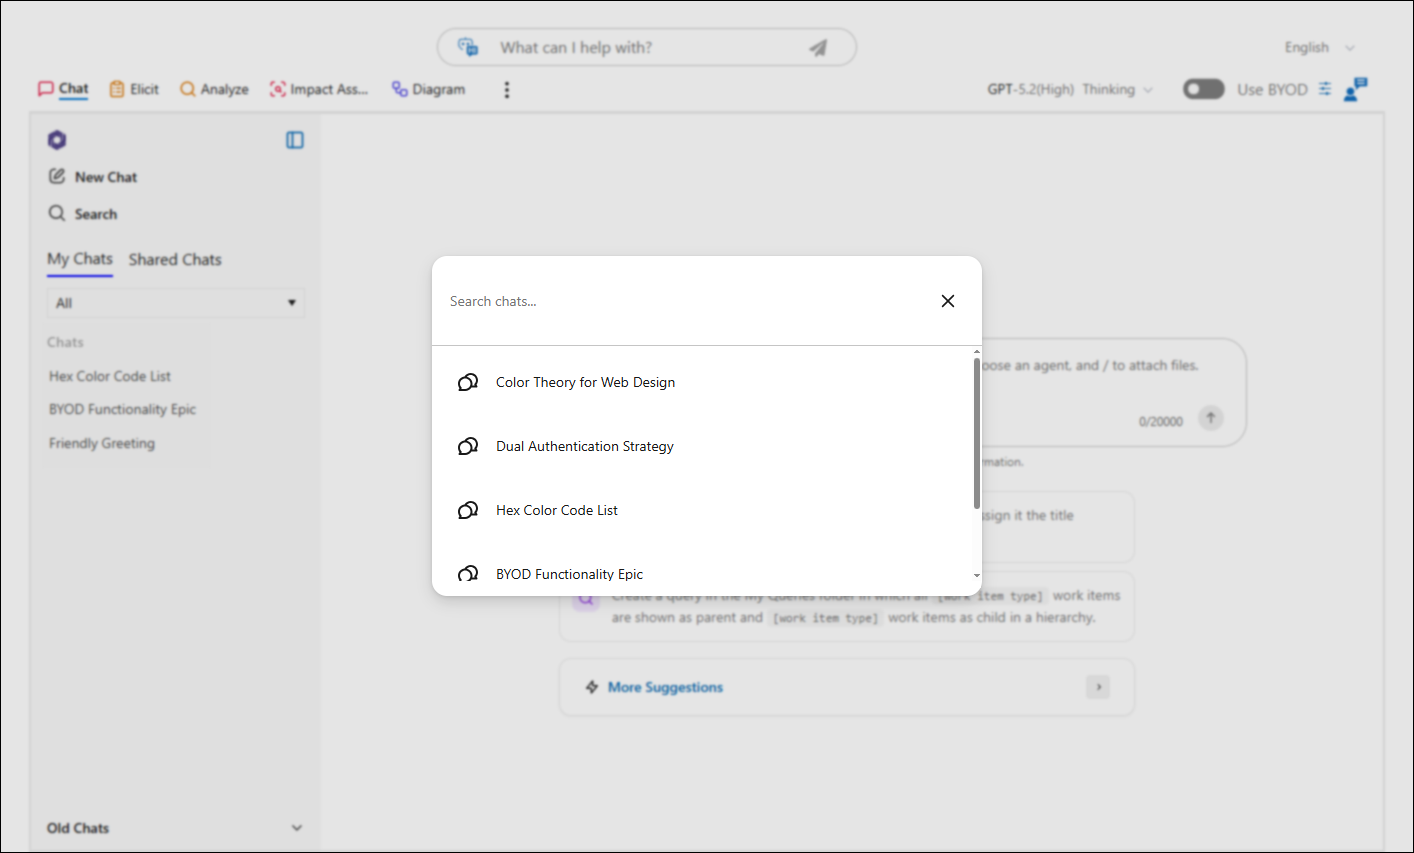
Click on Search to open a popup and search through your previous chat interactions.
Chat Prompt Menu
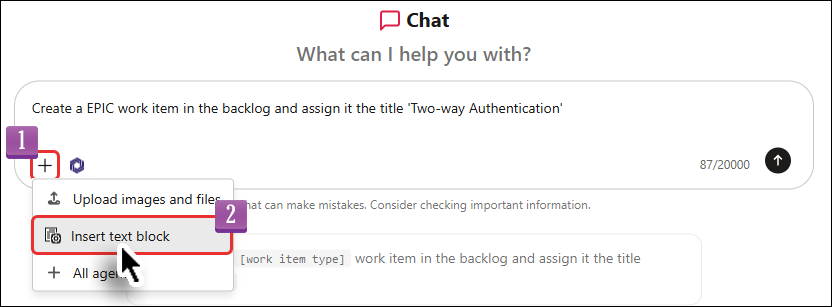
The Chat Prompt Menu can be accessed by clicking the + icon at the lower-left corner of the prompt area.
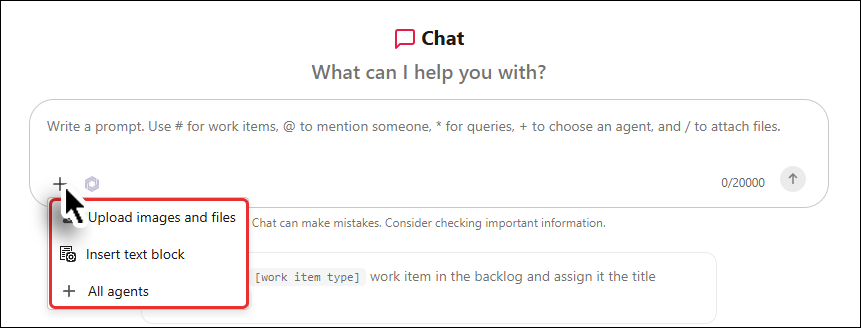
As shown in the above image, you can:
-
Upload images/files
-
Insert Text Block
-
Select desired agent from the list of all available agents
Agents with Chat Prompt
We’ve introduced Agents in Chat, allowing you to directly select specialized AI agents from the prompt to tailor responses based on your task. Agents act as specialized AI assistants, each designed for a specific purpose such as generating queries, analyzing work items, etc. By selecting an agent, you guide the AI to respond with the right context, structure, and intent, helping you get more accurate and relevant results.
What you can do
-
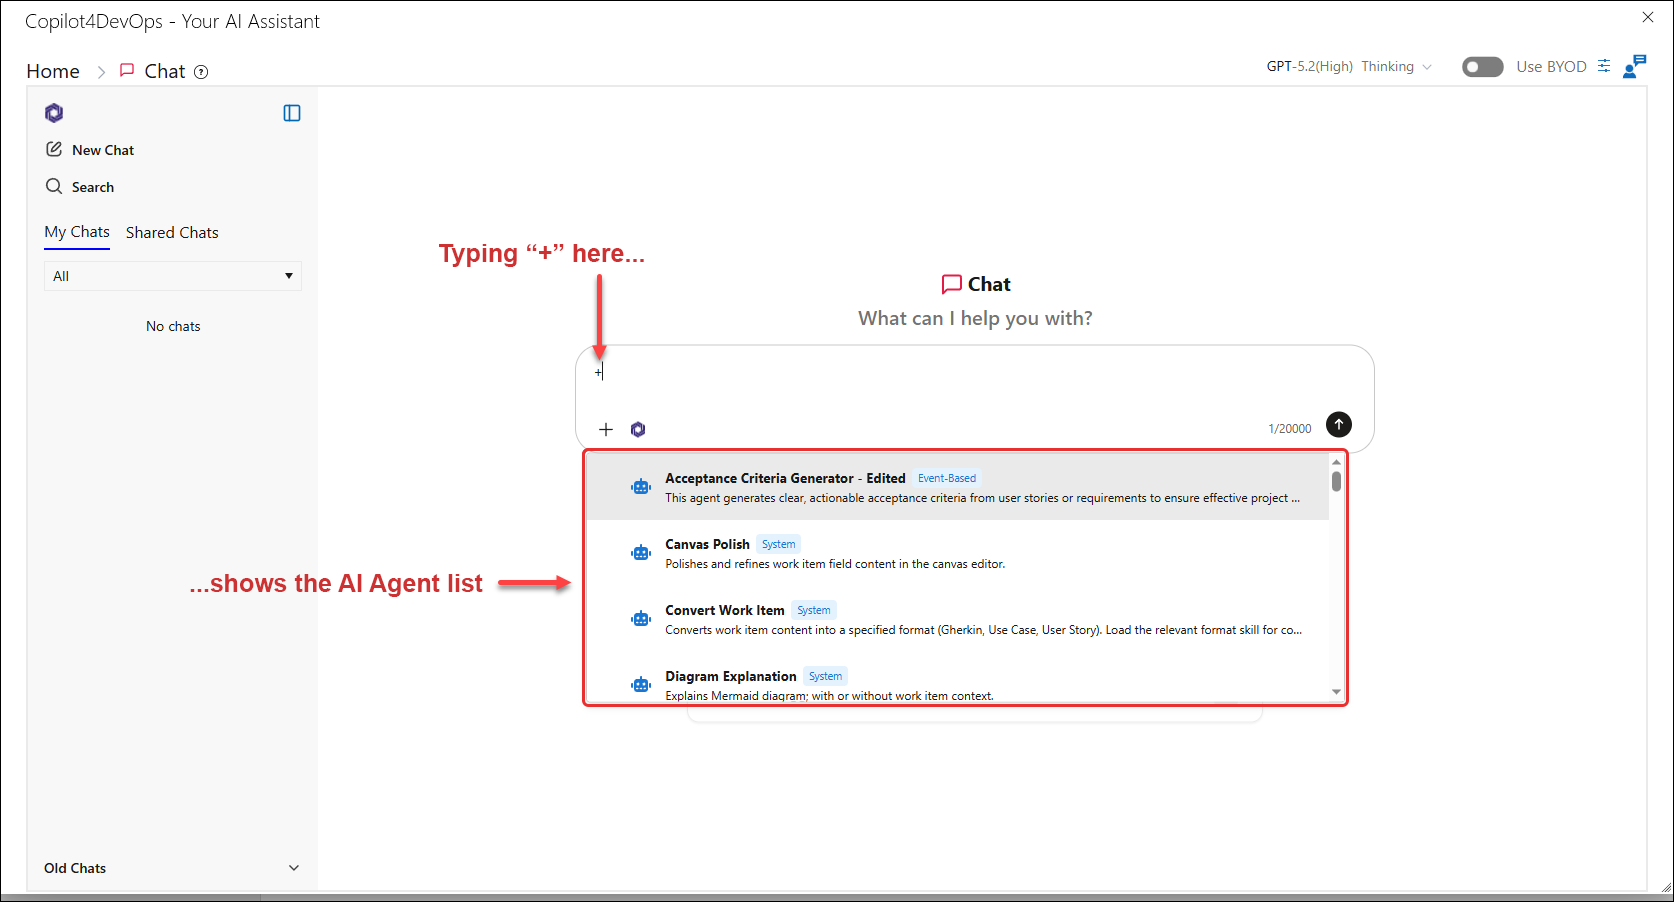
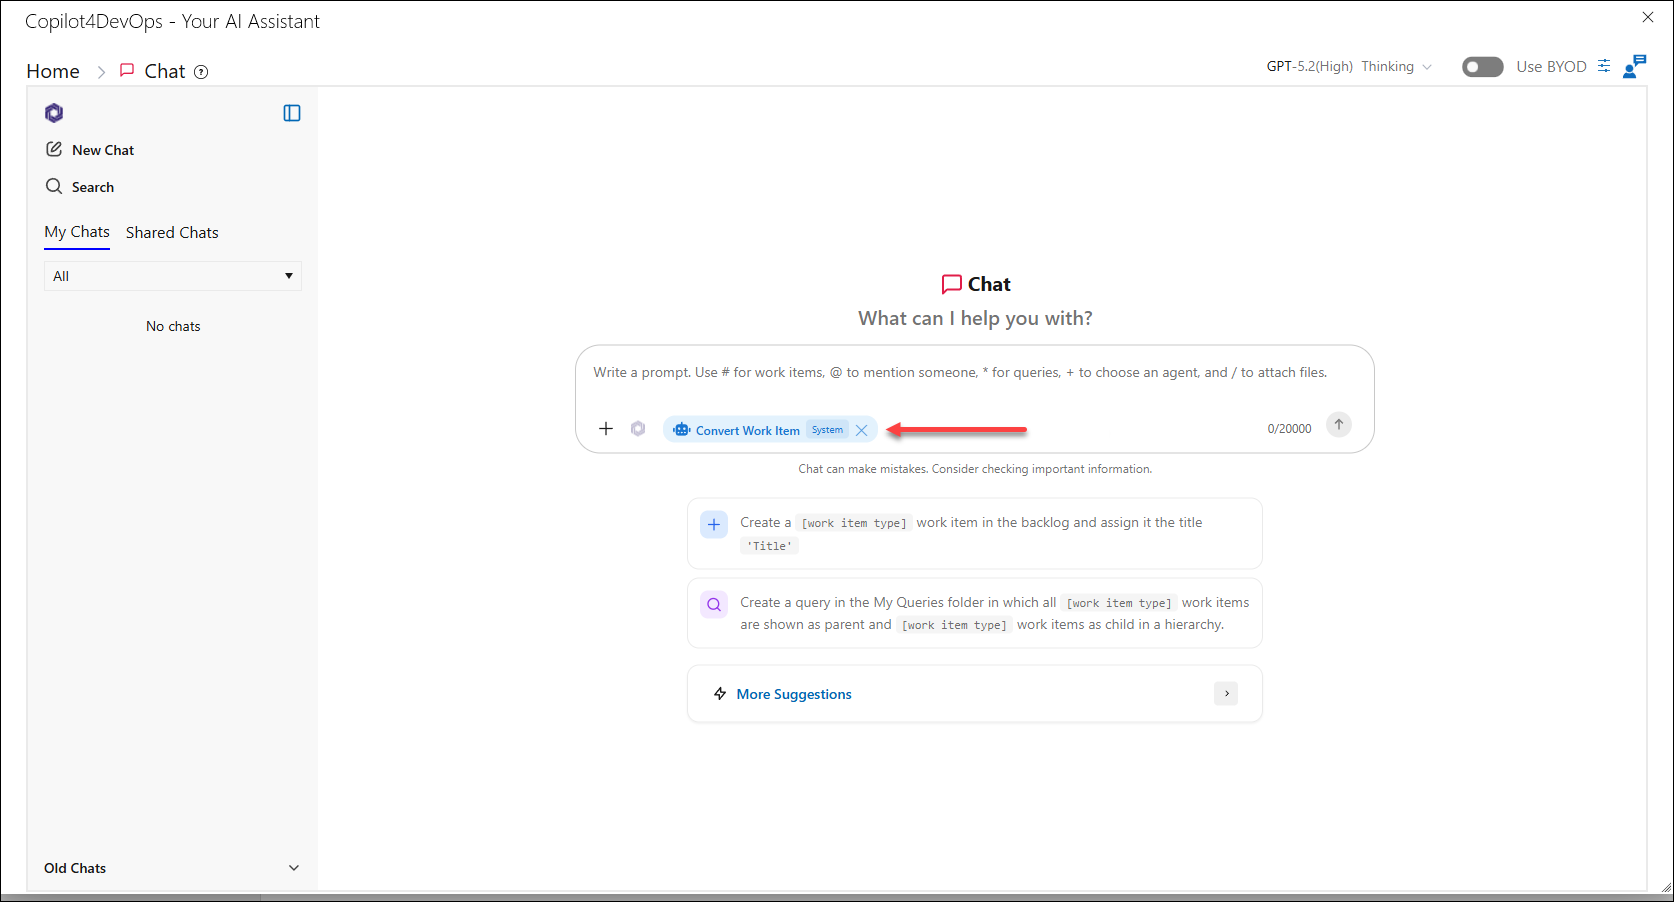
Select an agent using the “+” button or by typing “+” in the prompt
-
Select the desired agent from the list
-
The selected agent appears as a chip and stays active until removed or replaced
-
Switch or remove agents anytime during your conversation
The details about chat agents are discussed in the Chat Agents page.
New Chat Option
Click on New Chats to start a fresh chat session.
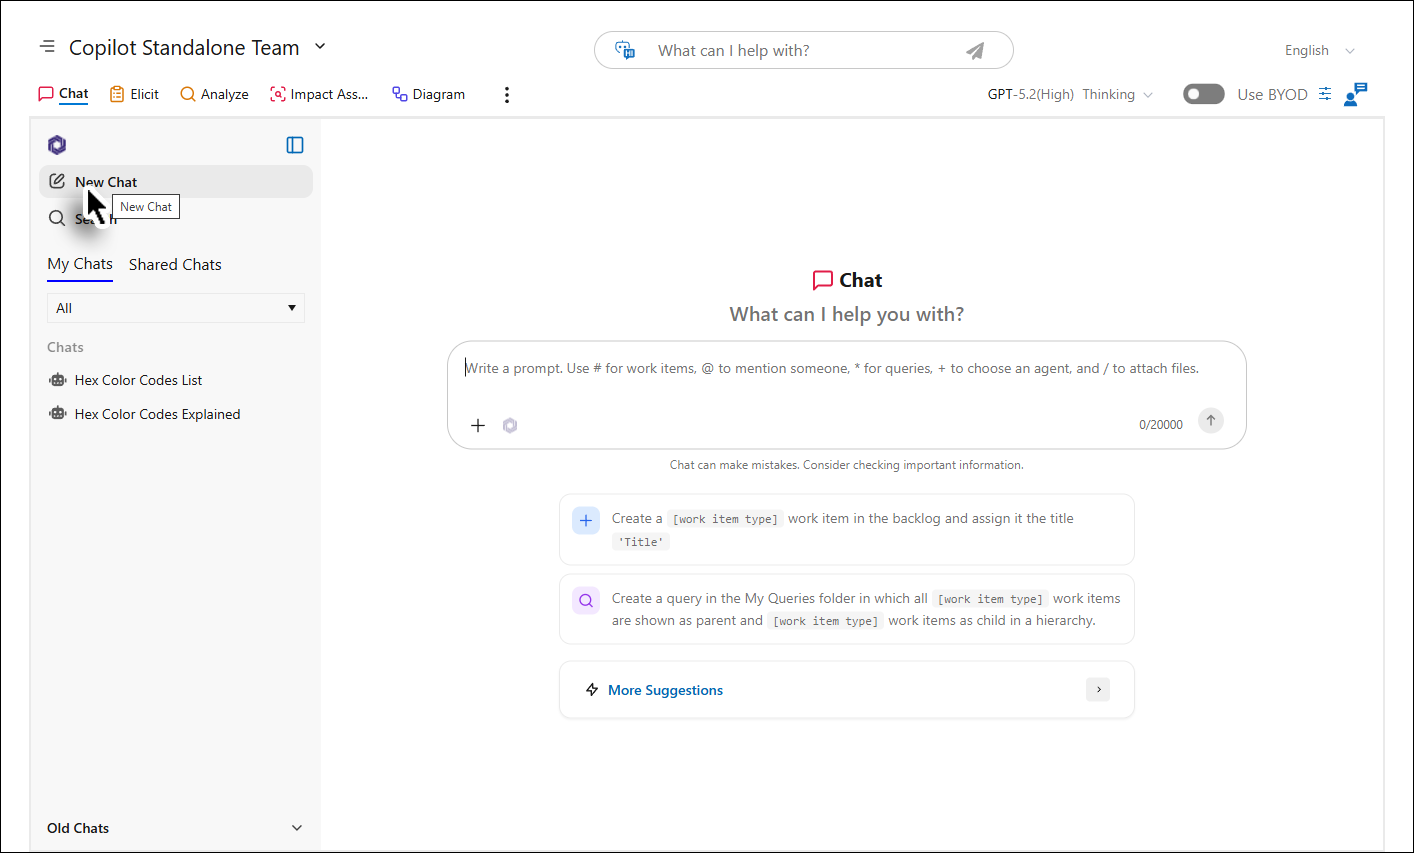
Type your prompt in the input box.
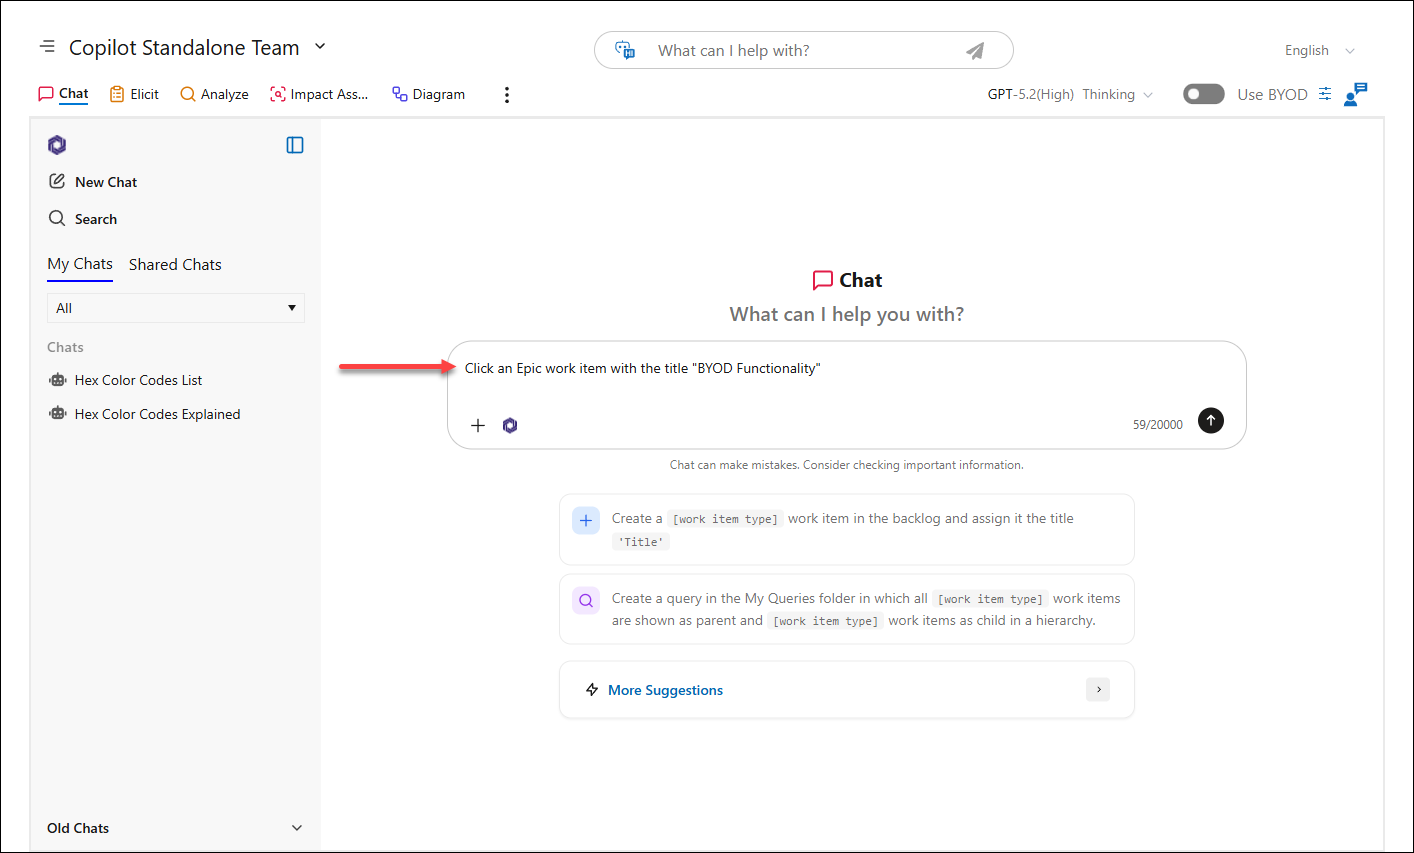
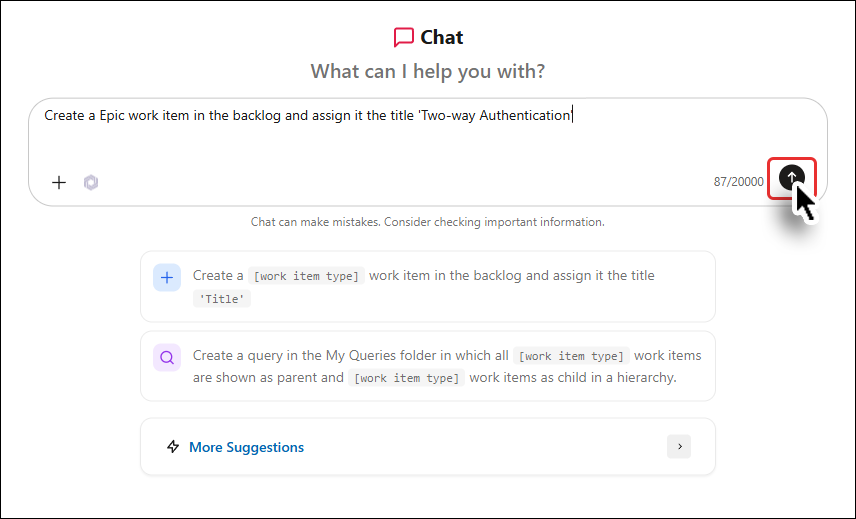
Click the Send button to initiate the conversation.
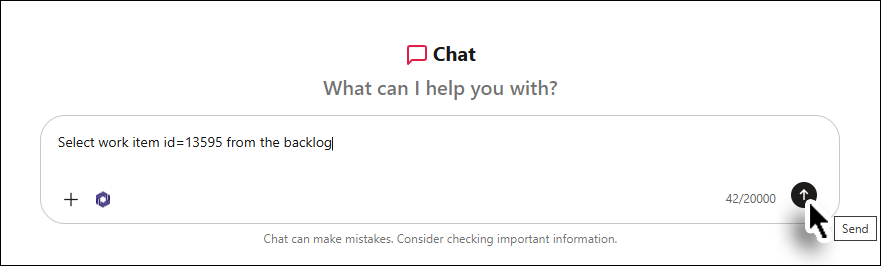
The response is shown.
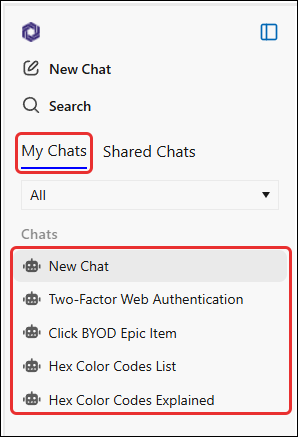
My Chats Tab
• In the My Chats tab, view all chats created by the logged-in user.
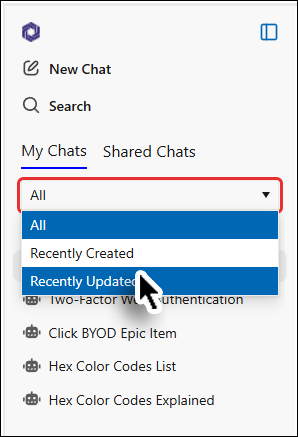
• Use filters like All, Recently Created, or Recently Updated to organize chats.
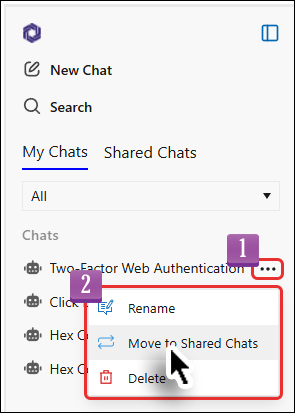
• Click on the relevant chat's ellipsis button, and then select the desired option to Rename, Move to Shared Chats, or Delete option.
Shared Chats Tab
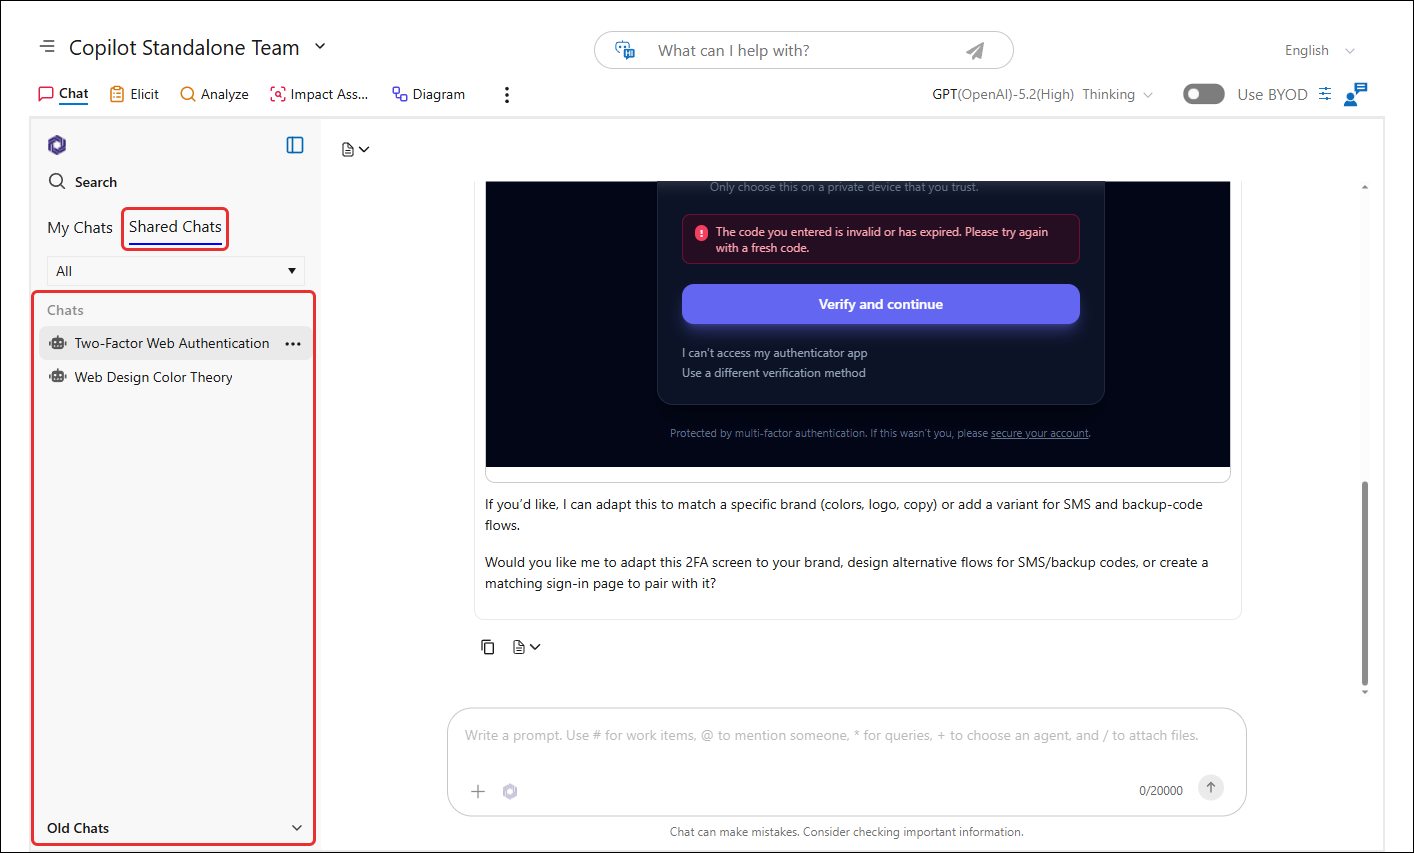
• In the Shared Chats tab, users can view all the chats that have been shared by team members, and all team users can actively collaborate on those shared chats as well.
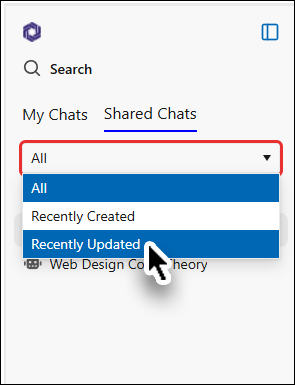
• Similar to My Chats, the Shared Chats can also be filtered by All, Recently Created, or Recently Updated.
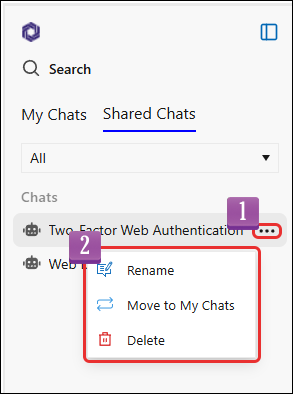
• If you are the creator, you can rename a chat, move it back to My Chats, and delete the chat. However, if another team member has shared a prompt in that chat, these options will no longer be shown to the creator for that chat.
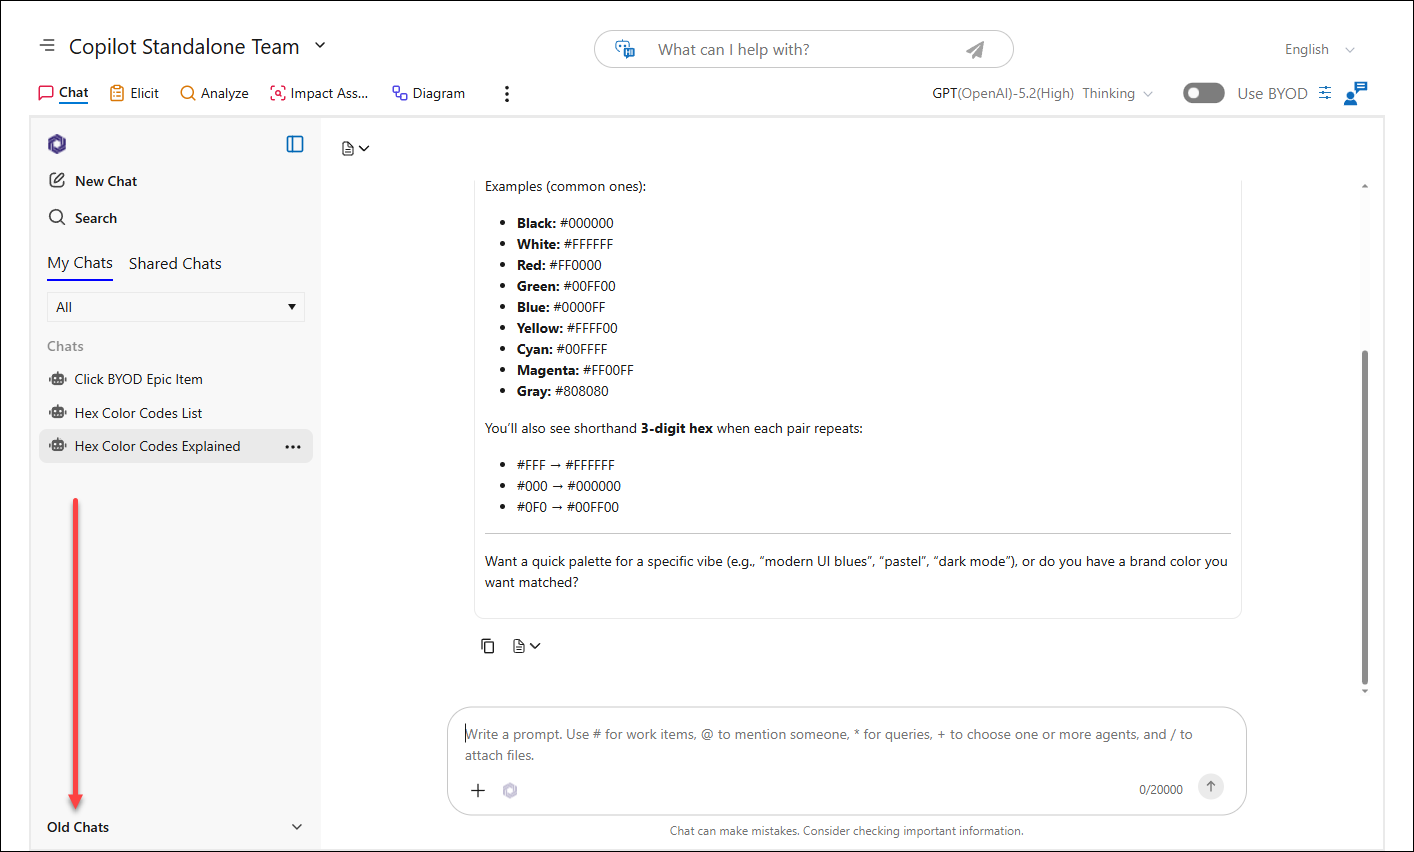
Older Chats
In the Older Chats section, find chats that have not been updated for more than a month. This folder appears at the bottom of the Left Panel.
Understanding the Center Panel
• The Center Panel is where you interact with your active chat session.
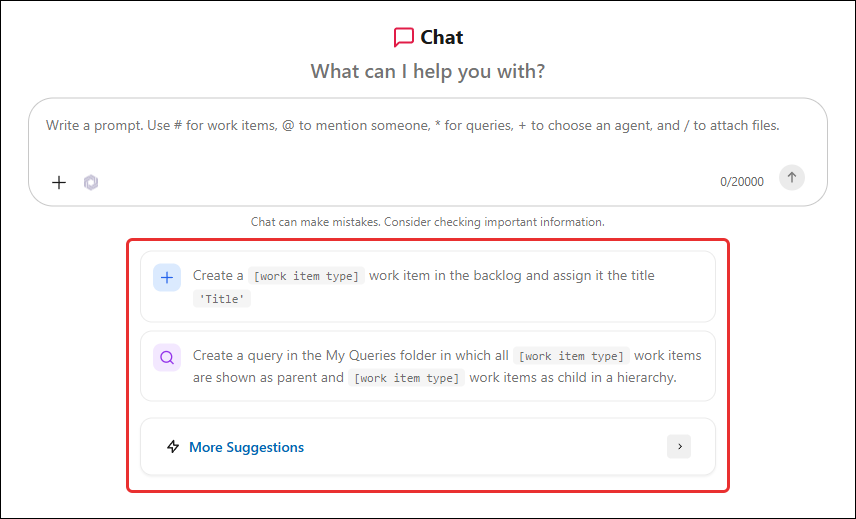
• Access predefined system prompts to quickly perform common actions such as creating work items or updating tasks.
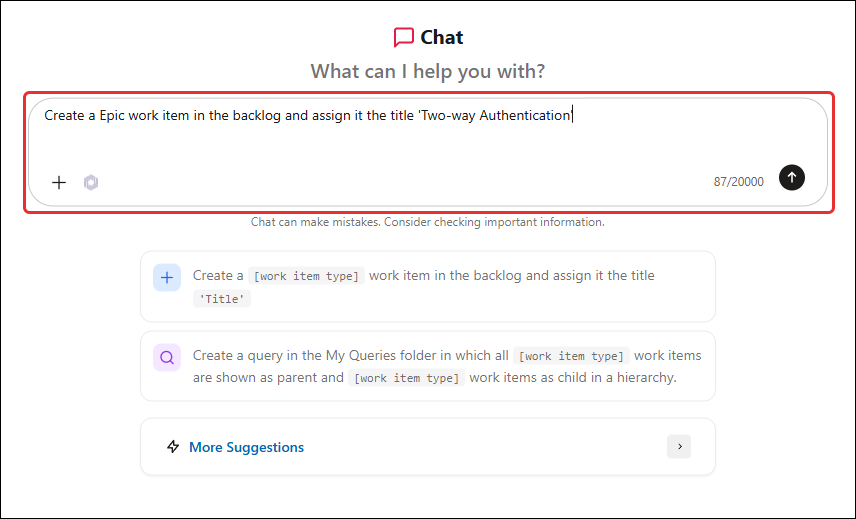
• Type your message or prompt in the Input Box and click Send to initiate the chat.
• You can upload attachments by clicking this button (maximum of 10 files per prompt).
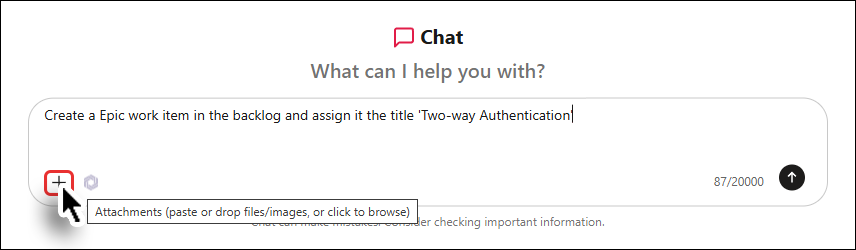
Note: The file/attachment upload process is elaborated in detail here.
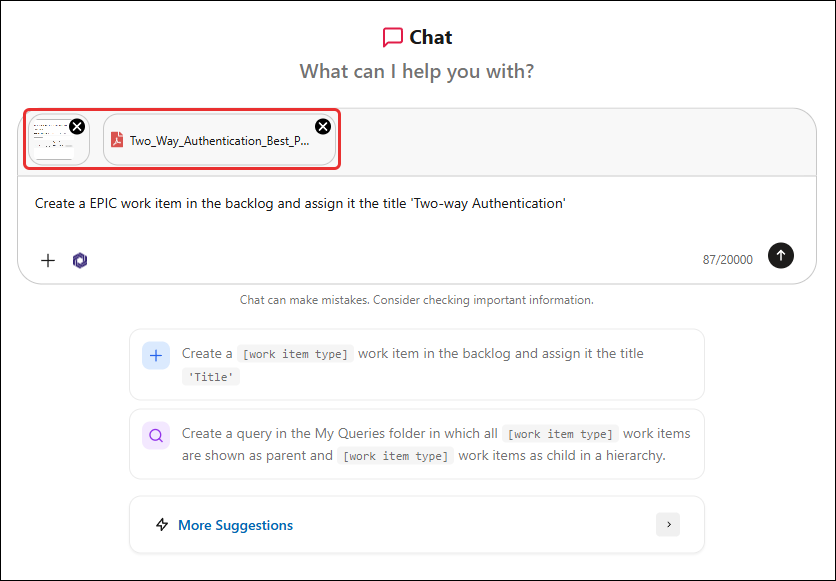
Note: If you upload more than one file at a time, then for any task related to a specific file, you must mention its exact name in the prompt. Only then will you get accurate and effective results.
• You can insert predefined text blocks, track the character count (up to 20,000 characters).
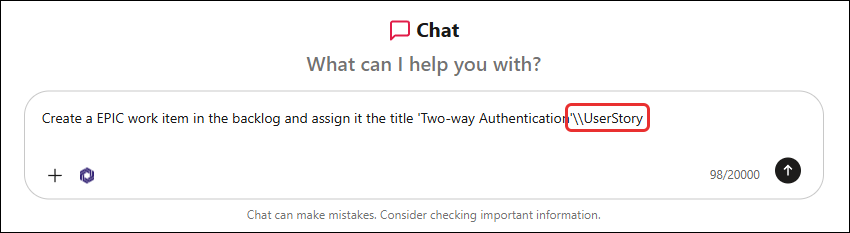
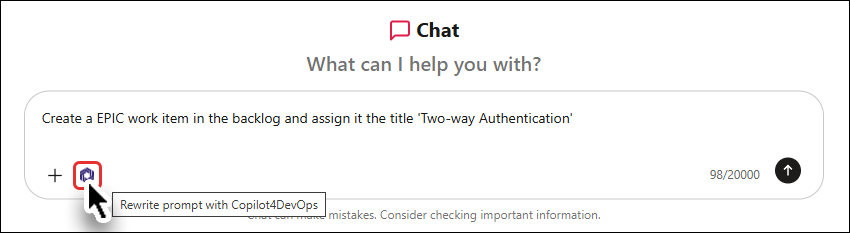
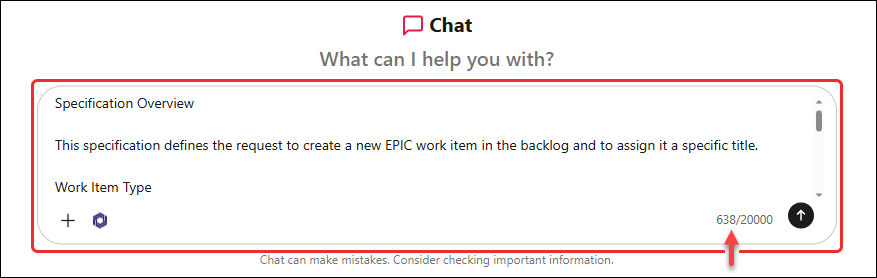
• Use the Rewrite Prompt button to automatically rewrite or modify the prompt.
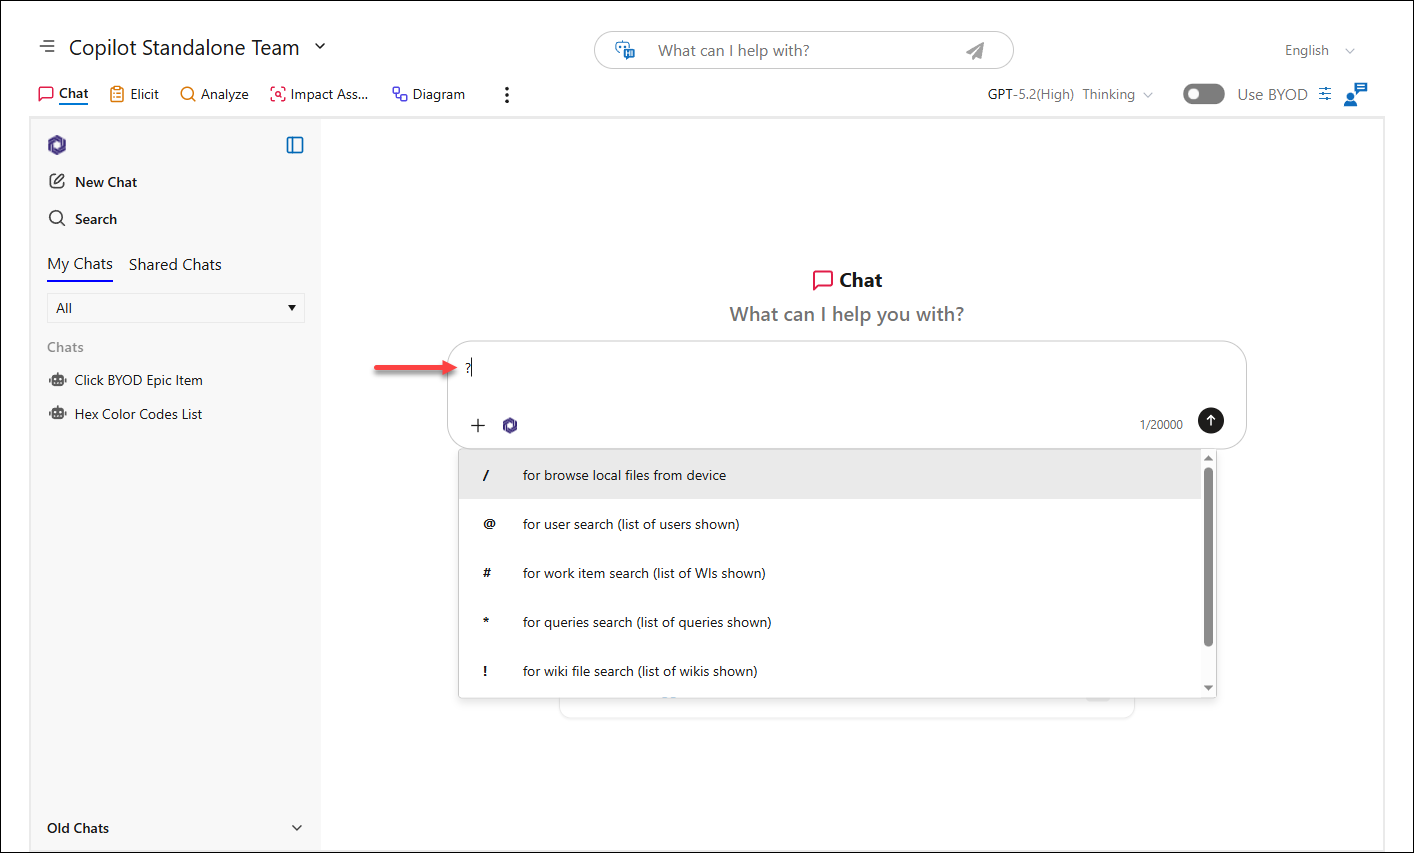
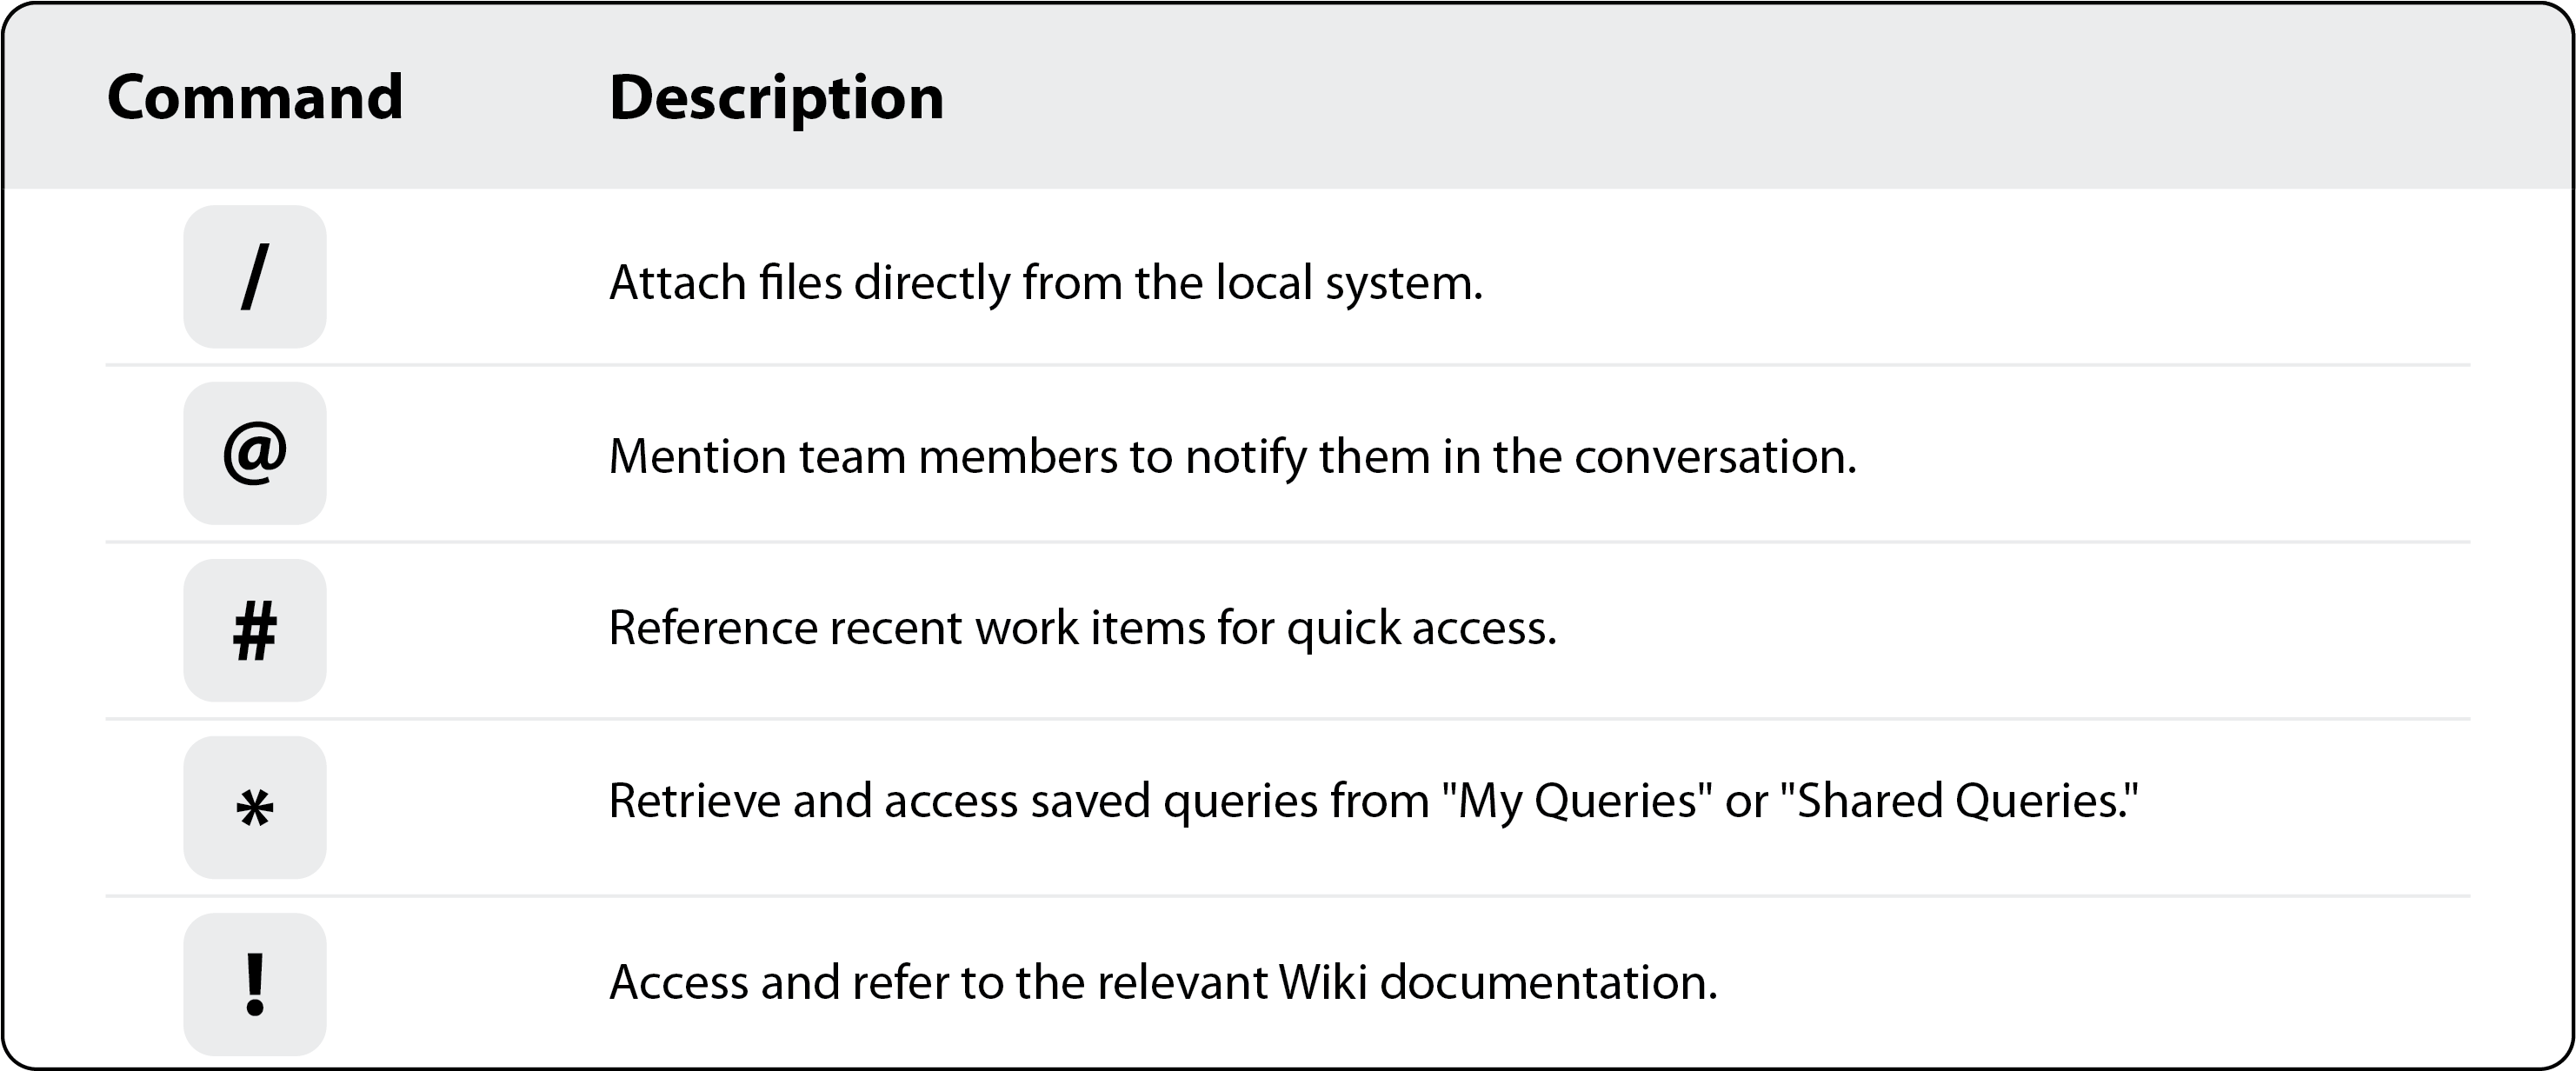
• Write ‘?’ in the input box to access quickly the list of available commands (Shortcuts).
Configuring the Toolbar
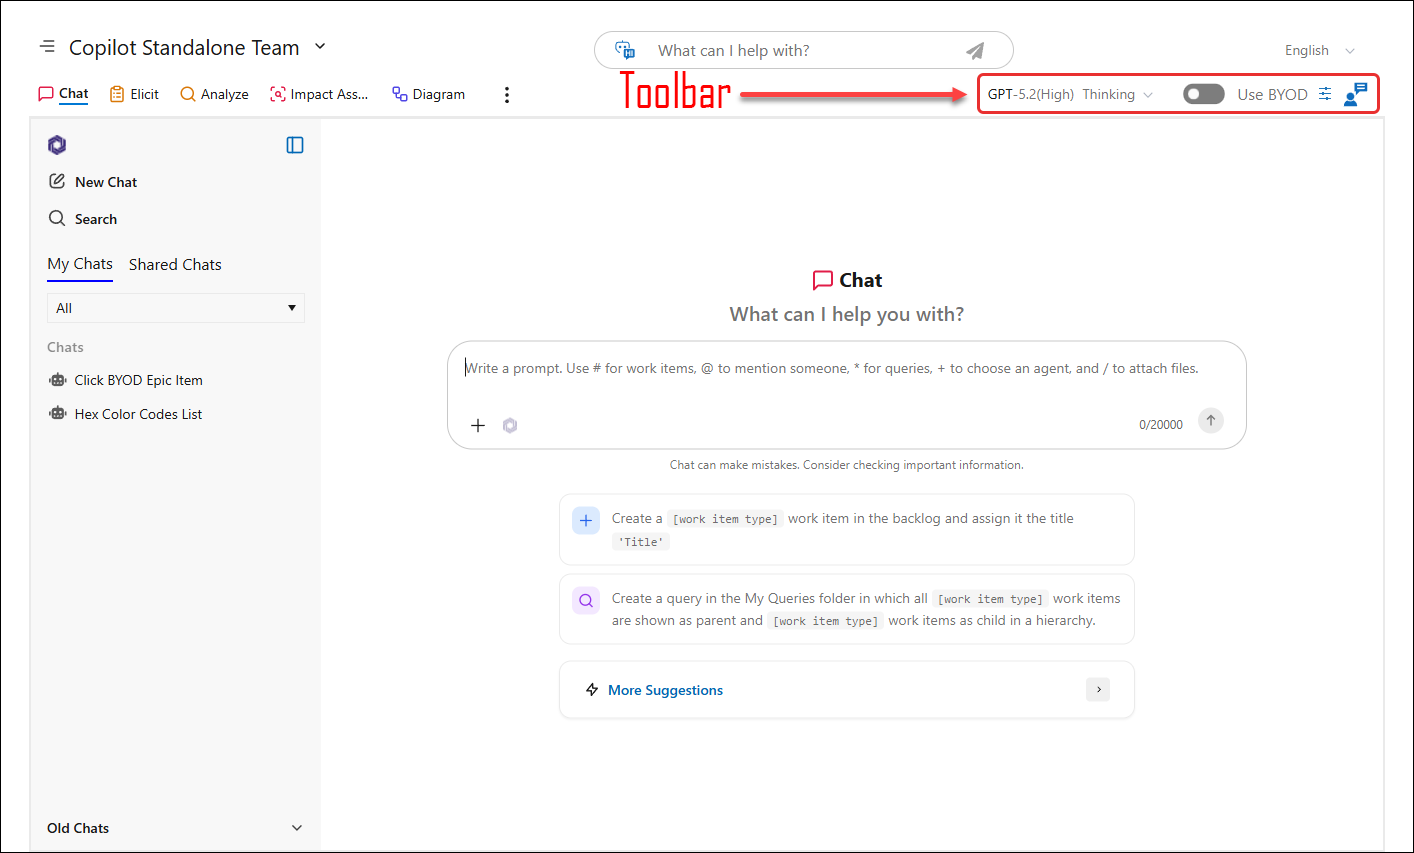
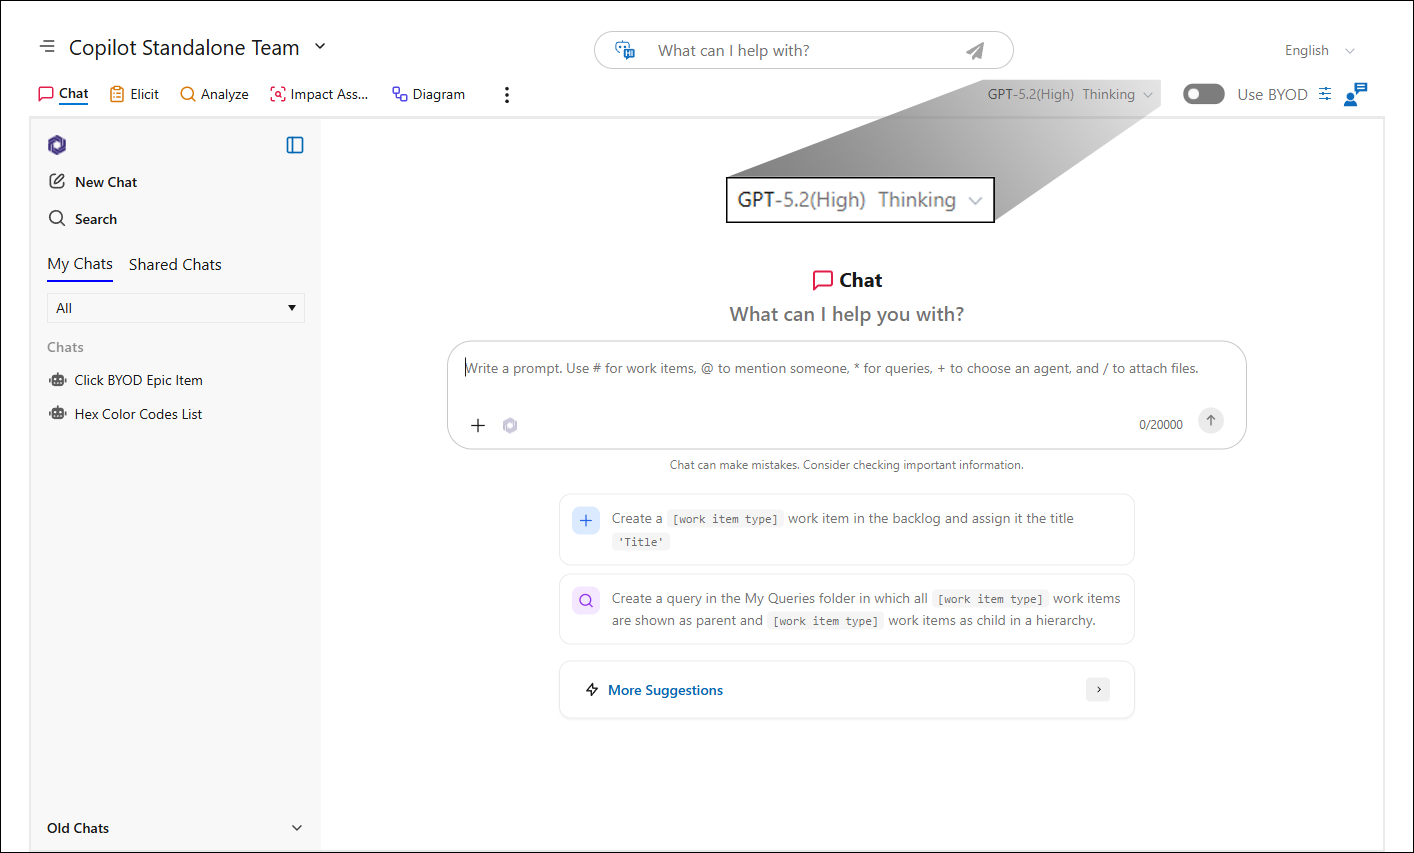
• Ranked AI models configured in the Admin Panel will be displayed for each corresponding feature on the Home Page.
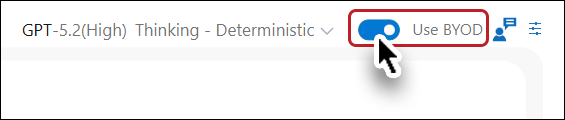
2. Toggle the BYOD option to enable or disable Bring Your Own Data functionality.
Note: If BYOD is enabled, the recommended BYOD model will be set; otherwise, the non-BYOD model will remain as the recommended one.
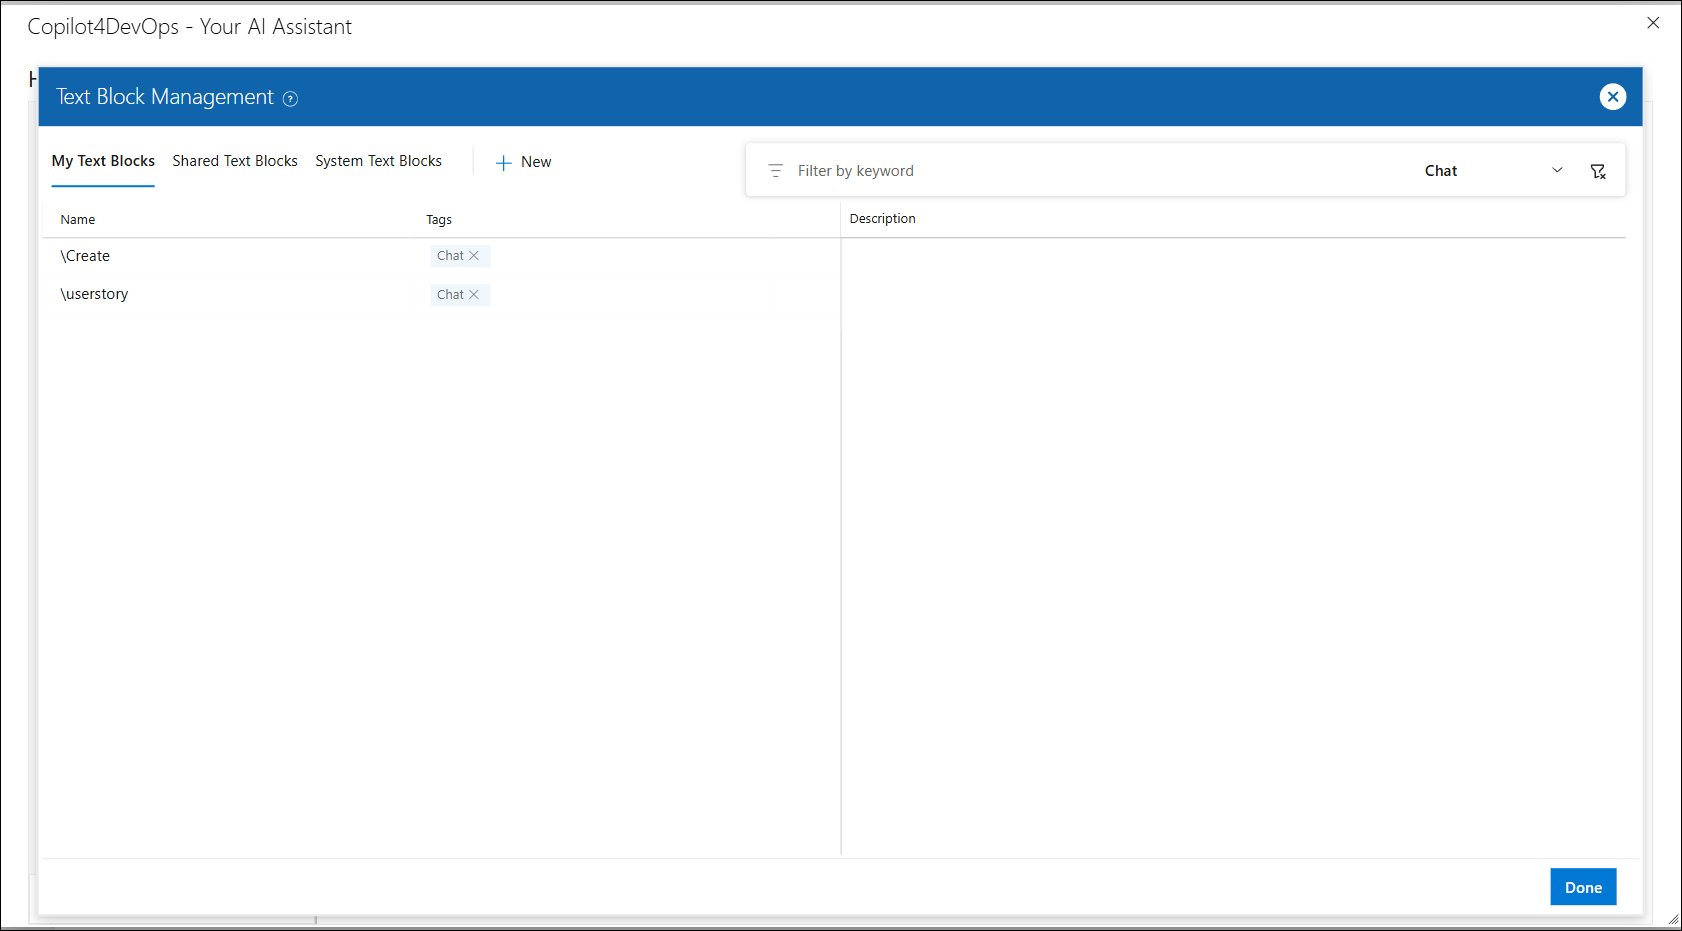
3. Manage your predefined text blocks by clicking the Text Block icon to create, organize, and reuse them easily.
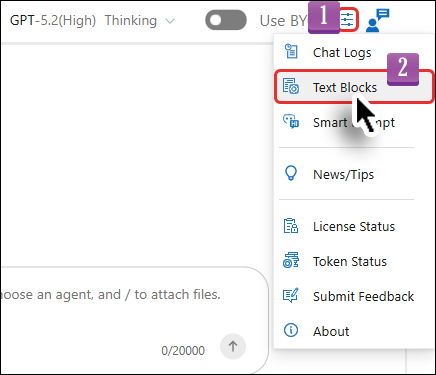
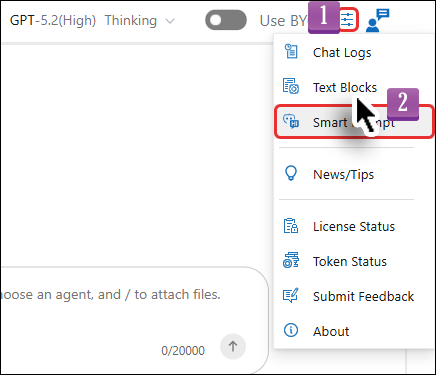
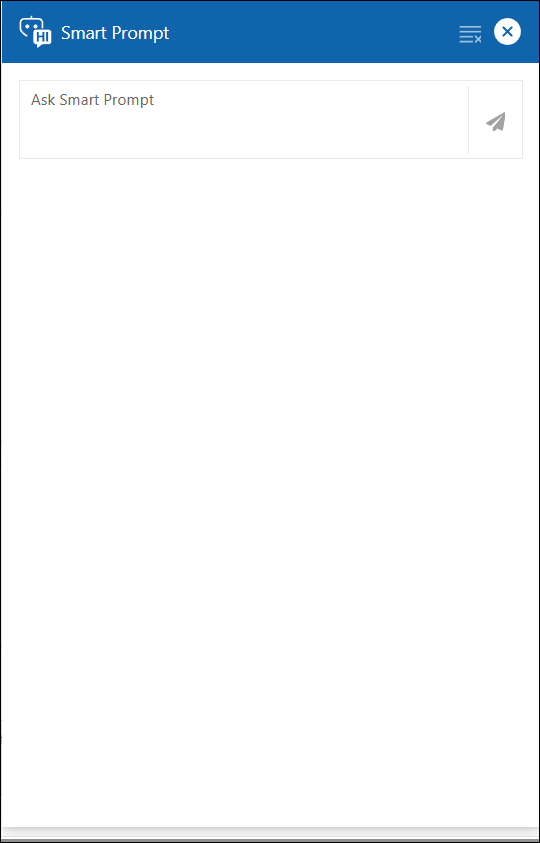
4. User can ask their questions regarding Copilot4DevOps using Smart Prompt to get accurate responses, clear UI instructions, and tailored recommendations based on their queries.
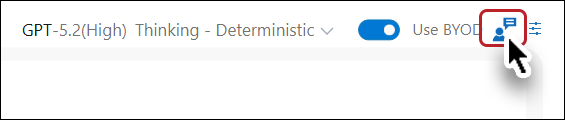
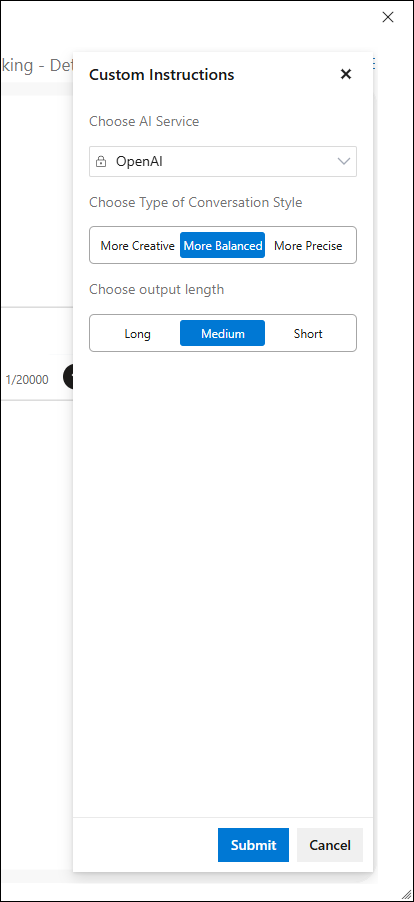
5. Use the Custom Instructions feature to customize the conversation.
From the right panel user will be able to see the AI Service selected in the Admin also able to Choose type of conversation style such as “More Creative”, “More Balanced” or “More Precise”.
By adjusting the settings, you can ensure that the Chat adheres to communication standards and your preferred writing style.
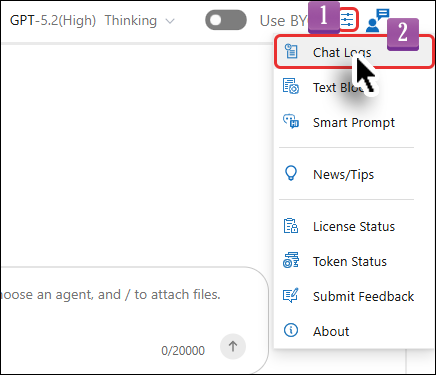
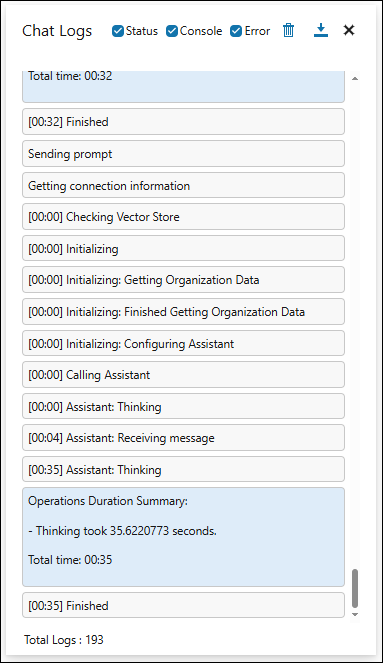
6. This 'Chat Logs' option will work as a dev tool. Here, you will see the backend calls made while doing the chat, and if any exception occurs, that will also be shown.